Installing Windows 10 on M1 Macs And Say Goodbye to Boot Camp
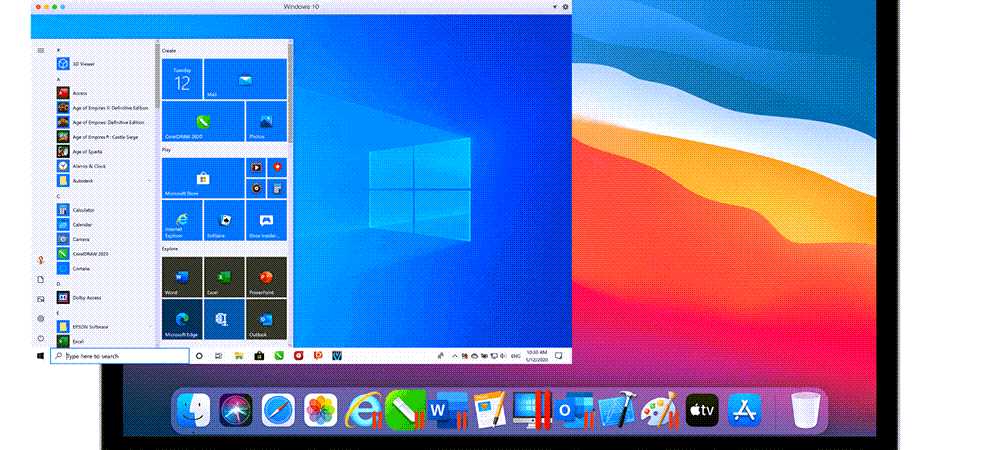
You can finally install Windows 10 on M1 Macs using Parallels Desktop 16 for Mac. Here are the steps to make it possible.
Can you run Windows 10 on M1 Macs? You finally can, although it requires some patience from early adopters. In this article, you’ll learn how to do it and why you could experience a few hiccups along the way — at least for now.
Where We Are with Windows 10 on macOS
The Apple Mac lineup is in a transition period as it moves new devices from Intel-based processors to its own silicon. The move means faster speeds and a blurring of the line between macOS and iPadOS. In time, the move should be a good one, especially for those fully integrated into the world of Apple. And yet, in the short term, at least, the transaction can cause headaches for some users because of compatibility issues. One of these is Windows installation on macOS.
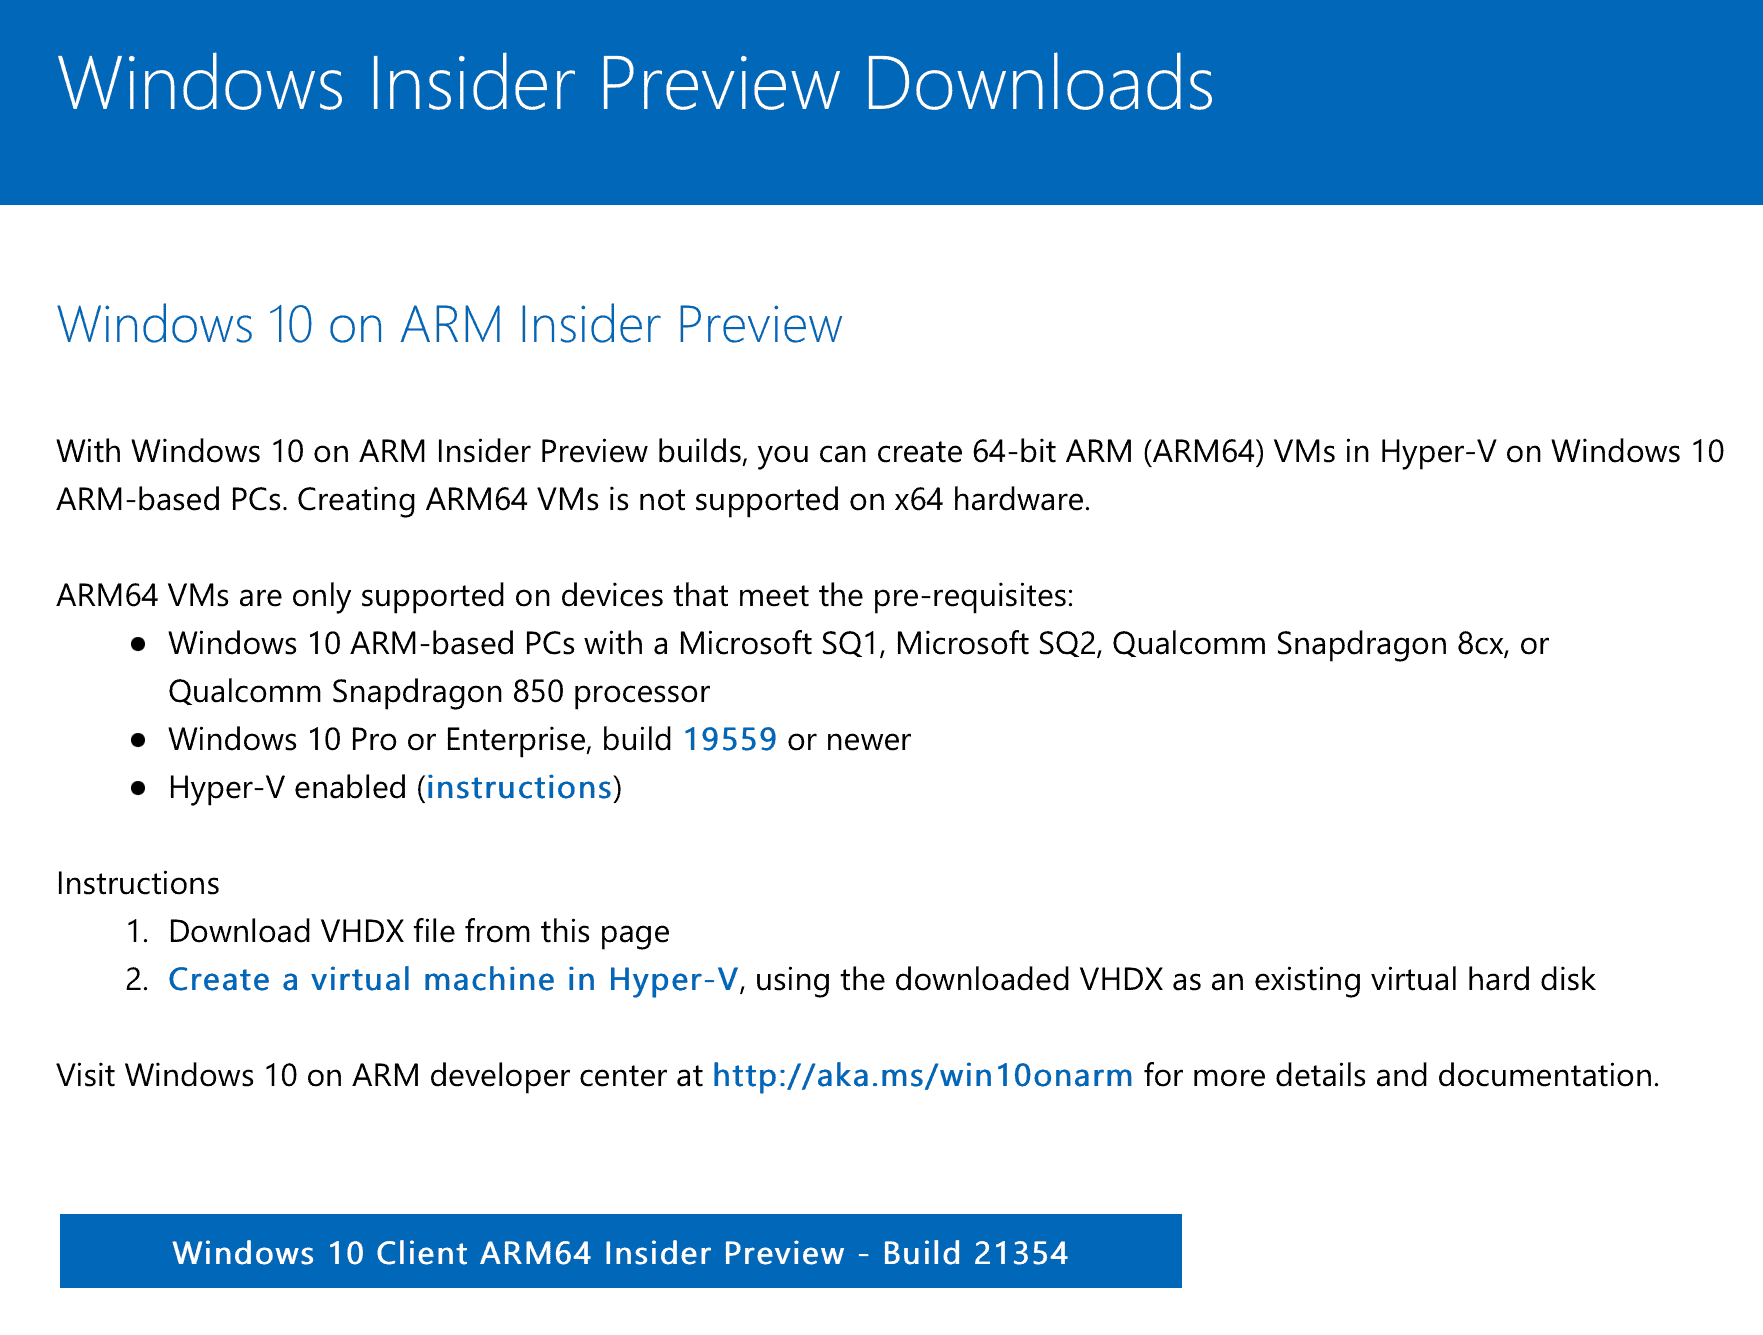
Before Apple silicon, Mac users could install a copy of x86 Windows 10 using Apple’s Boot Camp or through virtualization. Under the new system, Boot Camp has been removed, as has x86 compatibility. Installing Windows 10 on M1 Macs requires an ARM copy of Microsoft’s operating system. At the time of this writing, Microsoft only offers a copy through its ARM Insider Preview program, which features a beta version of Windows.
Luckily, Parallels now offers a full version of its popular virtualization program that works on M1 Macs and compatible with ARM Windows after months of testing. With the public release of Parallels, any difficulties you might experience with Windows 10 on your M1 Mac are likely caused by the beta version of ARM Windows. However, it’s been my experience issues are minimal, which suggests the first public version of ARM Windows could be arriving soon.

Amazon.com Price updated on 2024-05-04 - We may earn a commission for purchases using our links: more info
Installing Windows 10 on M1 Macs
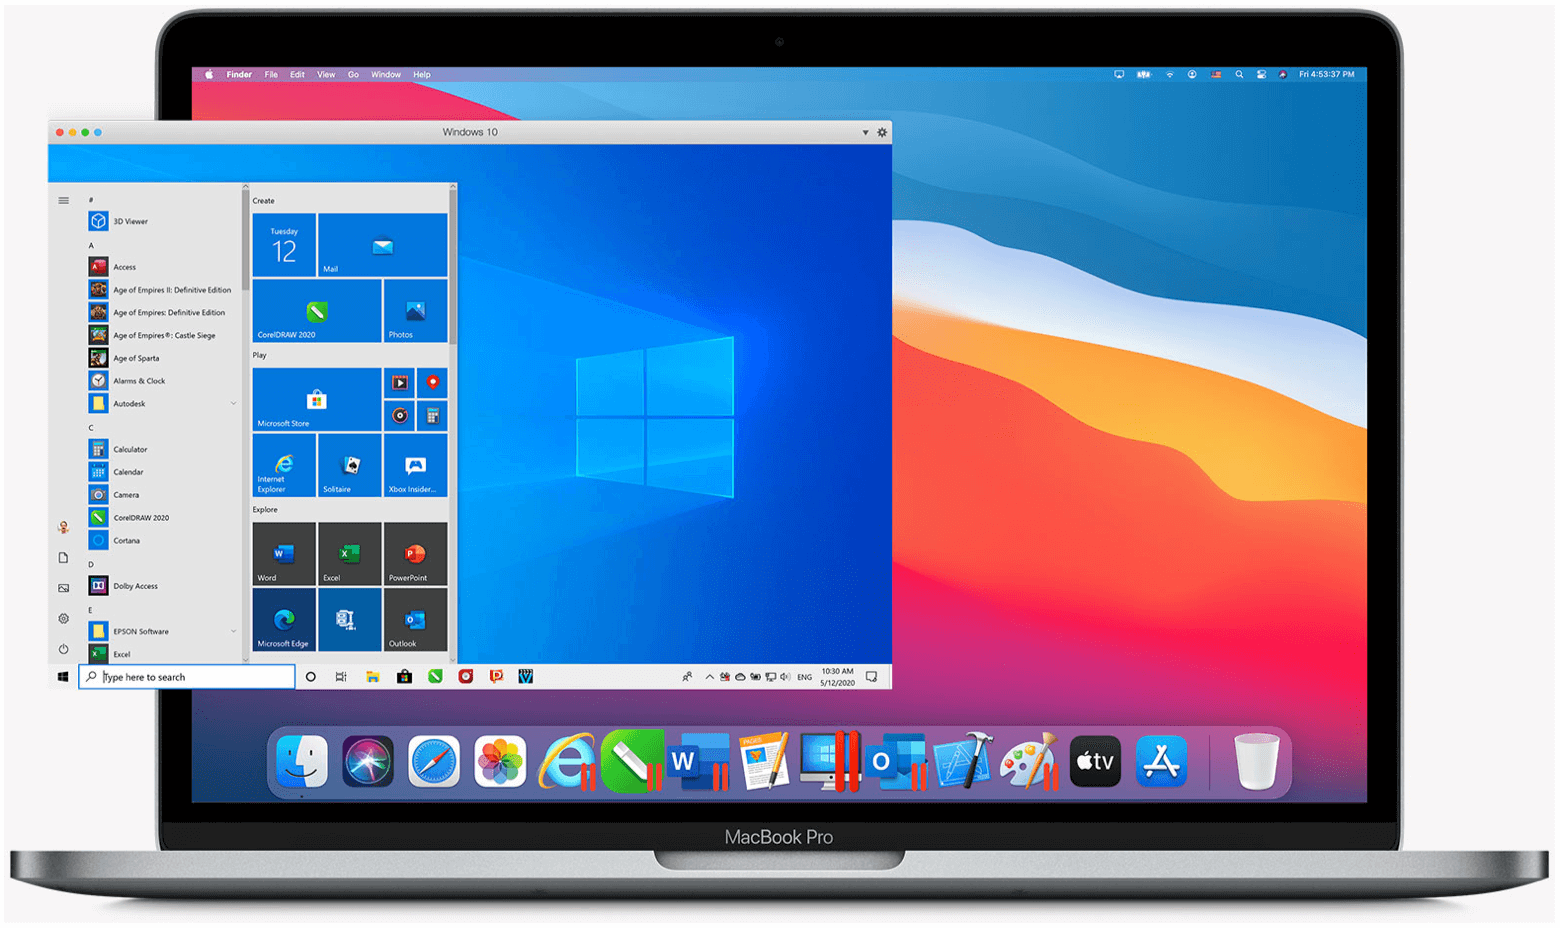
To run Windows 10 on your 13-inch MacBook Pro (M1, 2020), Mac mini (2020), MacBook Air (2020), or 24-inch iMac (2021), you must download and install Parallels Desktop 16 for Mac. Eventually, you must buy this software. However, new users can download a free trial. This version of Parallels is compatible with Apple silicon and Intel-based Macs. Install your copy of Parallels Desktop 16 for Mac on your macOS device.


Amazon.com Price updated on 2024-05-04 - We may earn a commission for purchases using our links: more info
Next, you must register as a free Microsoft Insiders user. Once you register, you can download a copy of Windows 10 on ARM.
Once your Windows 10 copy has been downloaded:
- Open Parallels Desktop 16 for Mac.
- Go File > New to bring up the Parallels Installation Assistant.
- Click Continue on the M1 message page.
- Next, select Install Windows or another OS from a DVD or image file.
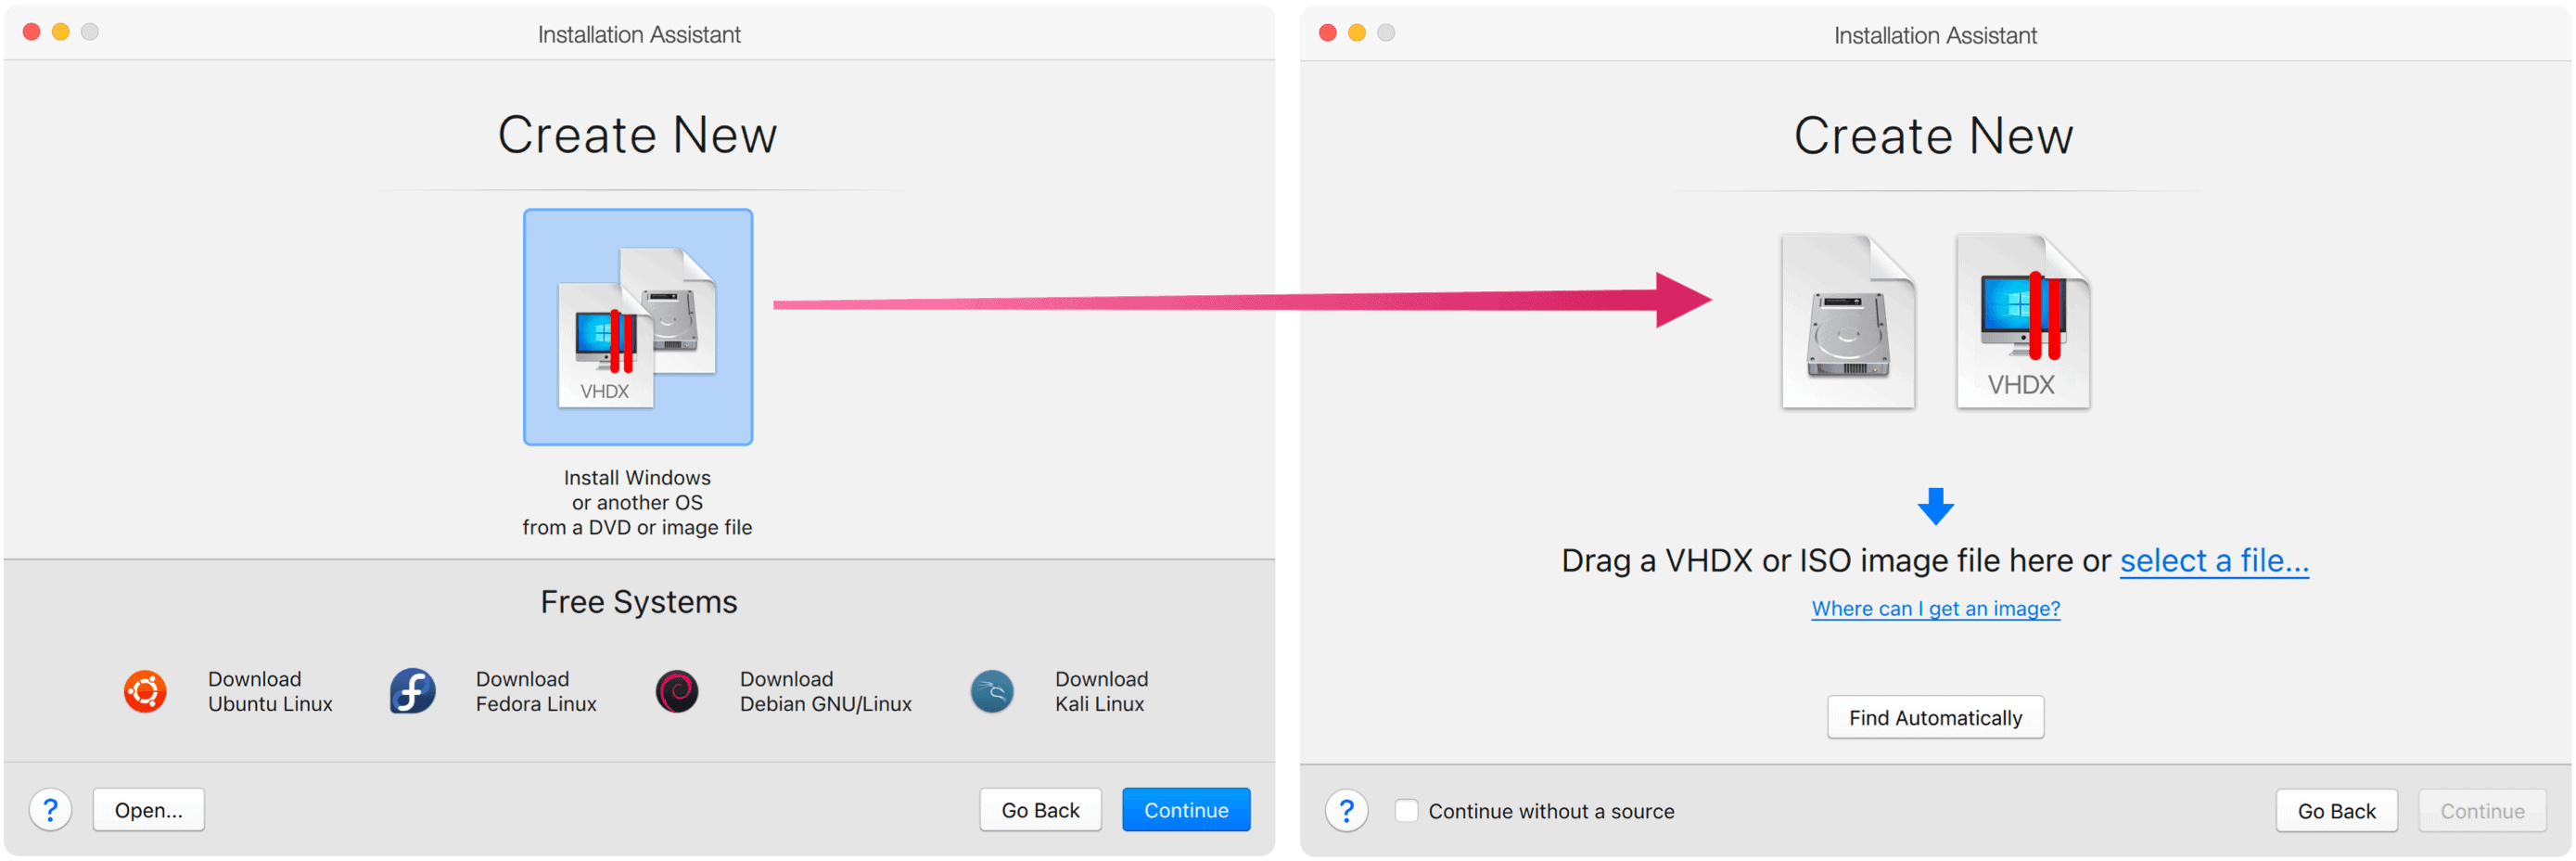
You can drag the Windows Install image into the Select Installation Image window or click Find Automatically. Once you do:
- Click Continue.
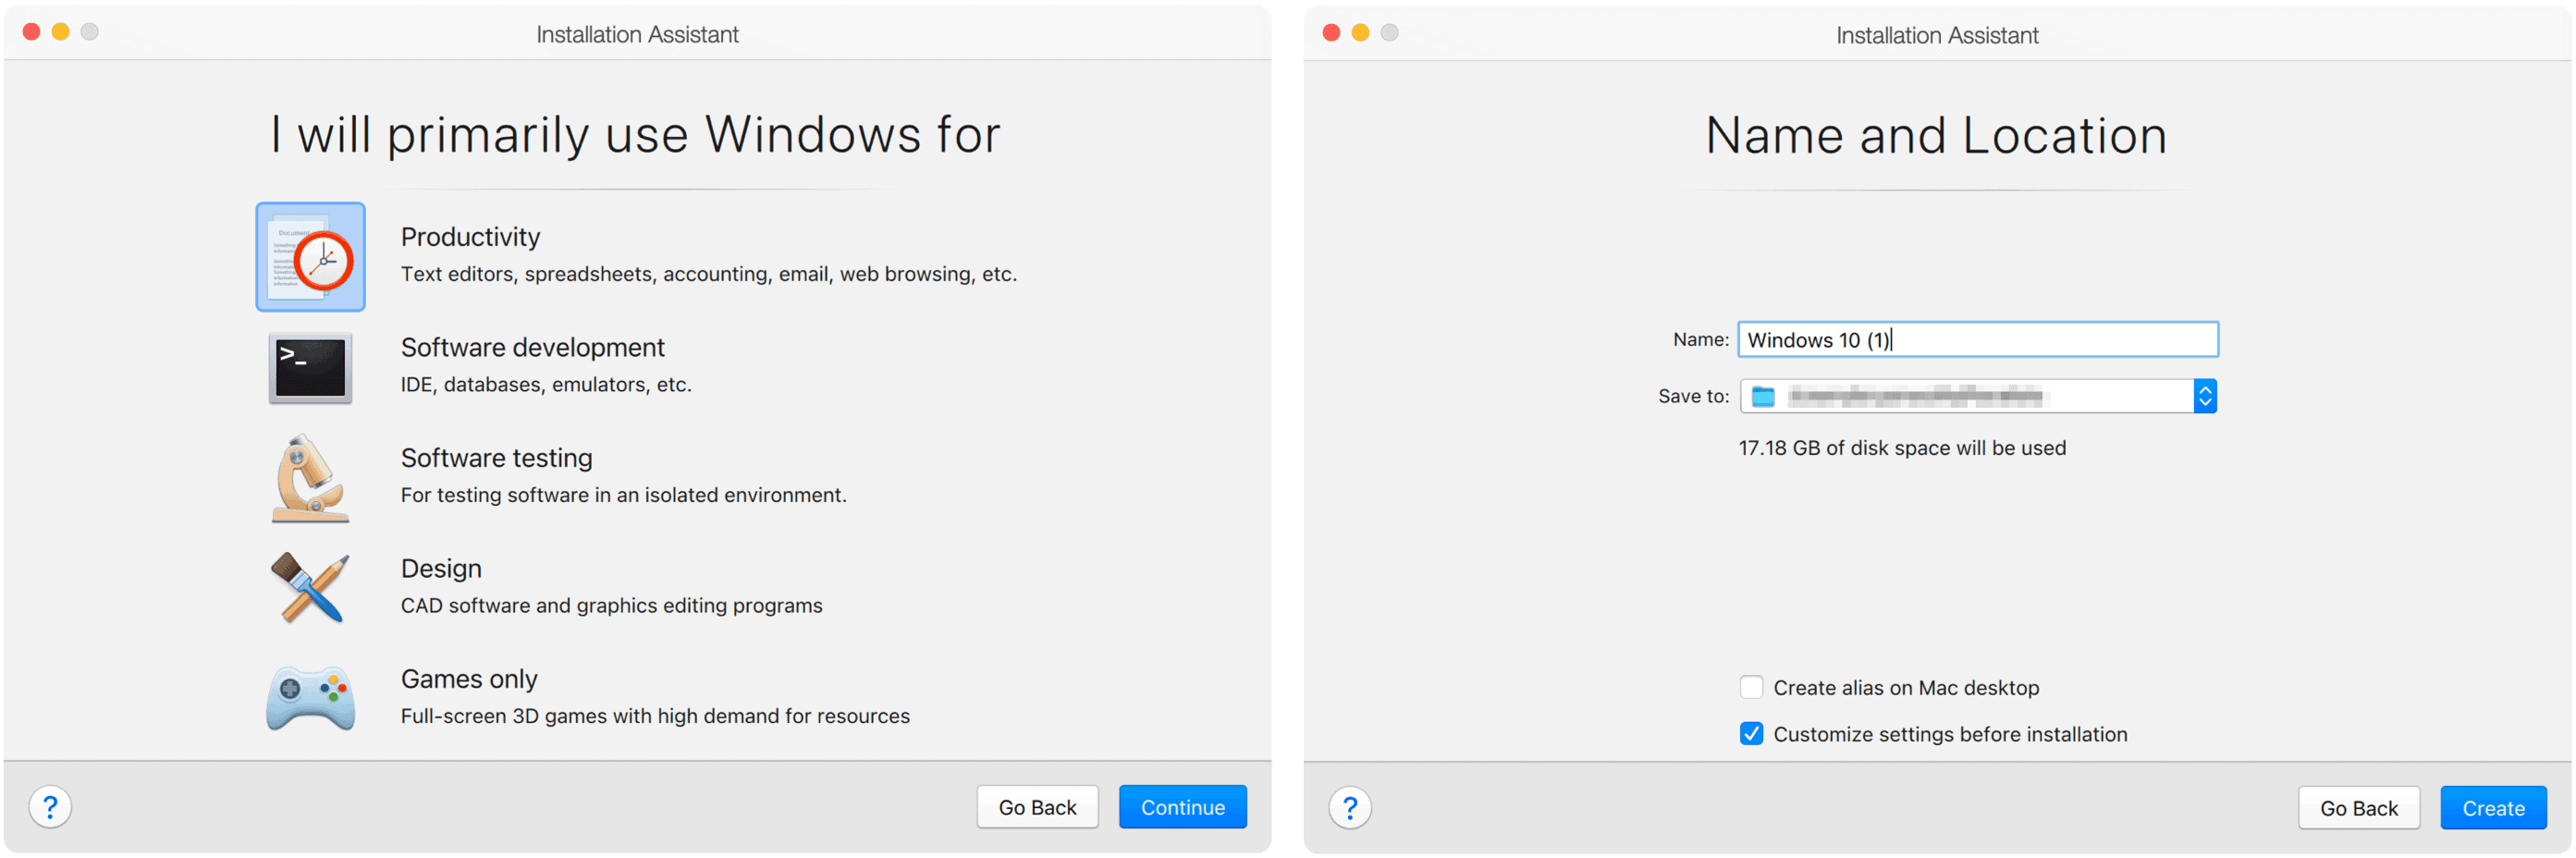
- Choose Productivity as your primary use of Windows.
- Select Continue.
- Add Name and Location for your copy of Windows 10. The default location is best.
- Uncheck the Create alias on the Mac option.
- But, check the customize settings before installation option.
- Choose to Create.
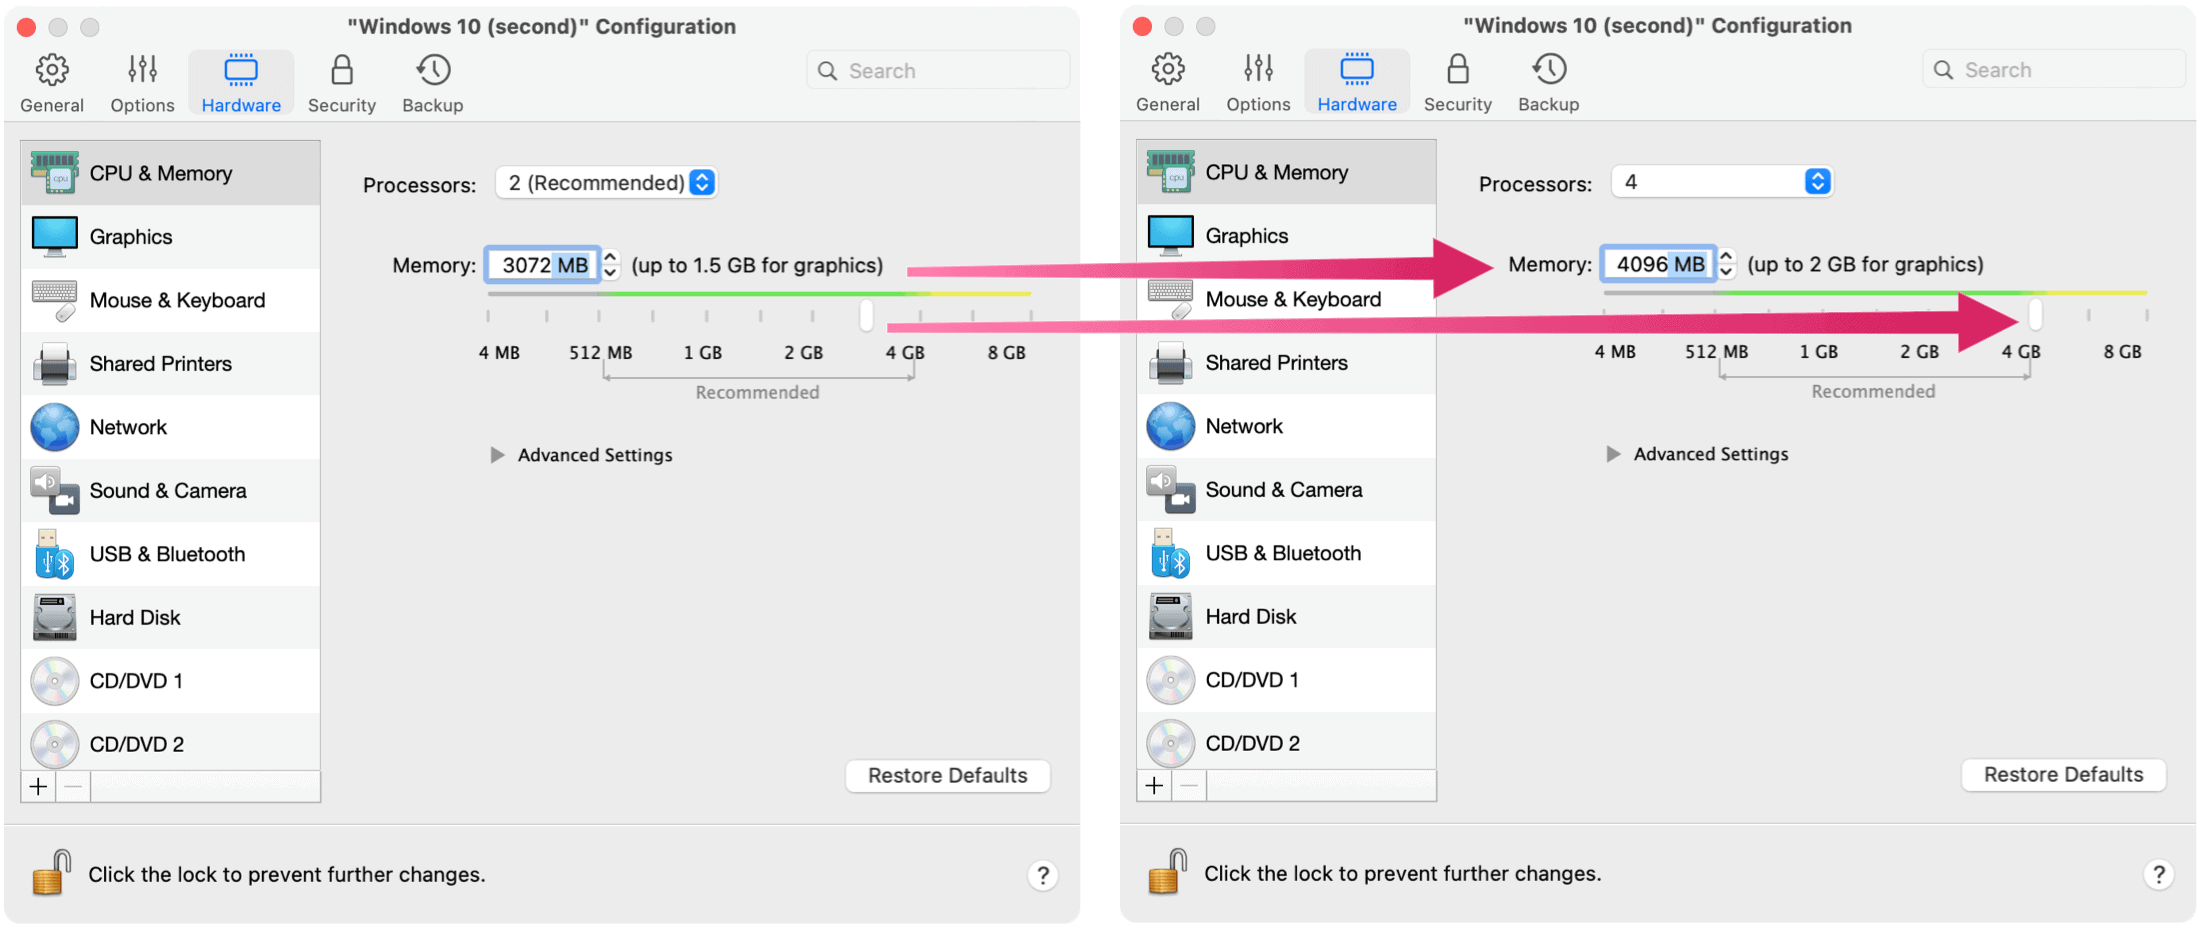
In a few seconds, the Parallels Installation Assistant creates your Windows 10 virtual machine. From there, click on the Hardware tab in the Configuration window. You can now adjust the number of CPU cores and amount of memory to use with your virtual machine.
Instead of the defaults, select:
- On M1 Macs with 8GB, choose 4096MB as memory; on those with 16GB, choose 8192MB.
- Use 4 CPU cores.
Close the Configuration window, then click Continue to finish the Windows 10 installation. Once installation is complete, you can run Windows 10 through Parallels Desktop 16 for Mac.
Odds and Ends
Be sure to update your virtual copy of Window 10 often by going Start > Settings > Update & Security and click Update. Because ARM Windows remains in beta, you should expect the occasional bug and frequent system updates. I have run into few problems since installing Parallels 16 Desktop for Mac on my M1 MacBook Pro. However, you can still tell ARM Windows isn’t a finished product. For example, customization tools are limited, at best, since you’re using an unlicensed beta copy of Windows.
Regardless, running Windows 10 on M1 Macs is now possible, warts and all.
You can download the Parallels 16 Desktop for Mac app from the Parallels website. A new license is $80/year for the standard edition and $100/year for the professional edition. Upgrade prices are $50 and $100/year, respectively.
Bobby
October 1, 2021 at 8:05 pm
Can i run bluebe on my M1 macbook with parrellels?