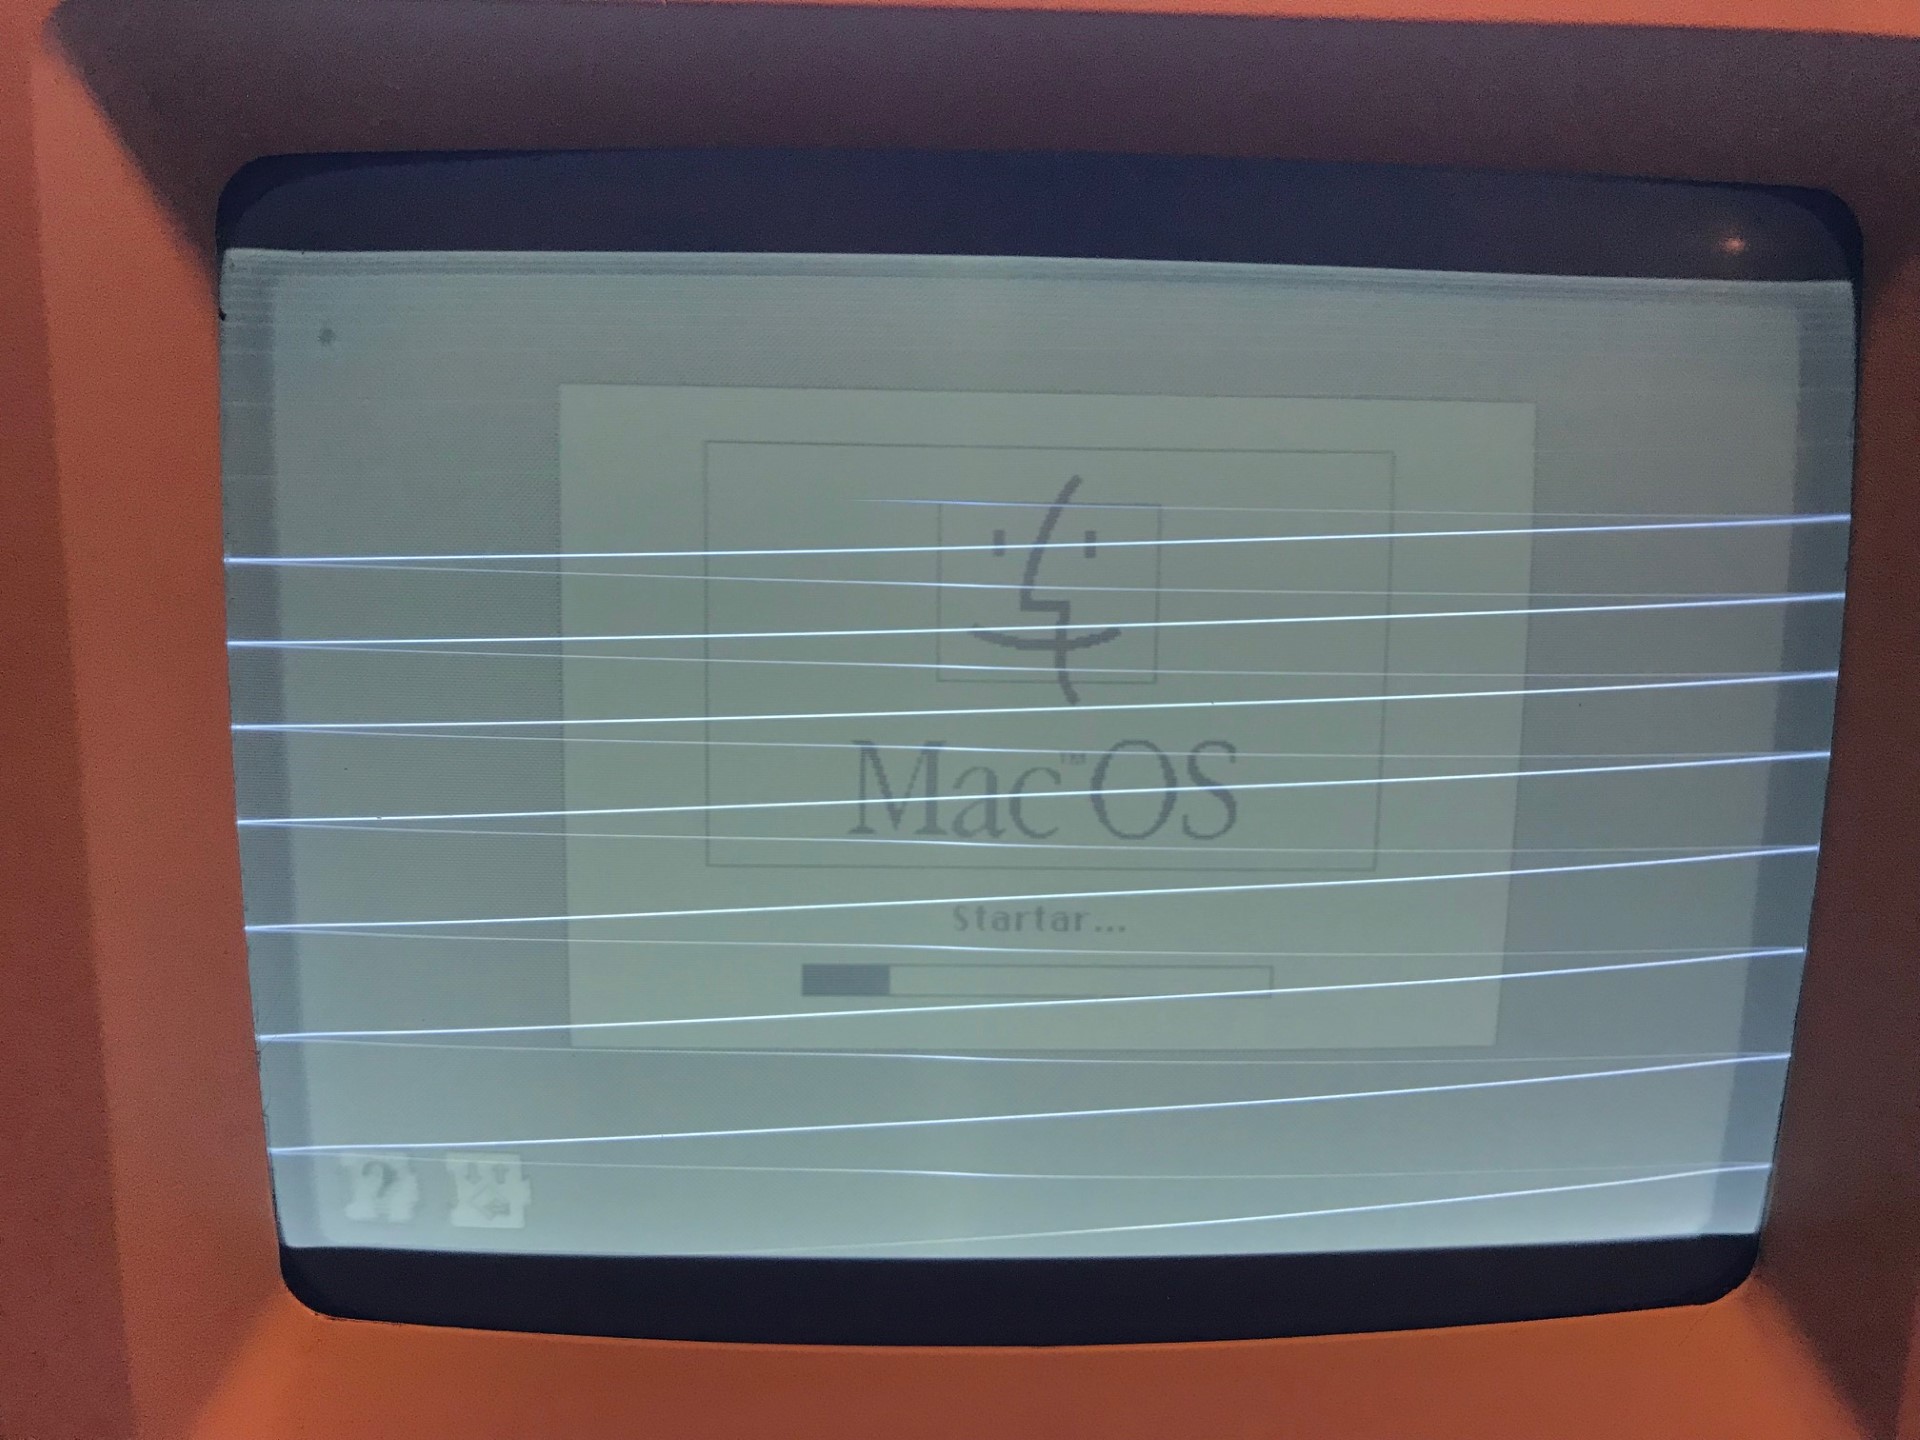
I recently acquired an untested Macintosh SE/30 from Swedish eBay. It was a promising project as the seller stated that the battery was removed without signs of leakage. These machines are infamous for being damaged by leaky batteries. When I booted the machine I was presented a bright screen with horizontal lines, no beeps or signs of any OS.

Macintosh SE/30 recap
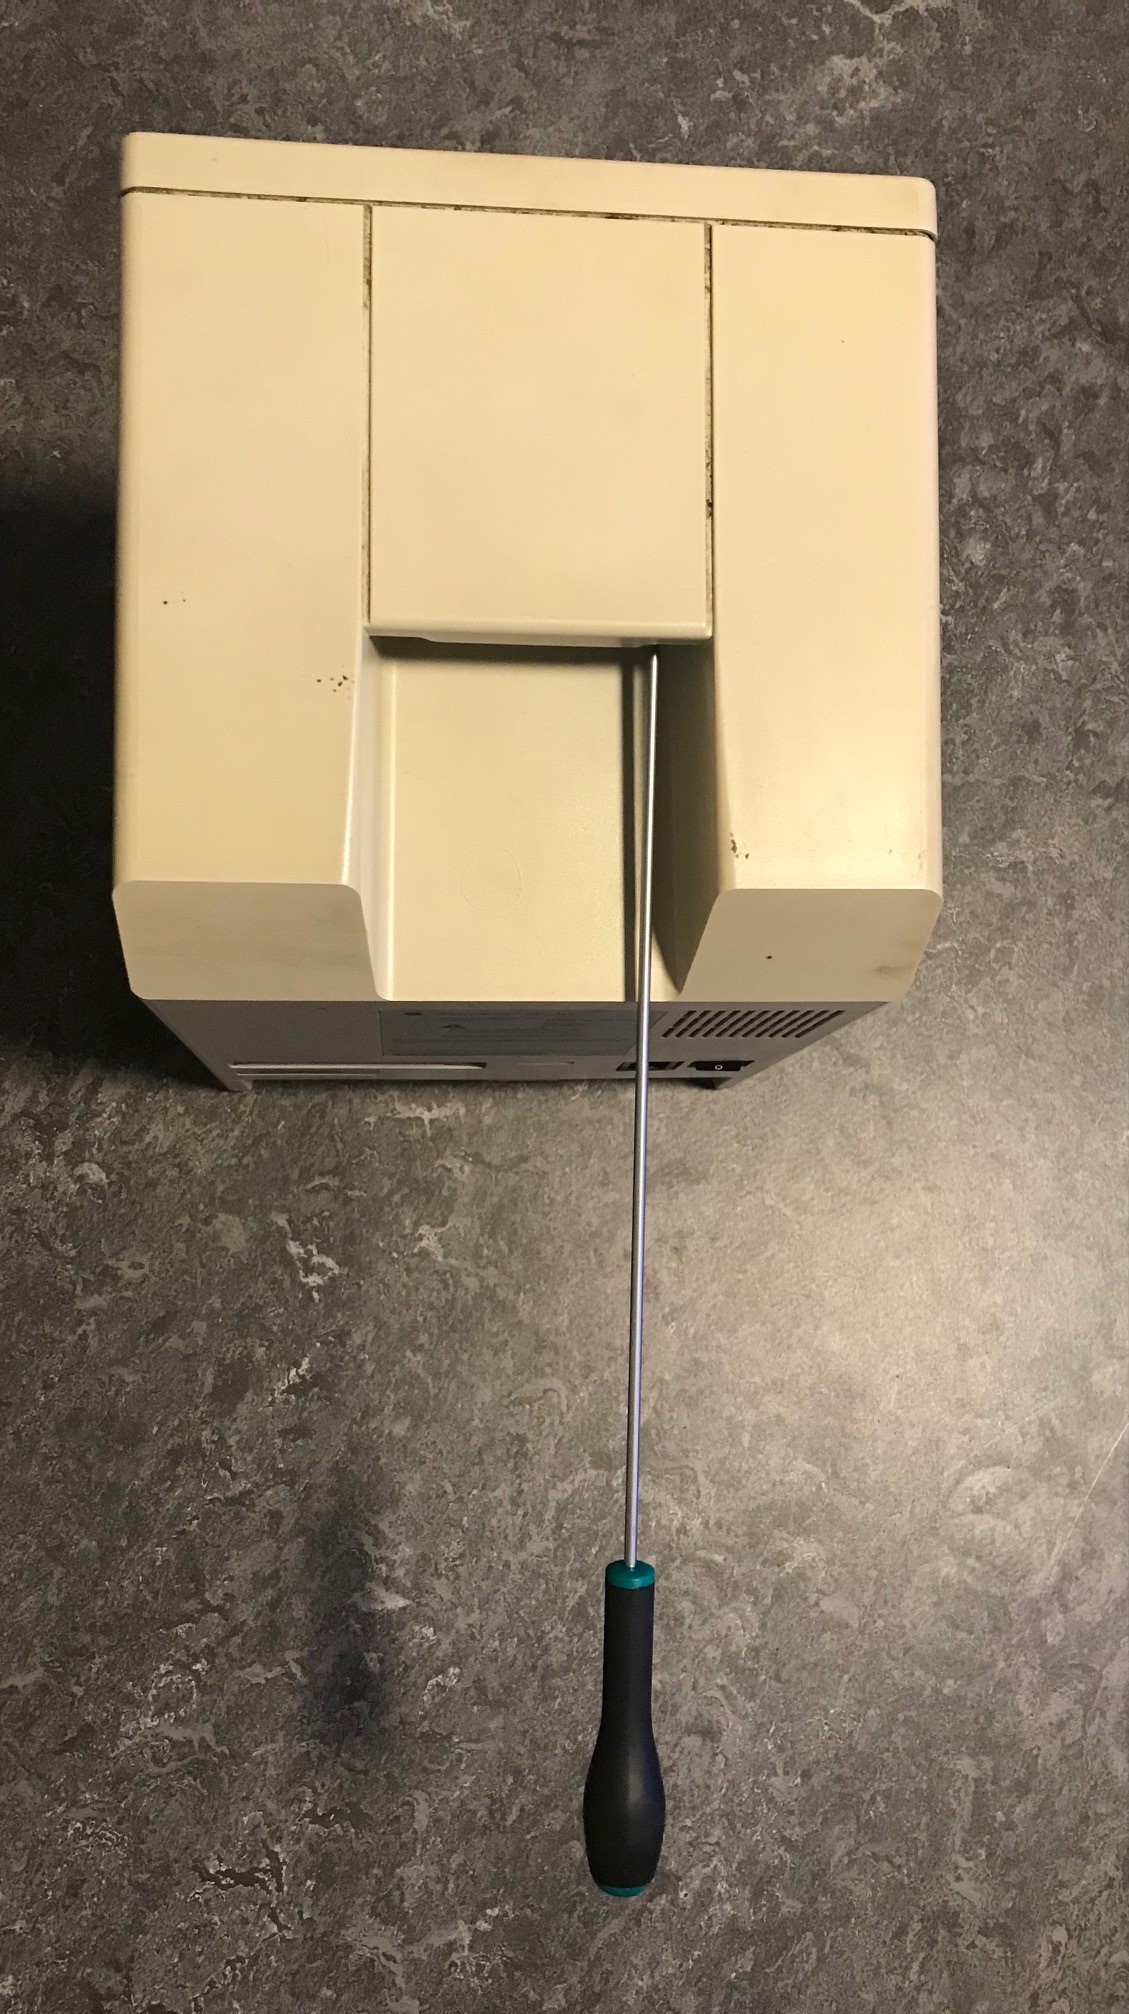
The second thing these machines are infamous for is leaky capacitors. So, time to open the machine and take a look inside! First, remove the reset / interrupt switch from the side of the machine. Then, use a long torx T-15 screwdriver and remove four torx screws from the back of the machine (see, link below). I did not own a long torx at the time, but ordered a 40 cm tool online. It was definately long enough!
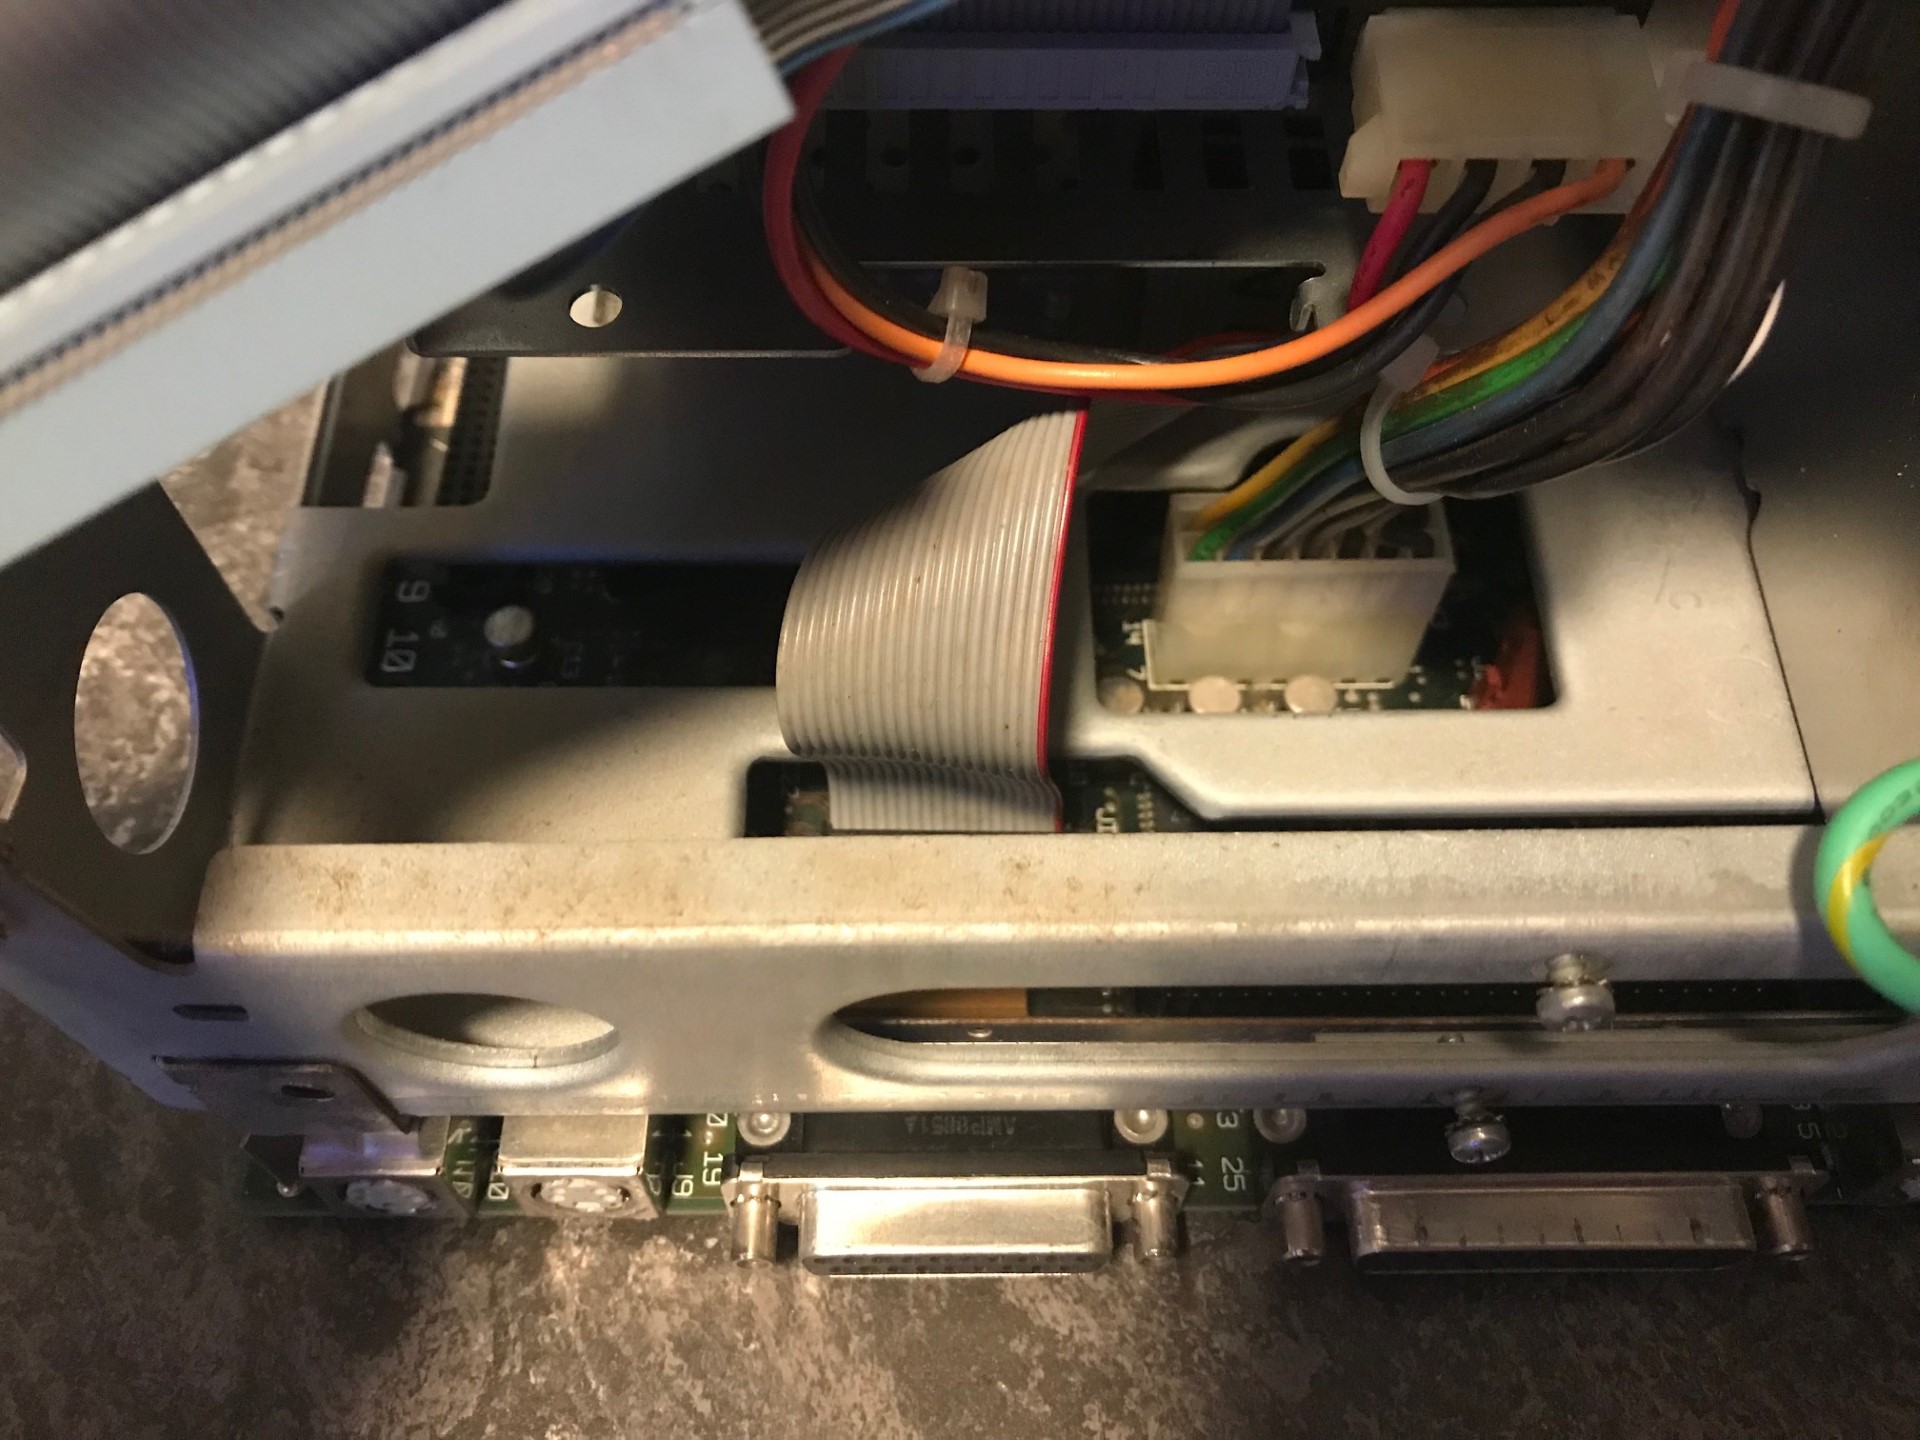
Before removing the motherboard, the power cable, floppy and hdd cable and the little brown connector in the second image below need to be removed.

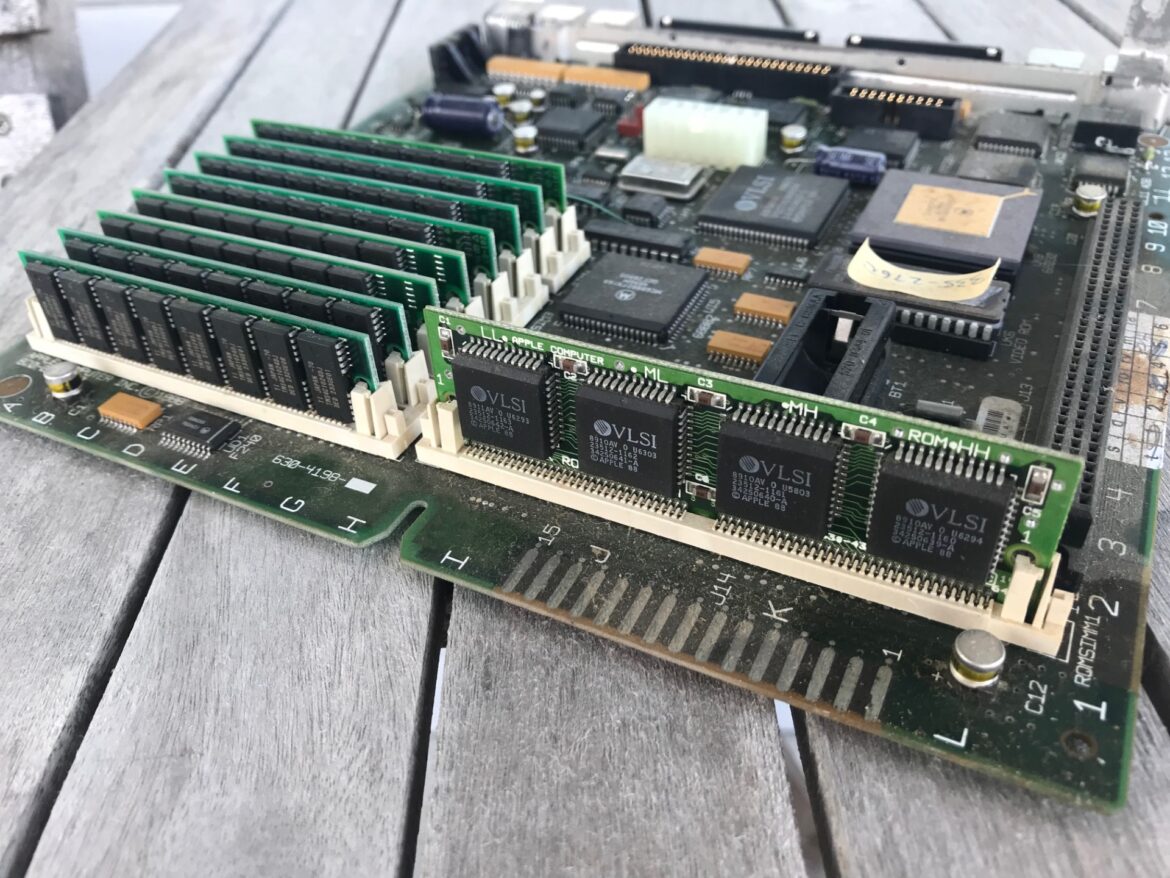
The mainboard of my machine was in good condition, albeit a bit dirty, as seen in the images below.
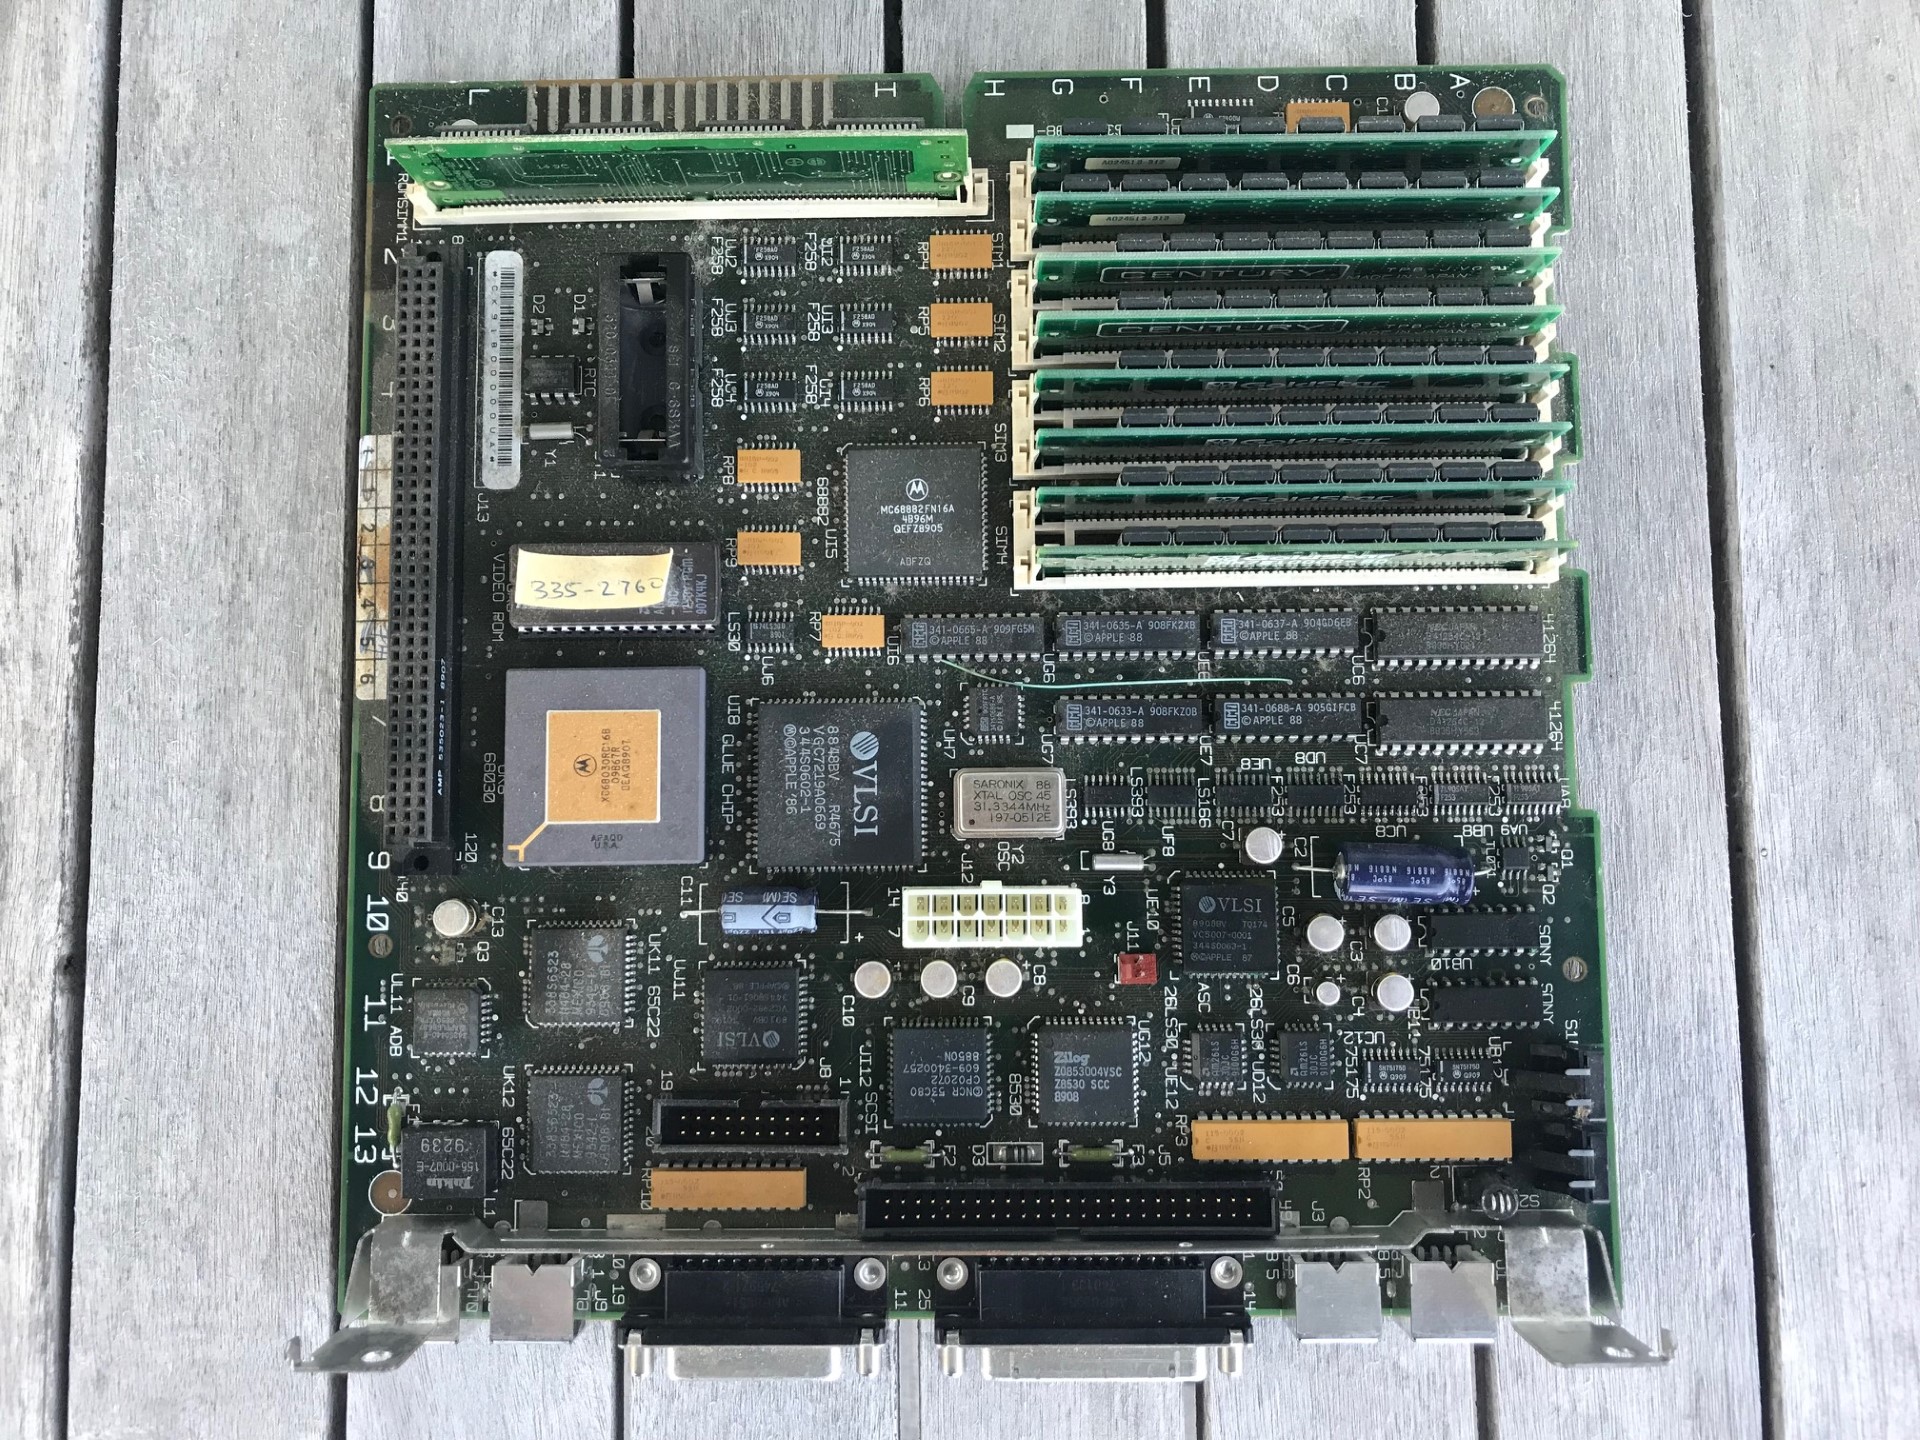


The recapping process is rather straightforward. The mainboard is populated with the following capacitors:
- 1x 1uf 50V (SMD)
- 10x 47 uf 16V (SMD)
- 1x 220 uf 16V (axial)
- 1x 470 uf 16V (axial)
I used regular electrolytic capacitors. A more fancy way of doing this is to use tantalum capacitors.

Lessons learned:
- The safest way to remove the capacitors I found was to “wiggle” them rather than trying to desolder them. When I was attempting to desolder a couple of capacitors, the pads got ripped from the board. This did not occur when using a pair of pliers to gently wiggle the capacitor back and forward until it released.
- The solder from the points of the two axial capacitors is difficult to remove. Instead, I heated the leg of these capacitors near the solder point, and used it to melt the solder by pushing it through these holes.
- If you use nailpolish as solder mask, it will turn into a chewing gum-like context if you clean the pcb in the dishwasher afterwards…
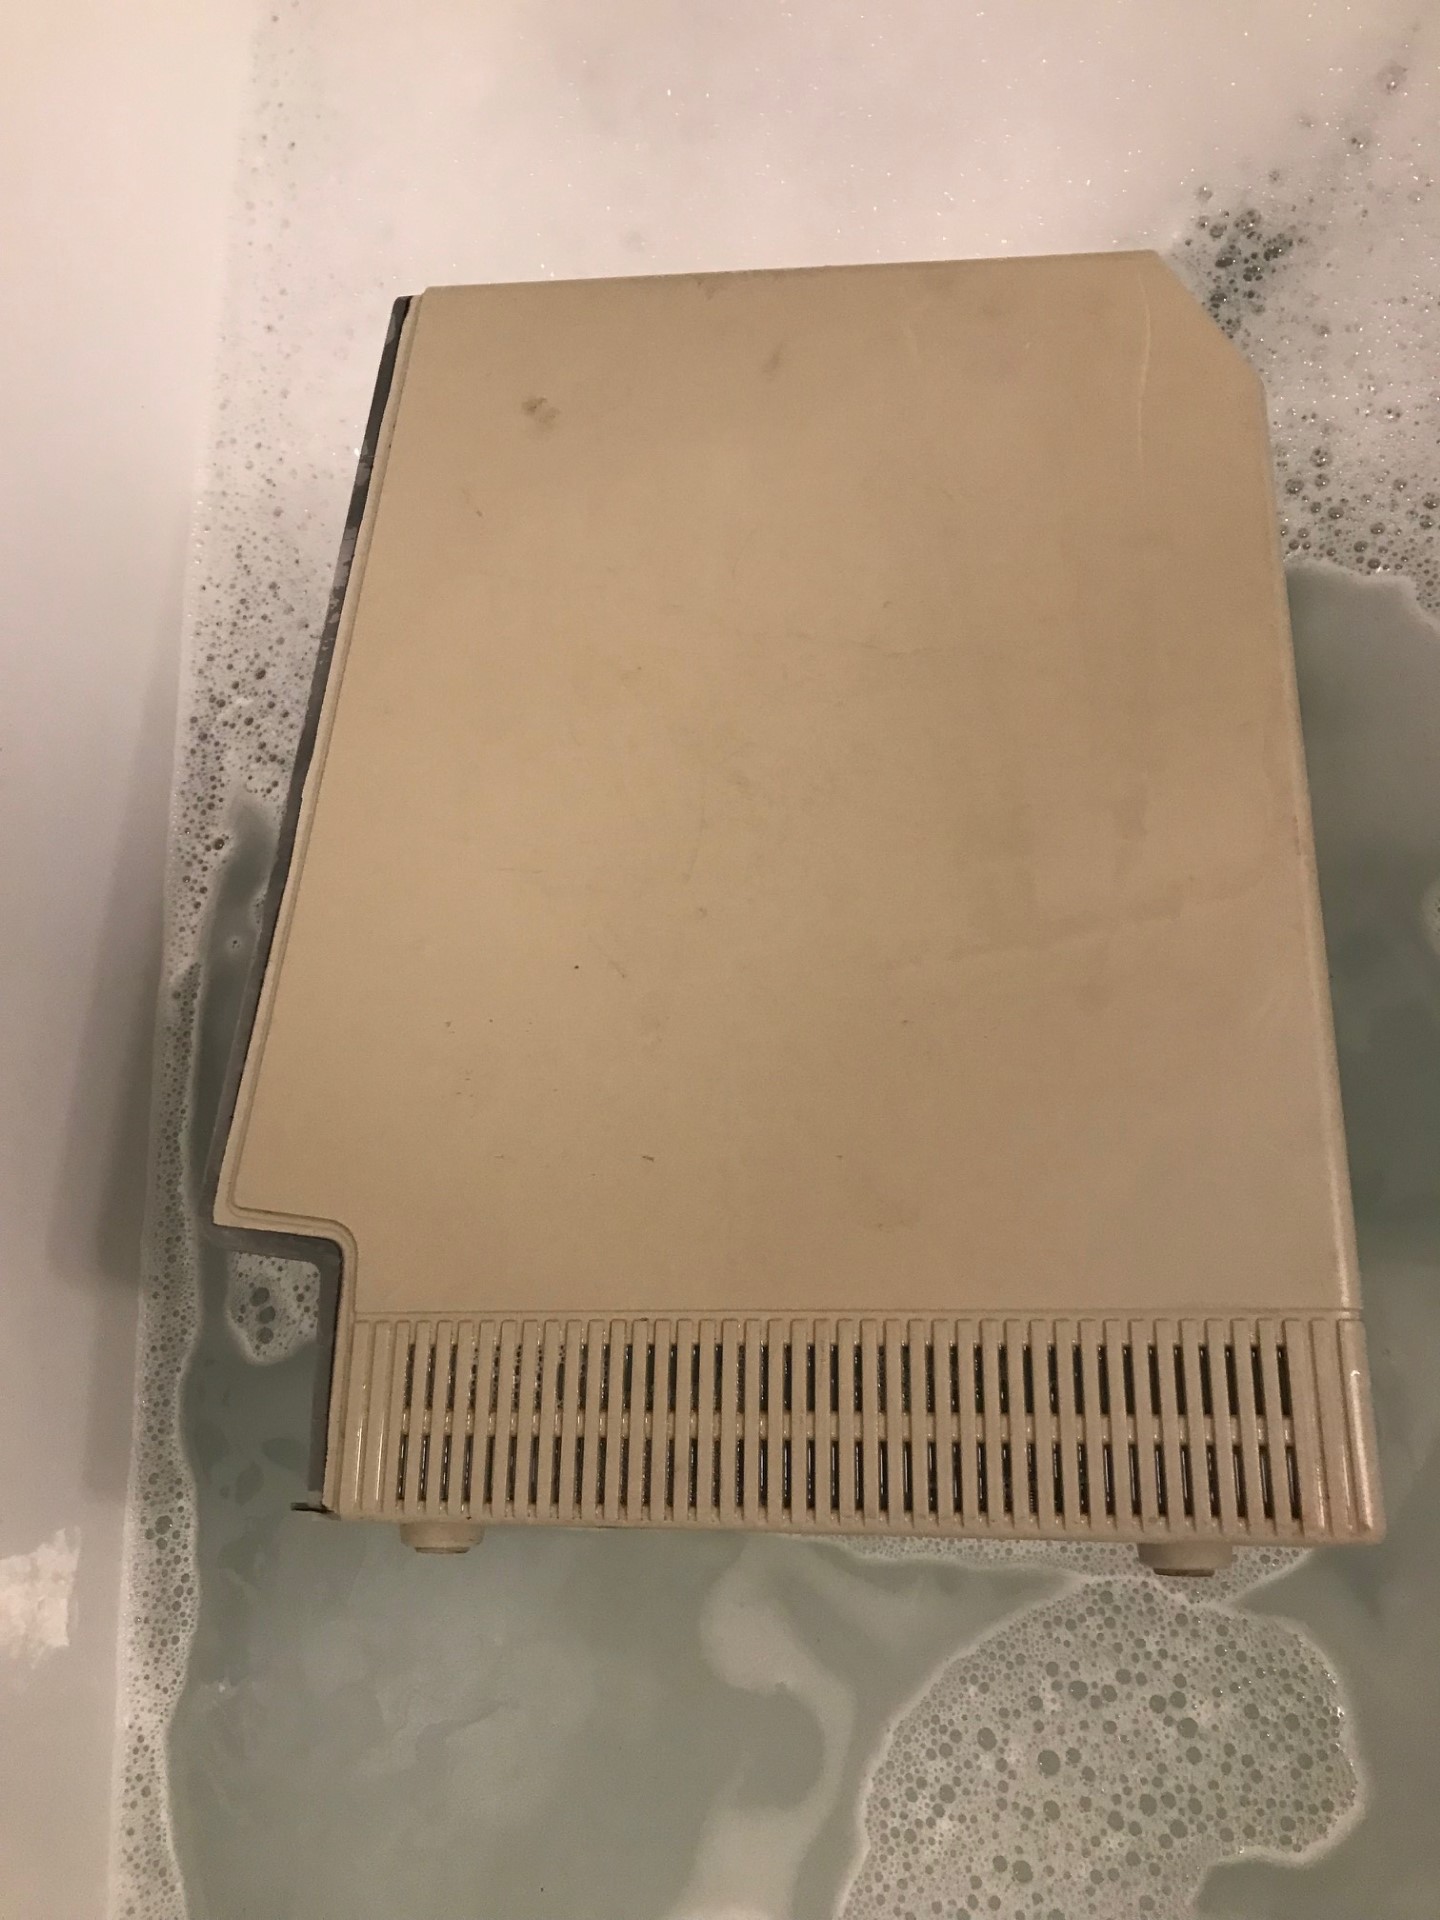
Now was also a good time to clean the rest of the machine. I gave it a proper bath.
Macintosh SE/30 horizontal lines repair
After the recap was done, the machine beeped and booted to OS, but the horizontal lines were still present.
First step according to the internet wisdow was to check and clean all ROM and ROM sockets. So I did that. I removed the ram rom and video rom and cleaned the chips and slots with alcohol.

The problem persisted though. Here, I consulted the book “The Dead Mac Scrolls” (link below).

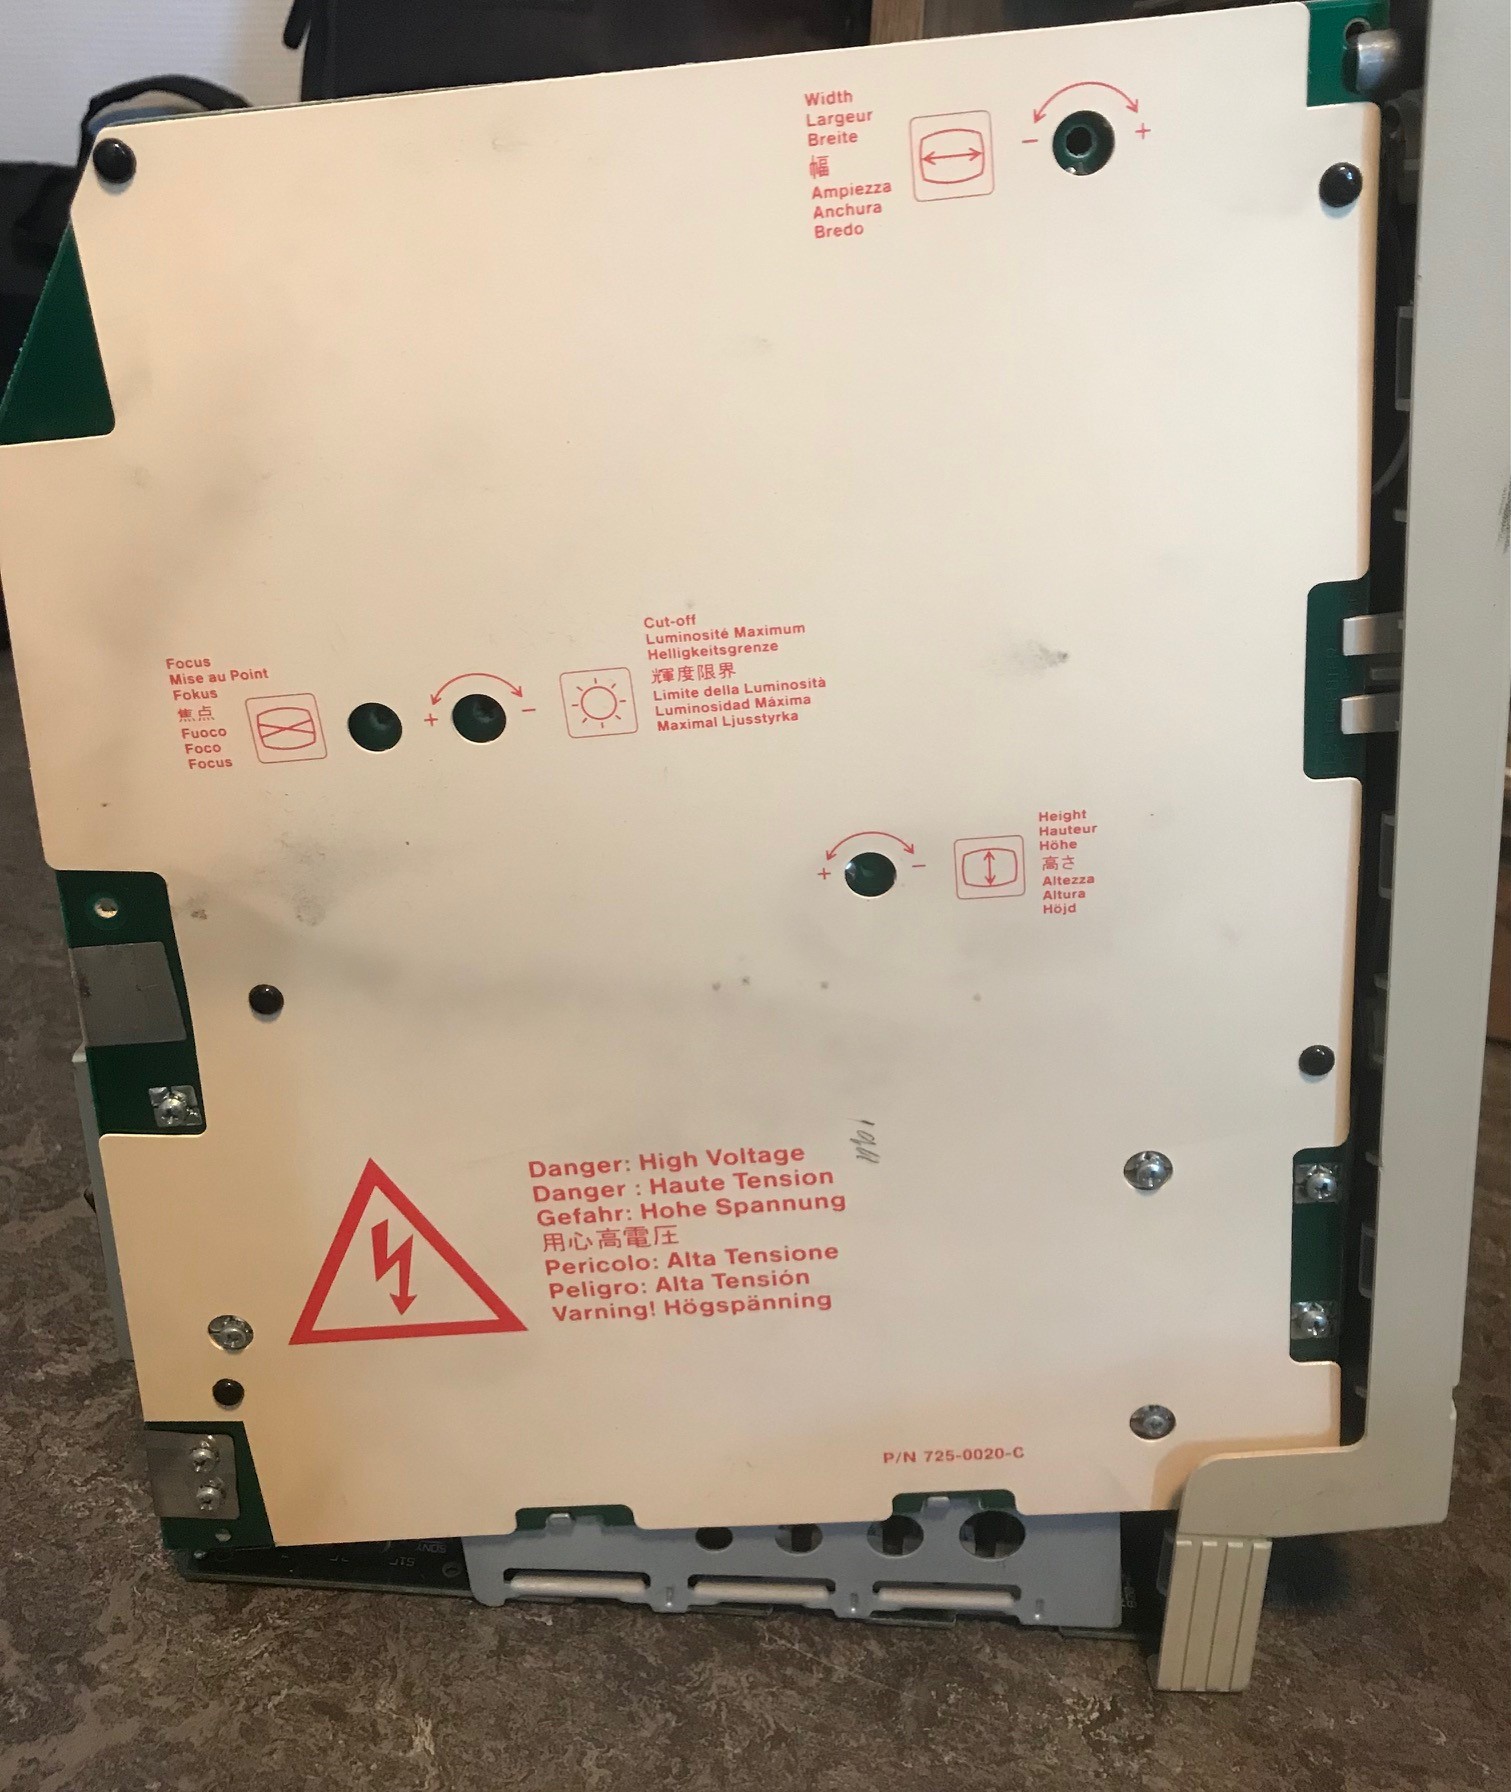
I attempted to adjust the cut-off resistor with a tiny screwdriver, but it did not help. Thus, it was time to dig in to the pcb that holds the R53 resistor: the analog board. However, https://bylenga.ddns.net/SE30%20repair.html#TakeApart also suggests replacing R20 and R21. If that does not work, replace resistor R25. If that does not work replace U1 IC chip (74LS38). If that does not work, replace transistor Q1 on the video board.
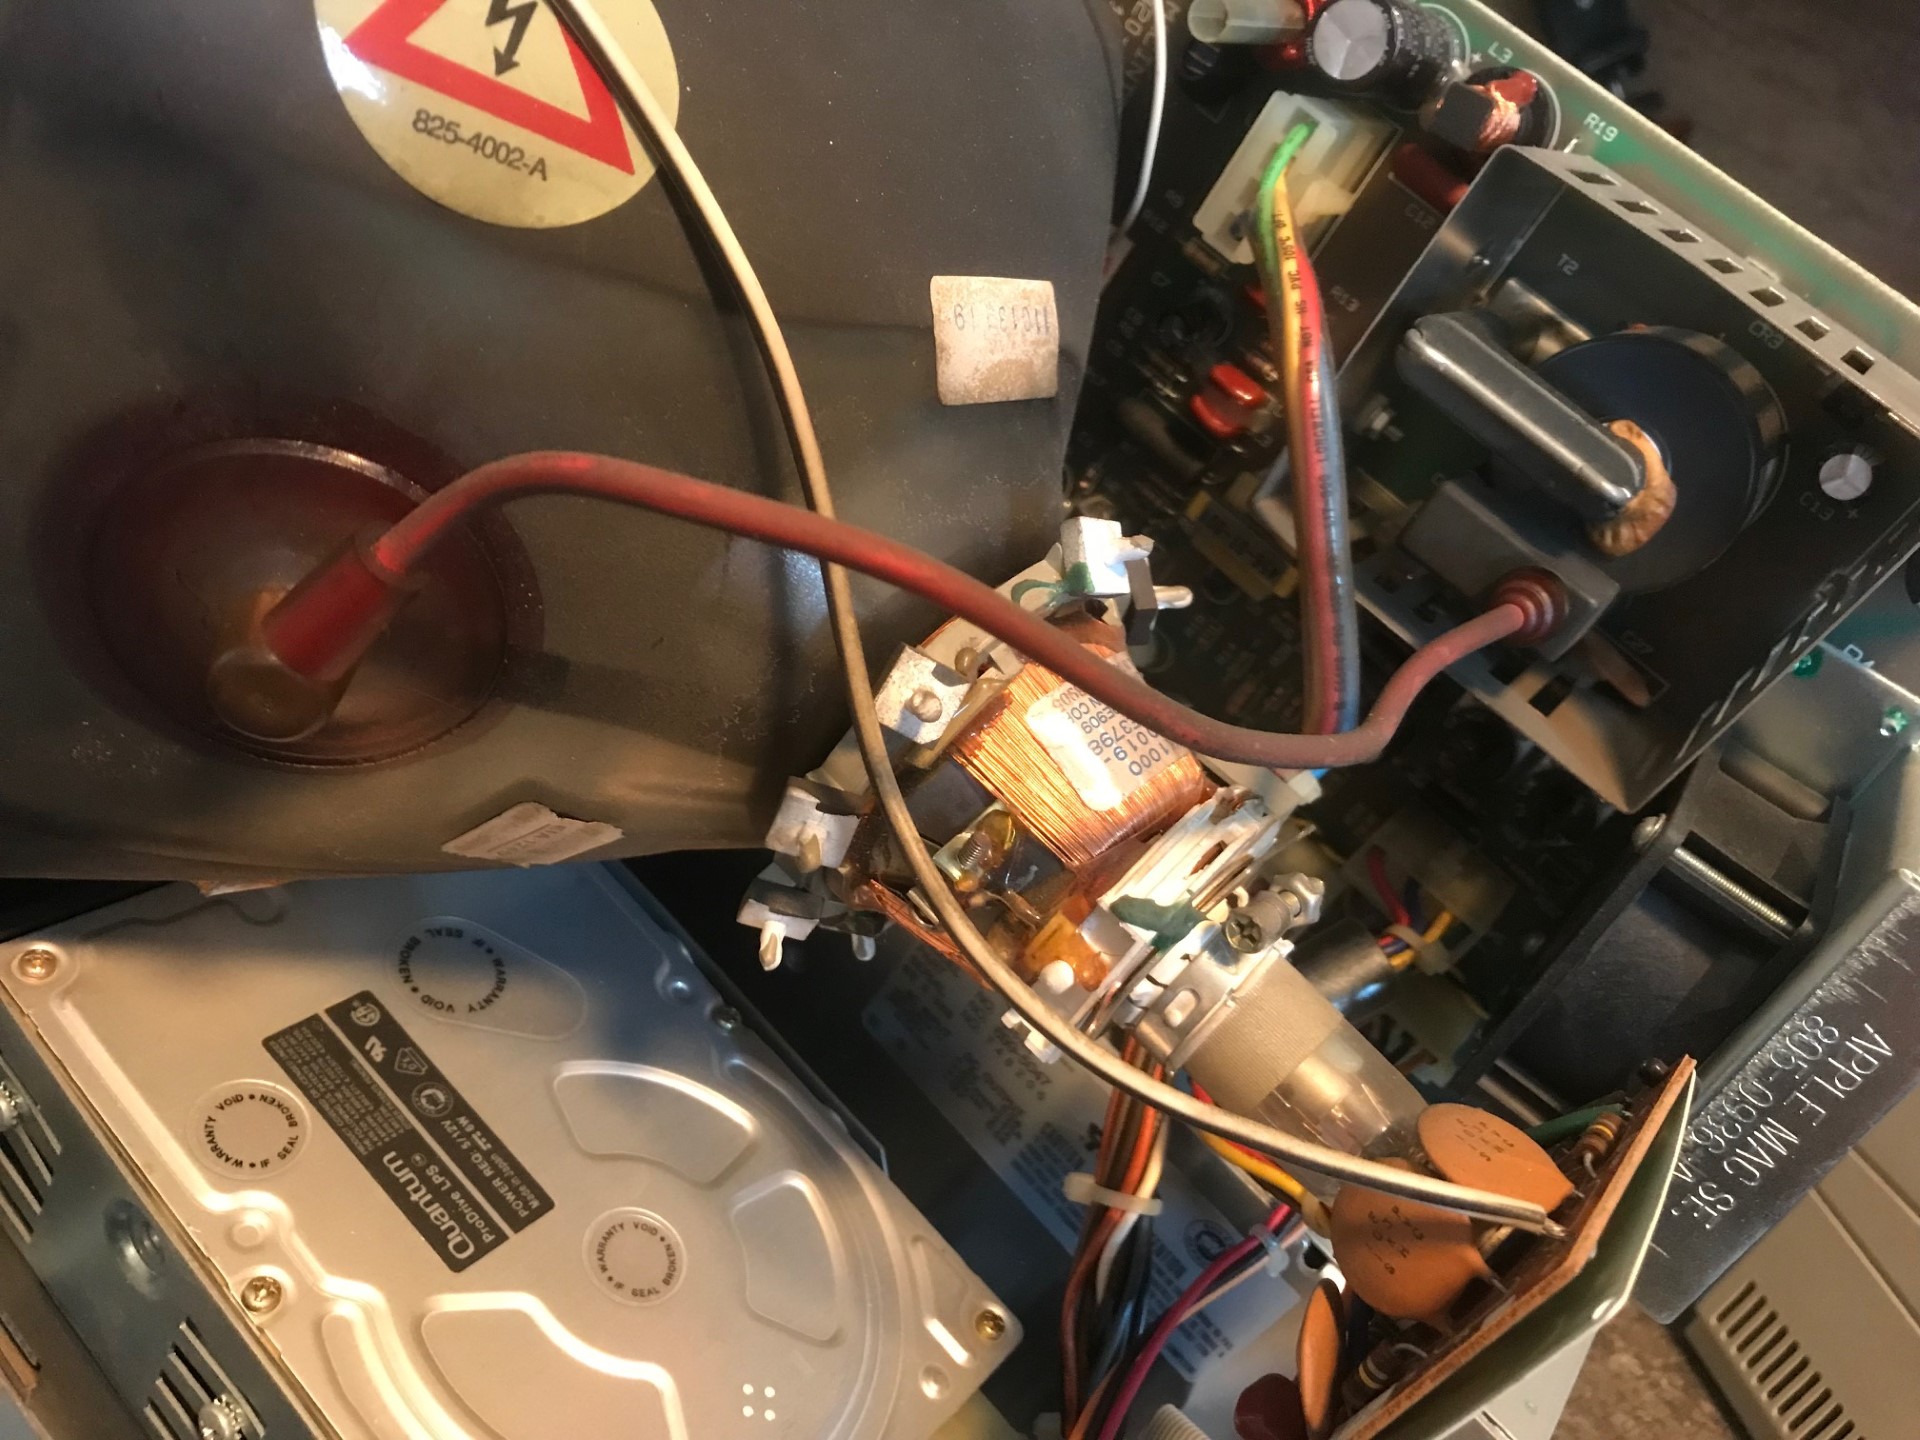
Disclaimer: The below procedure requires discharging the crt. I am not qualified to give advice on this, but if you are not familiar with this process, don’t try it! The crt holds a potentially hazardous charge!
To access the analog board I performed the following steps:
- Remove the screws at the side of the board (see, first image below).
- Remove the connectors between the board and the crt / rest of the machine.
- Remove the white board attached to the analog pcb by pincing the black plastic holders.


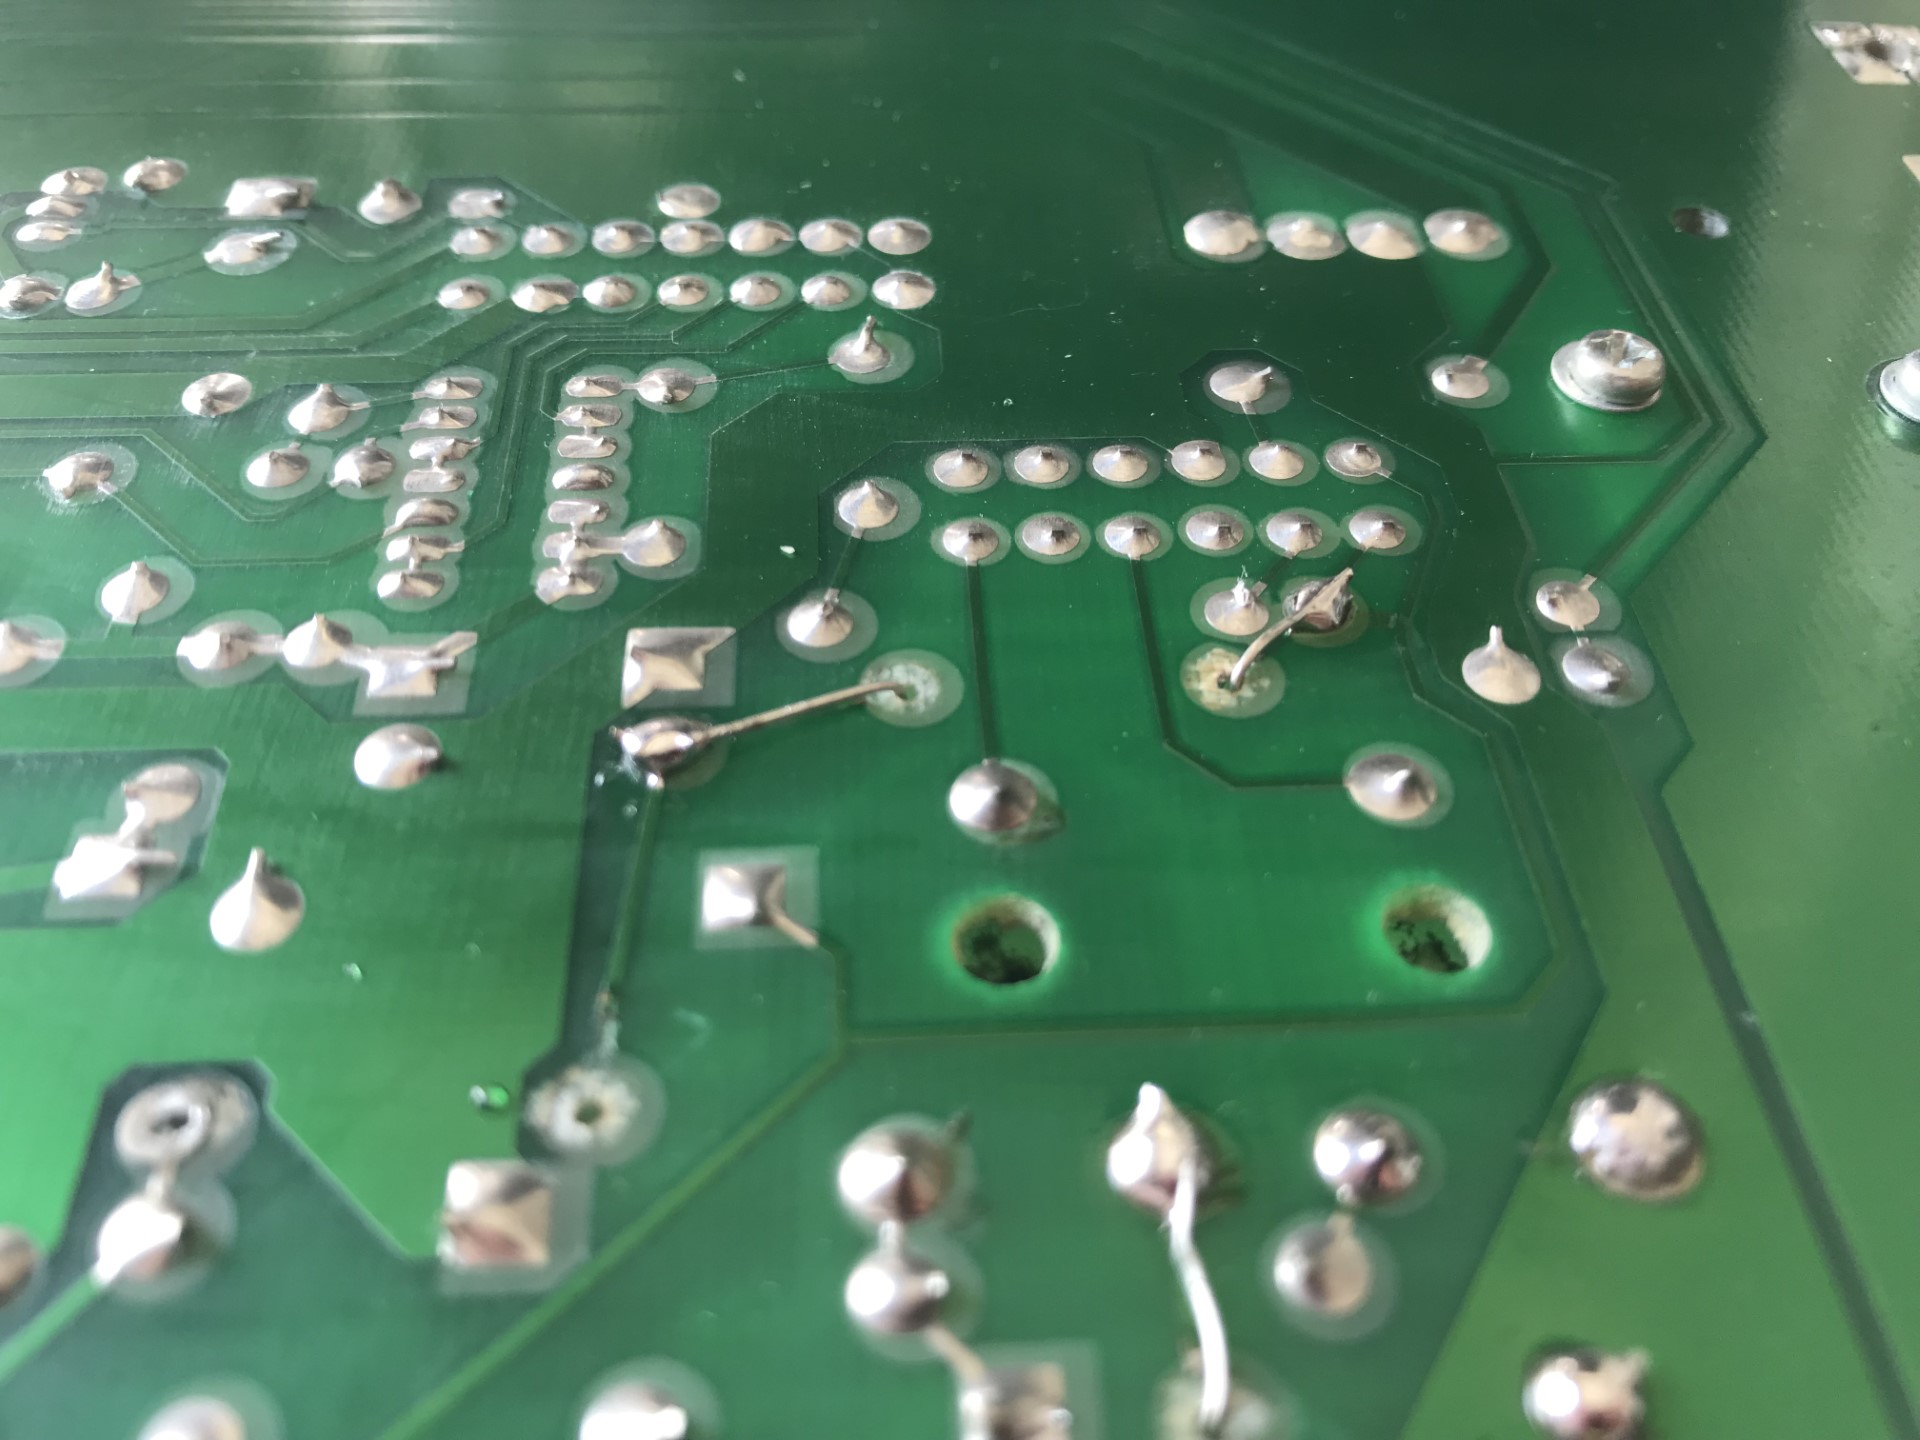
To desolder the resistors R20, R21 and R25 I used my desoldering gun. The process went ok, but afterwards I also noted that the traces on the pct were ripped. This is not a huge deal though since it is possible to use the legs of the resistors to connect to the nearby solder points. The resistors have the following values:
R20 100 KOHM 1/2W
R21 1MOHM 1/2W
R25 470 KOHM 1/2W
And that was it! Now, the machine starts as it should, and the horizontal lines are gone. Thus, a recap + replacement of the resistors did the trick!

Links:
https://archive.org/details/mac_The_Dead_Mac_Scrolls_1992
https://bylenga.ddns.net/SE30%20repair.html#TakeApart
https://recapamac.com.au/macintosh-se-30/