How to Read Knitting Charts
We find charts to be a really helpful way to connect knitting instruction to the actual object you’re creating. Knitrino uses many standard charting symbols and conventions, and some non-standard ones. Our goal is to make our charts easier to read and understand, and to simulate the physical world as much as possible.
A Visual Representation
Nearly all knitting conventions seem to have been developed for the right handed knitter, and those are the conventions we currently use, though we have big big plans to offer even better functionality for left-handed knitters!
When you look at a chart in Knitrino, it’s always showing you the front side or right side of the work. Often, the chart is a mini version of what you’re knitting, with repeated parts of the motif collapsed into one chunk. Note that the Solaris Wrap shown in the image below has a fabric that’s mainly garter stitch, with a geometric design made from yarn overs and decreases. The chart actually looks quite a lot like the finished fabric.

Reading the Chart
How you read the chart depends on how the pattern is worked. Remember that the chart in Knitrino is always showing the front or “right side” of the work.
Worked In the Round
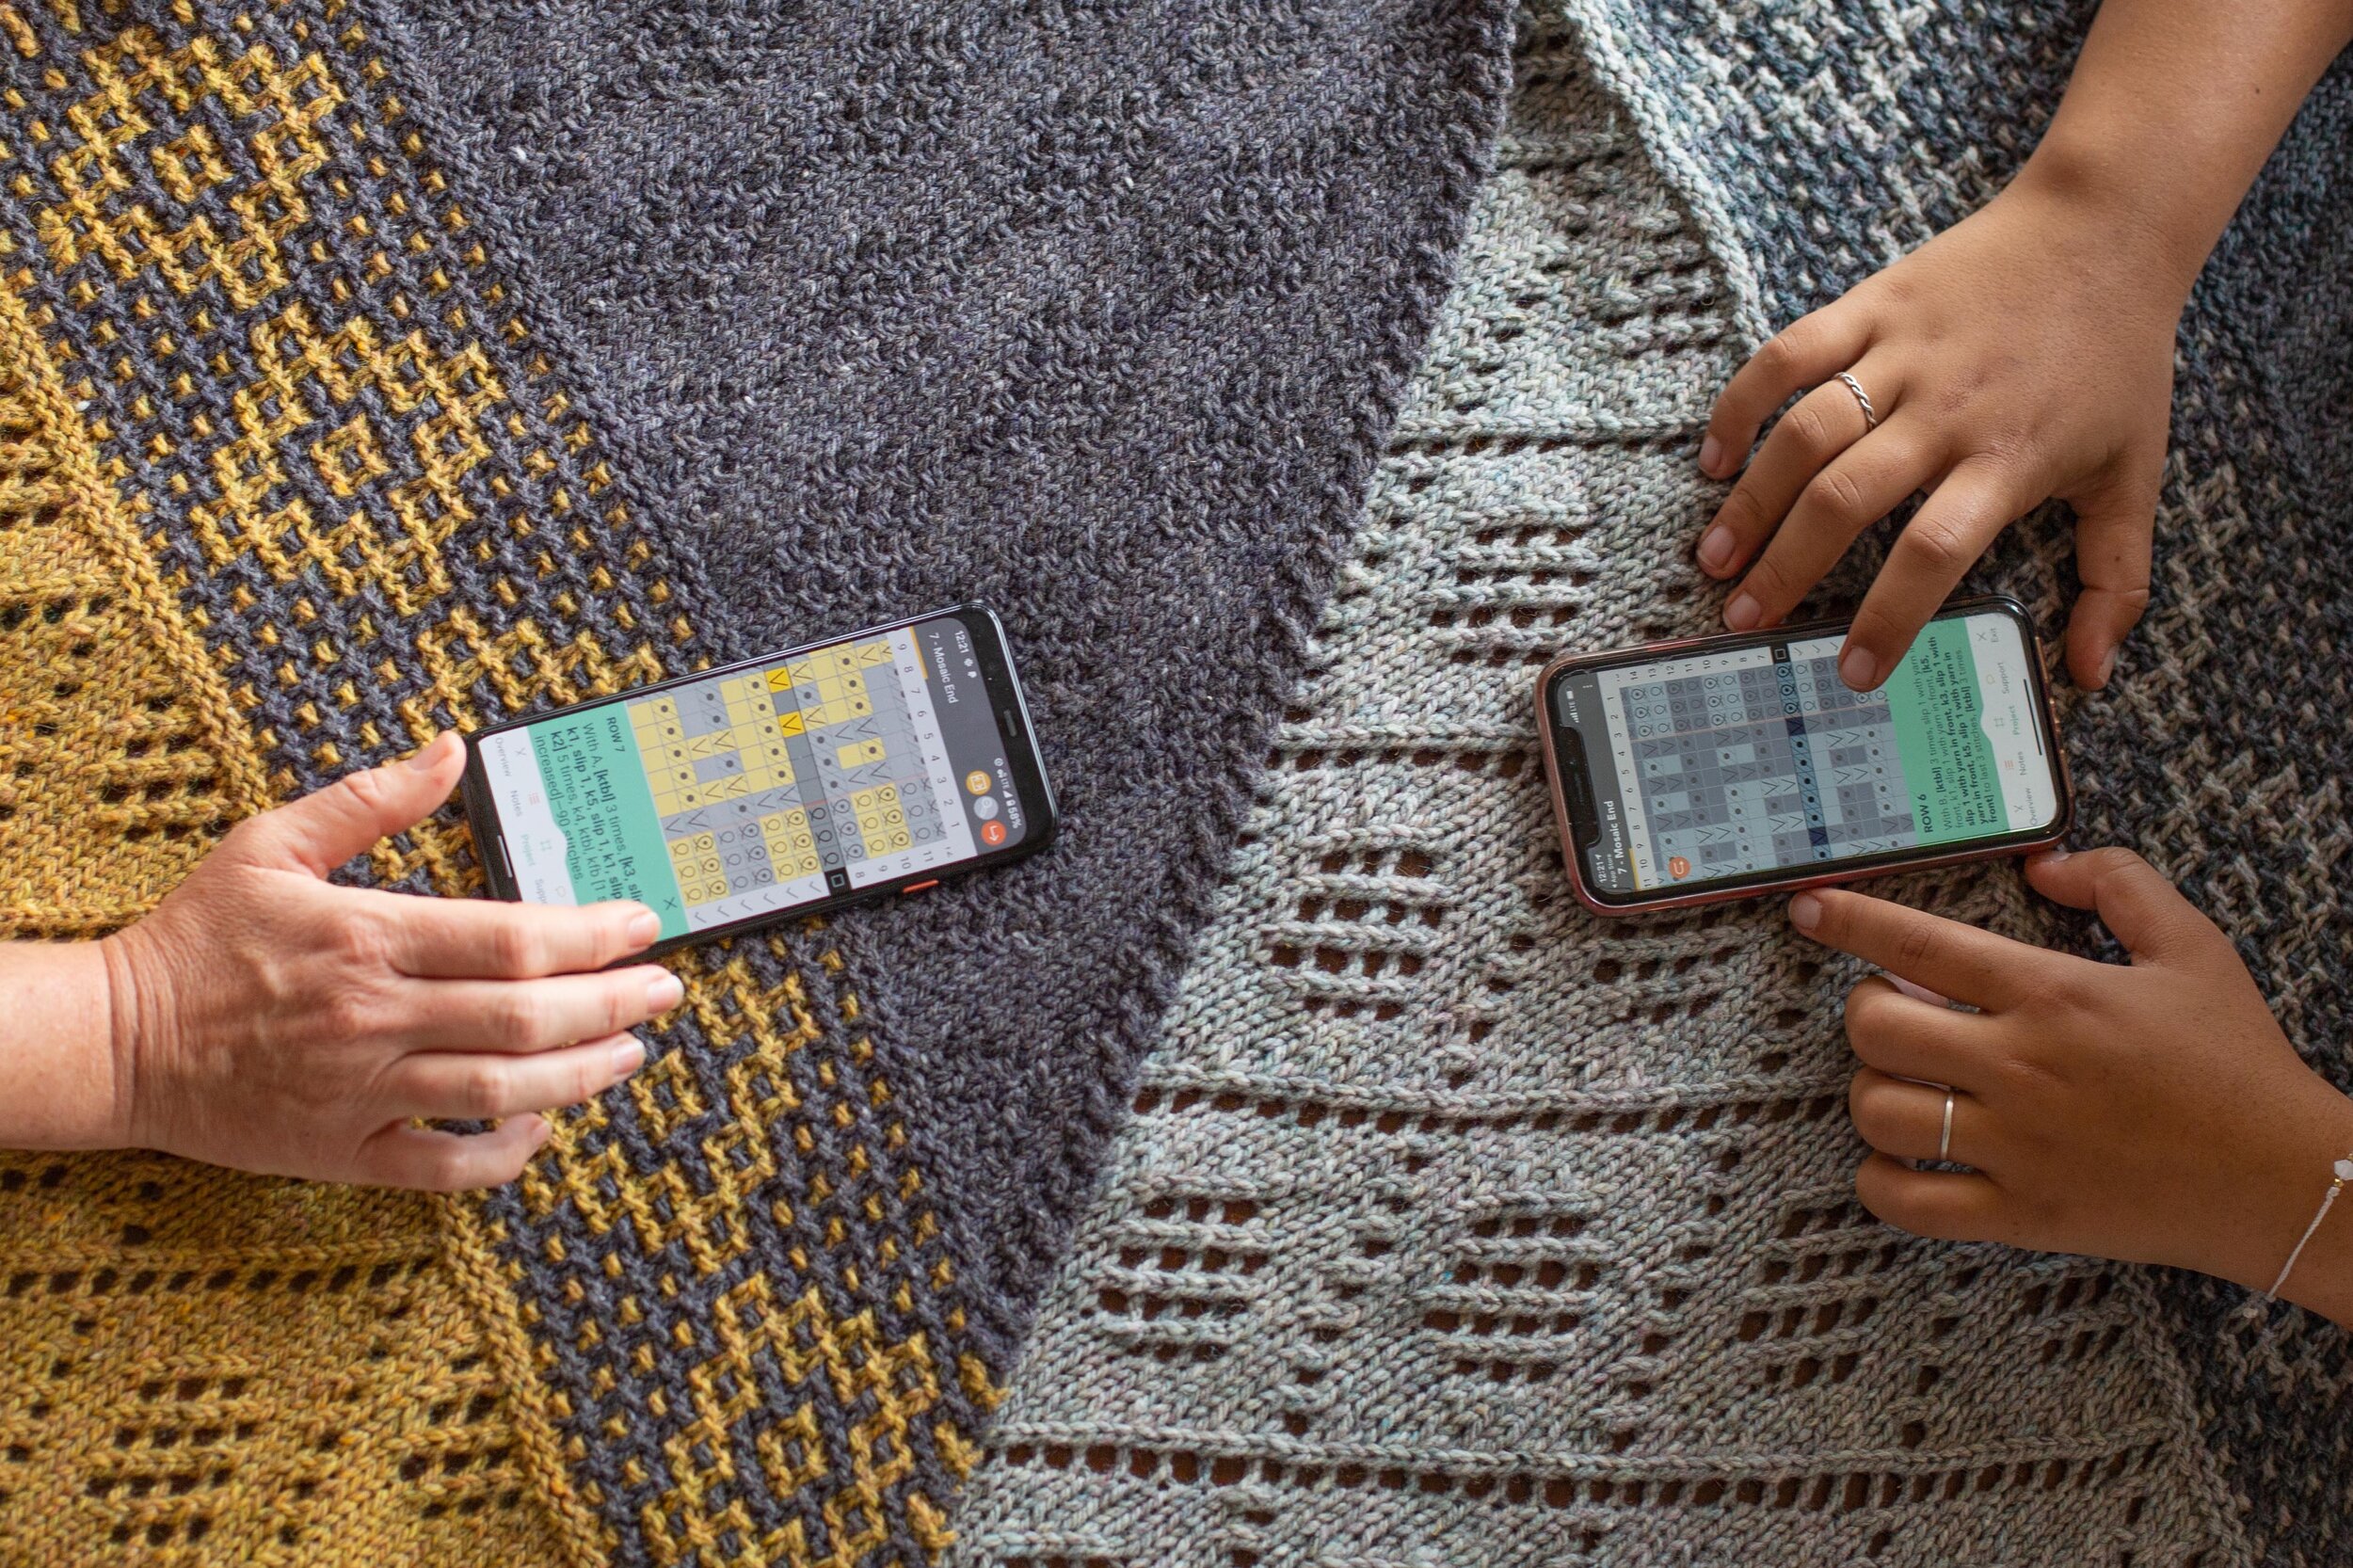
When knitting in the round, the chart is read from right to left for all rounds, for both right handed knitters and for left-handed knitters who use mirror knitting (what Knitrino recommends for lefties, and what our videos show.) This matches how right-handed knitters are knitting - from right to left across the front of the work, and is mirror image of how lefties are knitting. And just like your knitting, you read the chart from bottom to top.
When you’re working in the round, your knitting direction doesn’t change, you’re just knitting around and around and around, always making stitches in the same direction and reading the chart in the same direction.

Worked flat (or back & forth)
When working flat or back & forth, you read the chart like a zig zag. When you work across the front of the work (odd-numbered rows), you read the chart from right to left. When you work across the back of the work (even-numbered rows), you read the chart from left to right. This is just like what you’re doing in the physical world. You work your knitting across the front then turn your work and work the opposite direction across the back.

Now, when you work a knit stitch on a backside row, that looks like a purl stitch on the front-think of garter stitch! So a knit stitch on an even or backside row, will appear like a purl stitch on the chart. But it will also be hashed to remind you “This is a backside row.”
This is summarized in the video below.
We appreciate how confusing this can be, especially for left handed knitters. If we can continue to grow Knitrino, we have BIG PLANS to improve how all this works. But for now, these are the same conventions that most other charts use too.
Stitch Symbols

Each stitch in Knitrino has it’s own symbol. One of our favorite features is that you can click any stitch symbol in the active row to see what it is and how to do it! We’re working on an easier way to show the stitch dictionary outside of Knitrino, and we’ve been gradually uploading them all to our click-a-stitch section here. But for convenience, here are some of the common ones:


Repeating Motifs
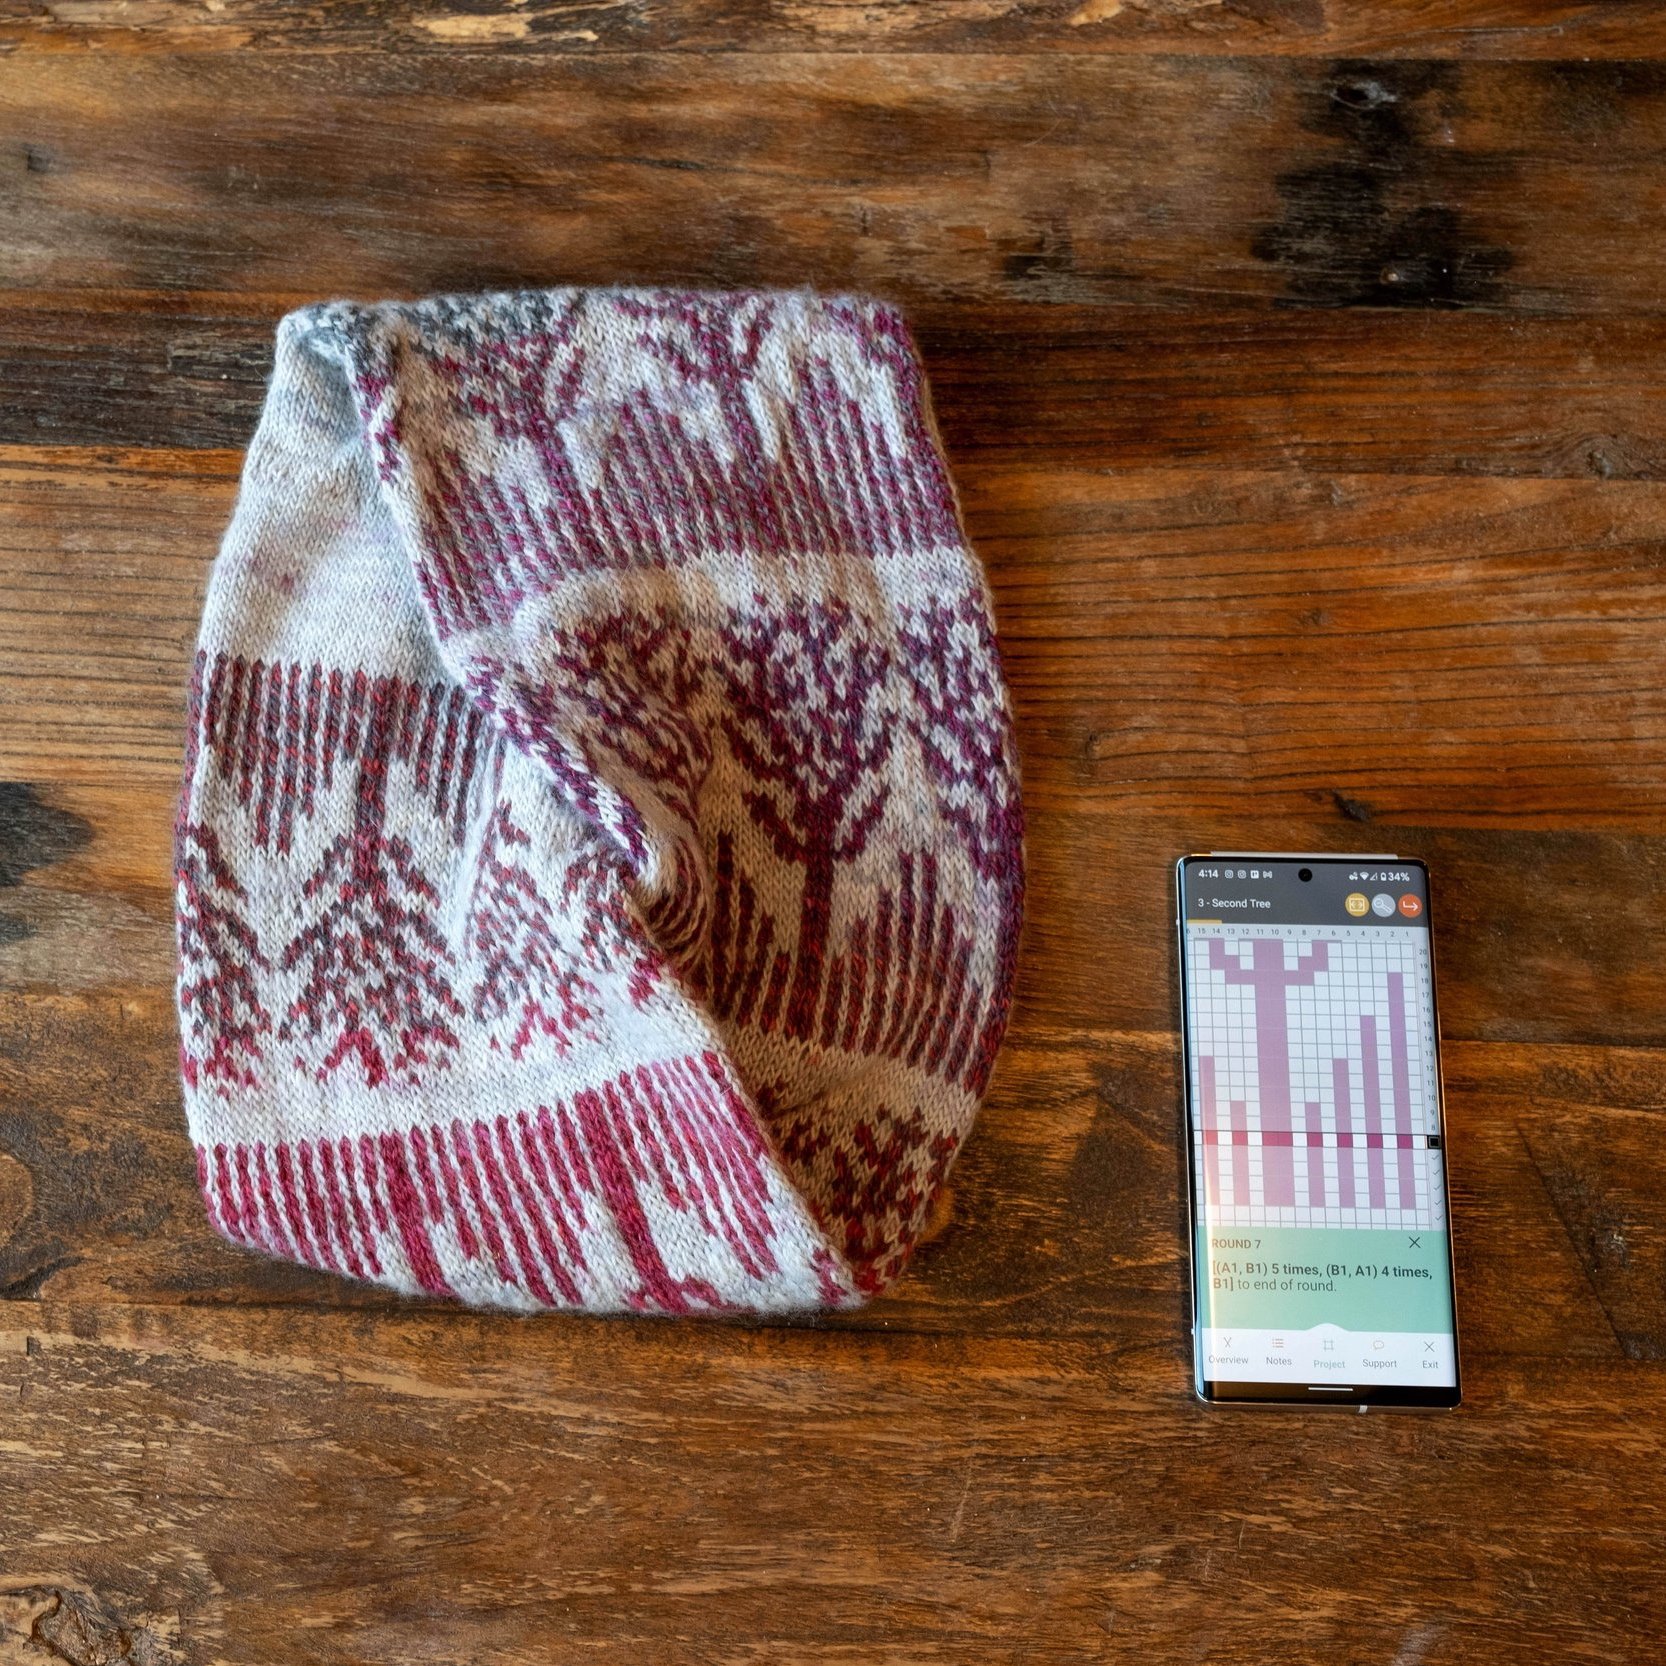
Often, the chart is a mini version of what you’re knitting. Sometimes, there are motifs that are repeated a number of times across the work, and they get collapsed into the smallest width possible. Repeating motifs are enclosed in red borders, as shown in the image below. The corresponding text instructions, and all repeated text instructions, are shown in bold to make it easier for your eye to distinguish.
In the chart shown below, for example, we show 19 stitches enclosed in a red border, but each round has 114 stitches. That means that you’ll be repeating the 19 stitches shown 6 times to complete one round.
Stitch Markers
Stitch markers are sometimes shown with a black border between stitches. Often, if stitch markers are placed around each repeating motif, the red borders will be shown instead of the black.
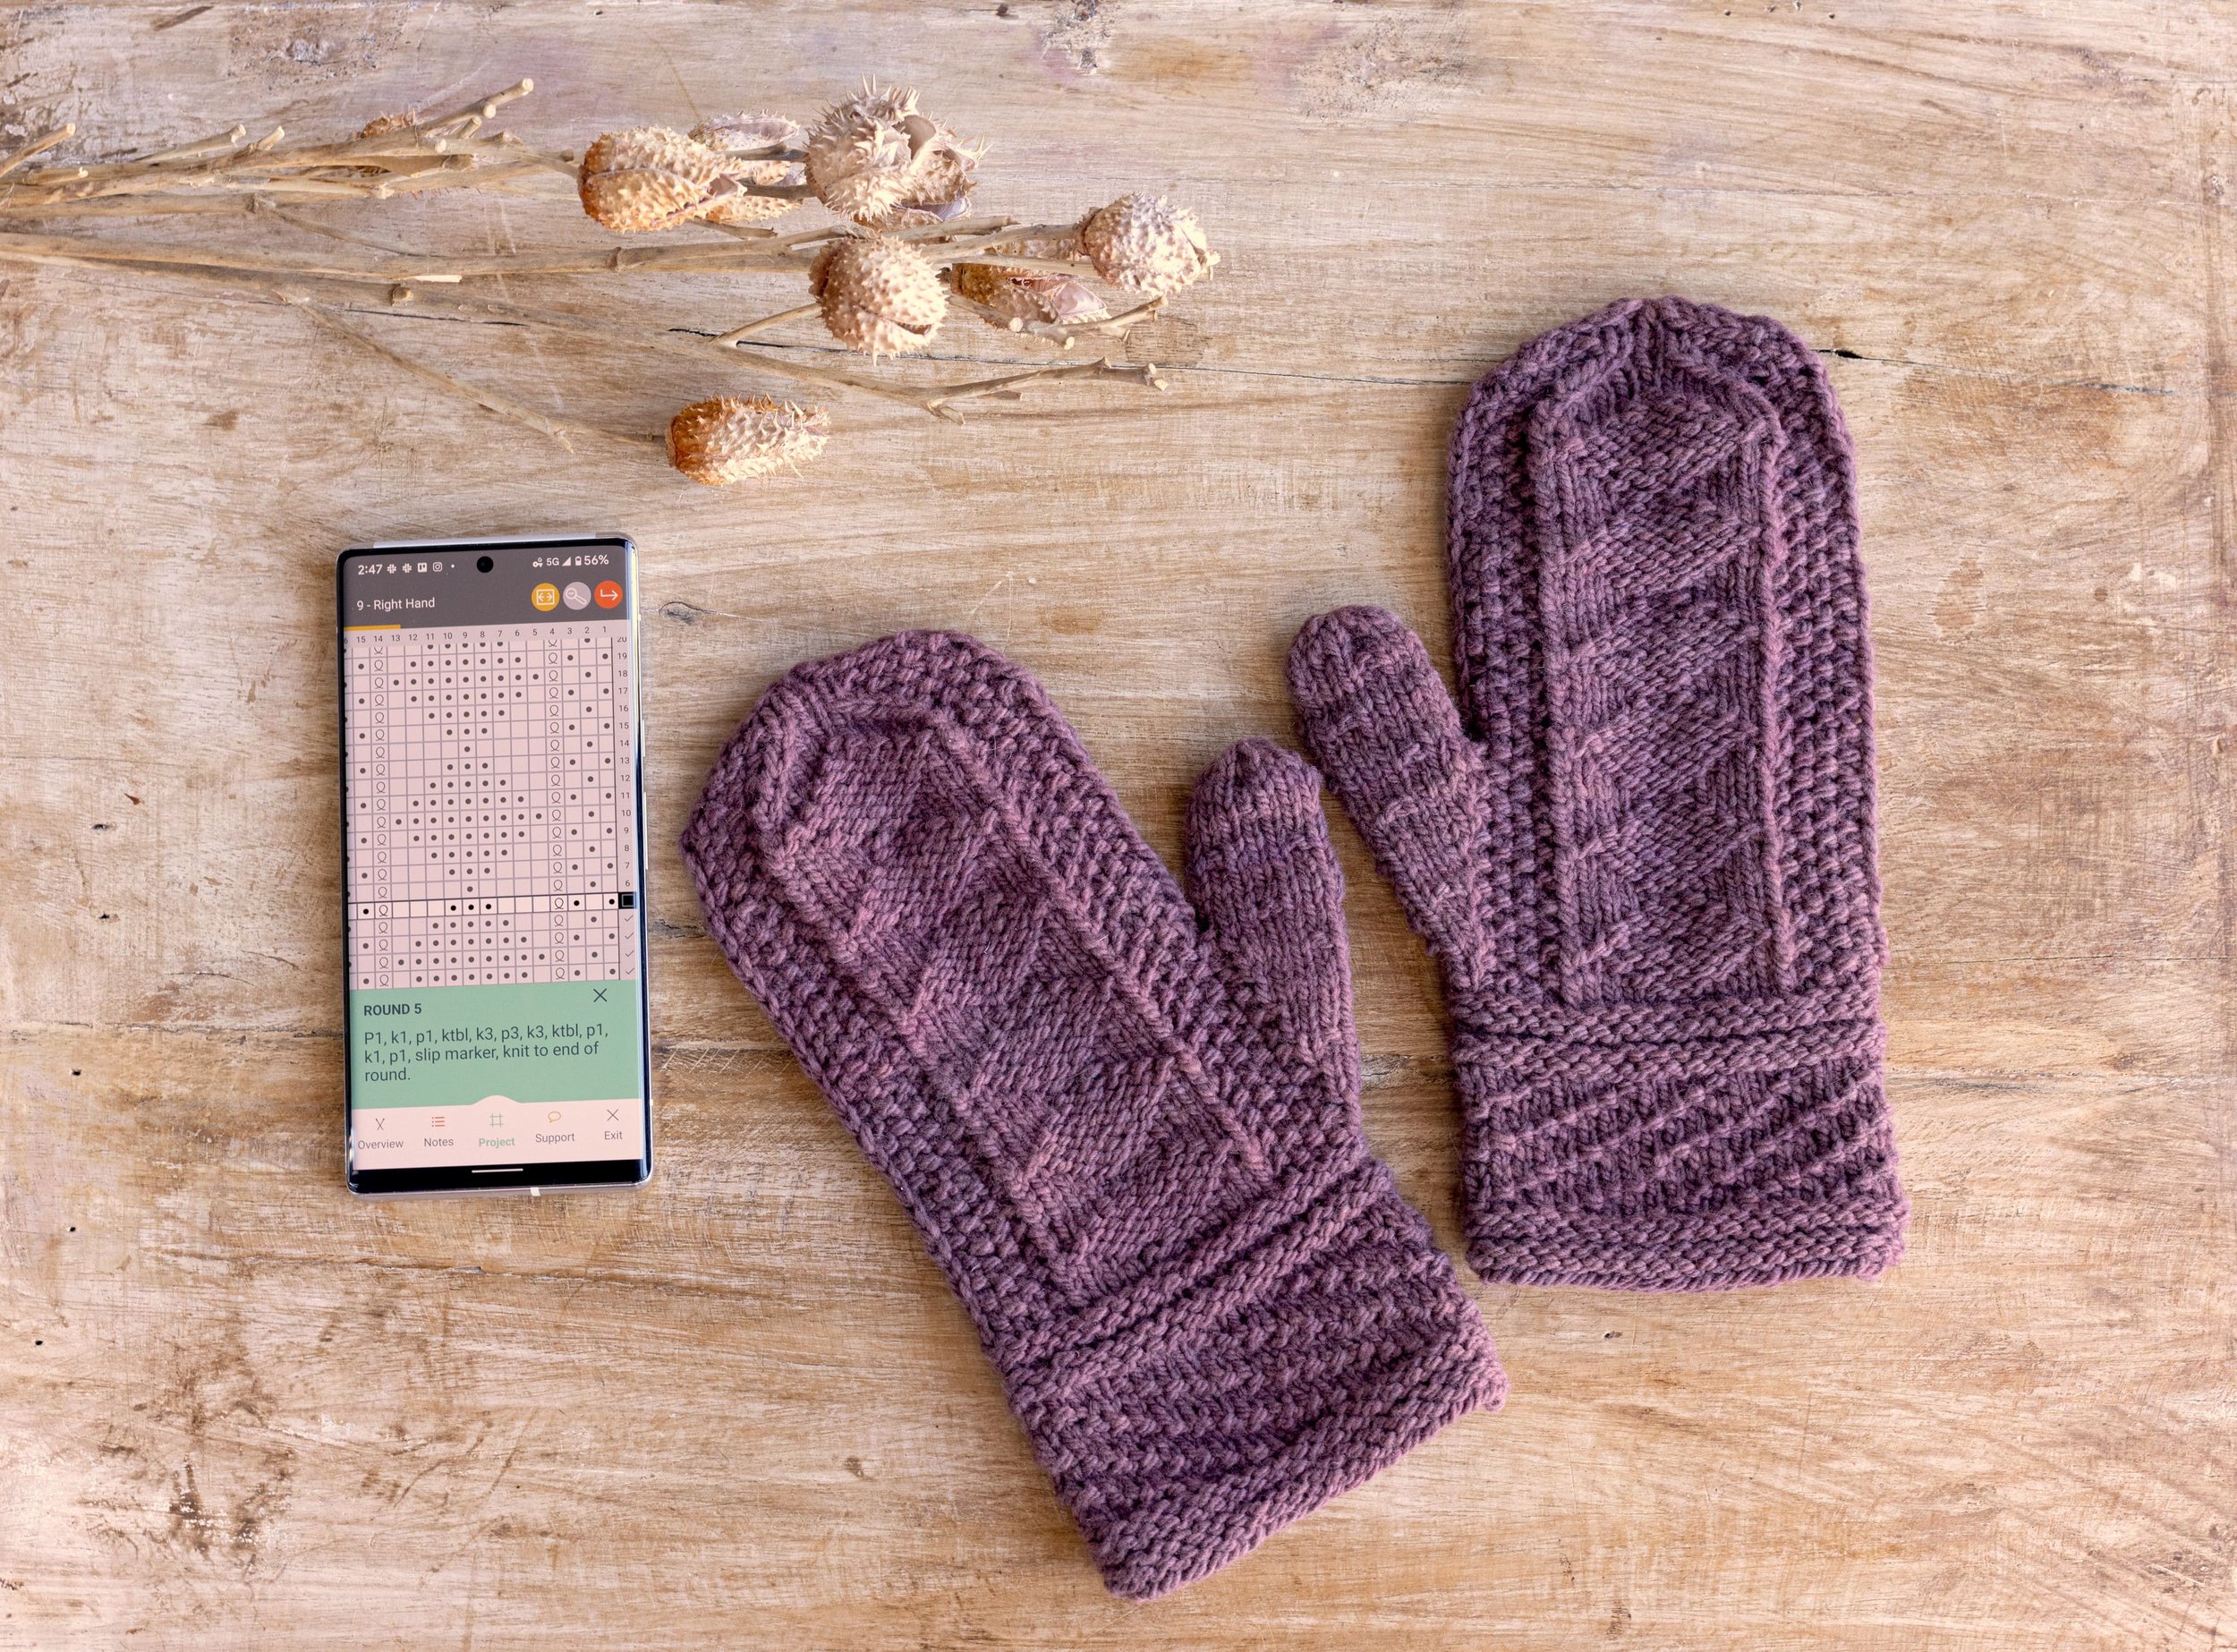
In the chart below, we place stitch markers around the gusset increases on the thumb of a mitt. This helps us see that the increases are always inside the stitch markers, and the markers move outward as the gusset expands.
The text instructions say “… slip marker, M1R, k9, M1L, slip marker…” You can see on the chart that the center 9 knit stitches are collapsed into 1 stitch - this lets us make the chart much narrower than it would otherwise be. You can think of the red borders as meaning “et cetera.”

The infamous No Stitch
Because charts are currently restricted to a rectilinear grid, whenever there are increases or decreases in a chart - like the gusset shown above - we need to reserve some extra space for those. That’s the sole purpose of the No Stitch. In Knitrino, it’s shown as a little grey and white dotted box. We made this video to help explain what No Stitches are, but the short version is this: they’re empty space - just think of cutting them out with scissors and pasting the resulting chart together.
Ready to put it into practice?
For many knitters, once they learn how to work from a chart in Knitrino, they never want to go back to PDFs! Here are some GREAT patterns to grow your chart-reading skills. Click an image below from your phone to open the pattern listing in Knitrino.