DSLR Cameras, Photography, Photography Tutorial
How to Achieve Bokeh Effect

Dec
Something you will hear almost every photographer talk about is “Bokeh”. Bokeh is an amazing way to make your subject stand out against the background in a photograph. But what is it exactly? And how can you achieve that look yourself? It’s not as difficult as it may seem! With the right lens and the right approach, you can get great looking bokeh in your photos too!
What is Bokeh?
Bokeh – pronounced bok-uh or boo-kay – is all about the blue in a photo and, more specifically, the quality of the blur. The term comes from the Japanese word “boke”, meaning “blur”. The term can sometimes be used to refer to the background as a whole, but is mainly used to refer to the circular orbs that are created by out-of-focus light in the background of an image. Sometimes these orbs of light are more obvious, like unfocused Christmas lights, but other times the lights may be more subtle like sunlight that is filtering through leaves.
Capturing bokeh in your photos is what will make the subject of your photo pop against the background. The soft light and blurred features of the background will contrast beautifully with your subject, which should be in crisp focus in the foreground of your photo.
How to Shoot Background Bokeh
Shooting with a fast lens and a wide aperture helps to create bokeh. When shooting, use a low f-stop number like f/2 or lower. In addition to the wide aperture, using a longer focal lens can help you capture bokeh. The longer the lens, the more extreme your bokeh will be; for example, you will have a better chance of capturing great bokeh with a 135mm lens than with a 35mm lens.
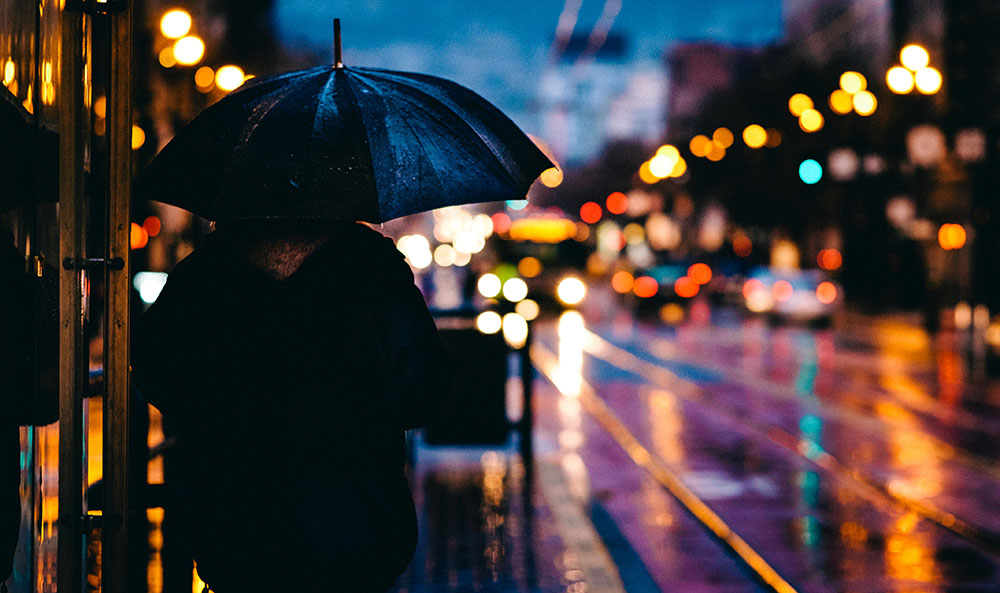
As you shoot, pay attention to the background. Look for small light sources like a city skyline, traffic lights, streetlights, or string lights. What you want to avoid is shooting directly into a strong source of light. Shooting directly into an unobstructed sun will not create bokeh, but the sun filtering through leaves or reflecting off water droplets will create beautiful bokeh in the background of your photos. Golden hour is a great time to capture bokeh as the lighting is perfect!
See Also:
How to Cull Photos in Lightroom
How To Crop And Straighten Photos In Lightroom
7 Common Beginner Photography Mistakes and How to Avoid Them
Different types of backgrounds will create different bokeh effects. Light areas (like Christmas lights or soft sunlight reflecting off water droplets) will appear as soft circular light patterns, whereas a darker background with no points of light will result in bokeh with tones that fade into one another for a smooth background.

Another strategy you can use to capture bokeh is getting up close to your subject and keeping them far away from anything else in the background. Isolate your subject by moving closer, keeping the focal point of your photo far from the background. Nailing the focus like this complements the blurry background, creating even more drama and beauty.
If you are shooting more than one subject, it is important that you keep them on the same focal plane as much as possible, otherwise you risk one or more subject being out of focus. A great way to make sure they are on the same focal plane is to have them close together and touching in some way, and then focus on the area where they are touching when you shoot.
Mastering bokeh is a surefire way to take your photos to the next level. A blurred background against a crisp, focused subject creates a very professional looking photo. With the tips mentioned above, you will be getting great bokeh in all of your photos in no time at all!