Today I would like to change things up a bit and write a post about something I made. While planning our wedding, Emma and I looked into going the route of renting a chuppah (wedding canopy) as many couples do for their wedding. By the time we looked into chuppot, our budget was severely hemorrhaged and most options were overly ornate besides being cost prohibitive. We decided to take matters into our own hands and I took on the task of creating a chuppah from scratch. Here is the step-by-step process of how we created our own chuppah for our wedding day.
The concept began with some rough sketches. The structure needed to be basic and I wanted to maintain a raw element to the whole design.

Emma’s mother lives in the hill country just outside of Austin, TX. The area is littered with invasive cedar trees that steal rainwater from the native foliage. For the adventurous souls who live in this area, the country has tax incentives for landowners to remove this invasive tree species. I decided to hunt down the perfect cedar to use for the chuppah.
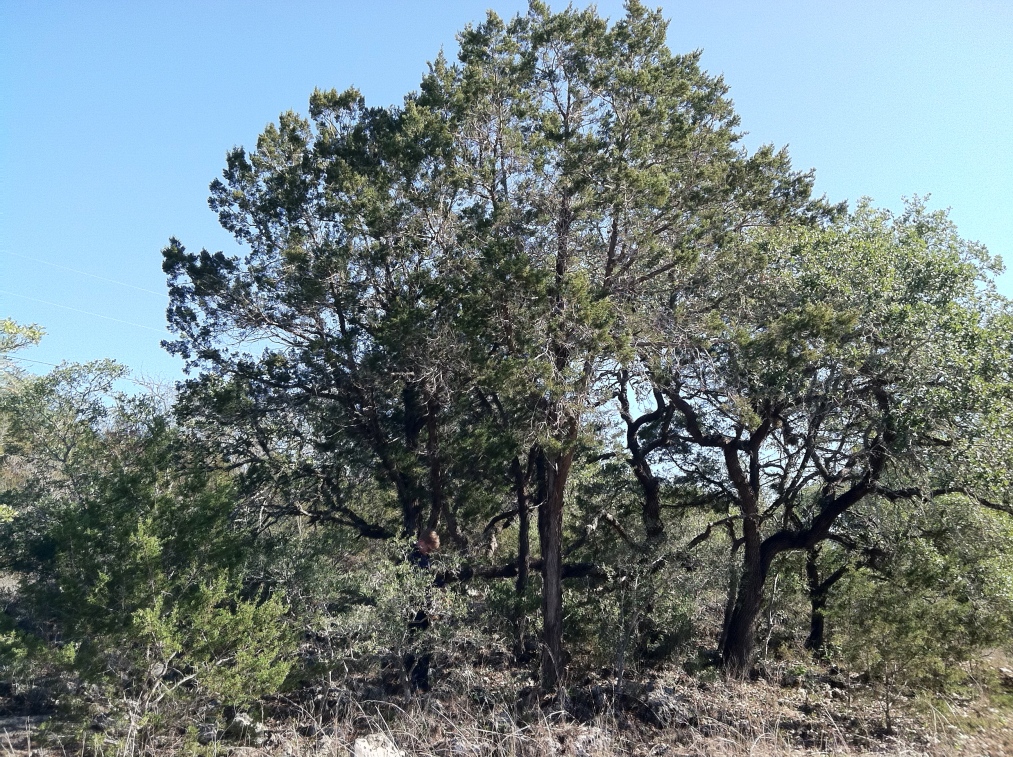
With the help of Emma’s uncle Ben, I found just the right cedar with plenty of branches that were long enough and straight enough to be the four poles for the wedding canopy. We got to work…

I found four branches from the cedar tree that were similar in height that would be the corners of the chuppah.

Next, I took each branch and sanded it down. I wanted to remove the gnarly bark to expose the warm wood underneath.

I sanded each branch while still keeping the reds and brown that are just under the outer bark. Each branch was cut to size (about 7 1/2 feet high) and the tops were trimmed.
I wanted to make sure that the people who would be carrying the chuppah and holding it during the ceremony would have a really easy time managing the structure. I created four “place holders” that each pole would easy rest in. This would help minimize any confusion about where people should stand with the canopy. They also helped ensure that the chuppah was held straight so the ceremony would not be interrupted by a sagging canopy.
Four place-holders were sliced from a larger branch that was cut further down from the original cedar tree. A 1 1/2″ hole was cut into each of the four pieces.

The same 1 1/2″ holes were cut into the bottom of the four, long branches.

I then fitted small dowels into those four holes.

The small dowels helped keep larger dowels secure. These large, protruding dowels acted as guides for the people who were holding the corners of the chuppah, allowing the branches to slide into their corresponding place-holders and keep them secure.

I then drove a small screw into the top of each branch that allowed the already existing holes in the corners of the tallis to slide into place.

The end result was a chuppah that kept with our rustic, outdoor style without breaking the bank.

