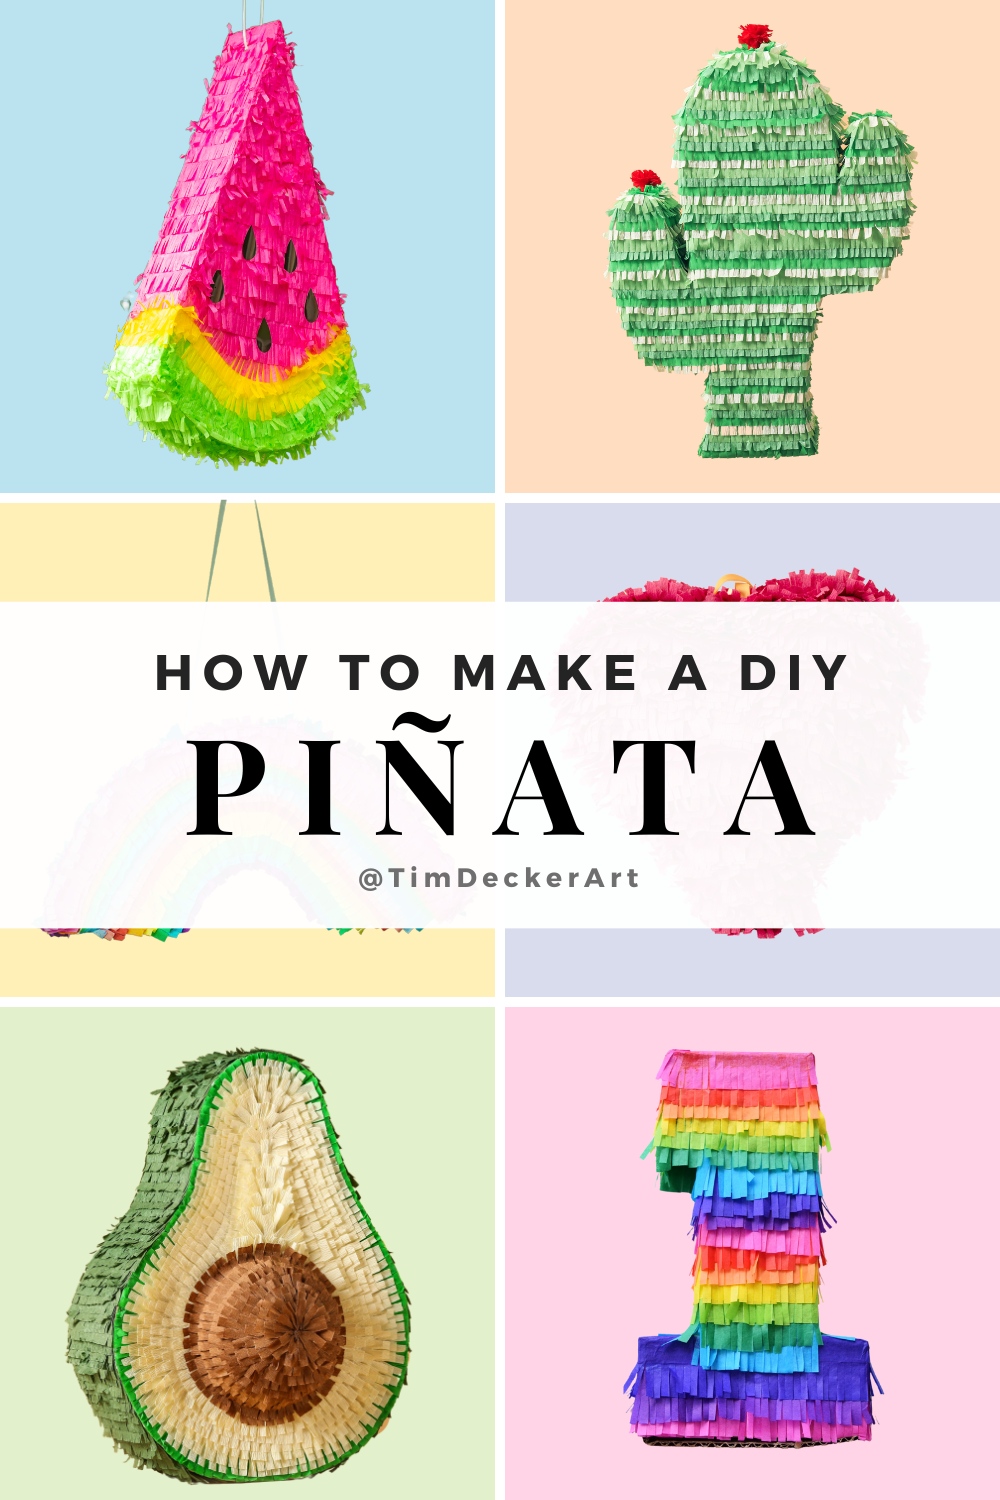
How to Make a DIY Piñata from a Cardboard Box!
-
This no-mess piñata is made of cardboard and tissue paper (or crepe paper like streamers). Other supplies needed can be found around your house and include masking tape, glue sticks, scissors, and rope.
-
You can use tissue paper cut into strips or crepe paper such as streamers, to create your colorful piñata!
-
Candy is the go to option for filling your piñata, but there are so many more ideas. Here are a few:
Individually Wrapped Temporary Tattoos
Looking for more? Click to search for “Pinata Fillers” or “Party Favors” for more ideas.
-
Candy is still agreat option for an adut pinata. Just be sure to get the good stuff!
Here are some other ideas:
Disclosure: Some links throughout are affiliate links. This means that, at zero cost to you, I will earn a commission if you click the link and finalize a purchase.
Materials for a DIY Piñata
Cardboard (Leftover from packages or you can purchase it in sheets.)
Paperboard (optional - this would be something like a cereal box or poster board)
How to make a DIY Pinata
If you’ve been looking everywhere for a super-specific piñata and can’t find one that fits the bill, then making your own DIY piñata could be the answer! It’s a surprisingly simple process and you probably already have most— if not all— of the supplies already in your home. Let’s get started!
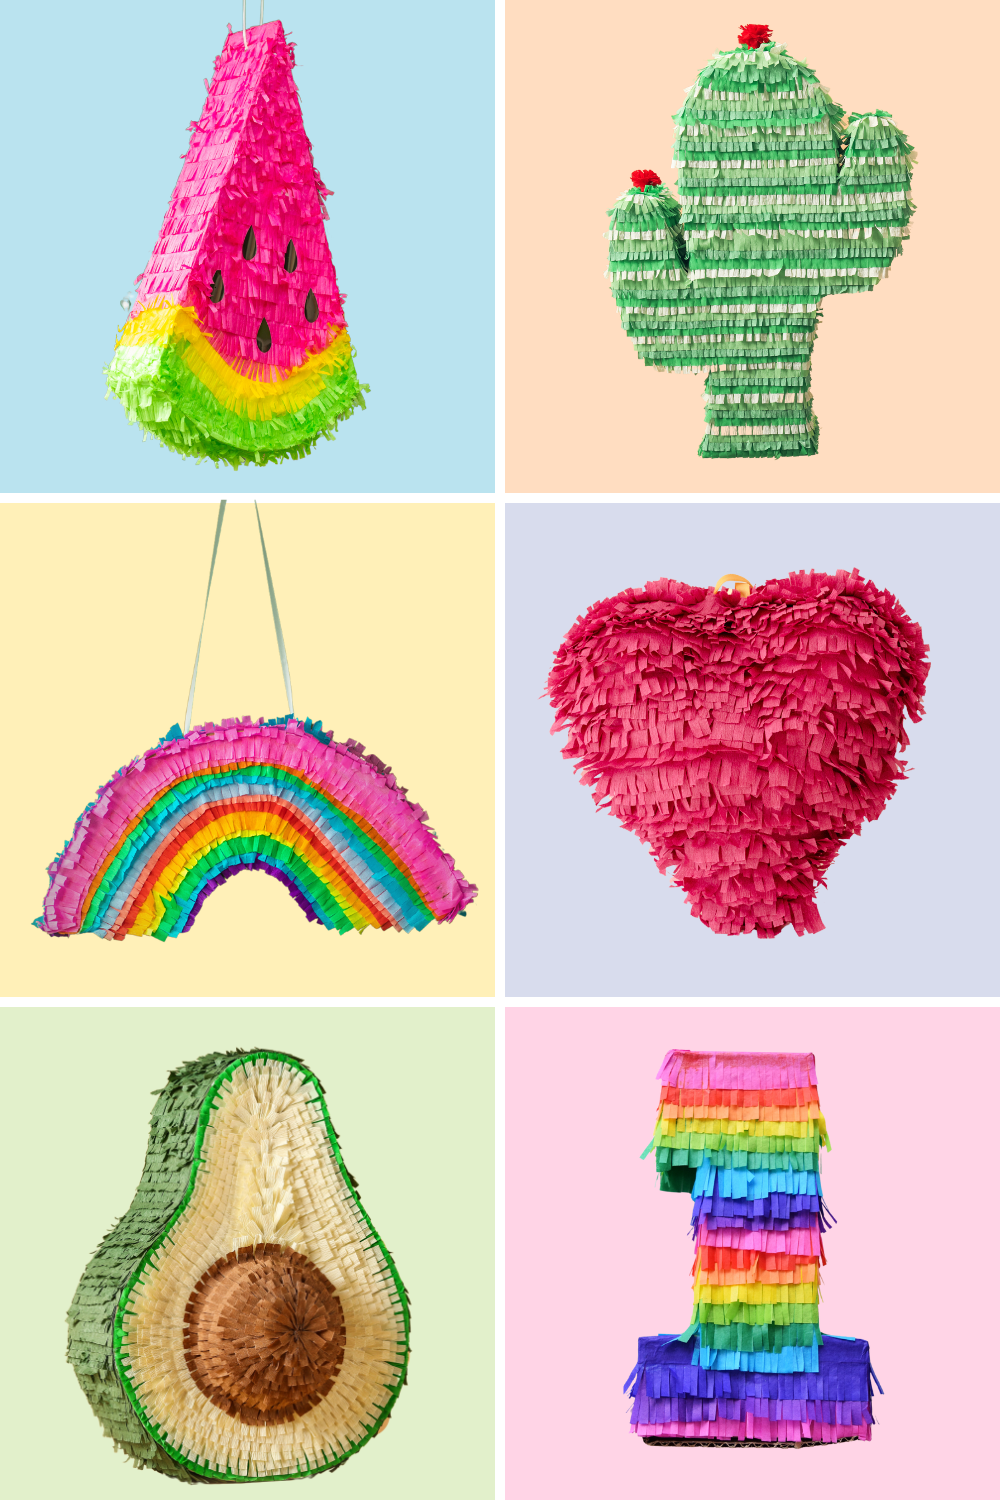
1. Decide on the design for your piñata. Some good DIY piñata ideas include:
A number representing an age
Simple, fun shapes like a cactus, pineapple, watermelon slice, or rainbow
A photo of a person or animal cut to shape and glued to the cardboard
If you are extremely uncrafty, you can even take a square or rectangle box as is, fill it with candy and skip to step 6! Instant piñata! Just make sure you attach your rope first.
Since I’m an artist, I went with a variation of the third option and created a painting for the front of the piñata. This was a gift for my wife so I painted a portrait of her childhood crush– AJ Mclean of the Backstreet Boys.
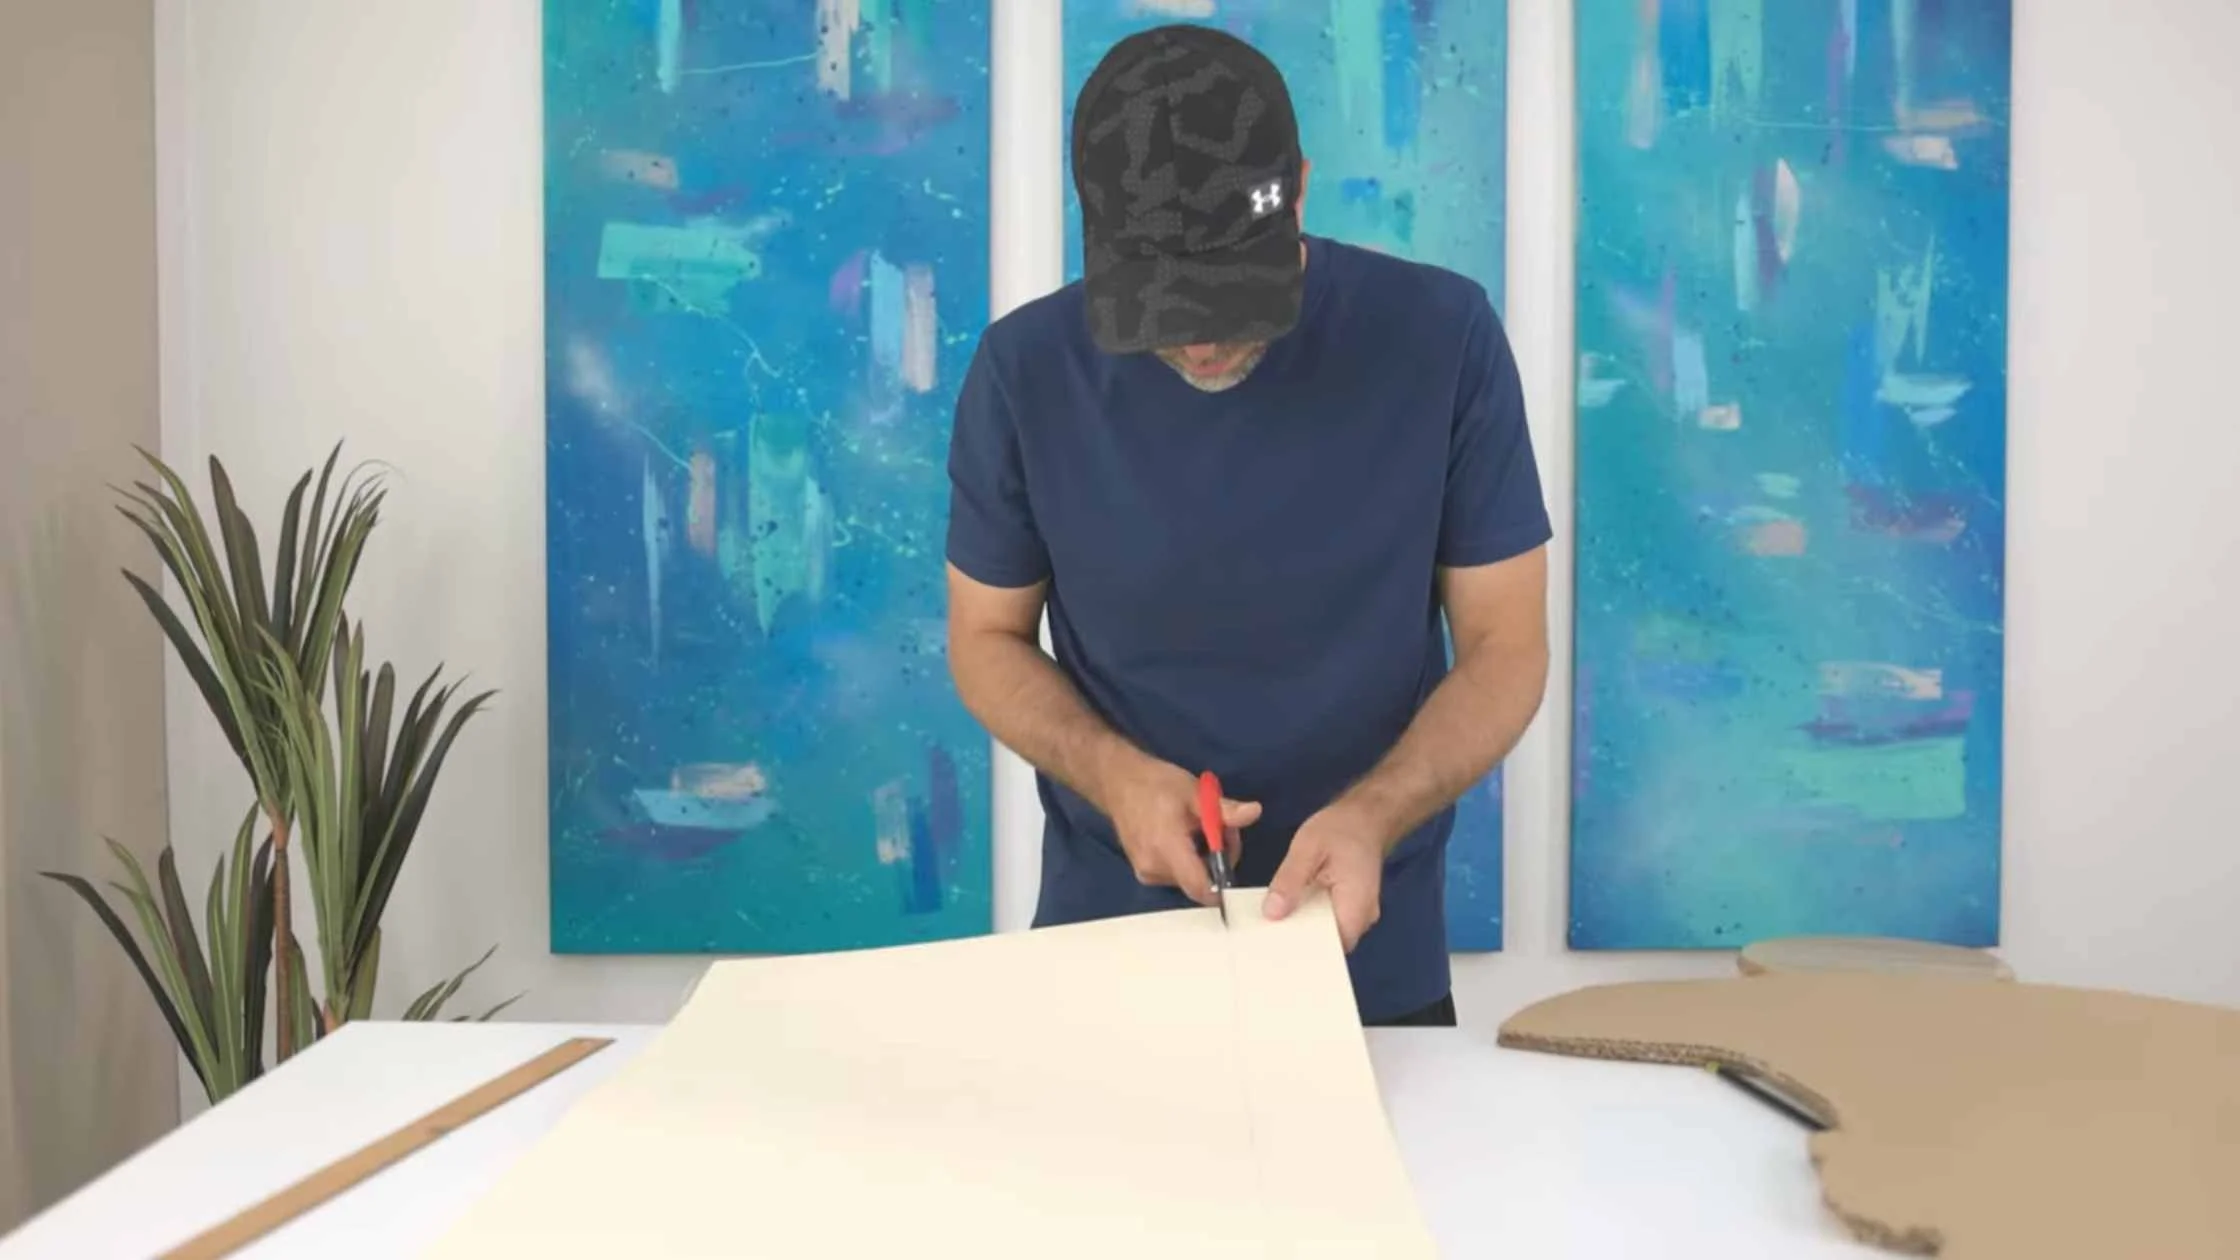
2. Cut the shape of your piñata out of cardboard twice.
This will be the front and back of the piñata. It doesn't have to be perfect, but the more uniformly the two sides match, the easier it will be to connect them in the next step.
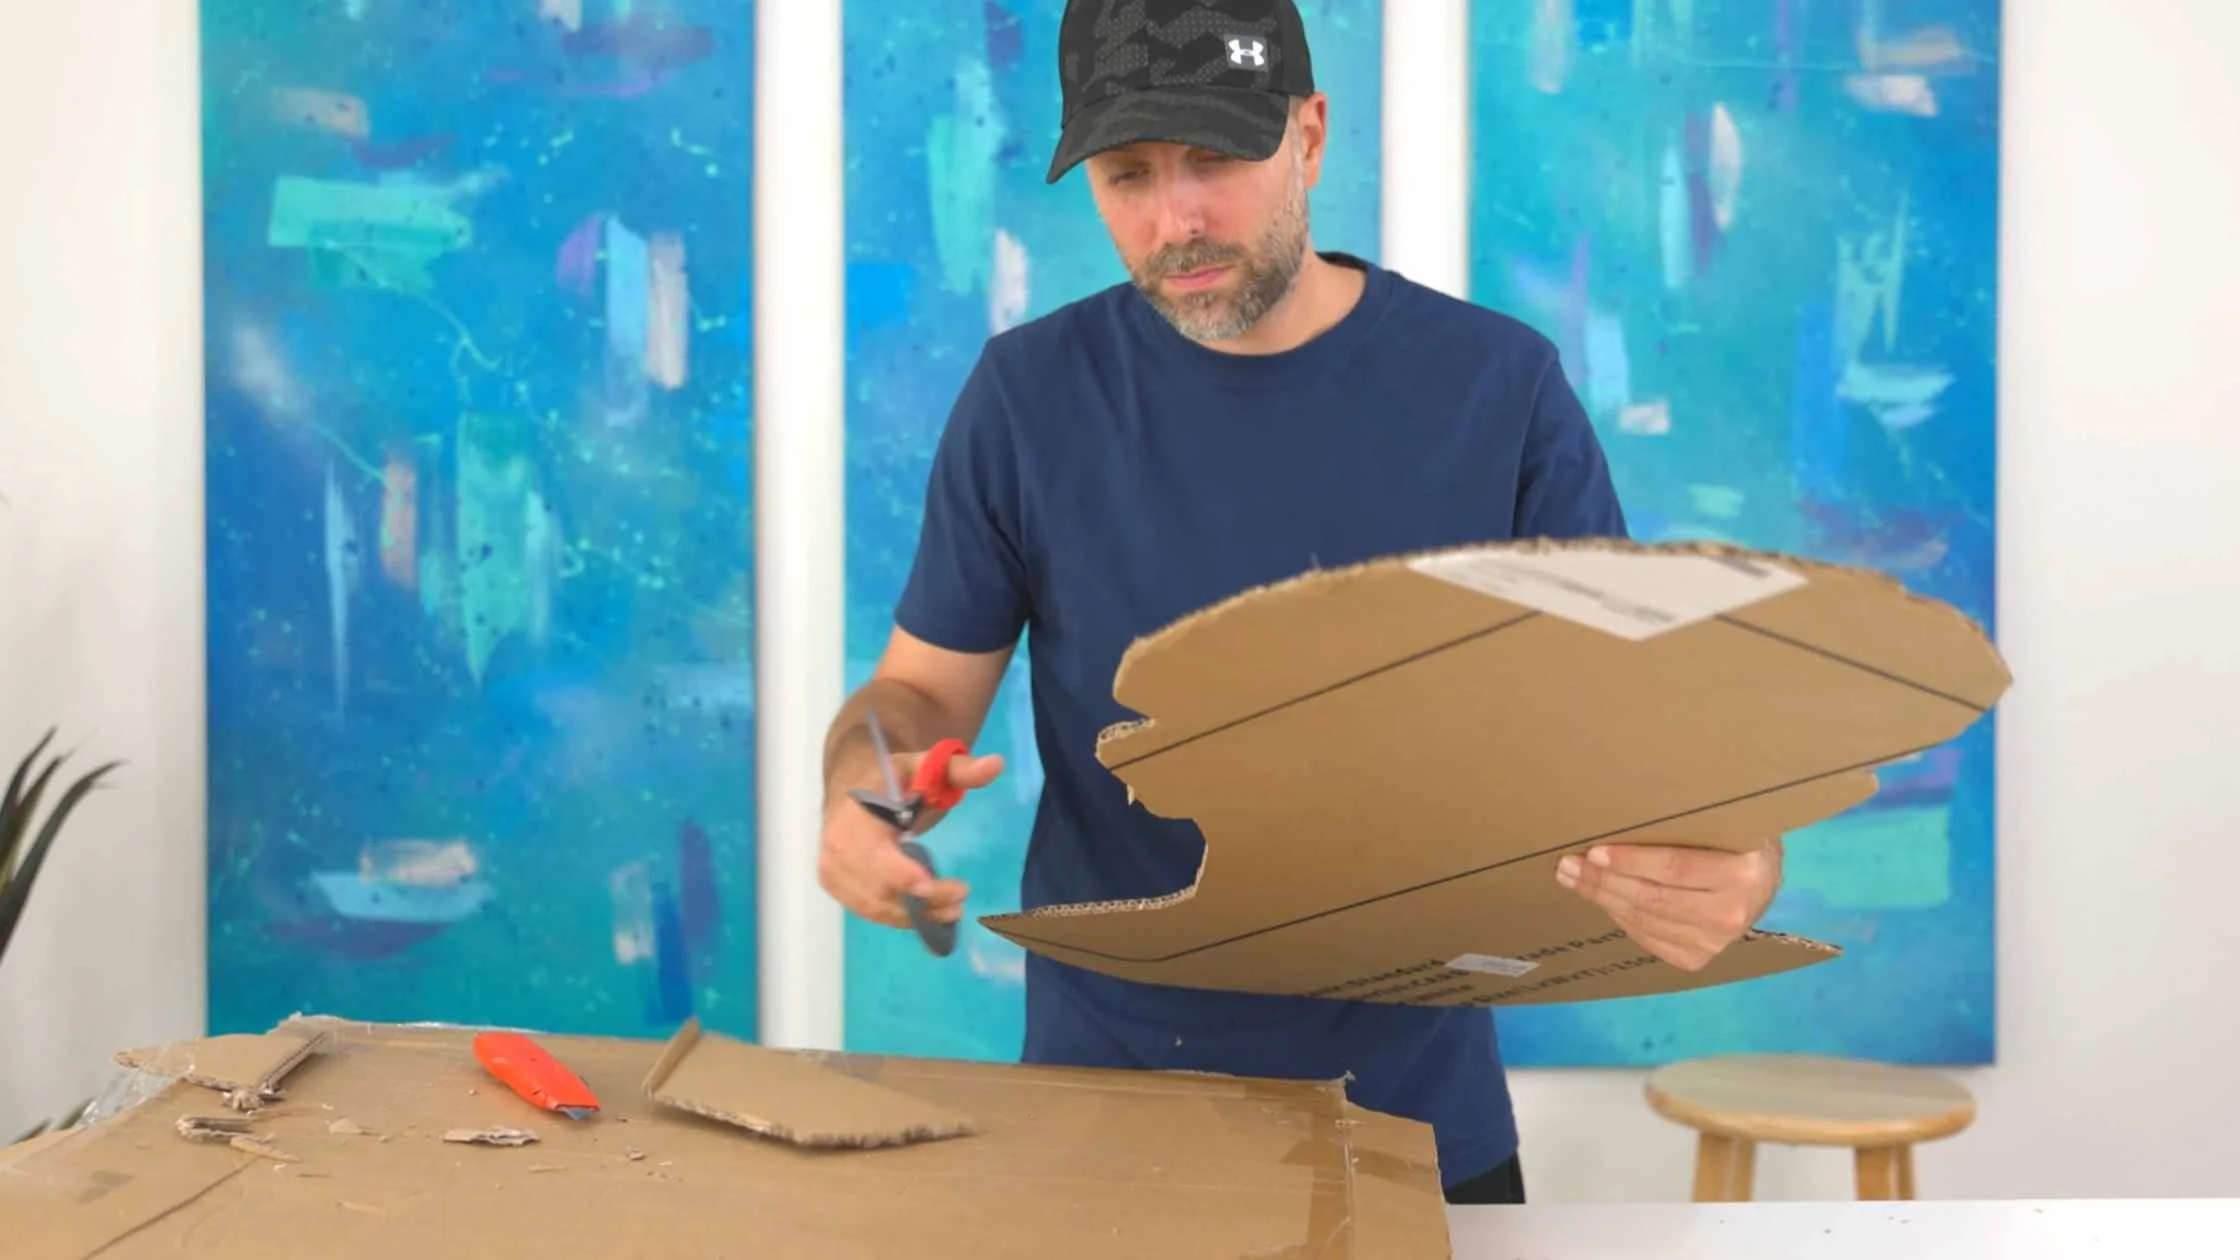
After I painted the portrait for my piñata, I cut it out to shape and used it as a template to cut out the two pieces of cardboard.
3. Cut paperboard strips to whatever depth you’d like your DIY piñata to be.
It’s really about your preference and how much room you need for the candy. I made my strips about 3” wide. Since my piñata was relatively large and it was a piñata for one, I figured it didn’t need to be too deep.
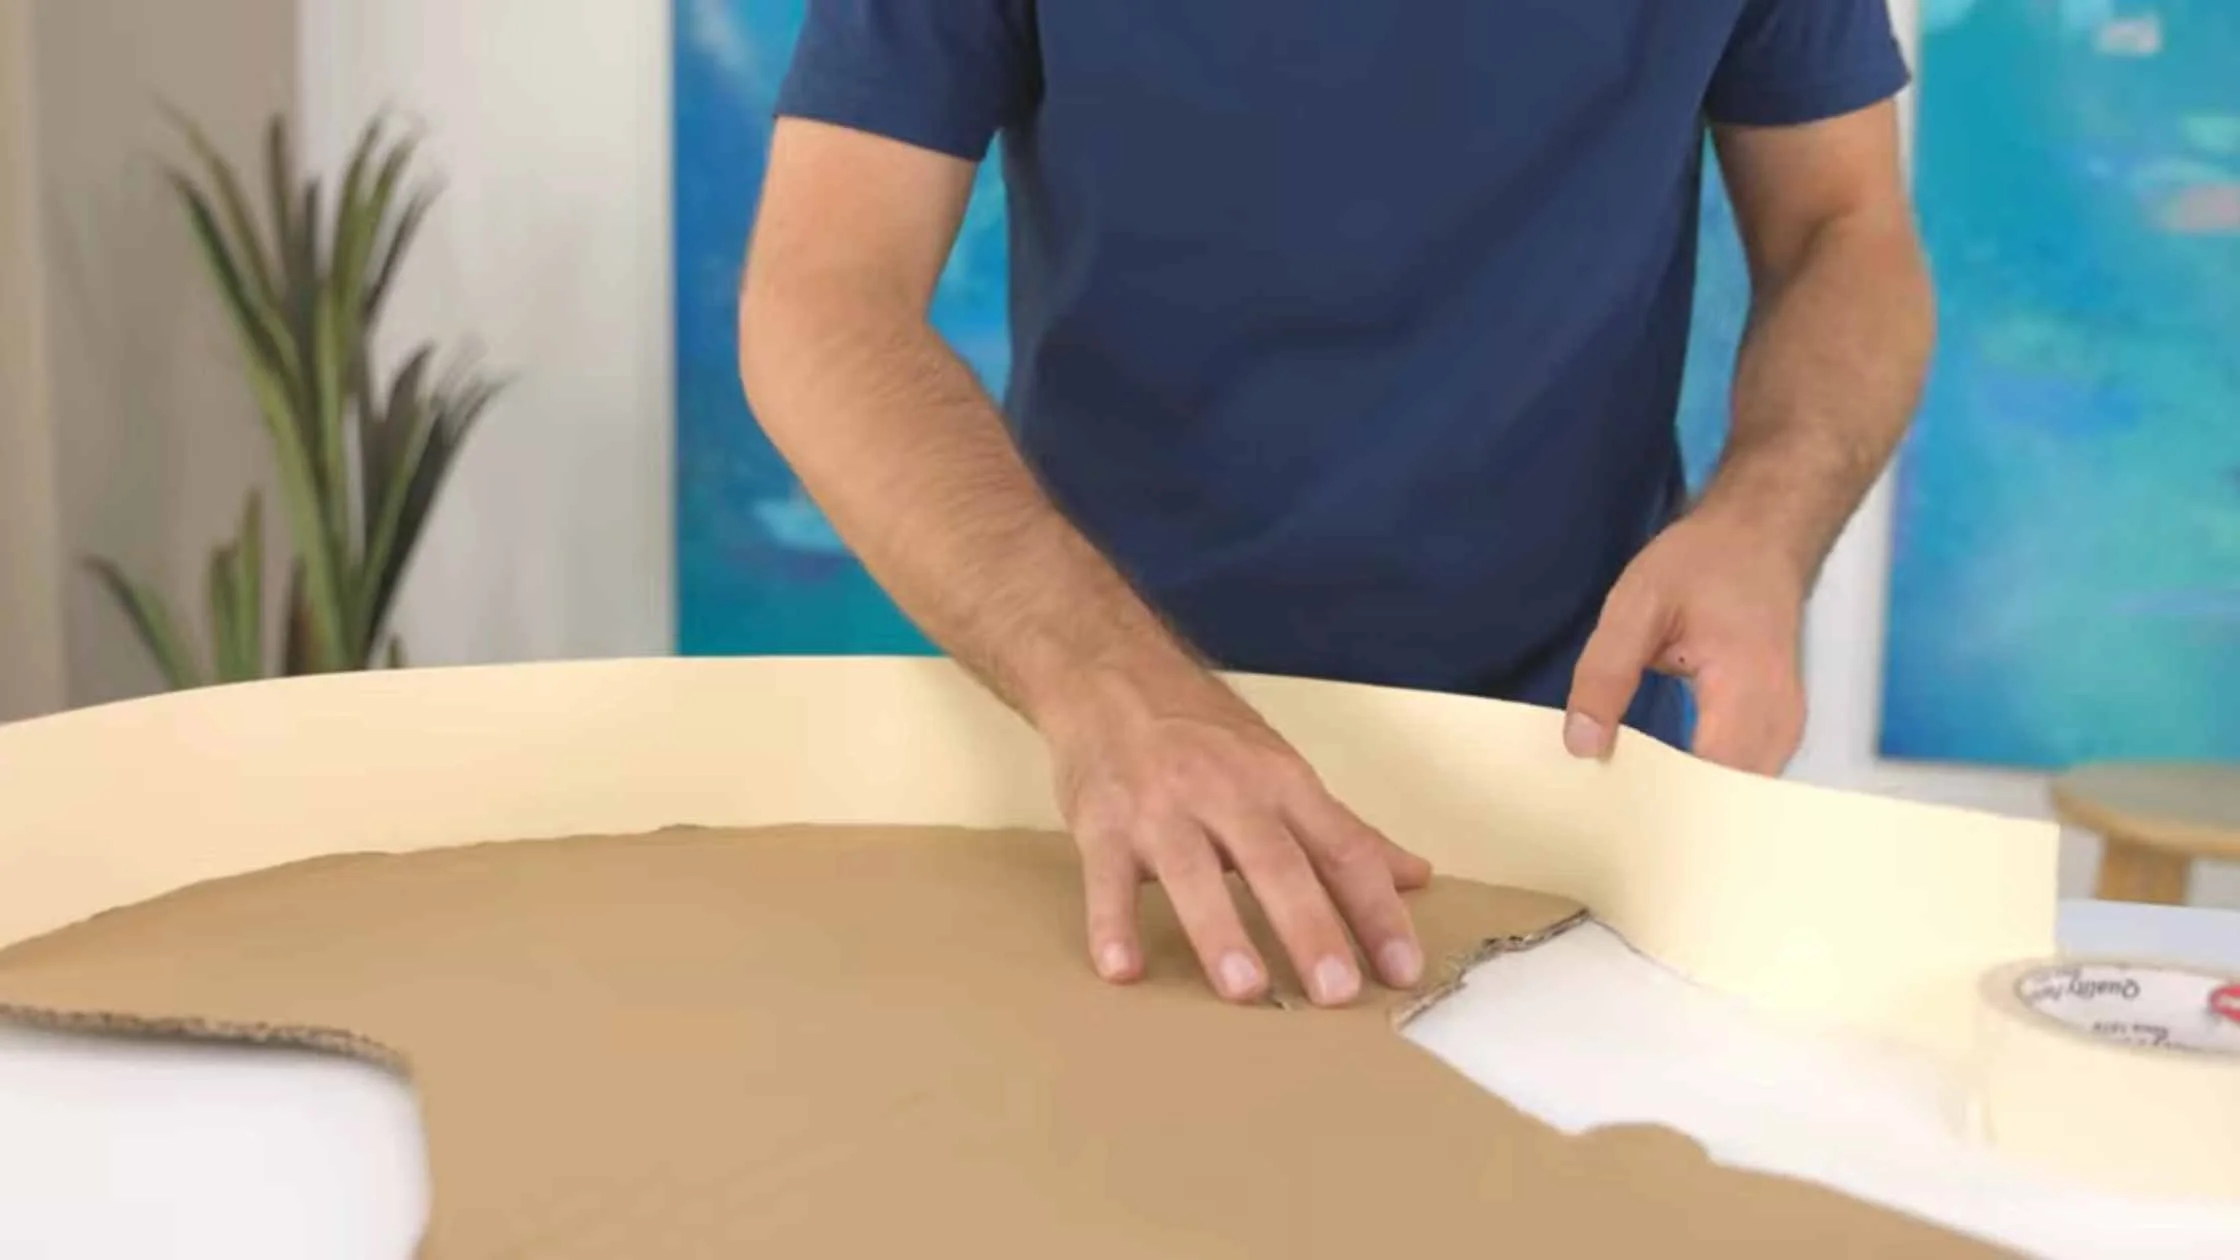
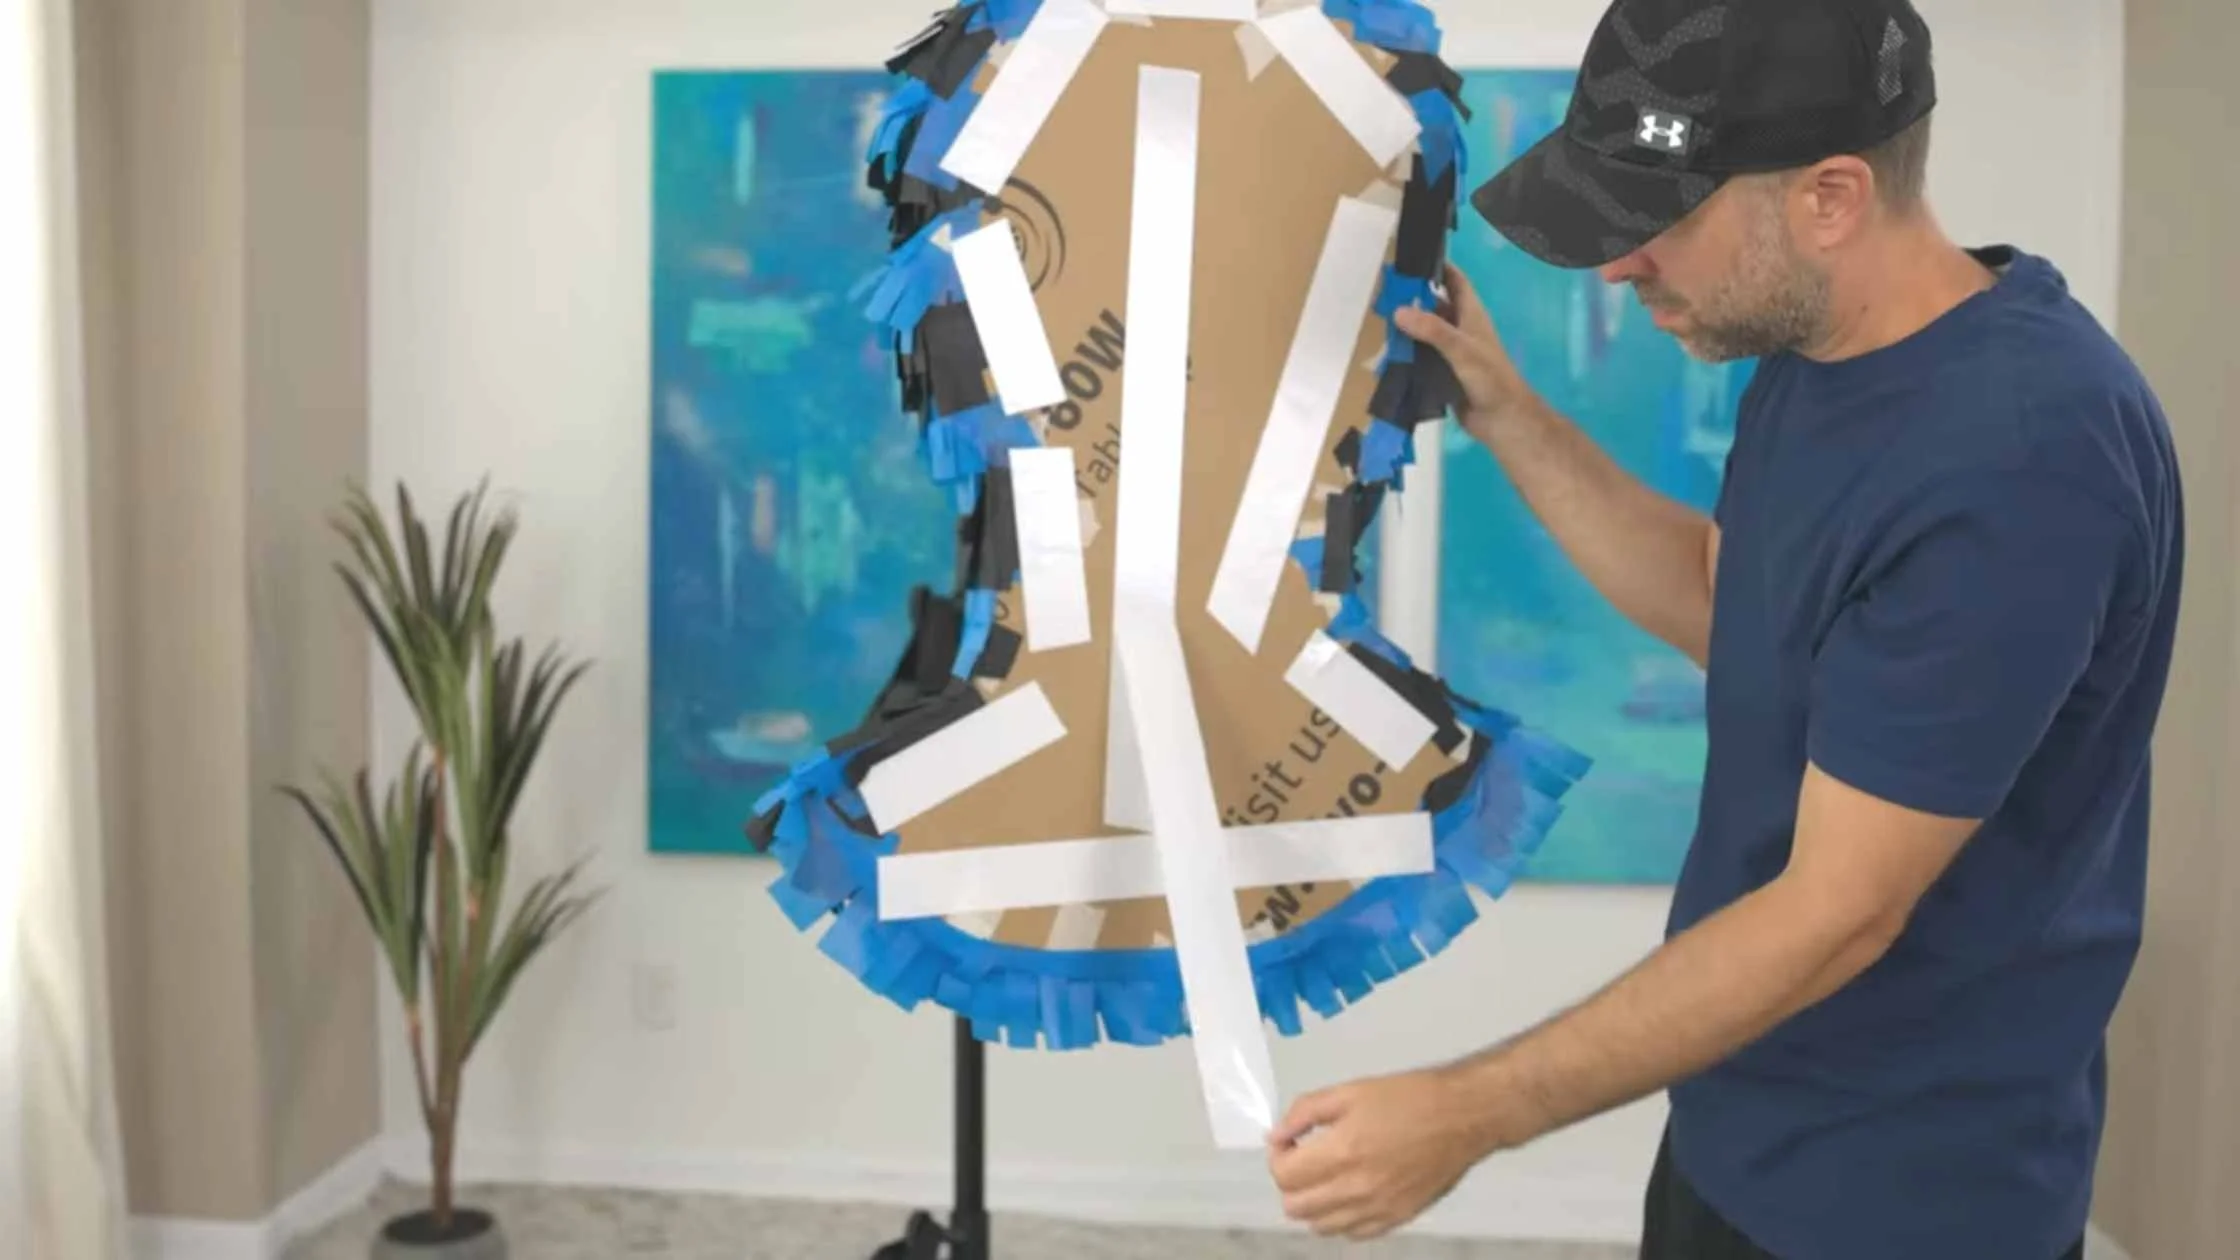
4. Use the paperboard strips to connect your two cardboard cutouts.
Start by lining up the paperboard strips around one cardboard piece and taping them together with the masking tape.
For this part, you can definitely use regular cardboard— you might just have to work at it a bit more to bend it to shape. I liked using the paperboard since it was very bendable which made it easier to conform to the shape of the cardboard cutouts.
Once the strips are connected to one piece of cardboard, set the second piece of cardboard on top and tape it to the paperboard strips, as well. Use more or less masking tape depending on how easily you want the piñata to break open.
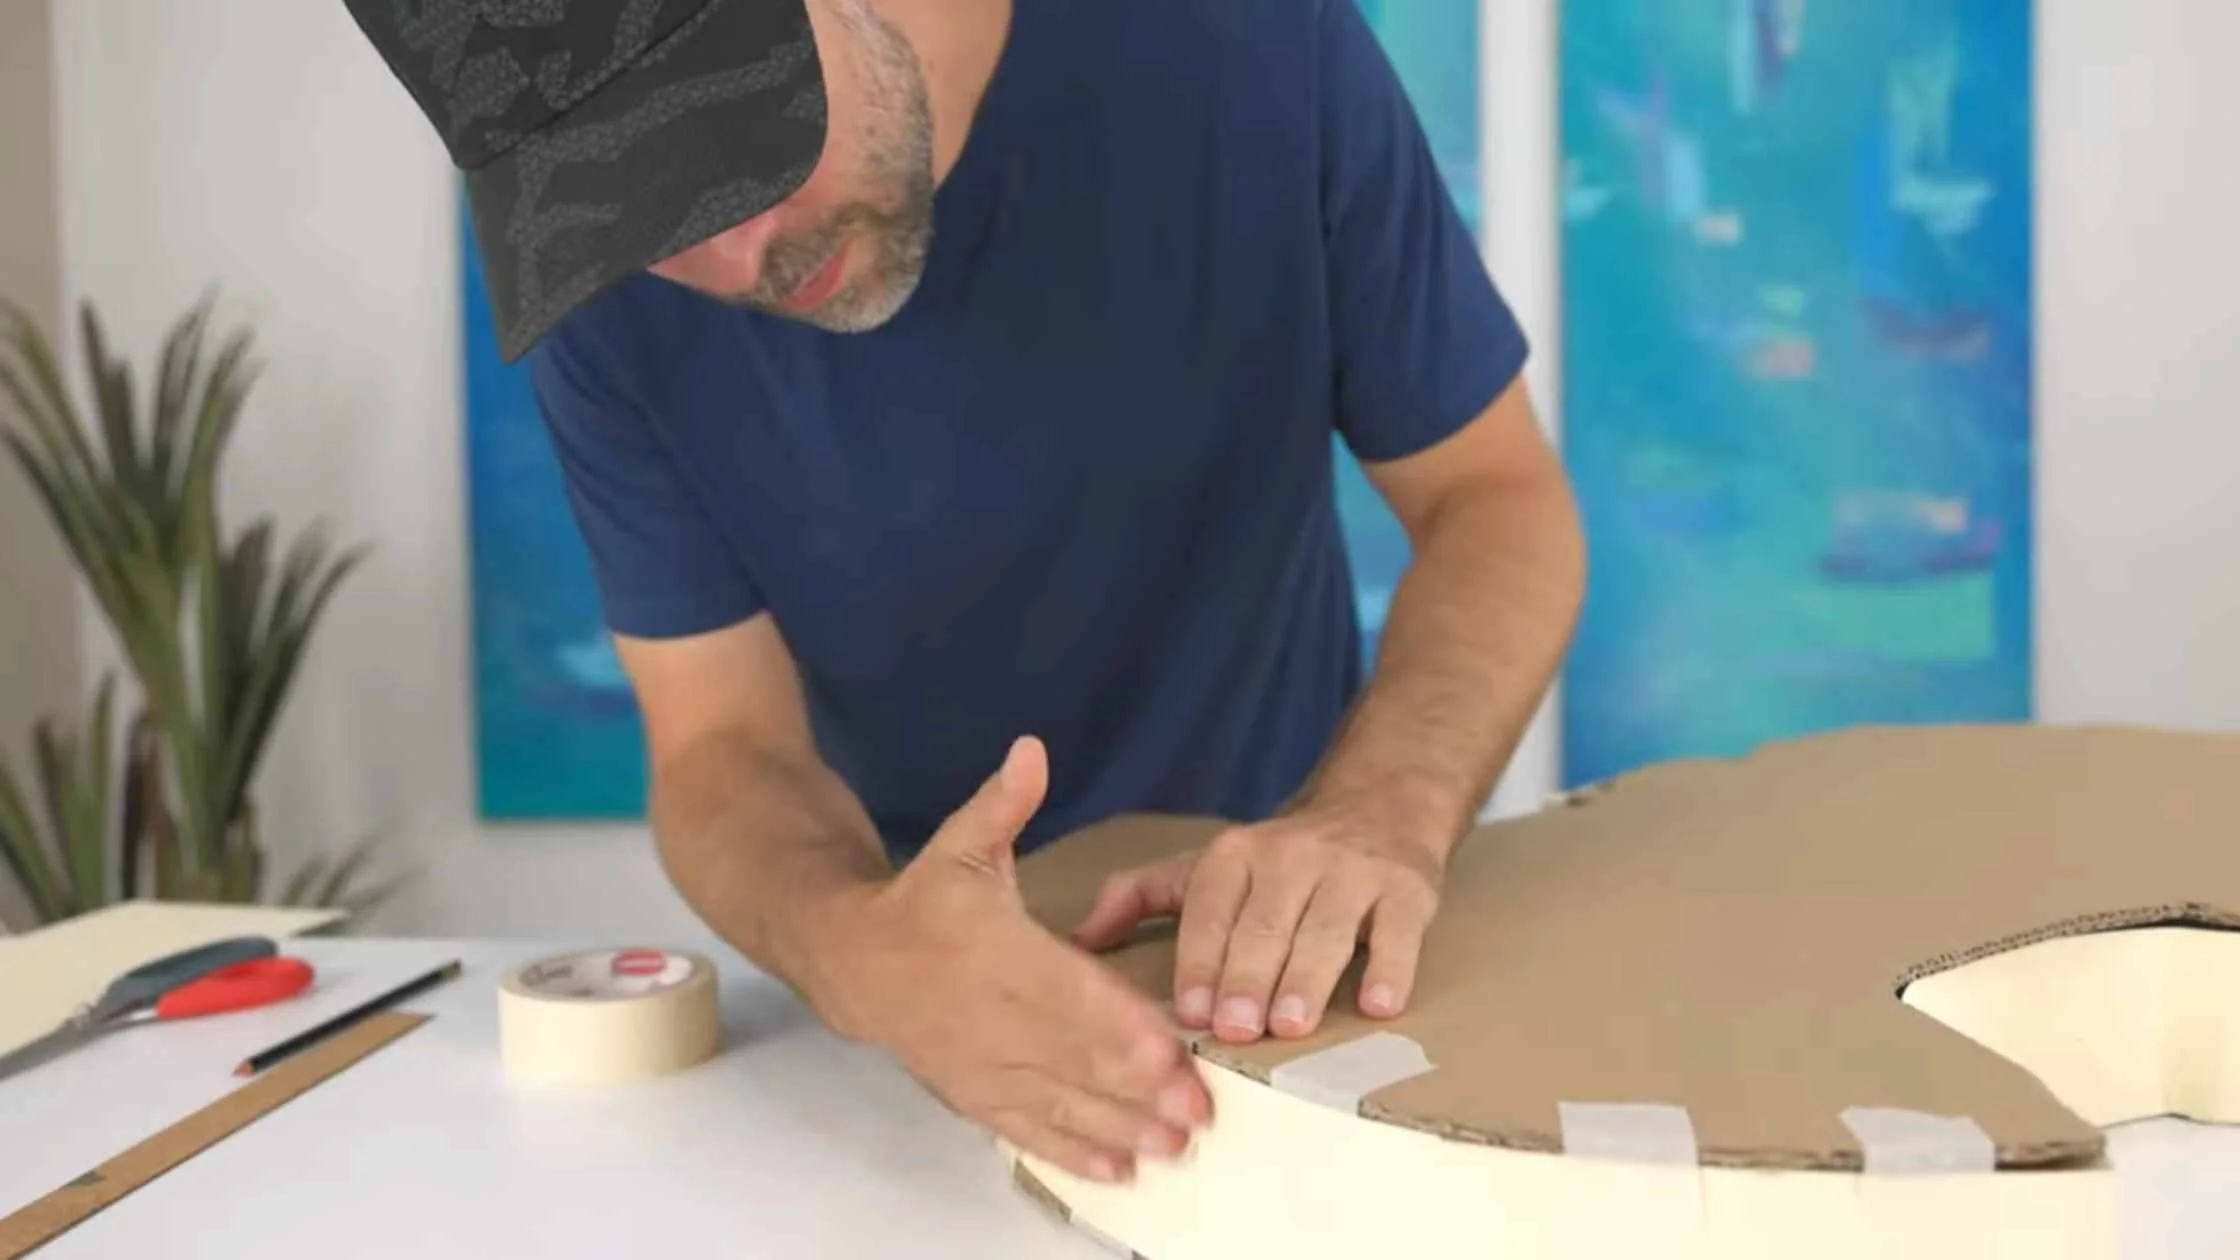
Before I completely sealed the piñata up, this is the part where I chose to poke some holes and connect the rope that would be used to hang it.

5. Cut a flap near the top of your piñata.
This is what you will use to put the candy inside of the piñata. I ended up making my flap on one of the upper sides of my piñata, though many like to put theirs directly on the top.
As long as it’s not in a spot that the candy can spill out of, you’re good to go!

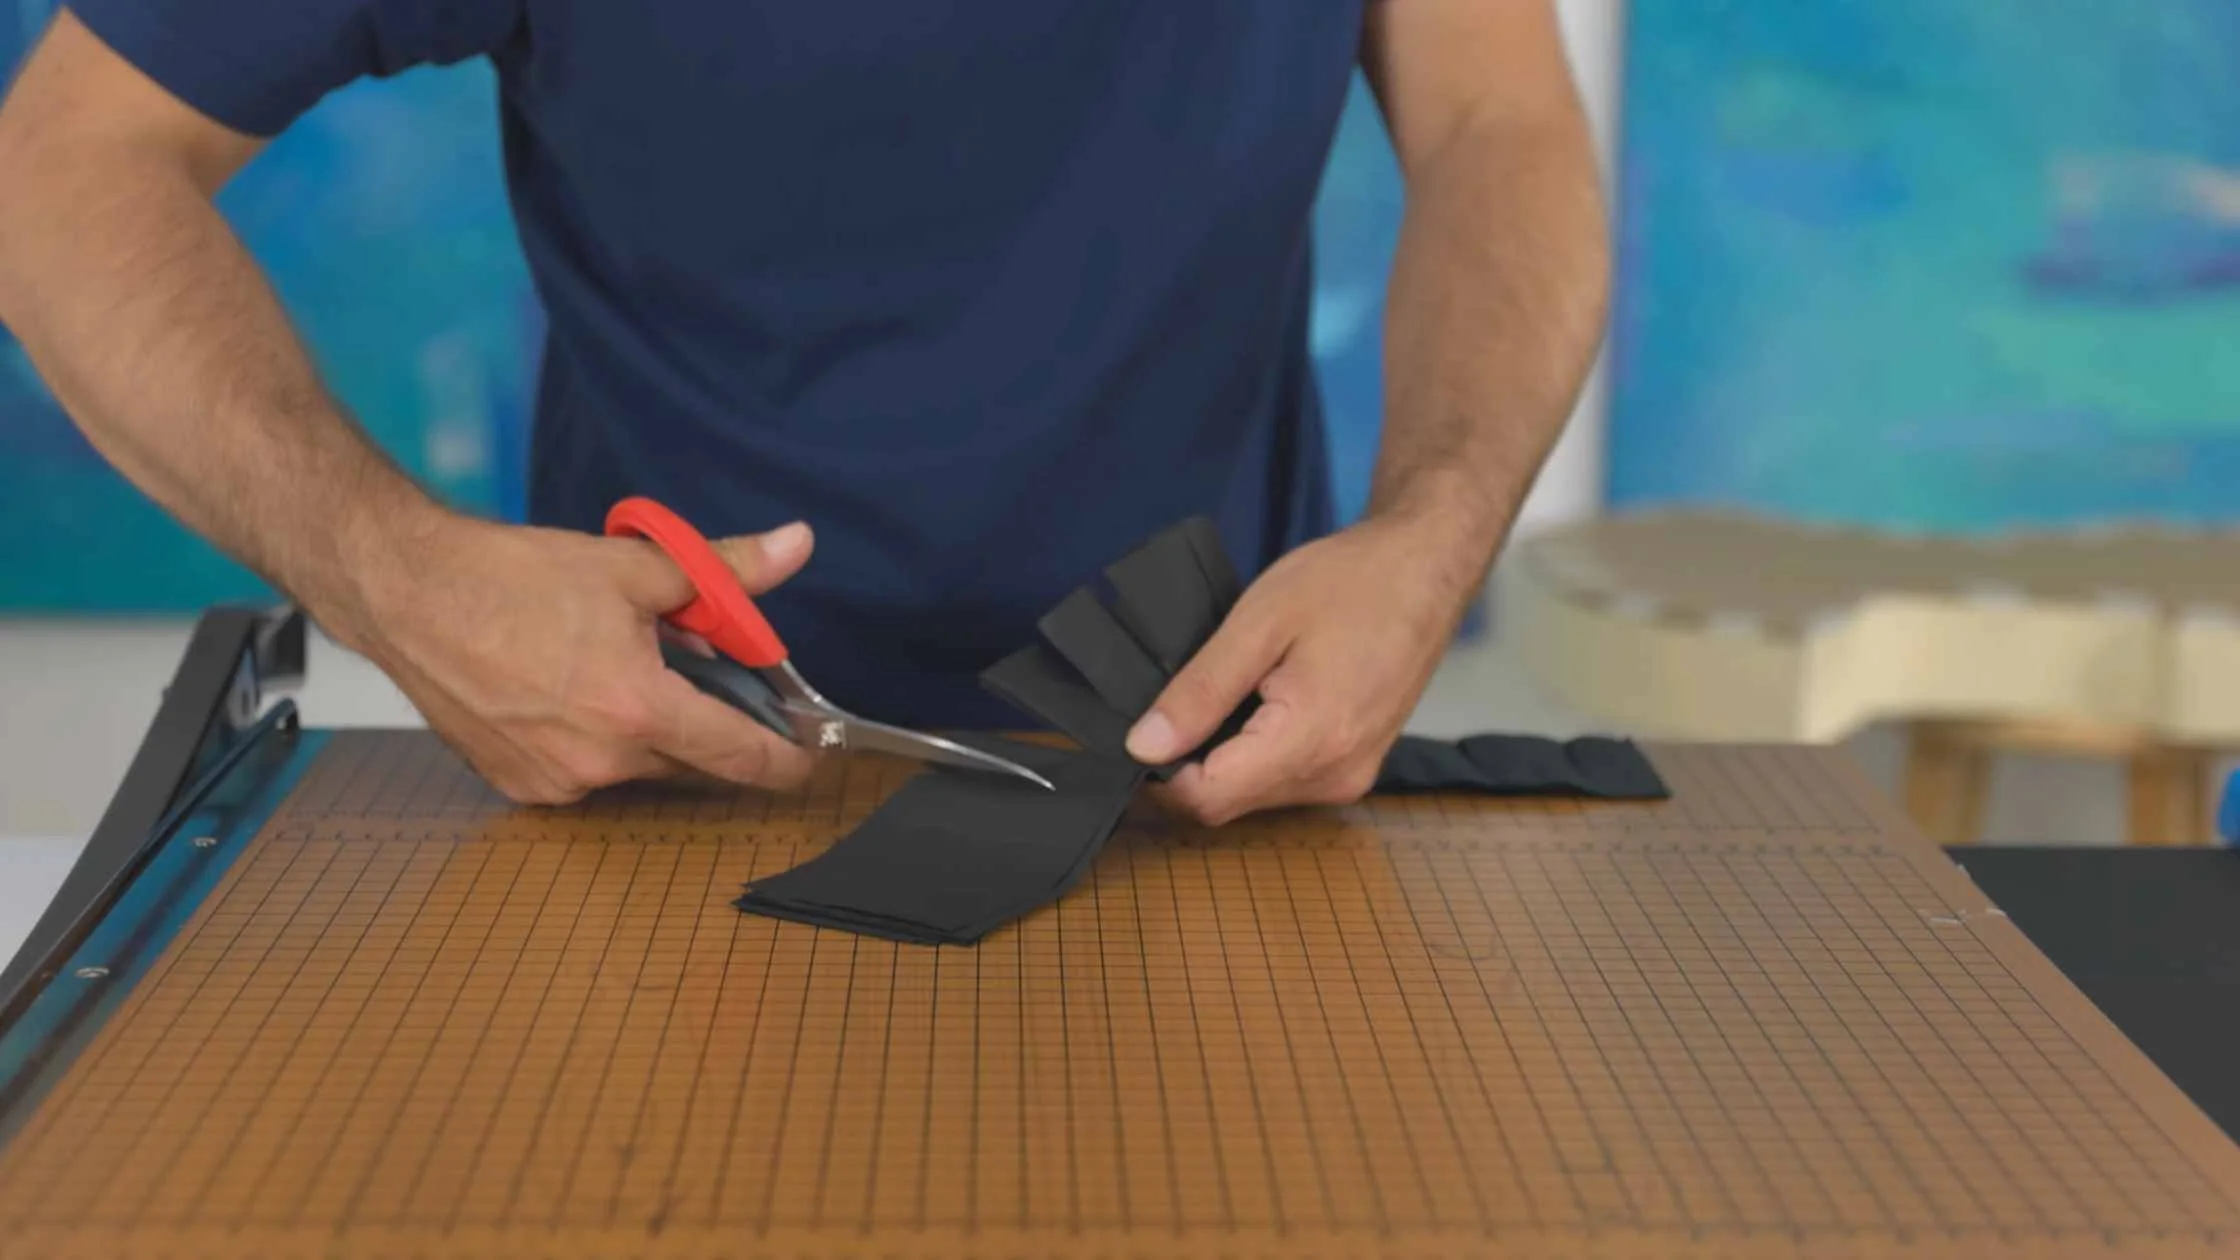
6. Prepare your piñata fringe.
If you’re using tissue paper, cut it into 2-3 inch strips and if you're using streamers you can move on to cutting slits along the length of it.
My strips were about 3” wide and I cut slits about ¾ of the way up. That left plenty of room to glue the strips to the piñata.
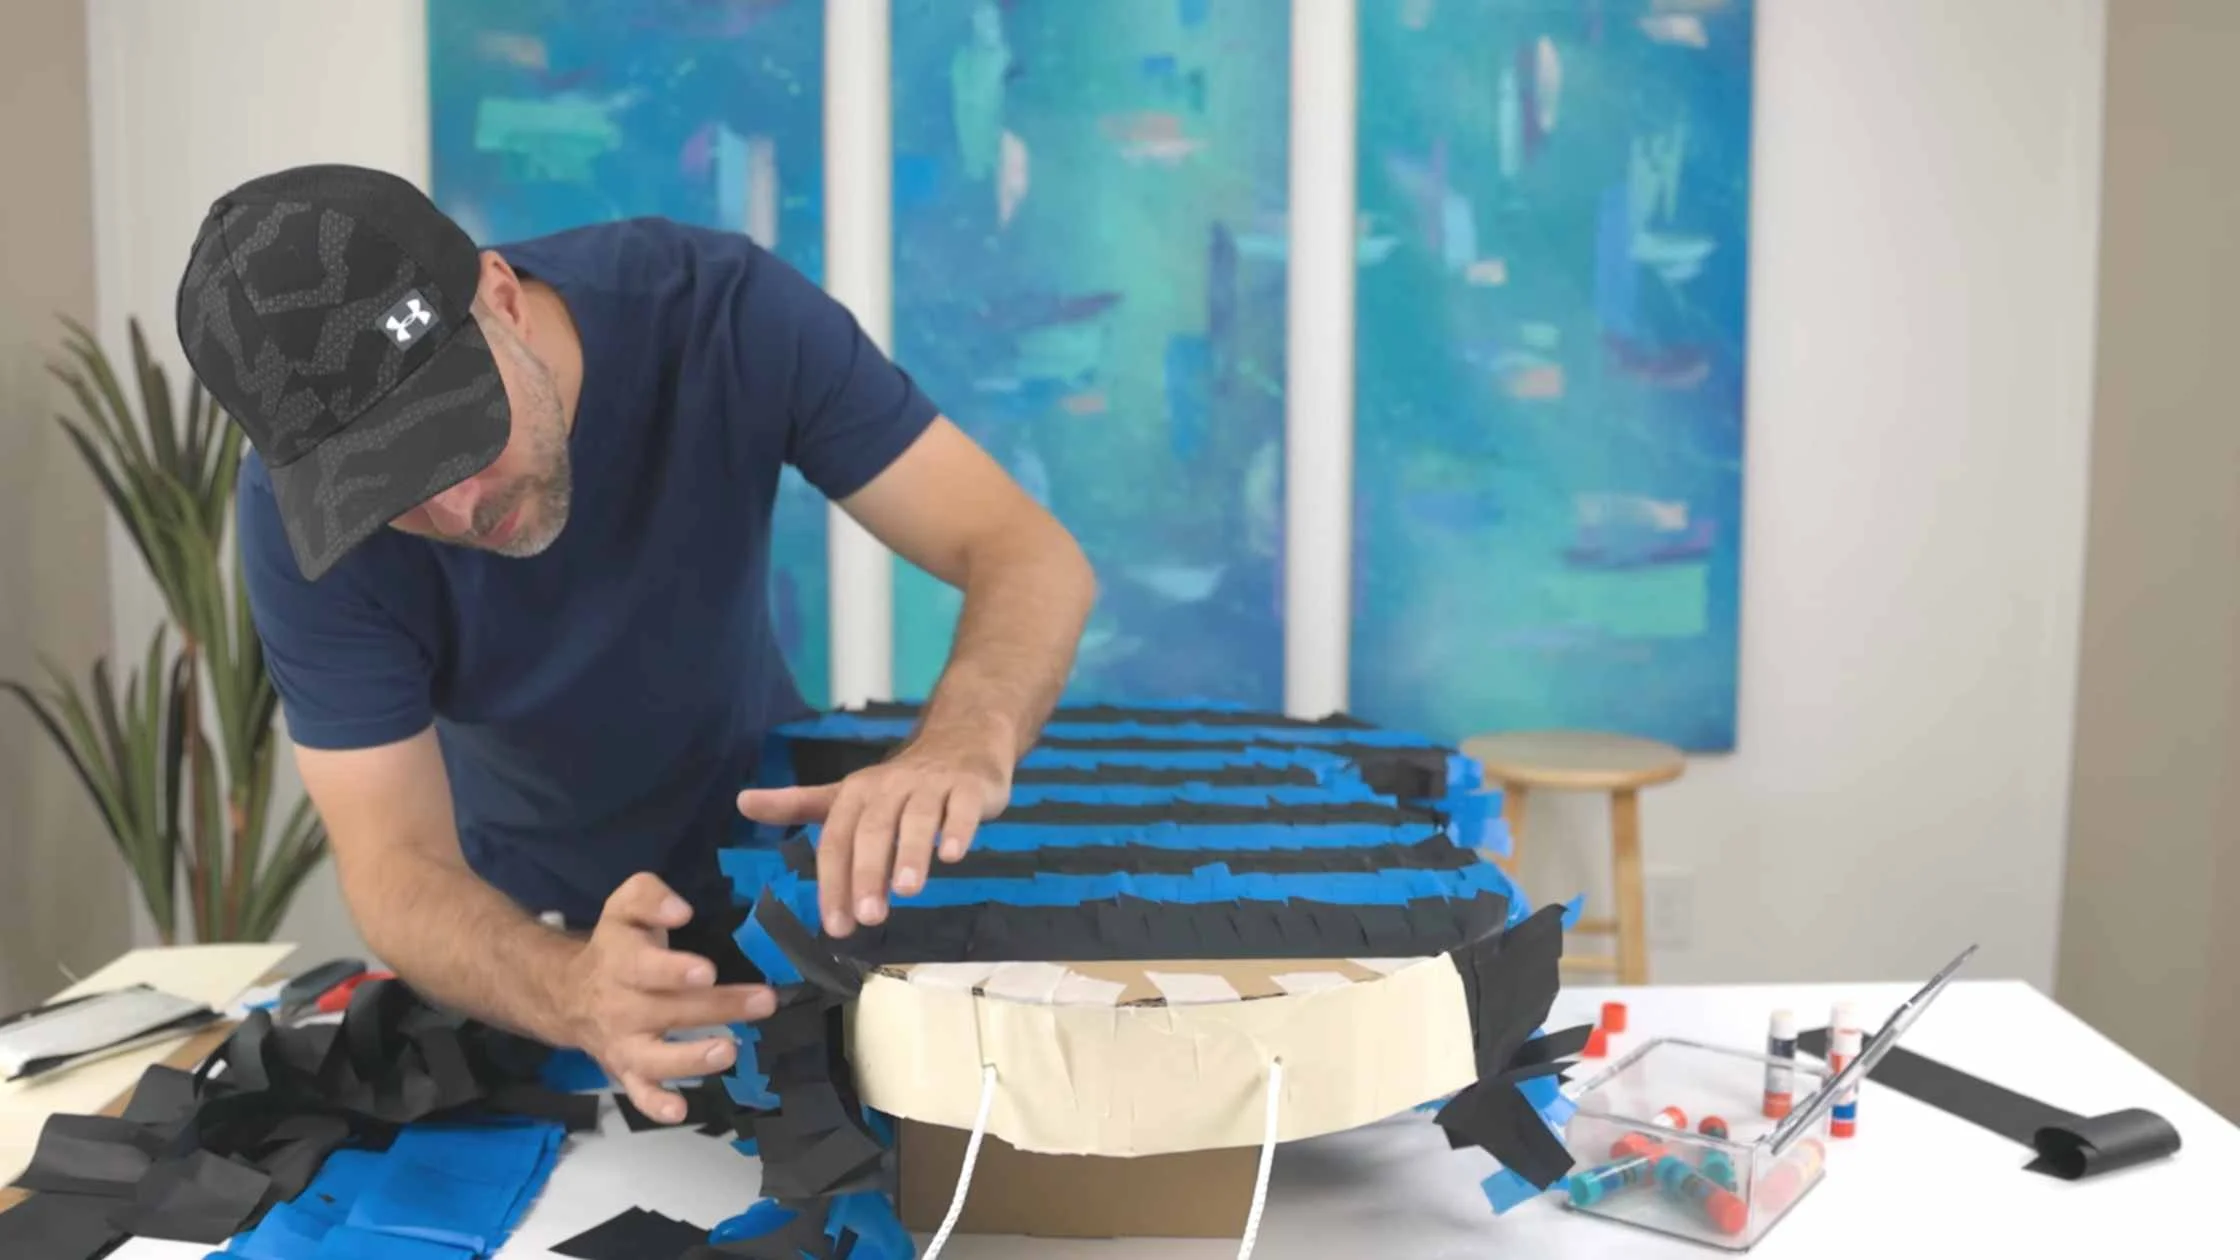
7. Start gluing the fringe onto the piñata.
Be sure to start at the bottom of your homemade piñata and work your way up, allowing the fringe to overlap enough to cover up the cardboard.
I ended up having some spots that were tougher to cover because of the awkward shape of my piñata, but I was easily able to patch up any gaps by gluing in some individual pieces of fringe.
If you’re really concerned about the cardboard showing through, you might want to paint or cover the entire thing with paper before gluing on the fringe– though I don’t think that part is necessary unless your piñata has a lot of intricate curves.
Please note - If you are making a piñata that will have photo or artwork on the front, you only need to apply the fringe to the back side.
I used double-sided tape to attach my painting to the front of my piñata. I did this step last since the fringe wrapped slightly around the front and the painting could now cover that up while presenting a more finished look.
8. Fill the piñata with candy!
Add all your favorite treats and small prizes. If you’re not big on candy you can add things like small toys, hair accessories, stickers, etc.
I filled mine with all my wife’s favorite candy and threw in a few king-size candy bars for good measure.
And that’s it… you’re done!

This was my first time making a piñata and honestly, it was a pretty simple process. It's such a cool way to have a super custom piñata for relatively cheap since we all have an excess of cardboard laying around these days.
I’d love to hear about the piñata you’ve made or are planning to make!
Also, check out the video of me making a personalized DIY piñata for my wifey below.