Hayley and I have been working on redoing our new home since we moved in four years ago. We’ve worked our way down from the most important rooms (kitchen, bathrooms), to projects like flooring, replacing trim and doors (I promise I’ll get to that one soon!) and more recently, rooms like our laundry room and our basement. If you are interested in another Ikea hack, I’ll have to show you our laundry room renovation sometime, but that room isn’t quite finished. We often joke that we get projects 90% finished then move on to the next one, so a lot of time lately has been spent on finishing all the old projects.
Switch to safer with Beautycounter

But first… Black Basement Ceiling
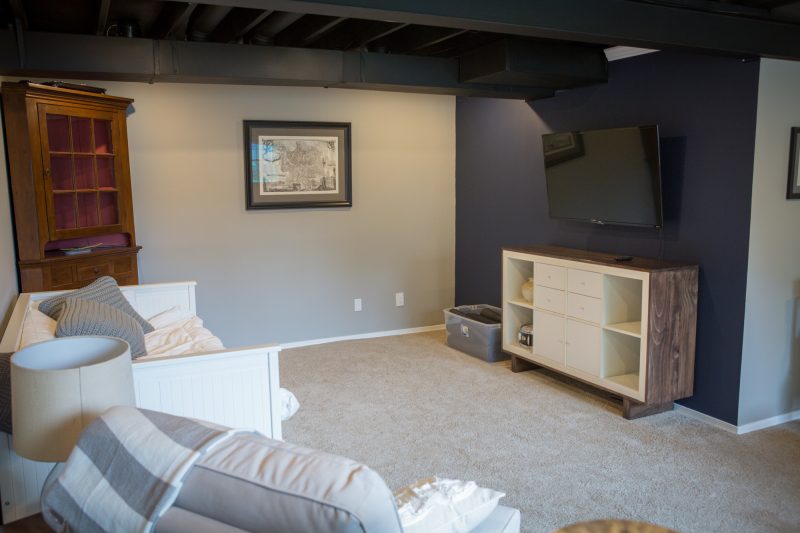
Remodeling our basement was the BIG project we undertook this summer, as we finally had time to tackle it. We have an exposed joist ceiling in our basement, and we decided to paint it black (another Pinterest finding!) Painting the ceiling has a two fold benefit: we maintain access to the wiring that runs through the house, and we also retain the extra height that would be lost to an ugly drop ceiling. By painting it black, it helps to visually conceal the wiring and ductwork. Even though it was a tremendous amount of work, we feel like it was really worth it! We finished off the look with some “floating” crown moulding to give a nice hard edge to the walls.
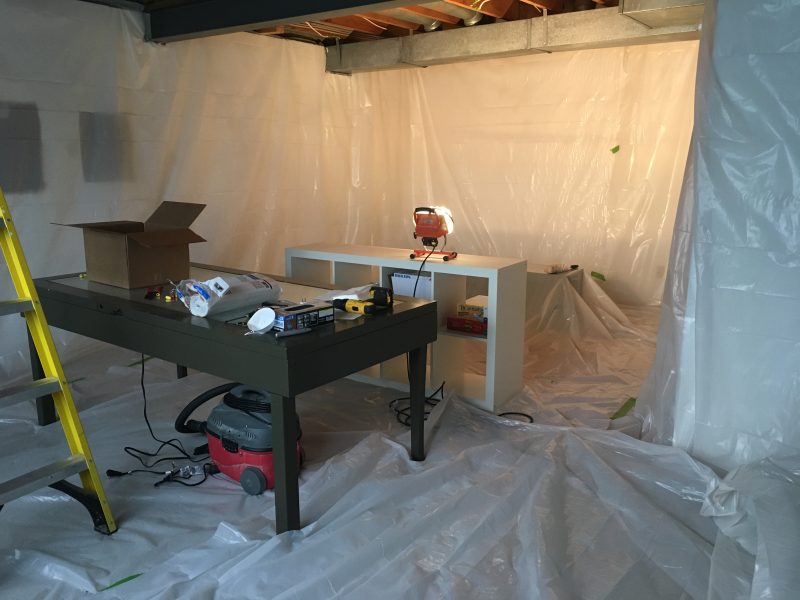
To properly paint the ceiling, you have to cover EVERYTHING in tarps. Because painting the ceiling requires the use of a paint gun. (We used this one!)
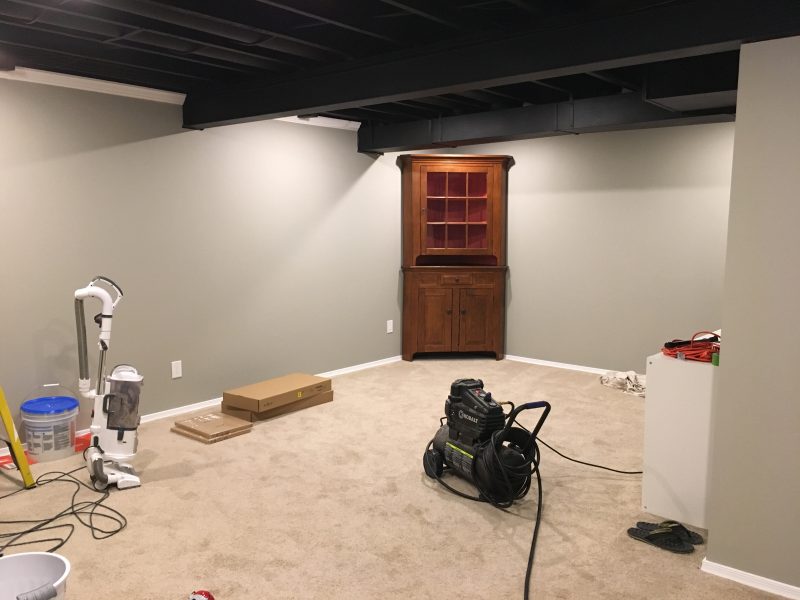
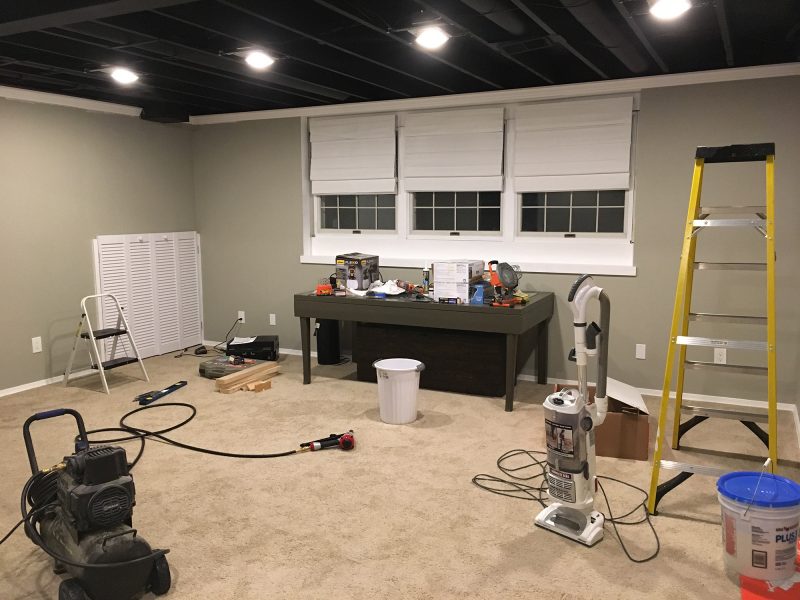
After many hours masking, and eight hours with a spray gun, the ceiling was finished. I installed some new lighting, Hayley painted the walls, and we added the crown moulding. We both love the way it turned out!
Find YOUR healthy Recipes on
Ikea Expedit Bookcase Hack
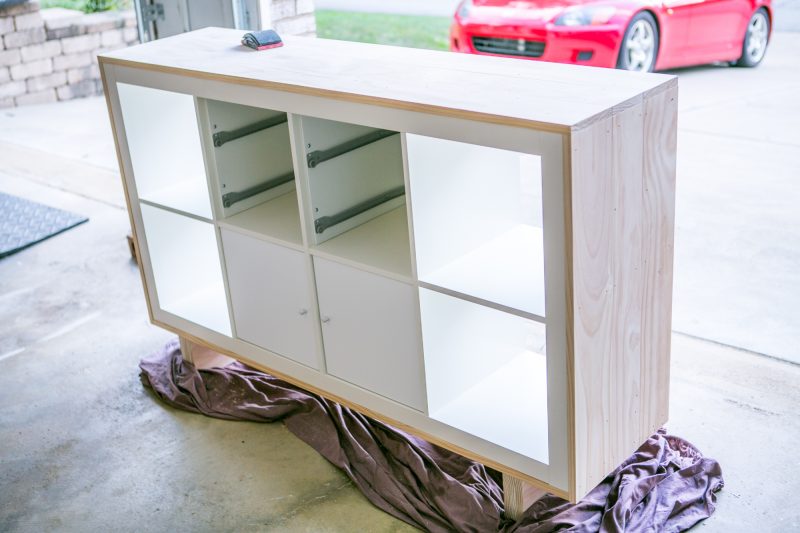
One of the last checklist items in our basement renovation was making a new tv stand. Well, we didn’t decide upon making one initially. We first considered buying a new TV stand, but we really couldn’t find one that we liked. This Ikea Expedit bookcase was one of the first pieces of furniture we got when we moved in together (many, many years ago). It seems like everyone has one because they have been a part of the Ikea line forever. And no offense to anyone who has one, but it’s not a particularly exciting piece of furniture, although it does work really well for clean looking storage!
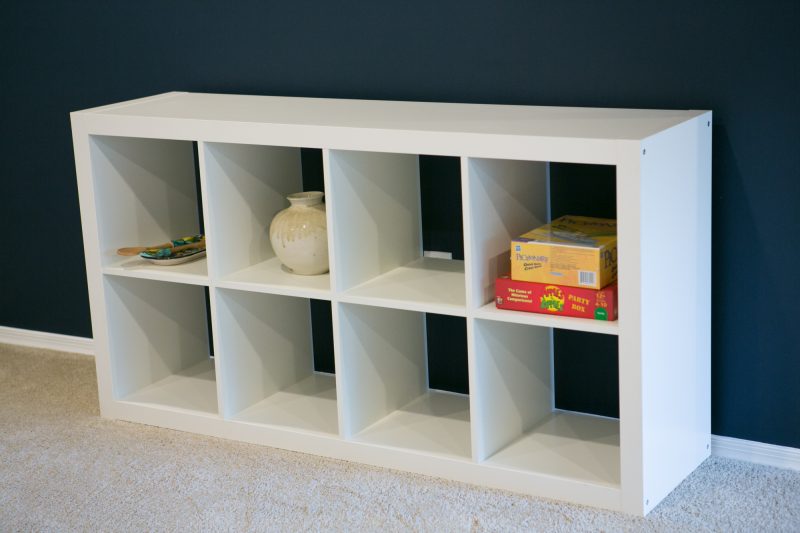
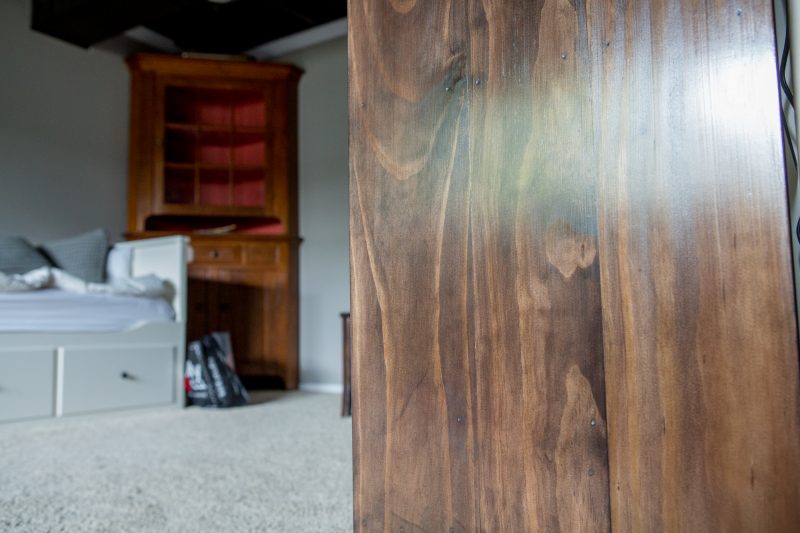
Hayley went on Pinterest and checked out some Ikea Hacks for the Expedit bookcase, and a few had the bright idea of wrapping the bookcase in stained wood. We loved that idea, and decided to go that route. Given that select pine boards are relatively inexpensive and easy to work with, that’s what we chose for this project. The downside is that they are soft, so they will distress over time as they get dented and banged up. Not actually a big deal to us. We wanted to do a stained wood surround for this bookcase because we inherited a beautiful corner hutch from my grandparents a few years ago, and that hutch is part of this room’s furniture. So we figured that our hack to this bookcase would tie the two together and make the room more cohesive. Plus we really like mixing the modern and rustic motifs in our interior design, so this was a nice opportunity to do that, too.
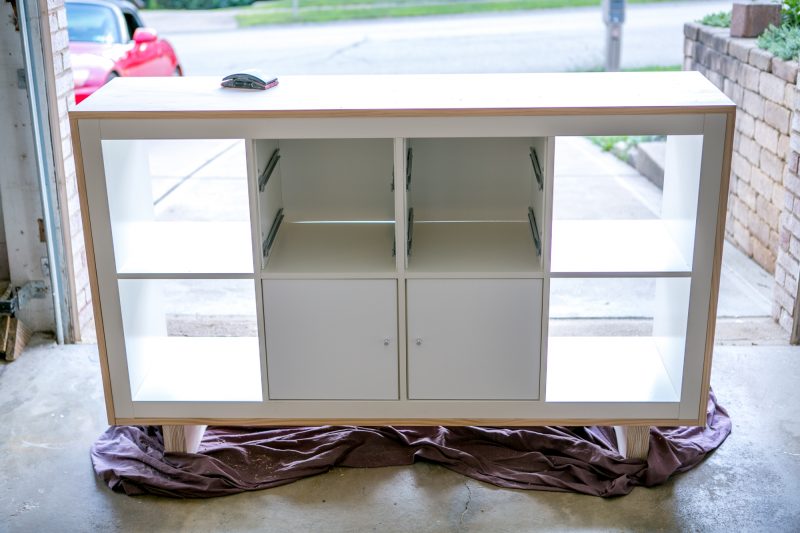
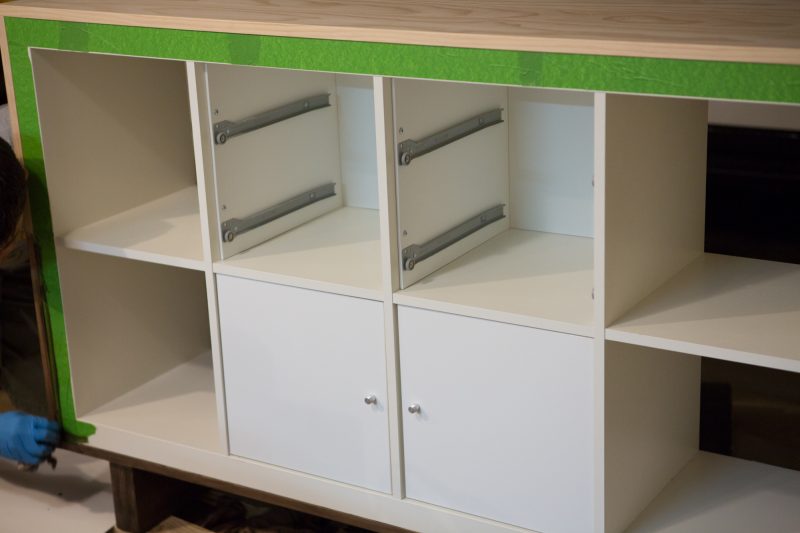
You’ll also notice that we decided to update this bookcase with some of the optional pieces from Ikea for the drawers and cabinets. They are well worth the money, and really dress it up nicely.
I accidentally deleted a few of the process photos of this project from my phone, so just try and picture them in your head. You’ll need eight 1″ x 6″ x 8′ planks total for this project. You end up laying three side by side to cover the surface, and due to the discrepancy in width, the center plank needs to be ripped down to 4.5″ wide. If you have a table saw, this is an intermediate level cut. If you don’t have access to a saw that can rip a plank, you can also position the boards to have some overhang.
I know this is a big jump from raw wood to having it cut and affixed. Sorry about that! As you can see by the Materials and Tools list below, this is not quite an easy DIY project. I’d classify it as for people with intermediate skill level.
Materials & Tools:
- Ikea Expedit 8-cubby bookcase
- 8 planks of 1×6 select pine, 8′ long
- Circular saw (minimum), or table saw (ideal)
- Measuring Tape, pencil
- Wood glue
- Ecos Stain (non-toxic) – you only need a quart for this job
- Safecoat Acrylacq clear coat – 1 quart is plenty for multiple jobs
- Drill, drill bits, long magnetic bit holder
- Palm Sander (I like this one) or sanding block
- fine to very fine grit sandpaper
- 4 – 3″ wood screws
- wood clamps
- nail gun + 2″ finishing nails, or hammer and finishing nails (this is the nail gun I have and I love it)
- wood putty to match stain (optional, usually not non-toxic)
- paint brush with synthetic bristles
- clean rags for applying stain and tack cloth
- metal putty knife
- mask, ear plugs
Steps:
- Cut wood to length. You’ll want to account for the overhang on the top piece on both sides. You’ll also need to rip the center board. The top and both sides have three boards across. For the bottom, you only need to affix a piece across the front and the back. A gap down the center is fine. Save your cut off pieces to make table legs.
- For the top part of the bookcase, you will want to pry the laminate off of the end pieces so that the wood can lay perfectly flush across the top. Try not to mar the front of the bookcase during this step.
- Affix the top pieces to the bookcase using a nail gun. I used a 34 degree nail gun with 2″ finishing nails. You will want to use the minimum amount of nails needed to tightly secure the boards to the bookcase. Doing too many creates more filling work later.
- Proceed to affixing the side pieces, using the same process. I think I used a piece of wood and some clamps as a jig to keep the plans level and even along the edges. This helps if you are doing this solo.
- Flip the bookcase and affix the two bottom pieces.
- Cut six of the ‘extra’ pieces to the exact width of the bookcase, and glue them together in sets of 3. Use non-toxic wood glue and some clamps tightly secure the wood while the glue dries. The tighter and more even the ends, the better. The back side of the legs doesn’t matter as much, so select the most flush side as the “front” side of the legs.
- Allow the legs to cure overnight. Using a vice or other method to secure them, successively plunge wider and wider drill bits into the table legs in two locations, going up to 1/2″ in diameter. This will allow you to run wood screws through the legs and into the bookcase.
- Flip the bookcase over, carefully align the legs, and affix the legs with the wood screws. (You’ll need a long magnetic drill bit holder for this step, along with some 3″ wood screws)
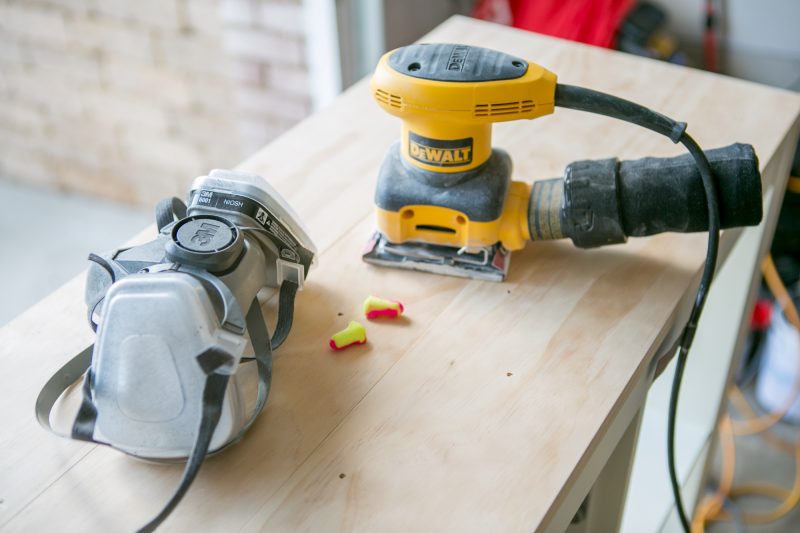
After all the wood is affixed to the bookcase, sand it all down using 220 grit sandpaper and a palm sander. You can definitely do it by hand too, but it will take a lot longer. Make sure you use a mask or ventilator and some ear plugs if using a palm sander. During this step, I also eased the edges of the bookcase by running the sander down the edges at a 45 degree angle until the edge felt less sharp. I still like the look of sharp edges, so I only did a little bit of this. You can go further and really round the edges if you’d like. I really rounded the table legs so that it won’t snag on the carpet when we move it. A secret here is to really focus on the edges of the top where the boards overhang the side. The more even they feel from sanding, the better this will all turn out. Any imperfections left will not improve with subsequent steps.
Once it’s all sanded, you can apply a pre-stain wood conditioner. We did not use a non-toxic one here, and since the step is optional, you can skip it out if you’d like. This makes the wood grain sort of stand out, and will give the stain a better appearance.
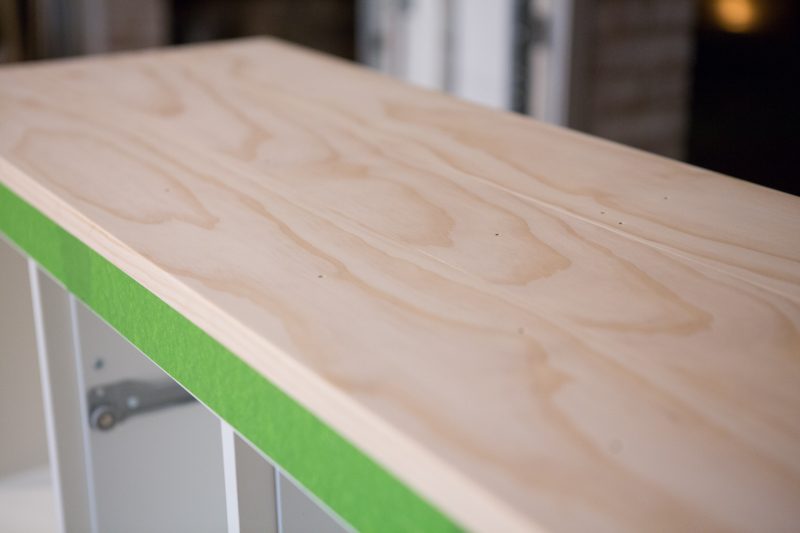
After allowing the pre-stain to dry (according to the can), you are ready to mask off the bookcase. We used gorilla tape for this step, which is a more aggressive painters tape. This helps provide a stronger barrier to the stain and sealer. I found out after the fact that the stain easily wipes off the bookcase if you get any on it. Just take care to do it while it’s still wet.
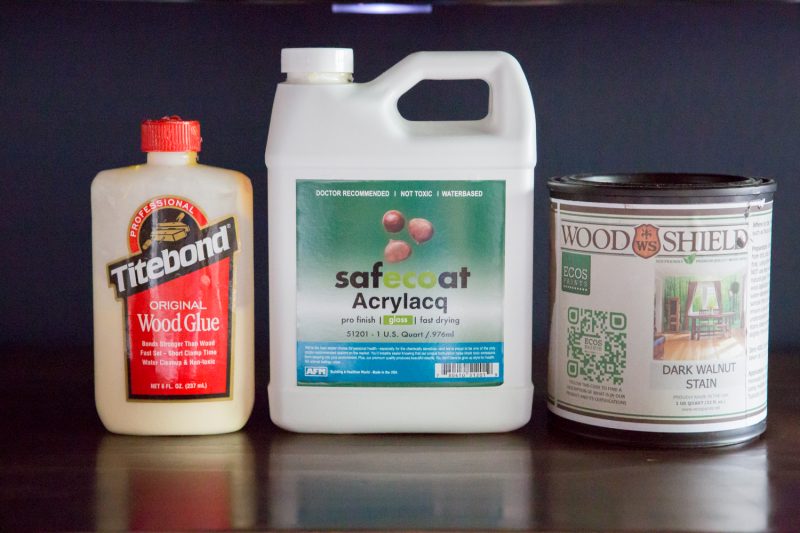
We used the Ecos Dark Walnut Stain, along with the Safecoat Acrylacq clear coat. These are both non toxic, and have very little smell at all, and no smell after drying. Also, the Titebond is the non-toxic wood glue I used for the table legs.
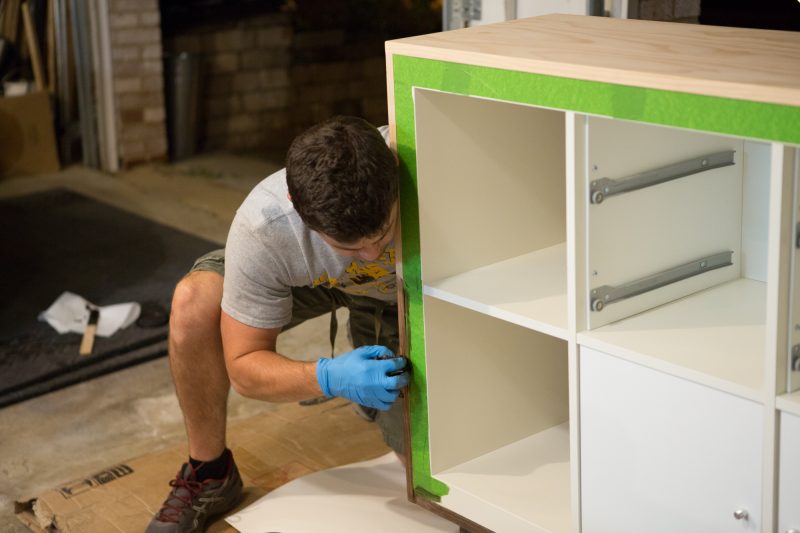
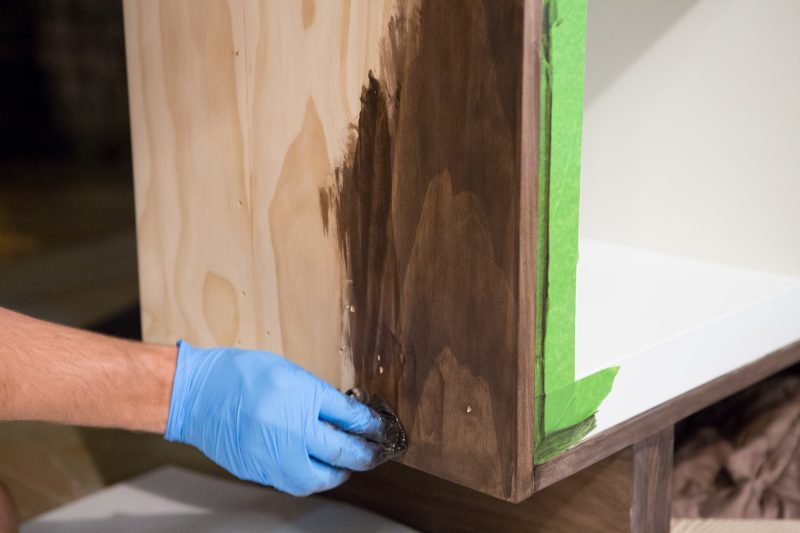
For the staining part, you want to make sure you’re wearing old clothes, have your hands protected with gloves, and have the floor protected too. I started with the underside of the table so that I could practice my technique somewhere that wouldn’t be visible. Then I moved upward to the sides, and finally the top.
Due to the nature of applying this stain (and most other stains), you’ll want to be strategic and work a small area to maintain an even coat and a wet edge. Make sure no areas have stain drips or pools, as that will make the wood darker in those areas. Use an old rag (like a cut up piece of t-shirt) to apply the stain.
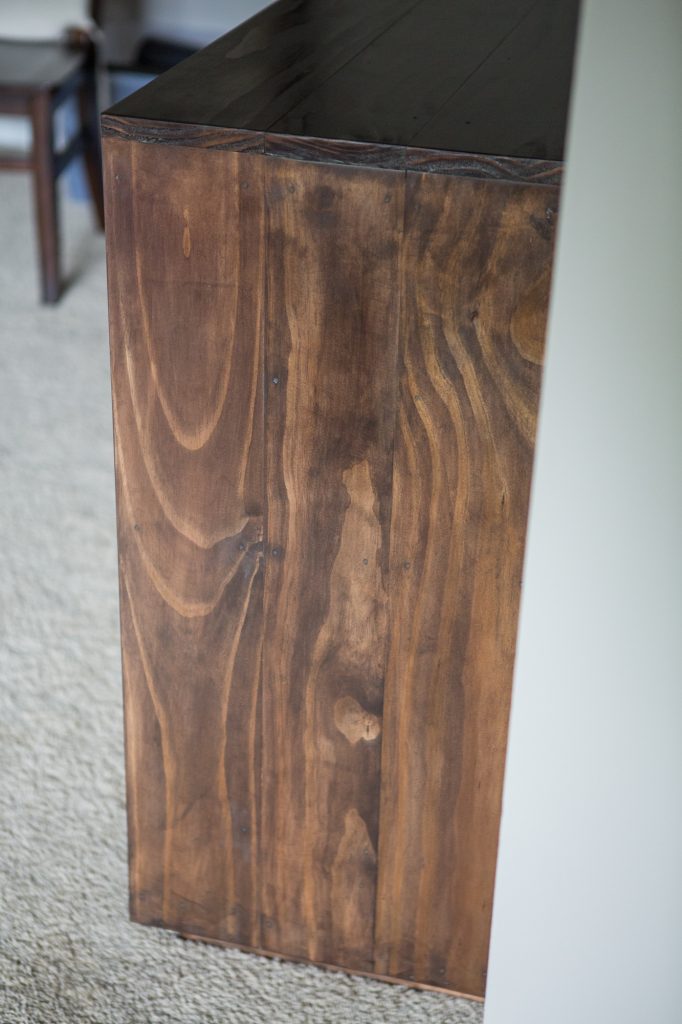
One coat of the stain was plenty for this piece of furniture, as we were trying to generally match the stain color to my grandparent’s corner hutch. Let this coat dry fully. After the stain is dry, you are ready to apply your first coat of clear. Use a synthetic bristle brush (I like ones with a short rubber handle so they are more comfortable to use), and apply the clear coat evenly. I like to go in the opposite direction when applying clear: top down. I start by applying a generous, even coat to the top. Begin by getting the entire surface damp with a clean, wet rag. This helps the product apply more evenly. Maintain a wet edge when applying the clear coat, taking extra care to monitor for drips down the sides or edges.
Apply clear coat to the entire piece (I didn’t bother with the under side, but I did the table legs), and allow it to dry overnight. The next day, the table will feel rough. In between the two clear coat applications, we filled the nail holes with wood putty. We used a mix of walnut and ebony to match the color of our stain. Use as little putty as possible to fully fill the holes. Any excess will be more cleanup later.
Use a higher grit sandpaper like a 300 or 400, and lightly sand down the entire piece. Because of the clear coat and wood putty, you will foul the sanding pad frequently. Use a metal putty knife or scraper to periodically scrape the ‘boogered up’ residue on the sandpaper so that you get a nice even sanding. Use a wet tack cloth and remove all the dust from sanding. Repeat the steps for applying the clear coat, including using a clean, damp rag to moisten the surface. Apply second coat of clear coat, taking extra care to make this coat even and glassy smooth. I did not sand this final coat, because I don’t think this clear coat would take the sanding well. It developed a bit of a haze from the sanding, but that disappeared when the second coat of clear was applied.
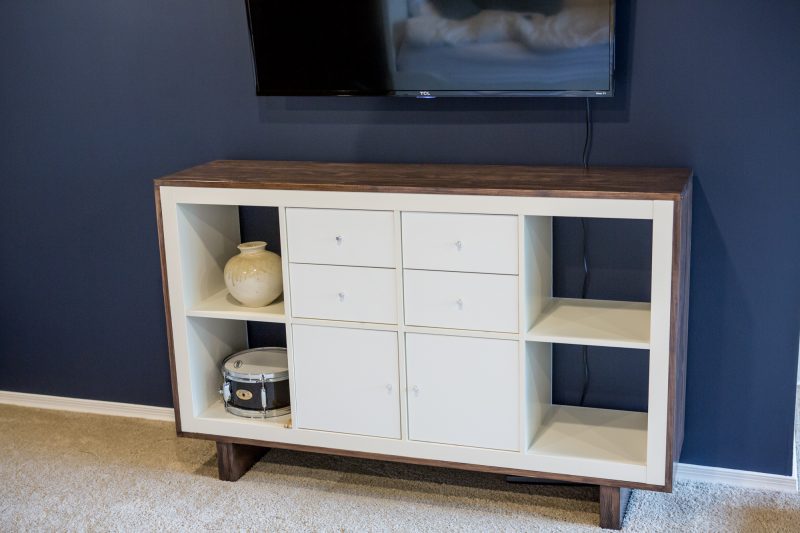
Allow the last coat of lacquer to dry fully, and you are ready to use your new piece of furniture! Here are some finished photos of the TV stand (table, bookcase… hey whatever you want to call it!). We really love the way it turned out.
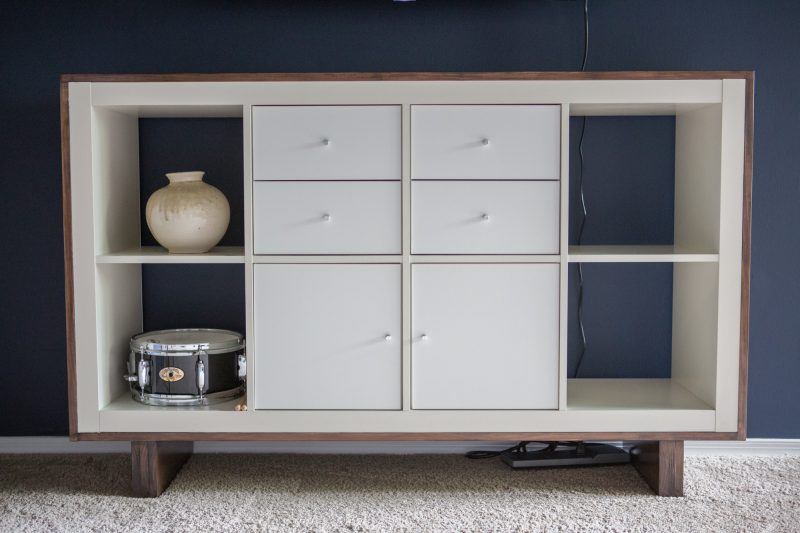
It’s not an exact match for the hutch, but the walnut wood color is used throughout our house, so if we decide to use this in a different room in the future, it’ll work just fine.
I hope you all enjoyed this little DIY IKEA hack. When we aren’t in the kitchen making tasty recipes, we’re usually working on renovating some aspect of our home. Let us know if you would like to see more home DIY features in the future, or if you try this one out yourself. Also feel free to reach out with any questions you might have about the process in the comments below, and I’ll do my best to answer them!
Bill


There are no comments yet.