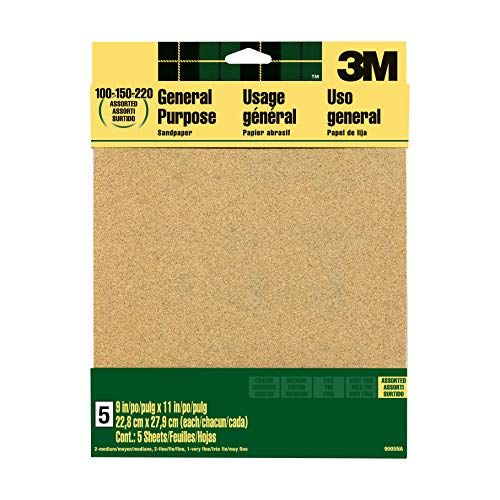
Sanding by hand is a forgotten skill that was well known to woodworkers generations ago. It faded into obscurity with the advent of sanding power tools. Of course, it’s right to ask why you should bother with it. Isn’t hand sanding somewhat like learning to use a slide rule? A fair question.
Hand sanding works nicely as a follow up to power tool sanding. As good as power tools are, they’re not perfect. Sometimes you need to touch up the surface to remove an imperfection that the machine caused or skipped over. What’s more, there are some curved surfaces that can only be sanded by hand. Think of convex and concave curves on crown moldings and car bodies. A sander with a flat base will have a hard time smoothing them. And the steeper the curve, the greater the problem.
And lastly, small jobs may reach the finish line sooner. When you sand with a power tool, you have to set up, then you accomplish the work itself, and then you have to clean the tool and your workspace. That might be fast and simple, or it might be laborious and messy, like emptying sanding dust out of a shop vacuum. Power sanding makes the most sense when the project is large and that related maintenance is offset by the speed by which you sand the entire surface.
We do a bit of hand sanding in preparing stock for our power tool testing; we also employ it for making photo samples and for odds and ends around the Popular Mechanics shop. We’re constantly trying new types of abrasives and experimenting with new methods that we hear about from our colleagues here and craftsmen elsewhere.
Below, we outline methods and materials to sand by hand, based on our decades of experience. Two of the methods might be described as traditional, and the third is a variation that uses the latest materials in abrasive technology. No matter how you look at it, you’re going to use a piece of sandpaper and apply it directly to the work or you’re going to use a block (of some kind) with sandpaper on it. Read through to the end for a list of best practices that will see you through most hand-sanding jobs.
The Tri-Fold
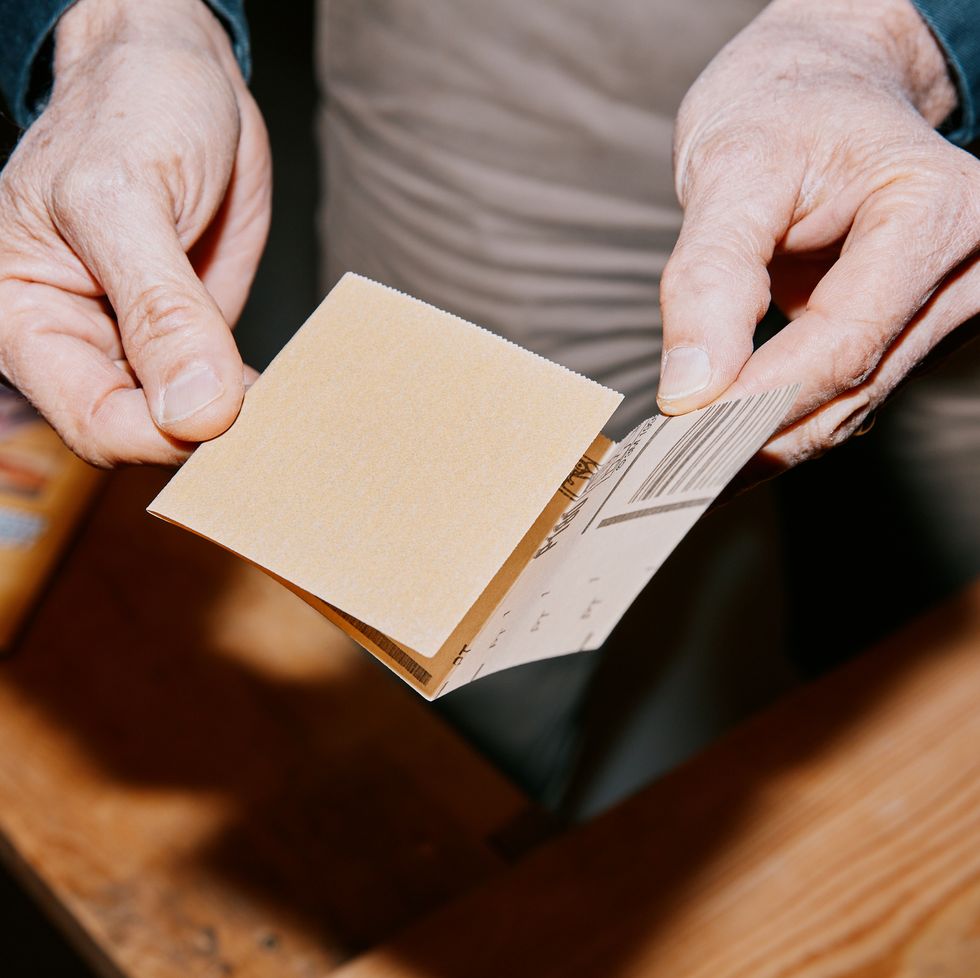
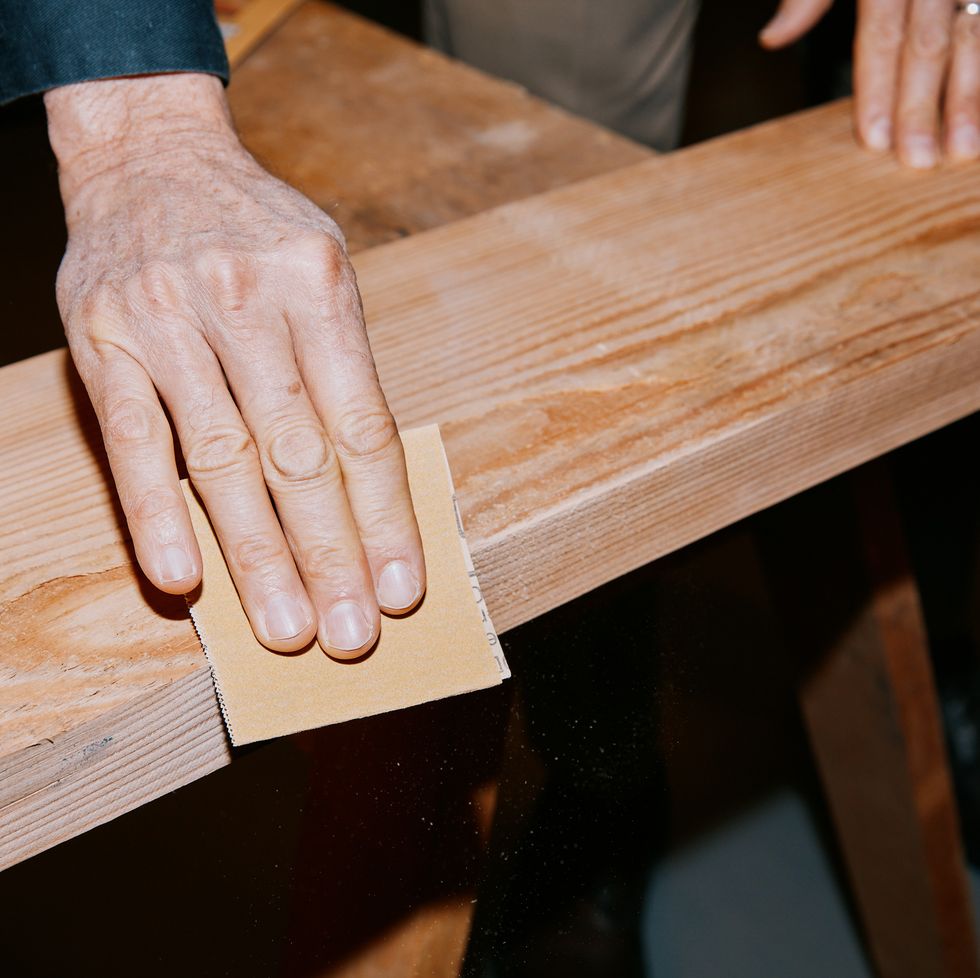
Folding a piece of sandpaper specifically for smoothing an edge or a small area sounds so basic that it needs no explanation. But it does. Properly folded sandpaper is perfect for doing several different jobs: knocking off a splinter, softening the sharp edge off a board, lightly scuffing a glossy surface prior to applying finish, or working over a broad convex or concave surface.
For that last task, and when sanding an edge, you move the tri-fold paper in a straight line. When de-glossing a surface or taking care of splinters, move the paper in a gentle arc.
I first saw the tri-fold method decades ago while I was as a young editor traveling in the Midwest. I stopped in Monroe, Wisconsin, to see Gottlieb Brandli, a regionally well-known woodworker. He had trained in a four-year apprenticeship in Switzerland before coming to the U.S. When we were talking about traditional hand tool skills and whether woodworkers needed to know them, he was emphatic: Yes. Do most of your work with machines, he said, but be ready to use hand tools when needed to push the job across the finish line or add the finishing touch.
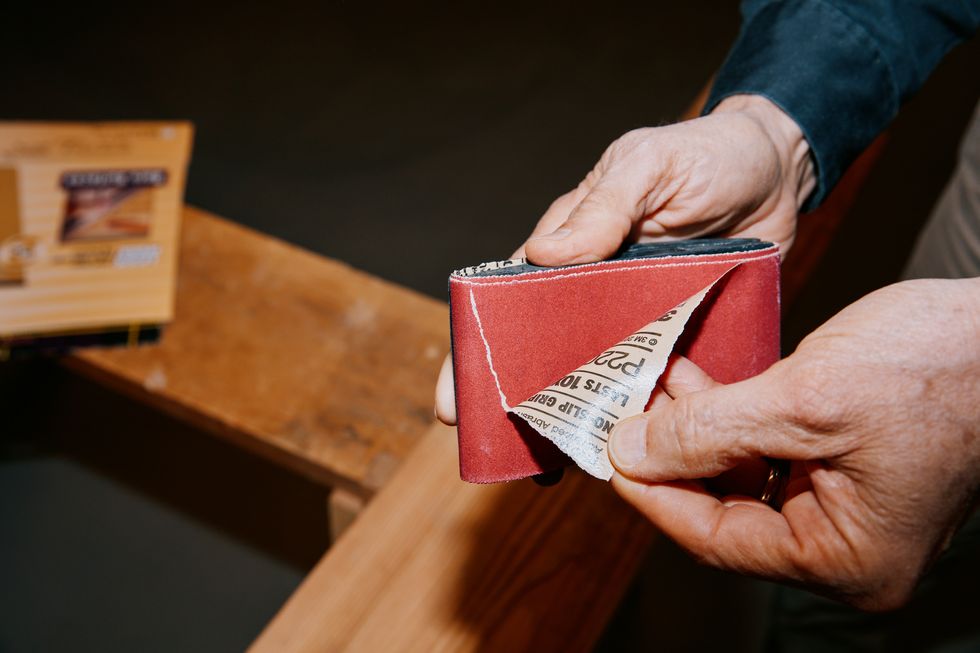
But then he did something surprising. He picked up a piece of sandpaper and folded it. “In my shop,” he said, “we even use sandpaper correctly.” He neatly creased the abrasive into a three-way fold and demonstrated how the bottom part of it is the sanding surface while the two adjoining folded surfaces lock against each other, preventing the sandpaper from slipping. When one surface wears down, simply refold the paper to expose fresh grit.
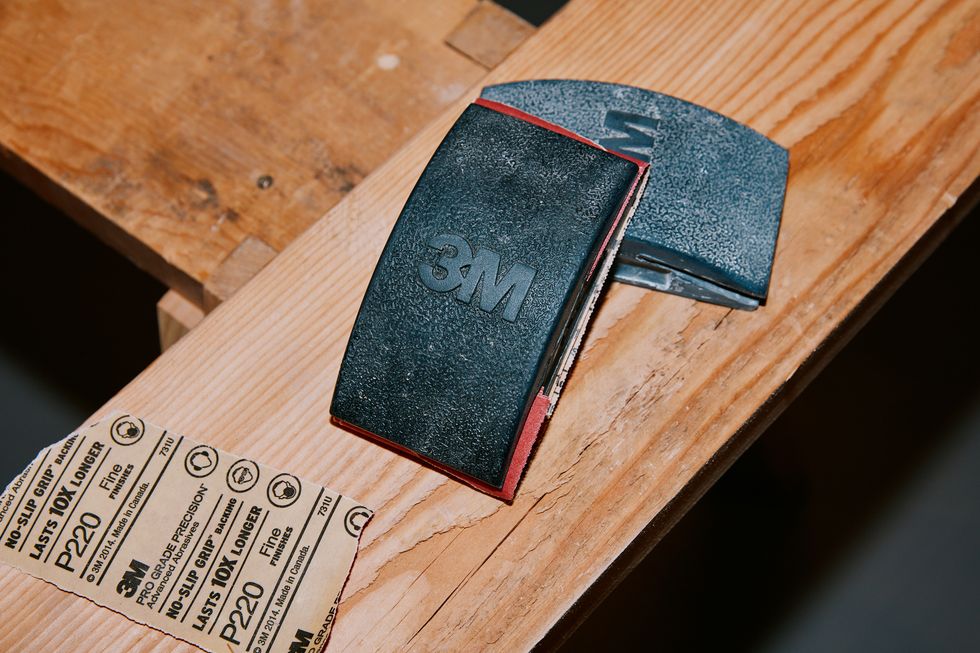
The Rubber 3M Sanding Block
Using a rubber sanding block is a fast way to do a small sanding job. For example, if you just need to smooth a single piece of wood such as one drawer front, a rubber sanding block is fast, neat, and precise. It’s also a great tool to put a small bevel on a 90 degree edge and an excellent means to remove sanding machine marks from a surface. That last method is worth calling out. I first used a rubber sanding block when I did a brief stint as an apprentice cabinetmaker decades ago. Although I made for a lousy apprentice, frankly, I was pretty good at sanding. And there was a standing rule in that shop that every machine-sanded surface was finished with meticulously careful hand sanding.
It was tedious work, but the resulting surface was dead flat and glass smooth.
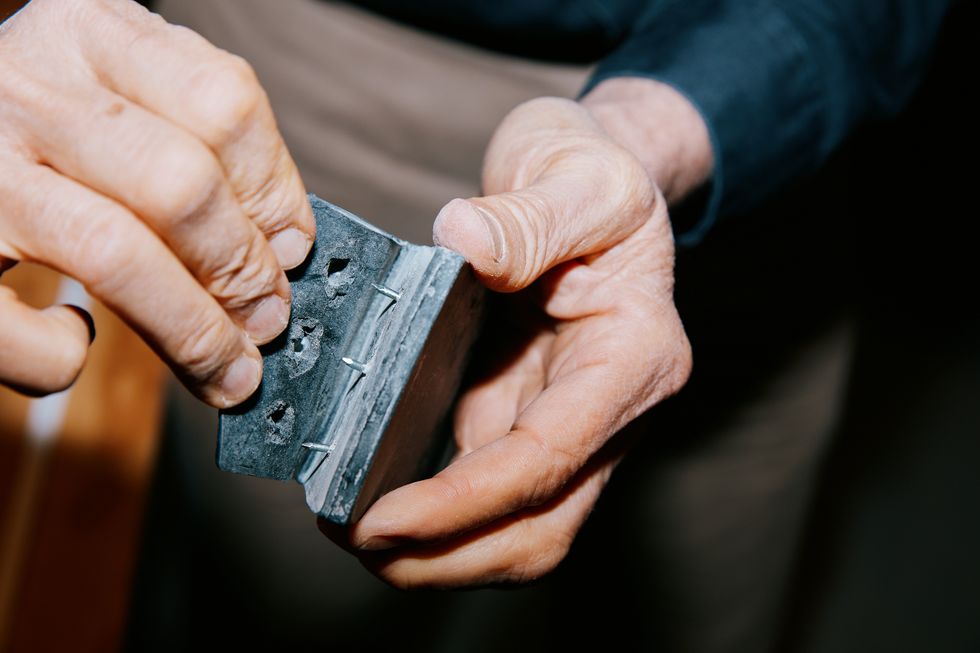
The tool we used then is still available and widely sold. It’s the simple 3M Rubber Sanding Block, which holds sandpaper strips in place under two flexible lips that bear down on sharp pins embedded in the block. Once the lips flex down, they pin the sandpaper in place. It’s an elegant design, and the block is shaped so you can grip it easily.
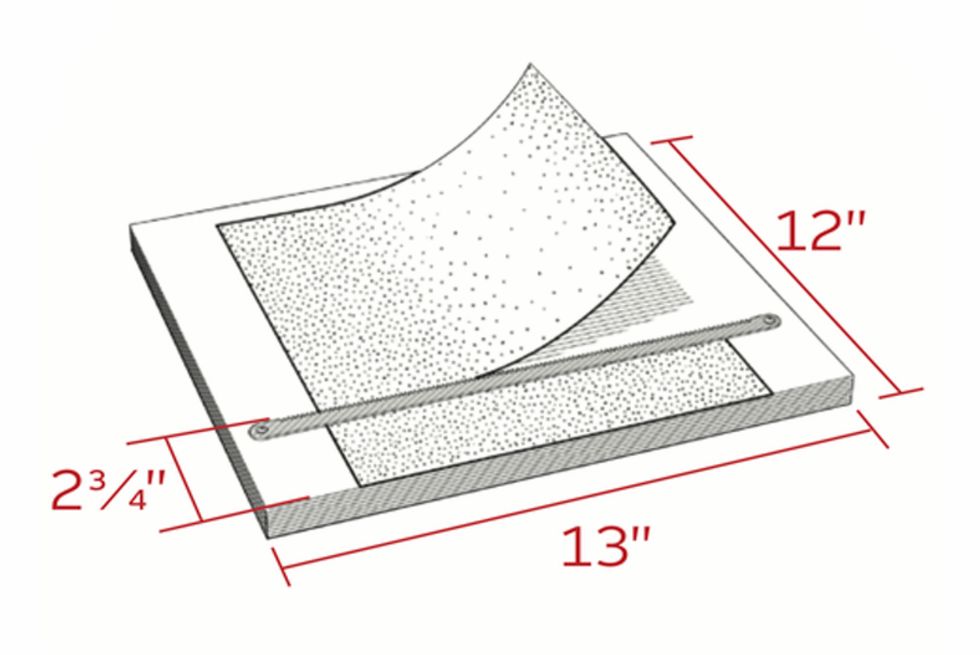
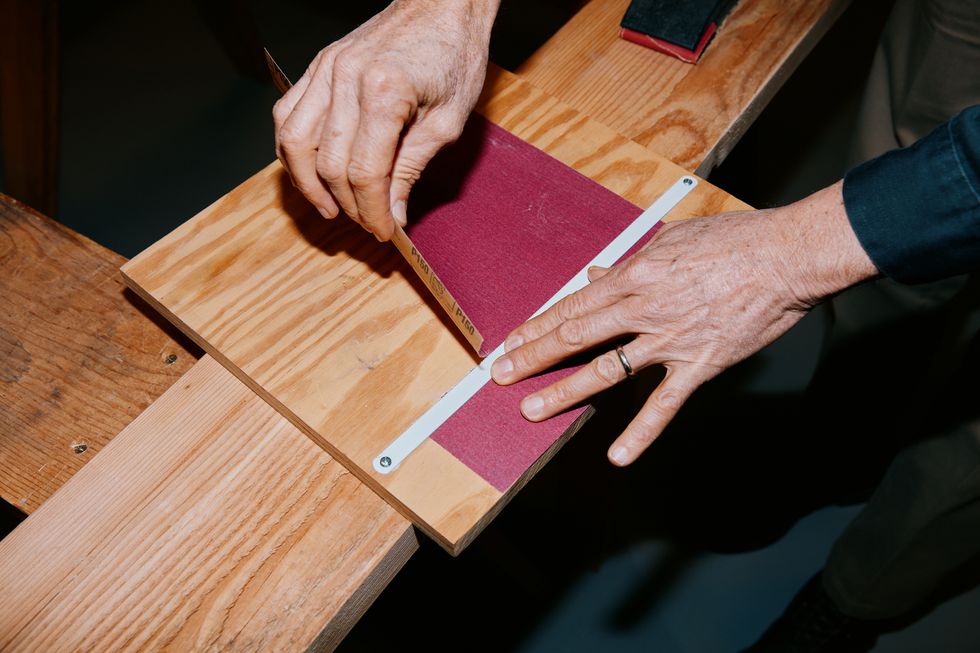
To use the block, you tear four individual strips from one sheet of sandpaper using a sandpaper ripper, which you can build yourself from a scrap of plywood that has an 18-teeth-per-inch hacksaw blade screwed to it. Space the blade from the edge of the plywood equal to the width of the sanding block. Slide a sheet of sandpaper under the blade, rip a strip, advance the paper, rip another strip, and so on to produce four strips from each sheet. Now take the four abrasive strips and install them in the block, one over the other.
To sand wood with this tool, you move the block straight back and forth. For de-glossing paint, you can move the block straight or in a circular motion; though be careful not to catch the edge of the block on the work surface, as this will tear loose one or more sheets of abrasive. For smoothing wood putty or autobody filler, you can move the block in a straight line, sweep it in a curve, or move it in a gentle circle–working from the filled area out to the surrounding surface.
The sandpaper dulls or becomes loaded with sanding debris as you work. You tear off the worn sheet to reveal fresh paper below and keep working. Eventually, you’ve torn off all the sheets. Flex the rubber lip up, remove the sandpaper stubs that are left, rip some more strips, install them, and you’re ready for the next job.
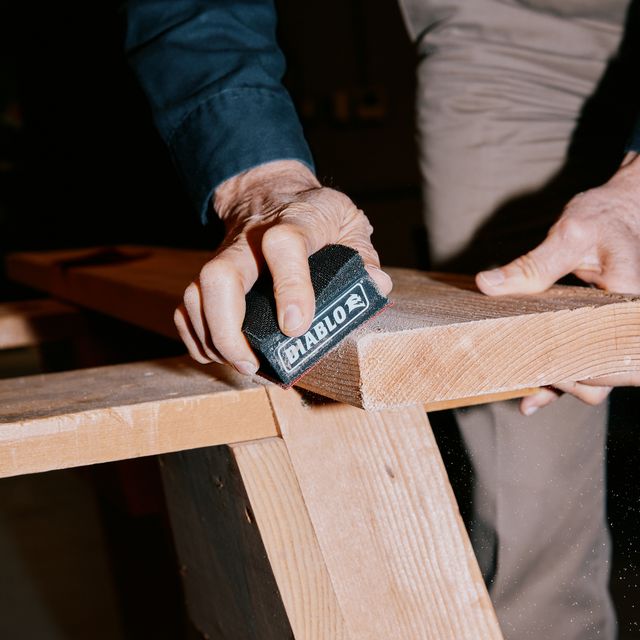
Diablo’s Innovative Block
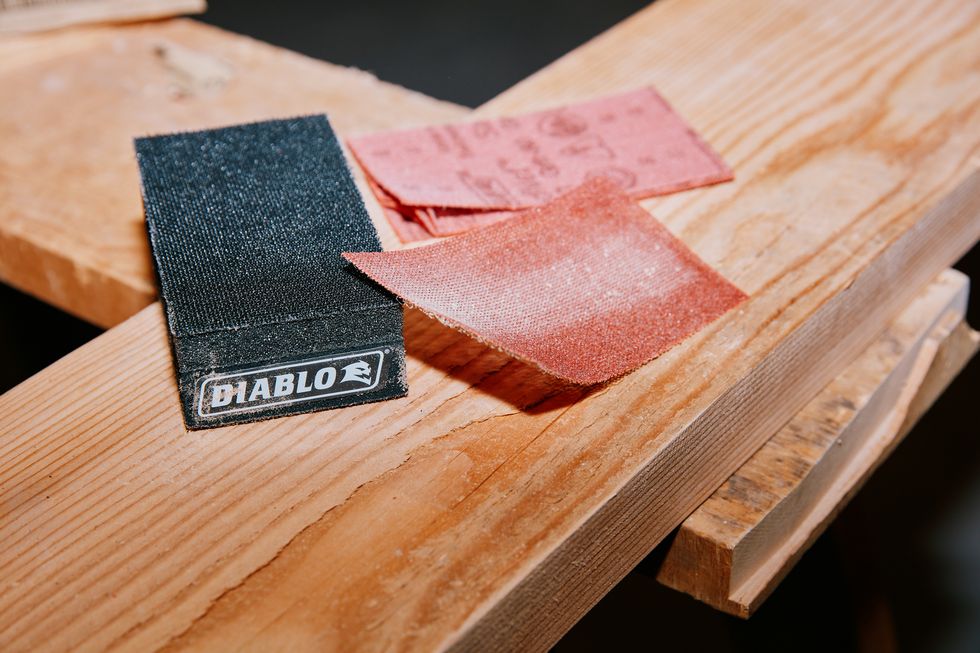
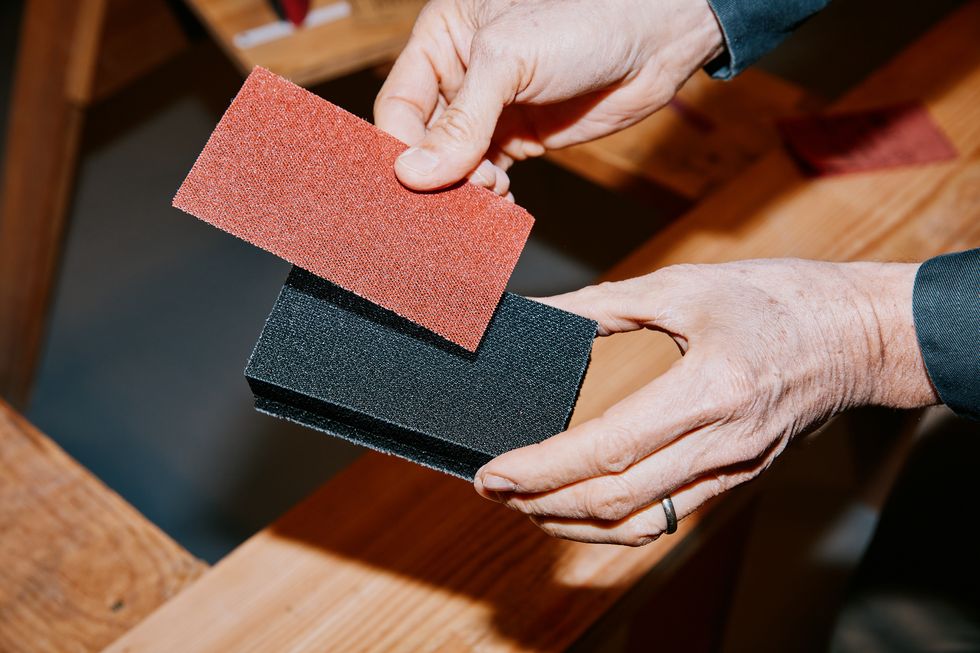
We tested Diablo’s sanding block recently and came away convinced that it’s the ideal tool for stripping rust, smoothing jagged paint, and sanding curved surfaces and flats. But Diablo’s real innovation is in ease of use: Once the block’s abrasive sheets become loaded with sanding debris, you simply wash them out. After they dry, stick ’em back on the block. Of course, you can also use the block for wet sanding; spray the surface with water, sand, spray some more, sand, and so on. These reusable SandNet sheets come in 80, 120, and 220 grit.
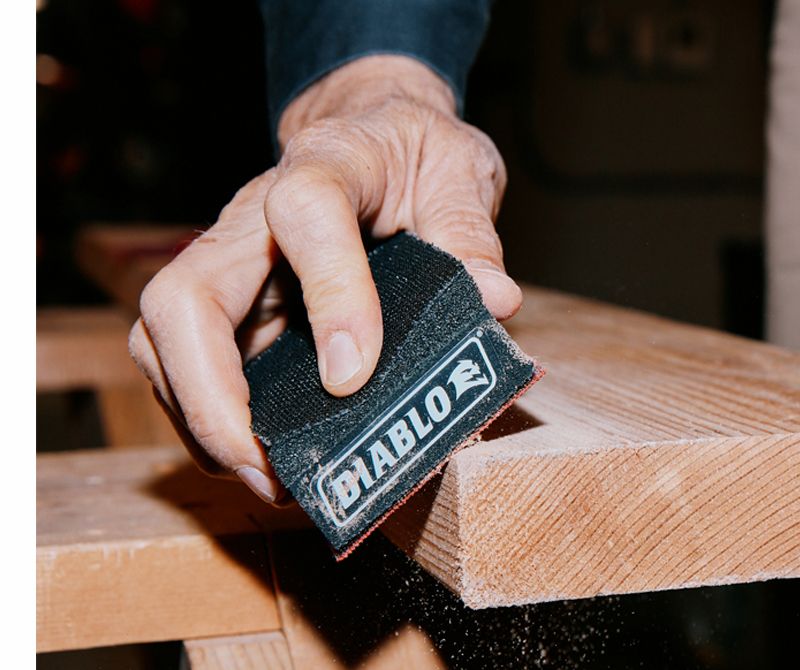
The block is more expensive than the 3M, but it will sand contours, which is not something that other block is good at (unless it’s a broad and relatively flat curve). One side of the Diablo block is sponge-like for sanding curves, and the other is firm for sanding flat surfaces. The SandNet sheets stick to both sides of the block by means of hook-and-loop surfaces somewhat like Velcro.
We used the Diablo in both a straight line and in a circular motion and found it works equally well either way. When sanding a curved surface with the soft side, such as the contour of a crown molding, the molding’s shape will guide the block on a straight path. When scrubbing off rust and gunk, we used it like a kitchen cleaning pad, moving it in rapid and tight circles.
Best Practices
Sanding by hand may be simple, but it is possible to mess up. Regardless of whether you are working on a flat, convex, or concave surface or whether you’re using a single piece of sandpaper, a rubber block, or the Diablo, these fundamental rules yield the best results. Like sanding with a machine, take your time, don’t bear down too hard on the tool (or the paper) and move in a consistent motion, not an erratic one.
Skipping Grits
In sanding, you always move from coarse to smoother grits. And never skip more than one grit level when sanding. For example, you might go from 120-grit paper to 180 (skipping 150), but moving from 120-grit to 220 (skipping 150 and 180) is a recipe for an unevenly sanded surface that will show scratches. This occurs when the marks from coarser grits don’t get blended out by subsequent finer grits.
Clean Up
To do a neat job sanding wood surfaces, carefully vacuum and wipe down the surface after you’re done sanding at each grit level and before moving to the next finer grit. This prevents loosened abrasive particles from scoring the surface when you sand again, scratching what you just worked so hard to perfect.
Use a Chart to Select Product
There are so many different types of sandpaper with different performance benefits. Fortunately, there are helpful abrasive charts sprinkled all over the web that greatly simplify matters. For example, there’s this one from PAC Com International, an abrasive manufacturer. And there’s this 3M abrasive paper chart, which is of course limited to 3M products but extremely helpful all the same.

Roy Berendsohn has worked for more than 25 years at Popular Mechanics, where he has written on carpentry, masonry, painting, plumbing, electrical, woodworking, blacksmithing, welding, lawn care, chainsaw use, and outdoor power equipment. When he’s not working on his own house, he volunteers with Sovereign Grace Church doing home repair for families in rural, suburban and urban locations throughout central and southern New Jersey.
