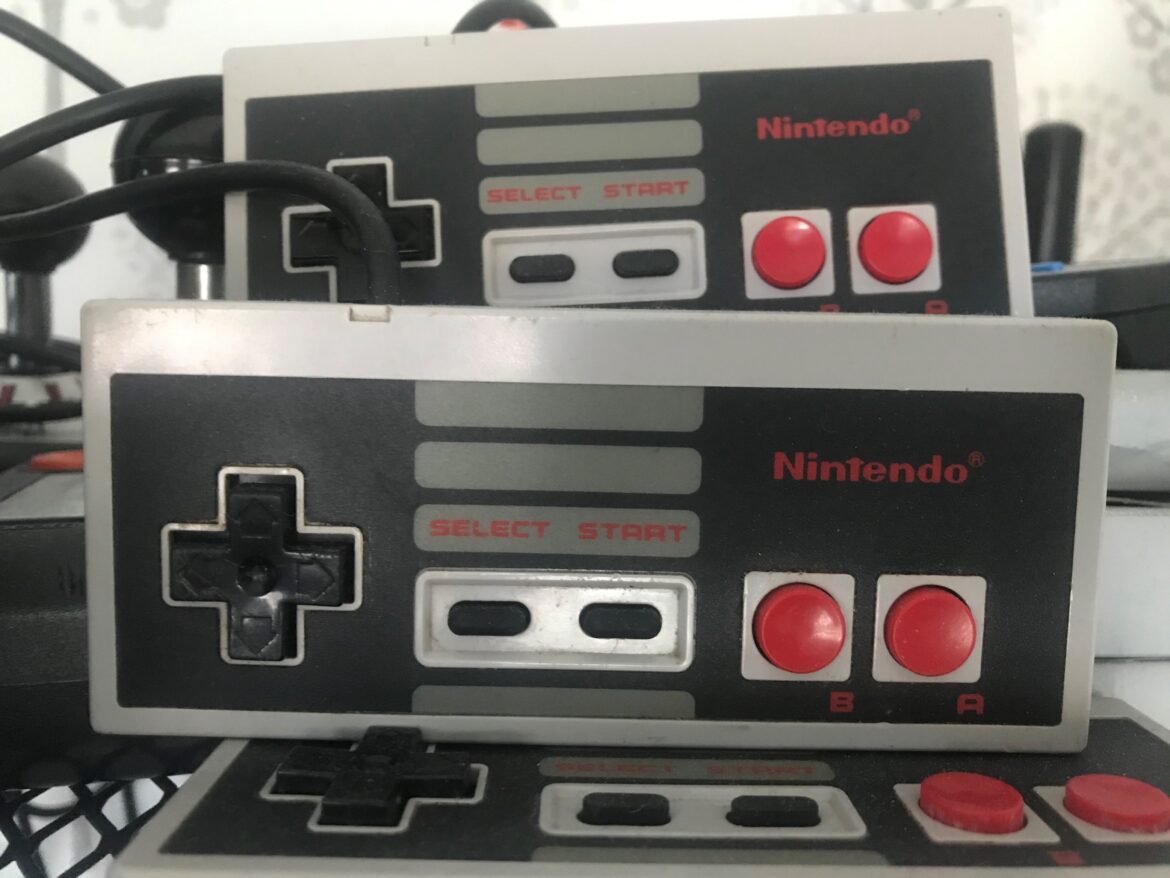
The NES controller with its characteristic D-pad, select, start and A and B button is liked by many, and is considered a standard for how a digital controller should function. As these controllers are 35+ years old at the time of writing, they need maintenance to function properly. In this post, I will write a few notes about how to perform such maintenance. The post will go through the following procedures:
- Disassembly and assembly.
- Cleaning (briefly).
- Changing rubber pads (briefly).
- Cable replacement
- Replacement of the MN4021B static shift register
Step 1: disassemble your NES controller
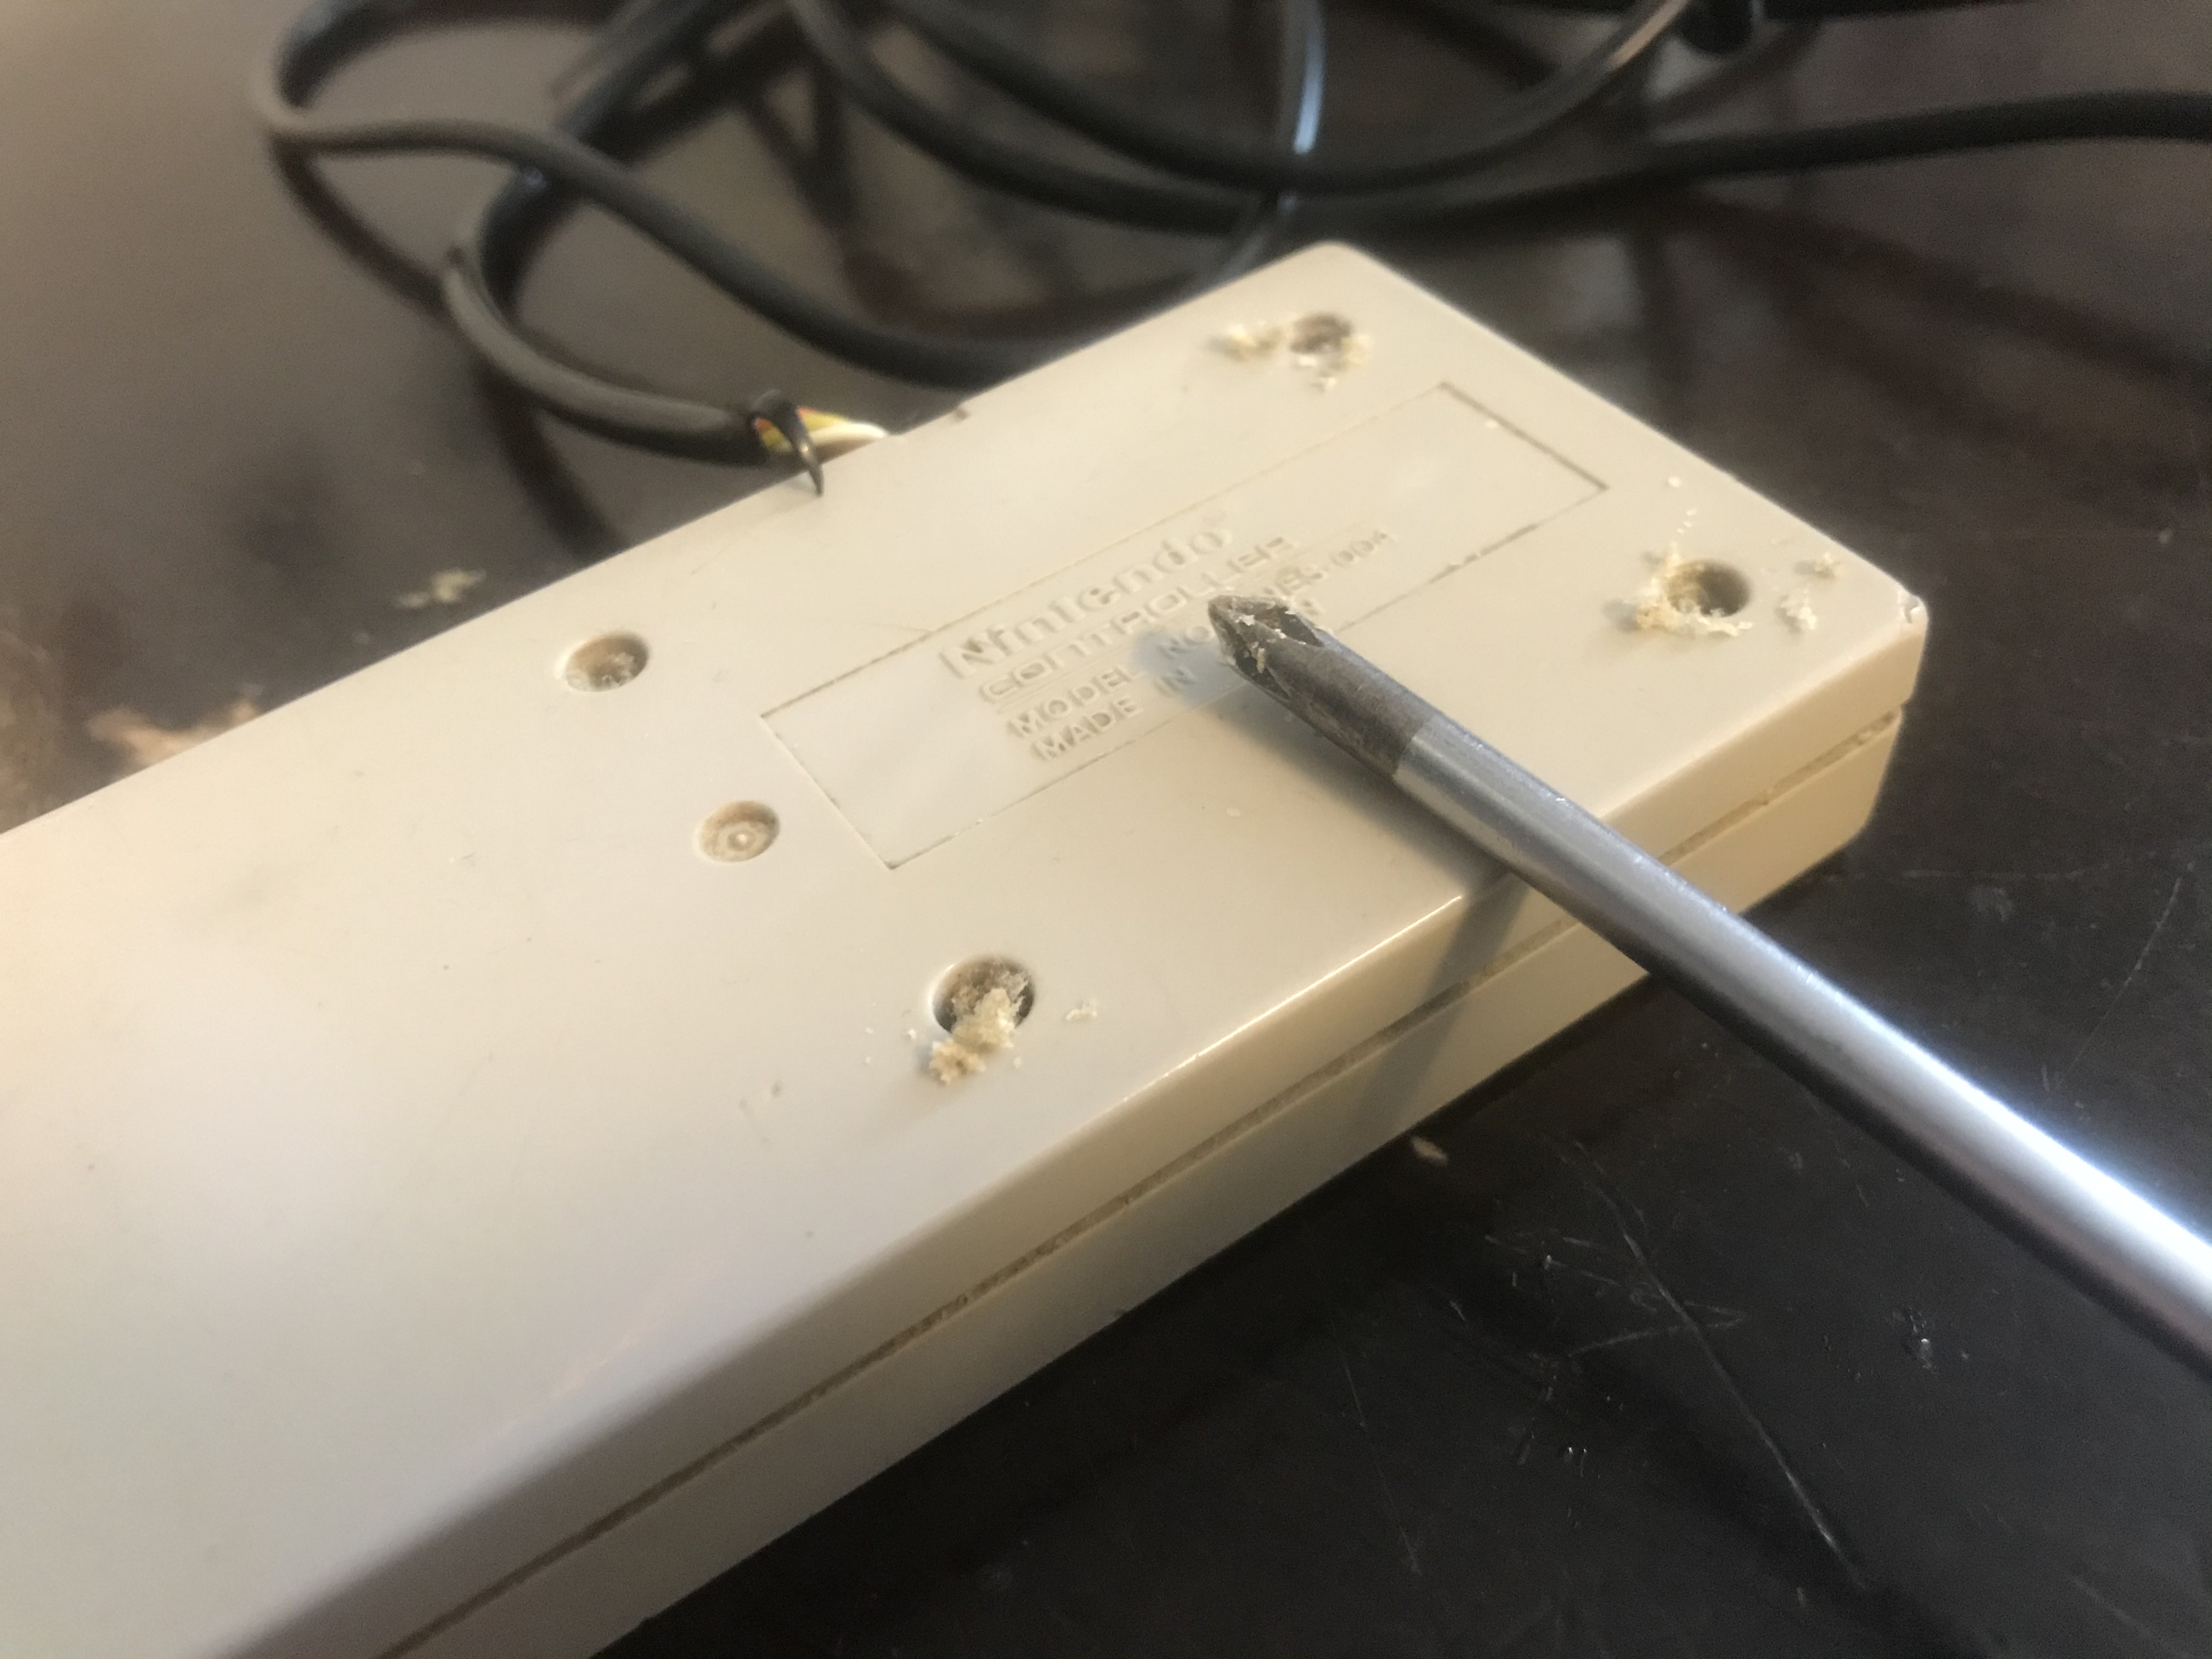
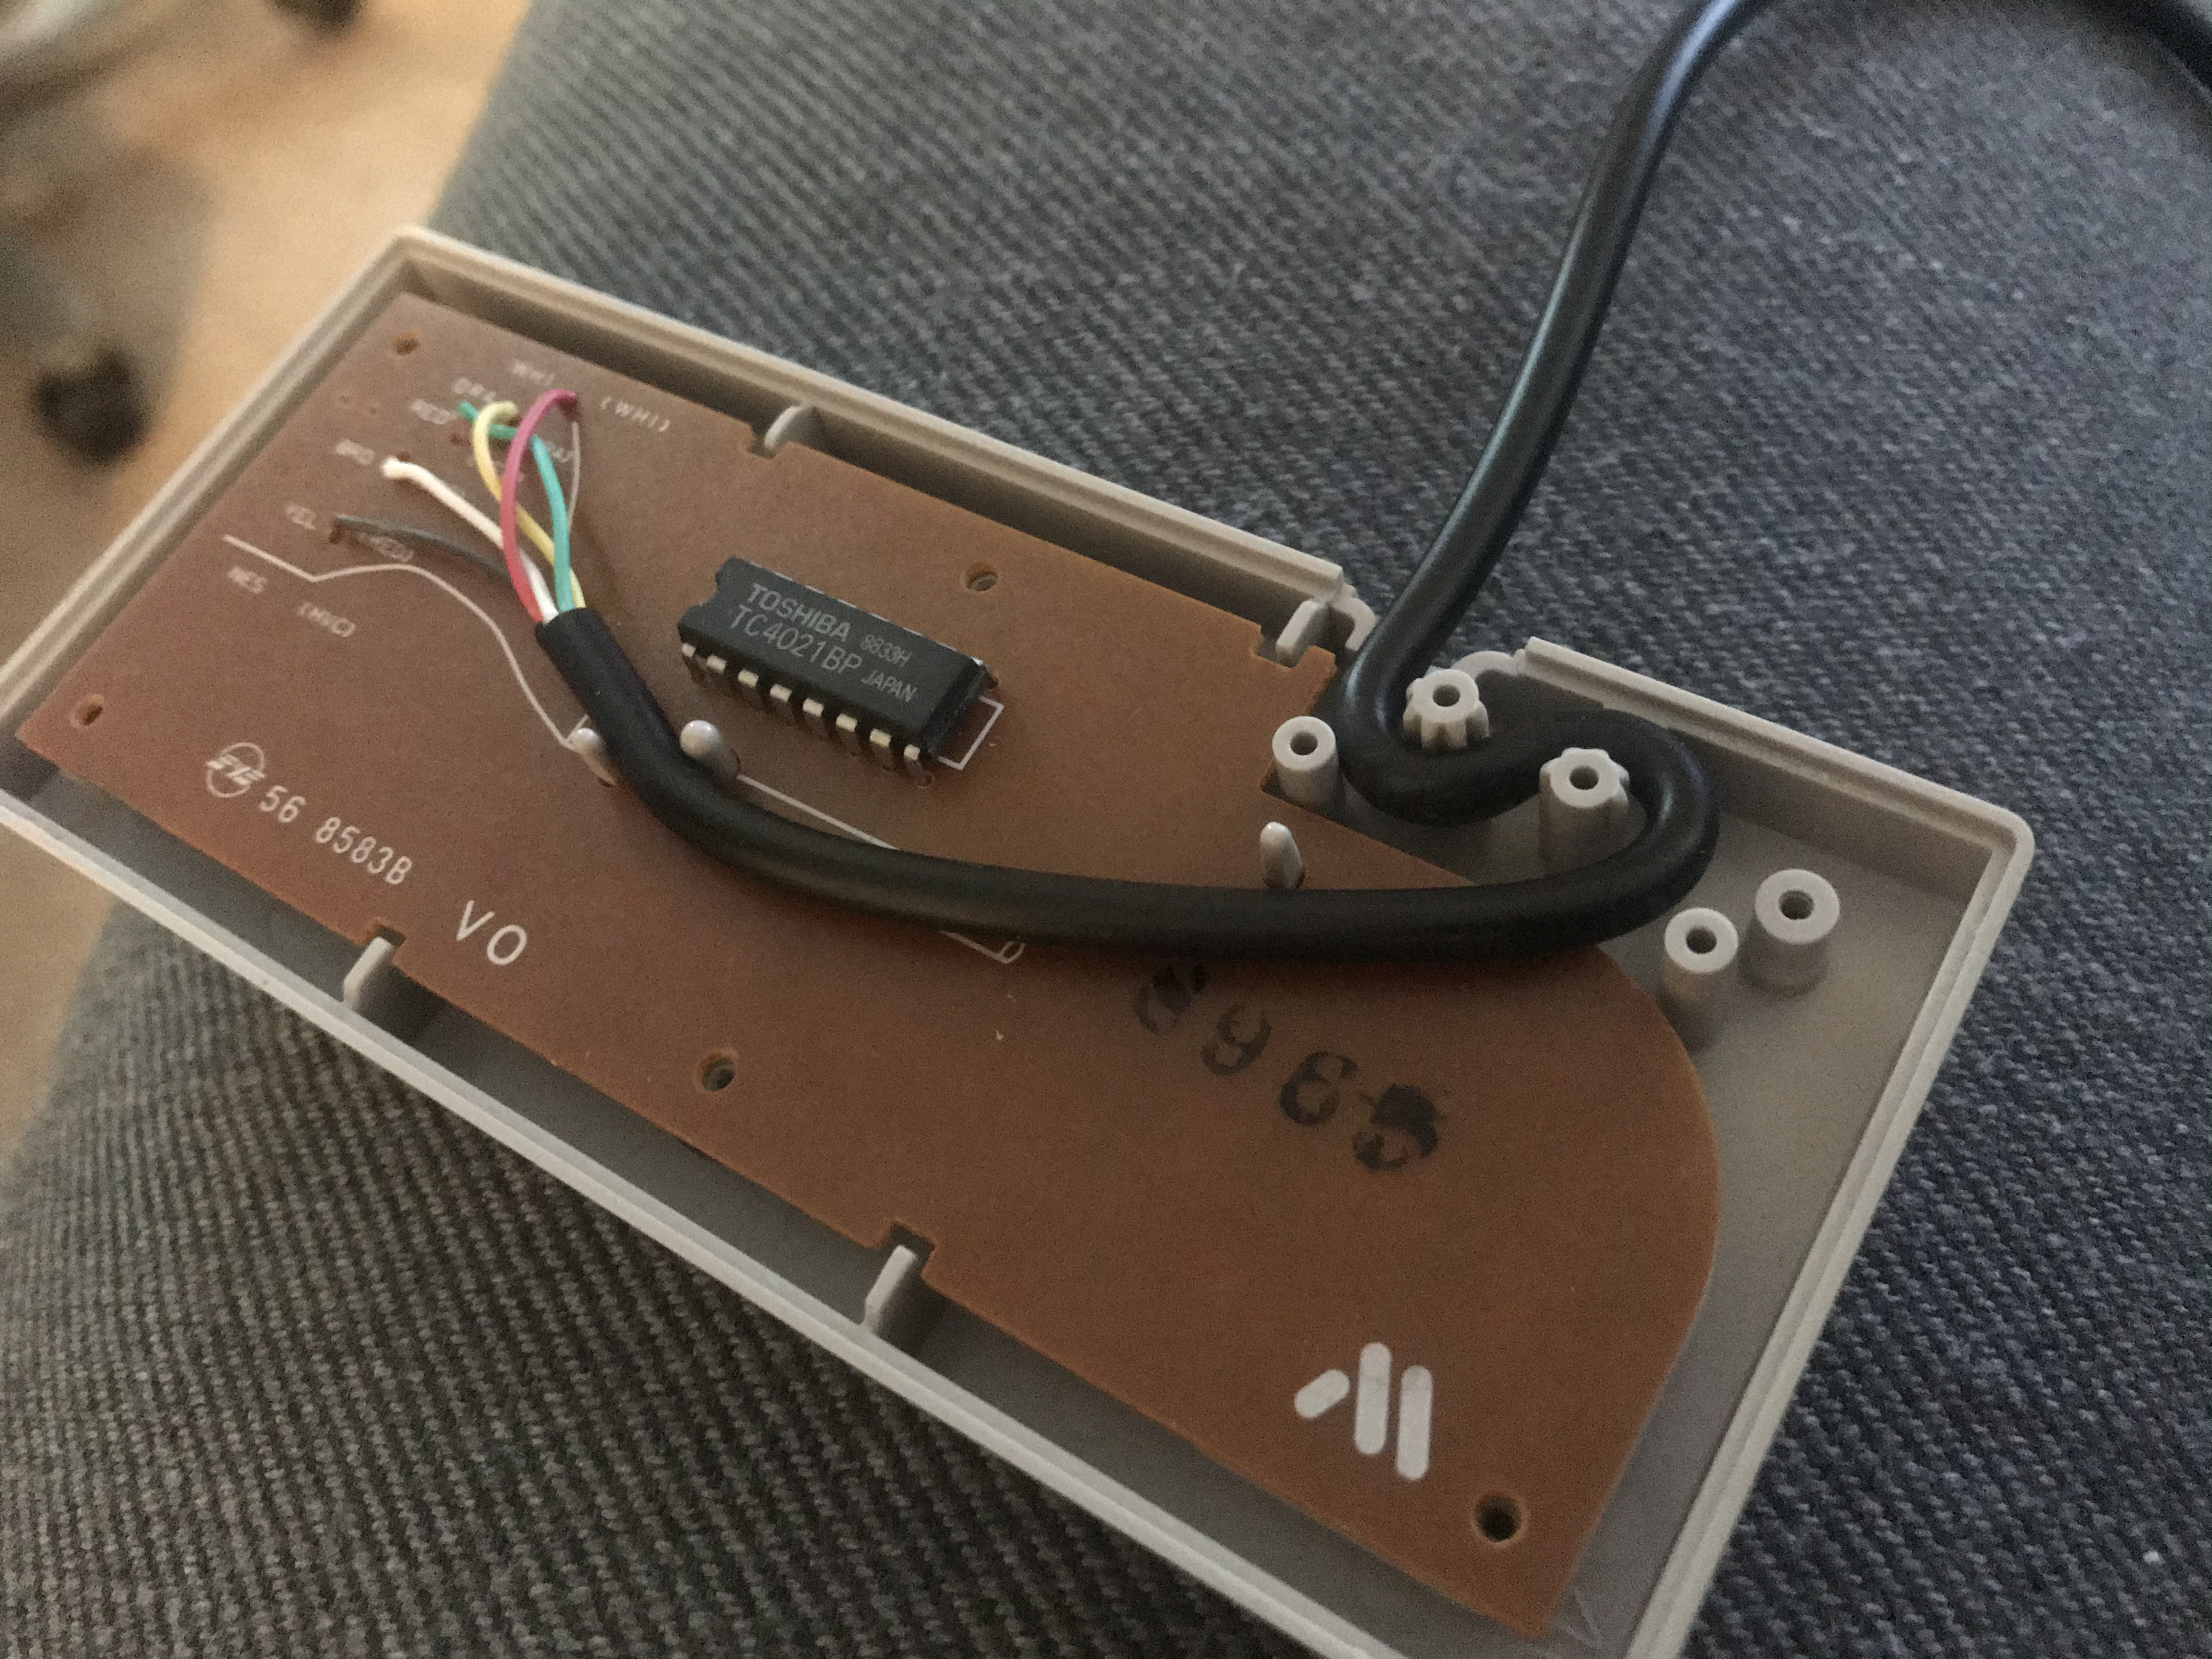
As seen in the images below, in this post I am using an extremely dirty NES controller. I don’t want to know what the dirt inside those screw holes consists of. Anyway, to disassemble the NES controller, simply remove the six Philips screws at the back.

Step 2: Cleaning, and replace rubber pads
At this stage, give your controller a good clean and inspect the rubber pads. New pads are available for a few bucks. If they are broken, replace them with aftermarket pads. Clean all plastic parts with soap and water and use alcohol on the pcb. This will solve 90% of all NES controller problems.
Step 3: Cable replacement
If your controller is completely dead, or if some buttons refuse to work even after a good clean, chances are that you controller cable is broken. Aftermarket cables are available for purchase at eBay and similar places, although the quality of these vary.
The following steps are necessary to replace the cable:
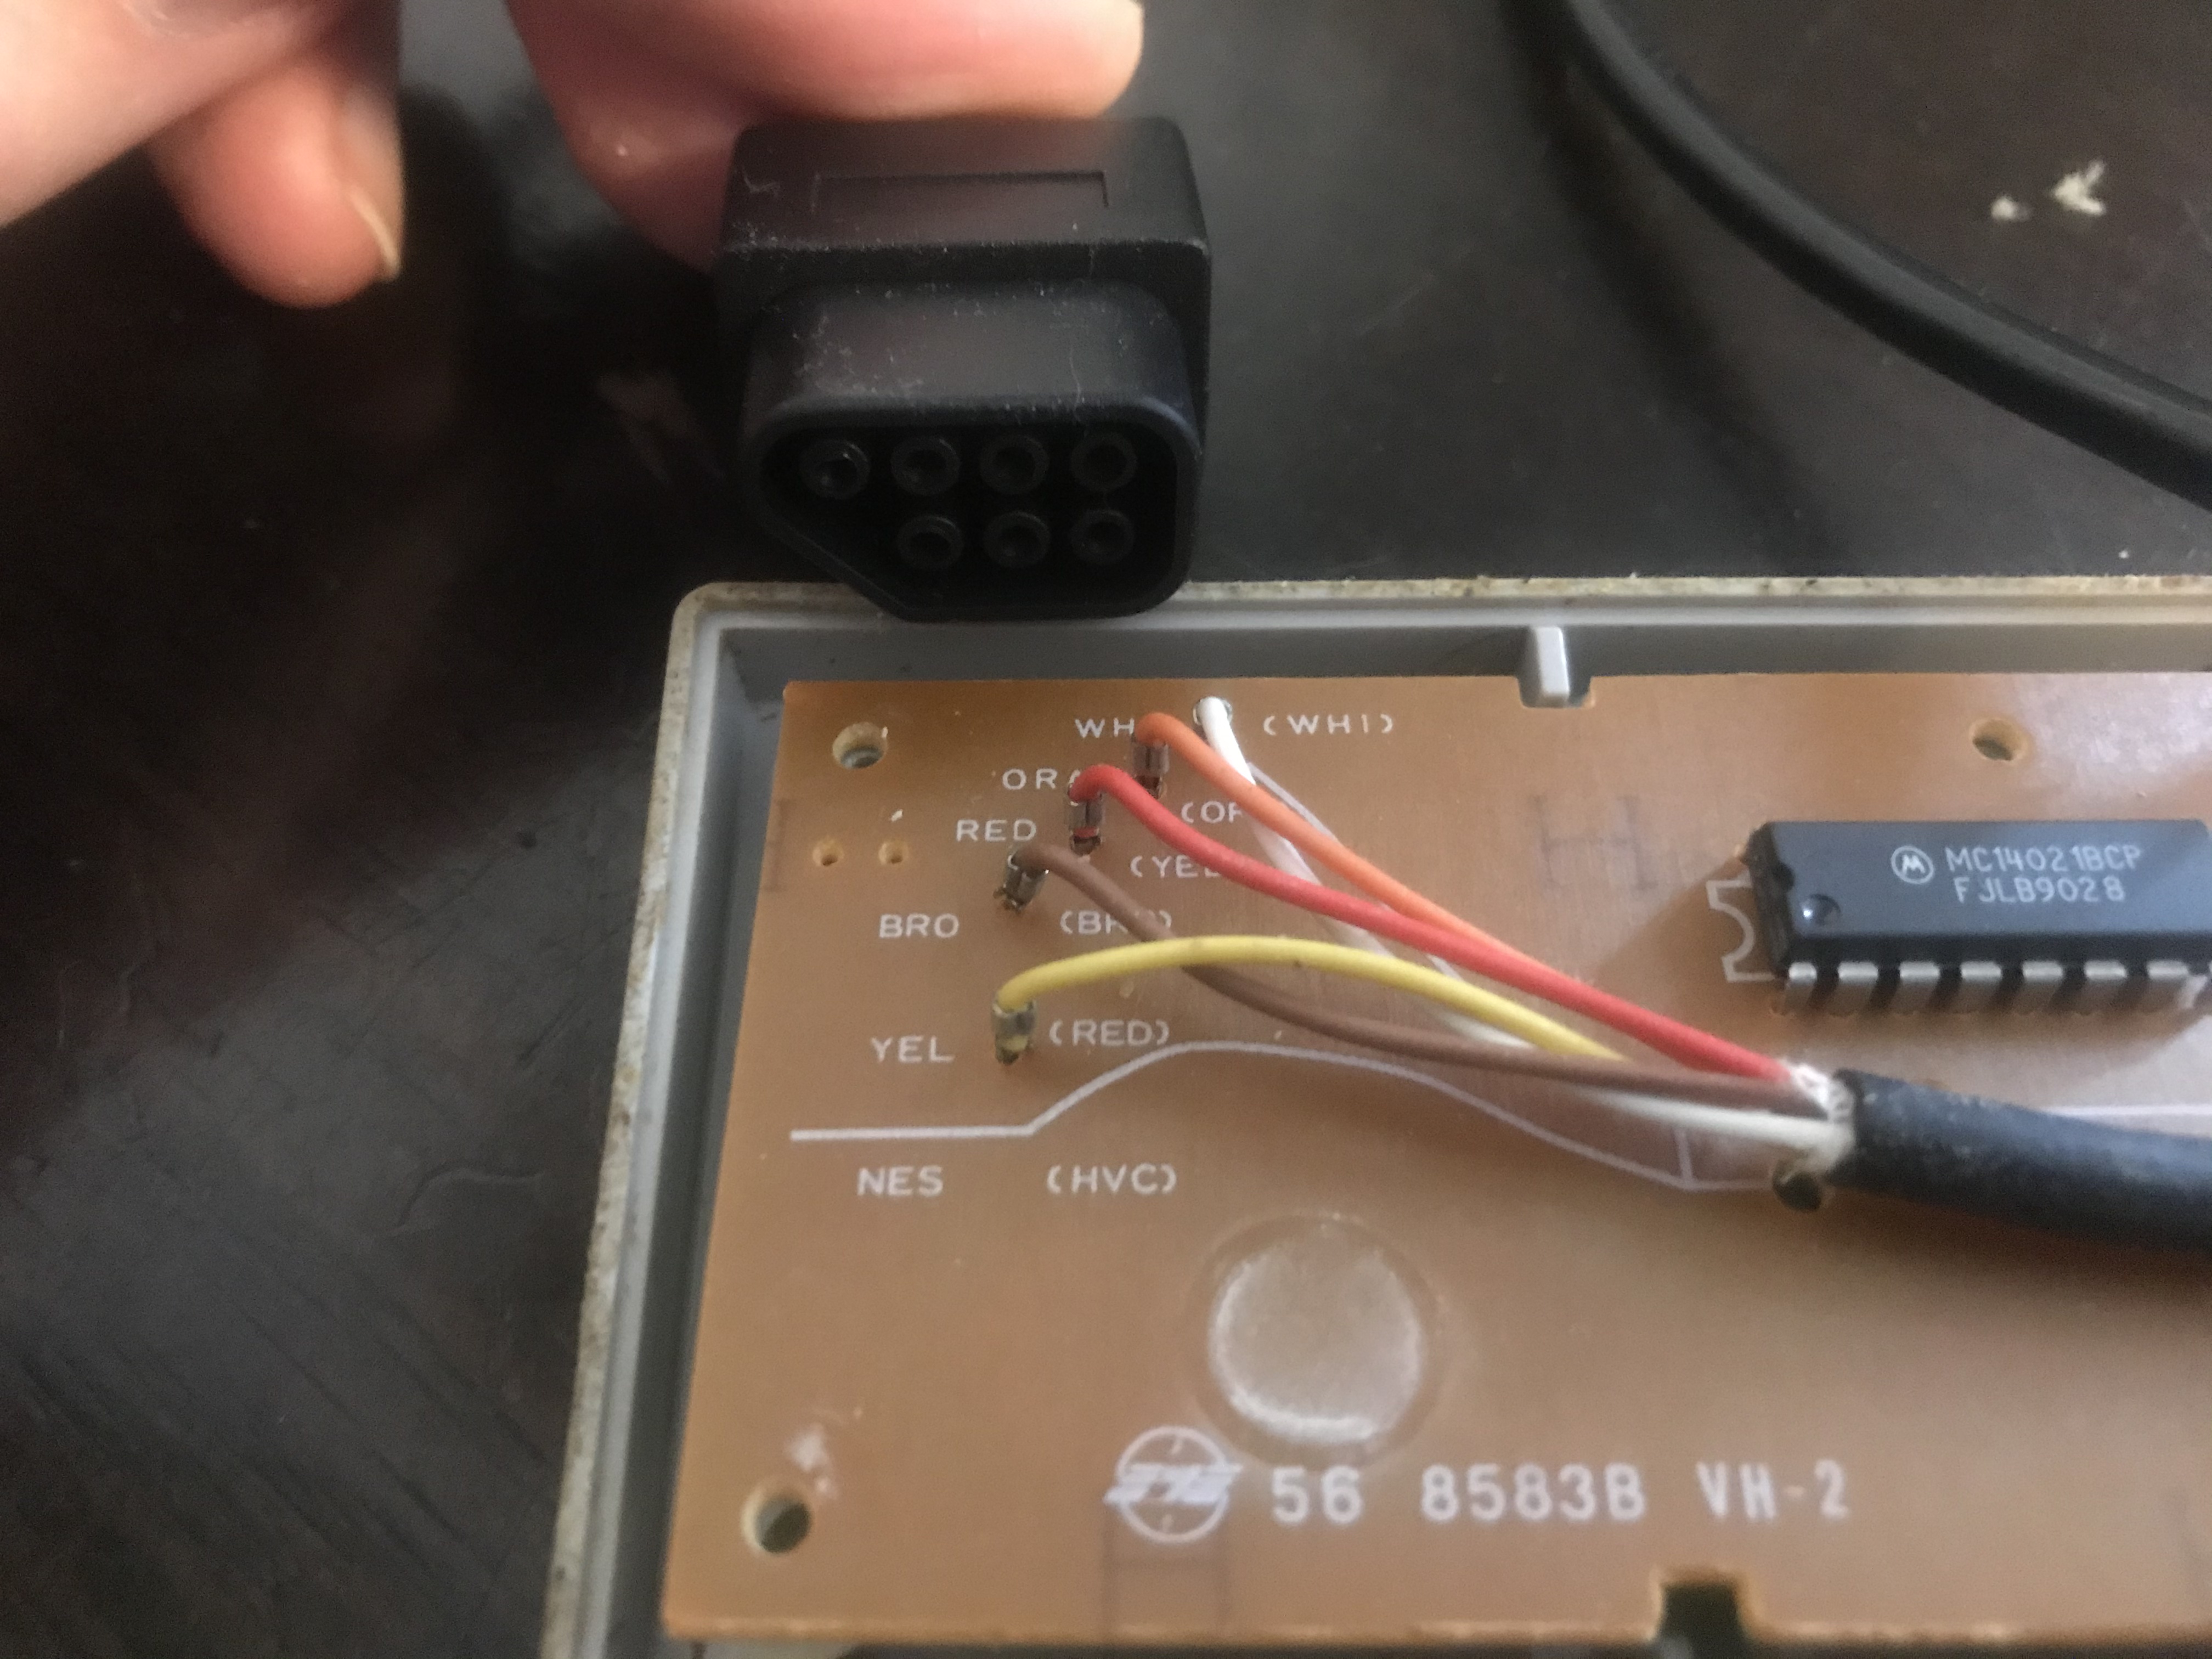
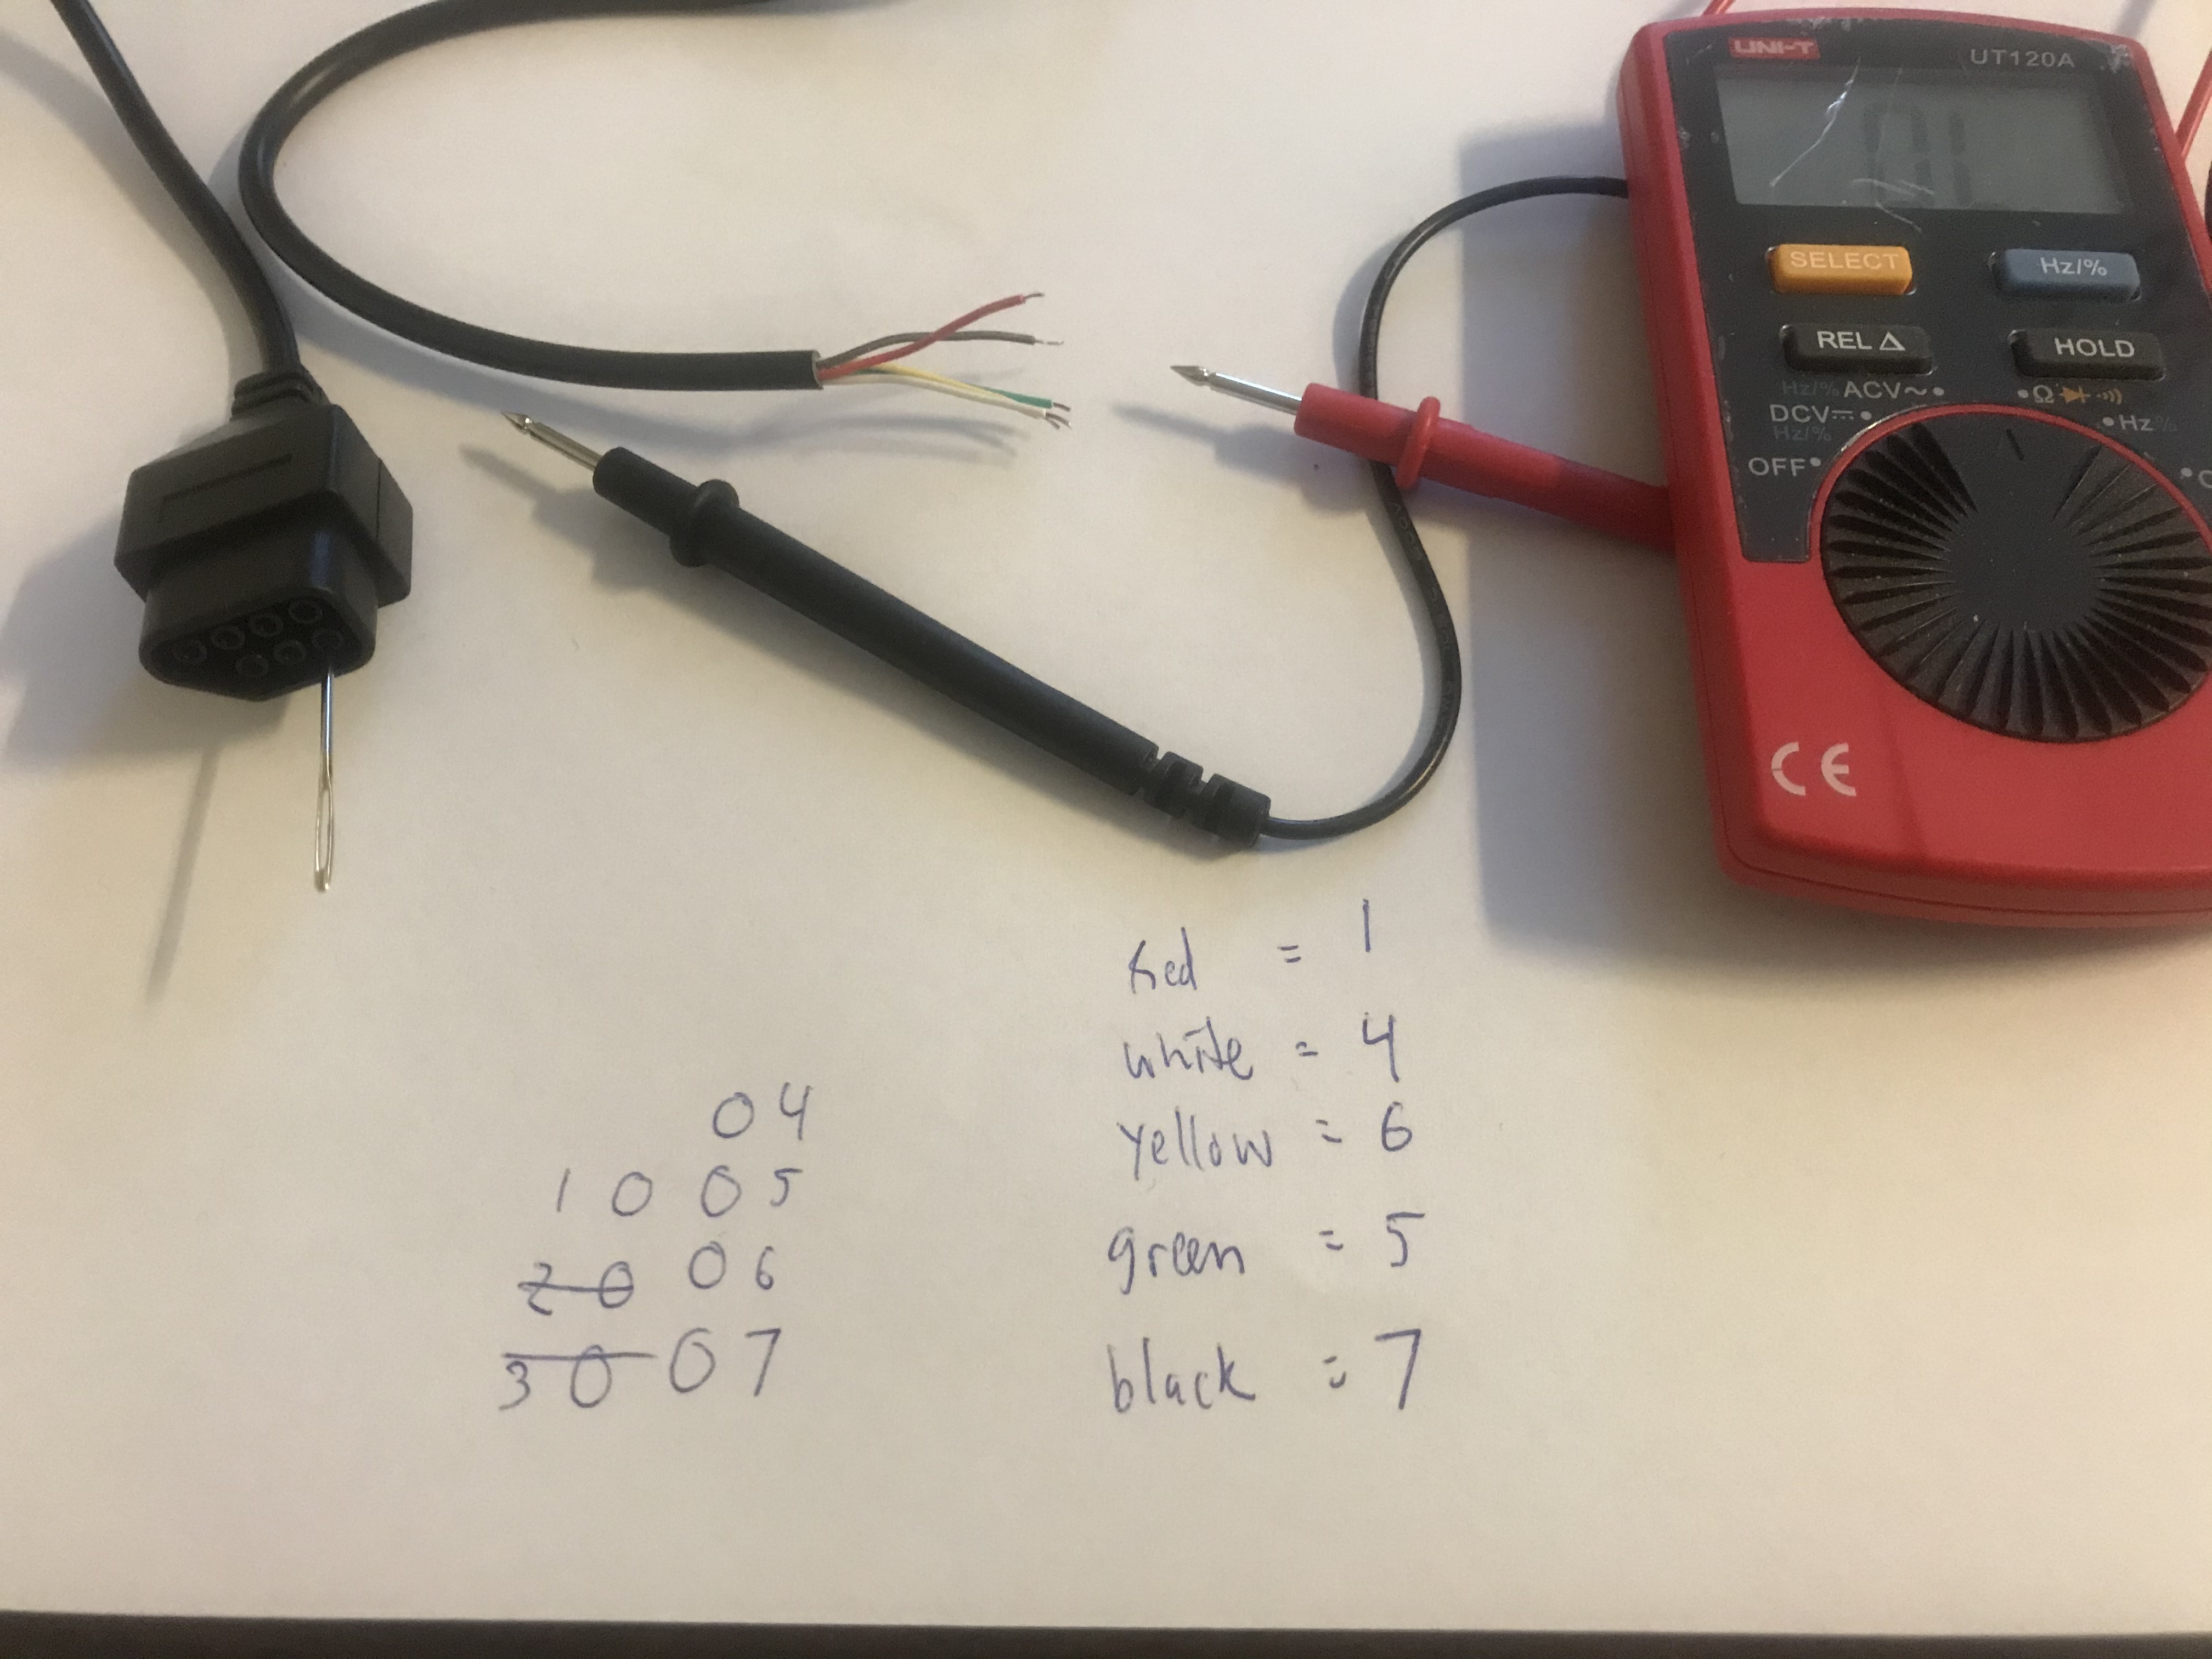
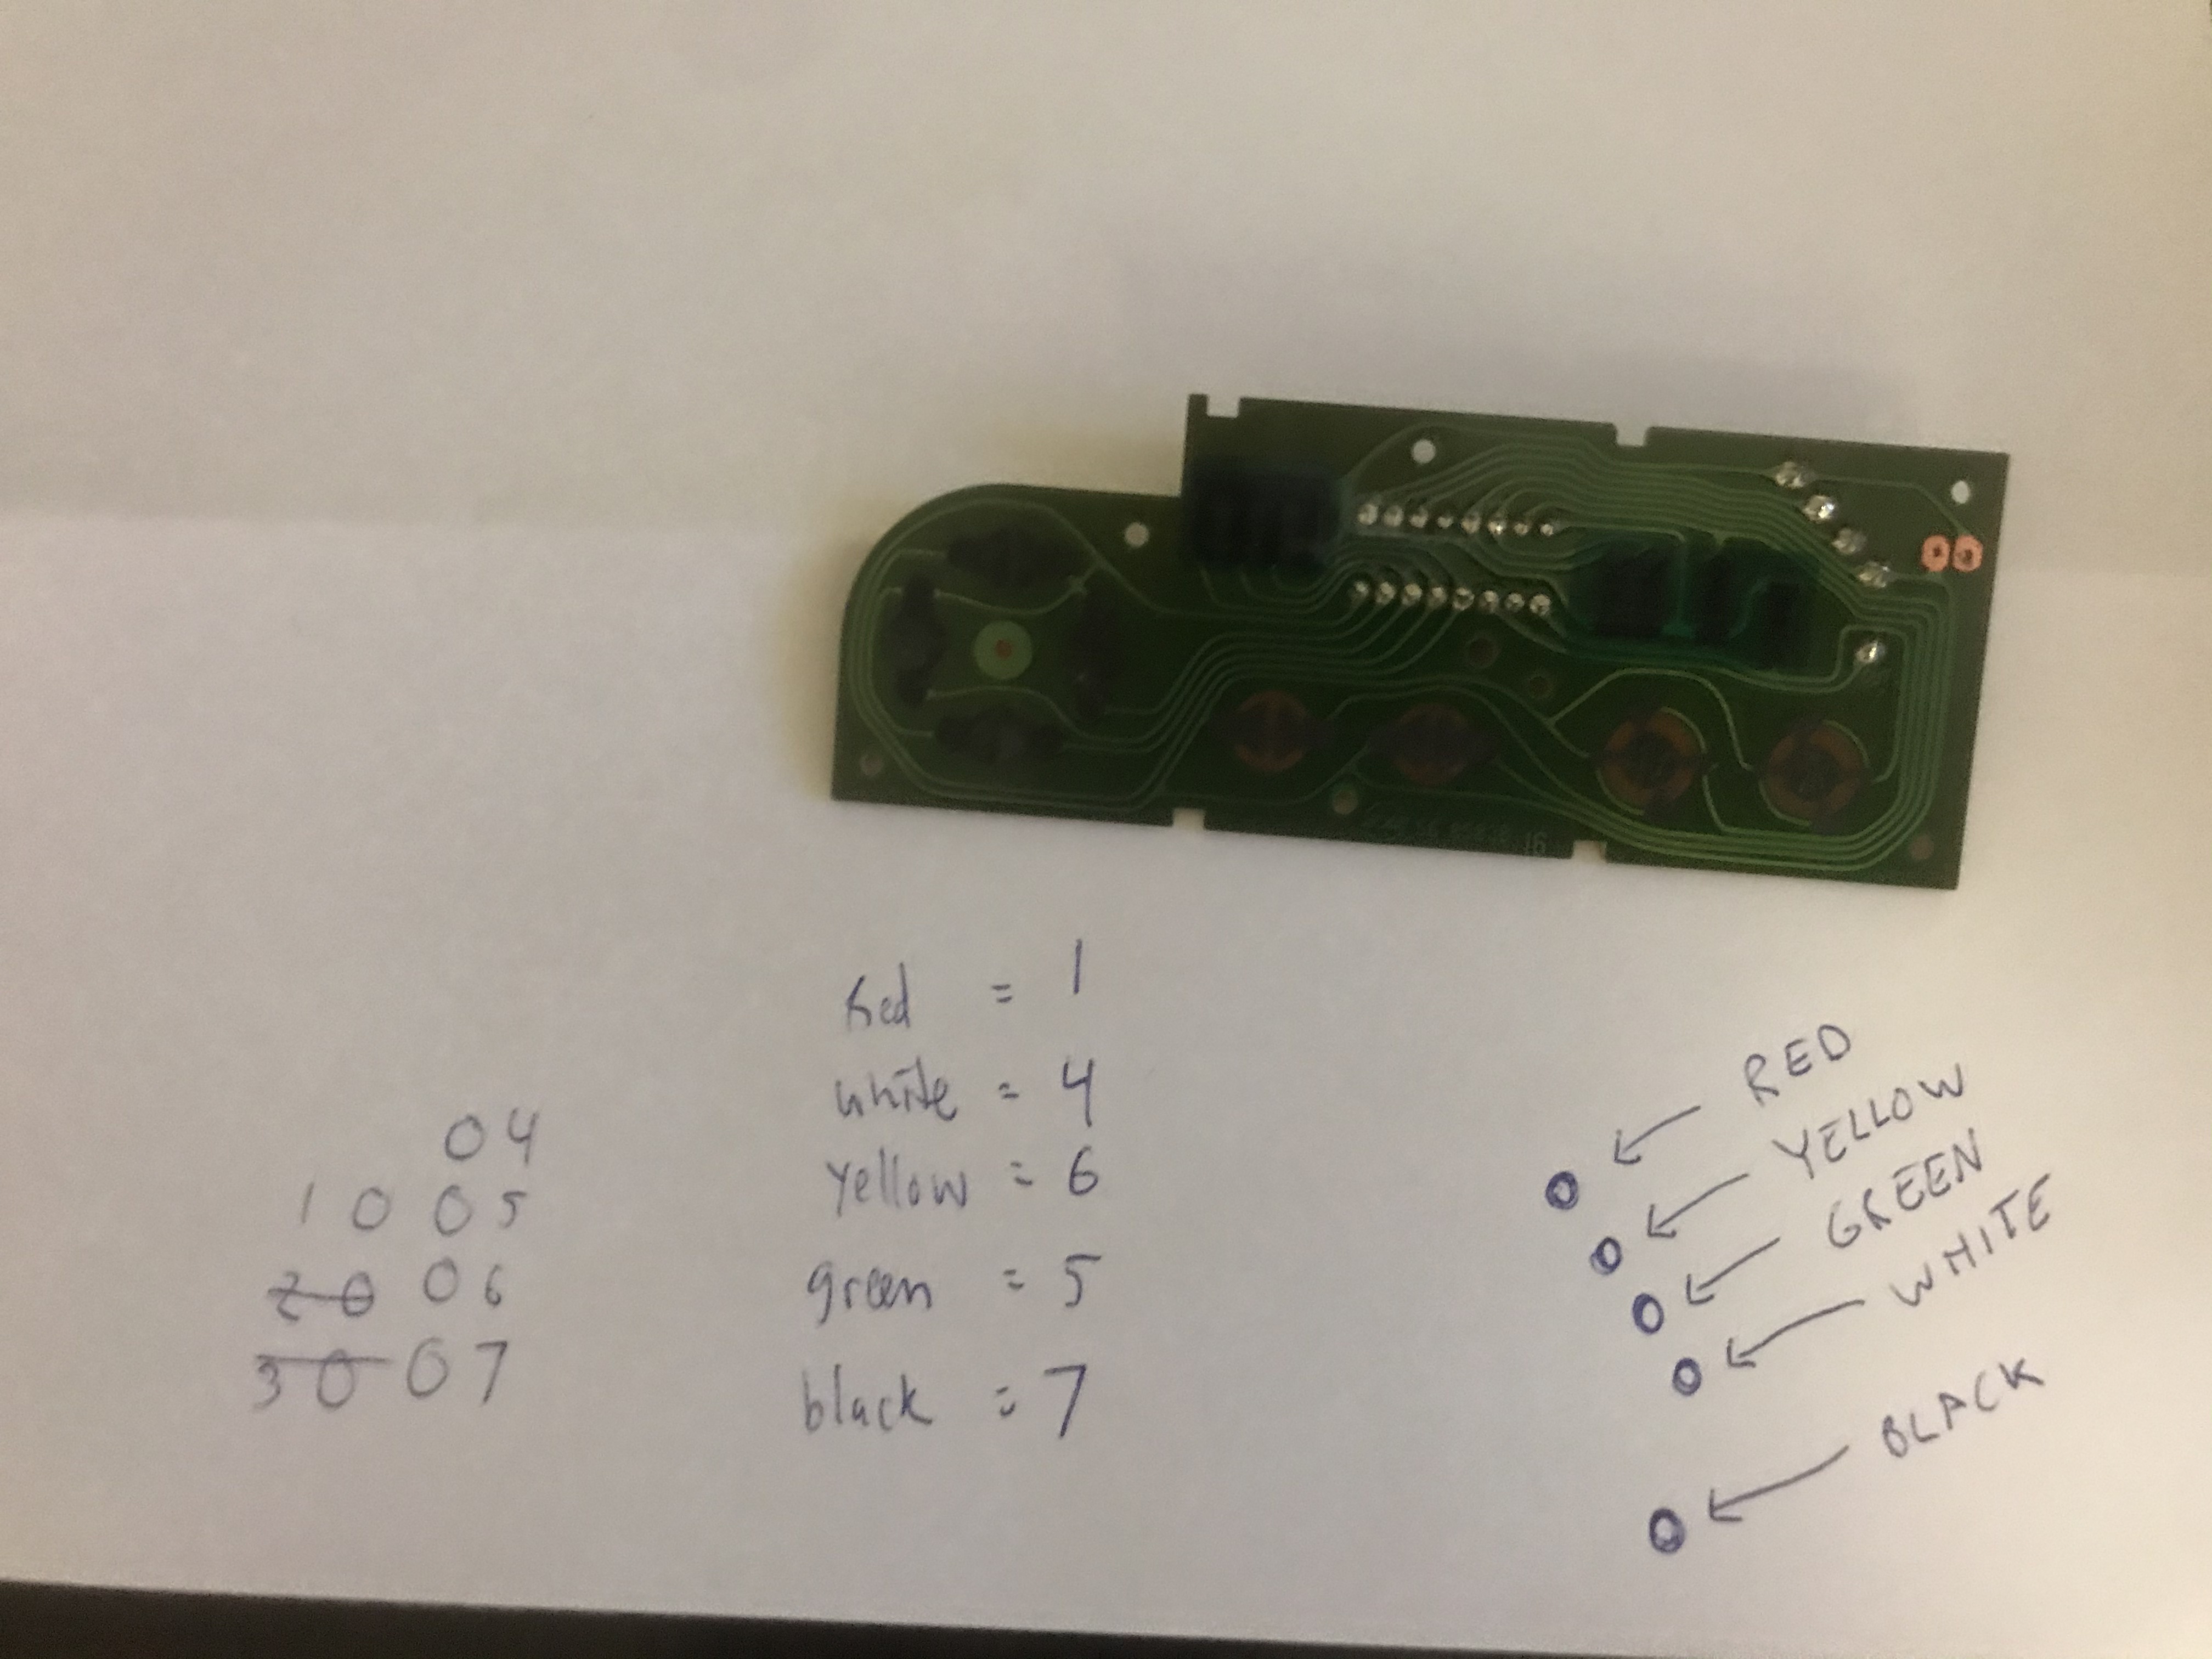
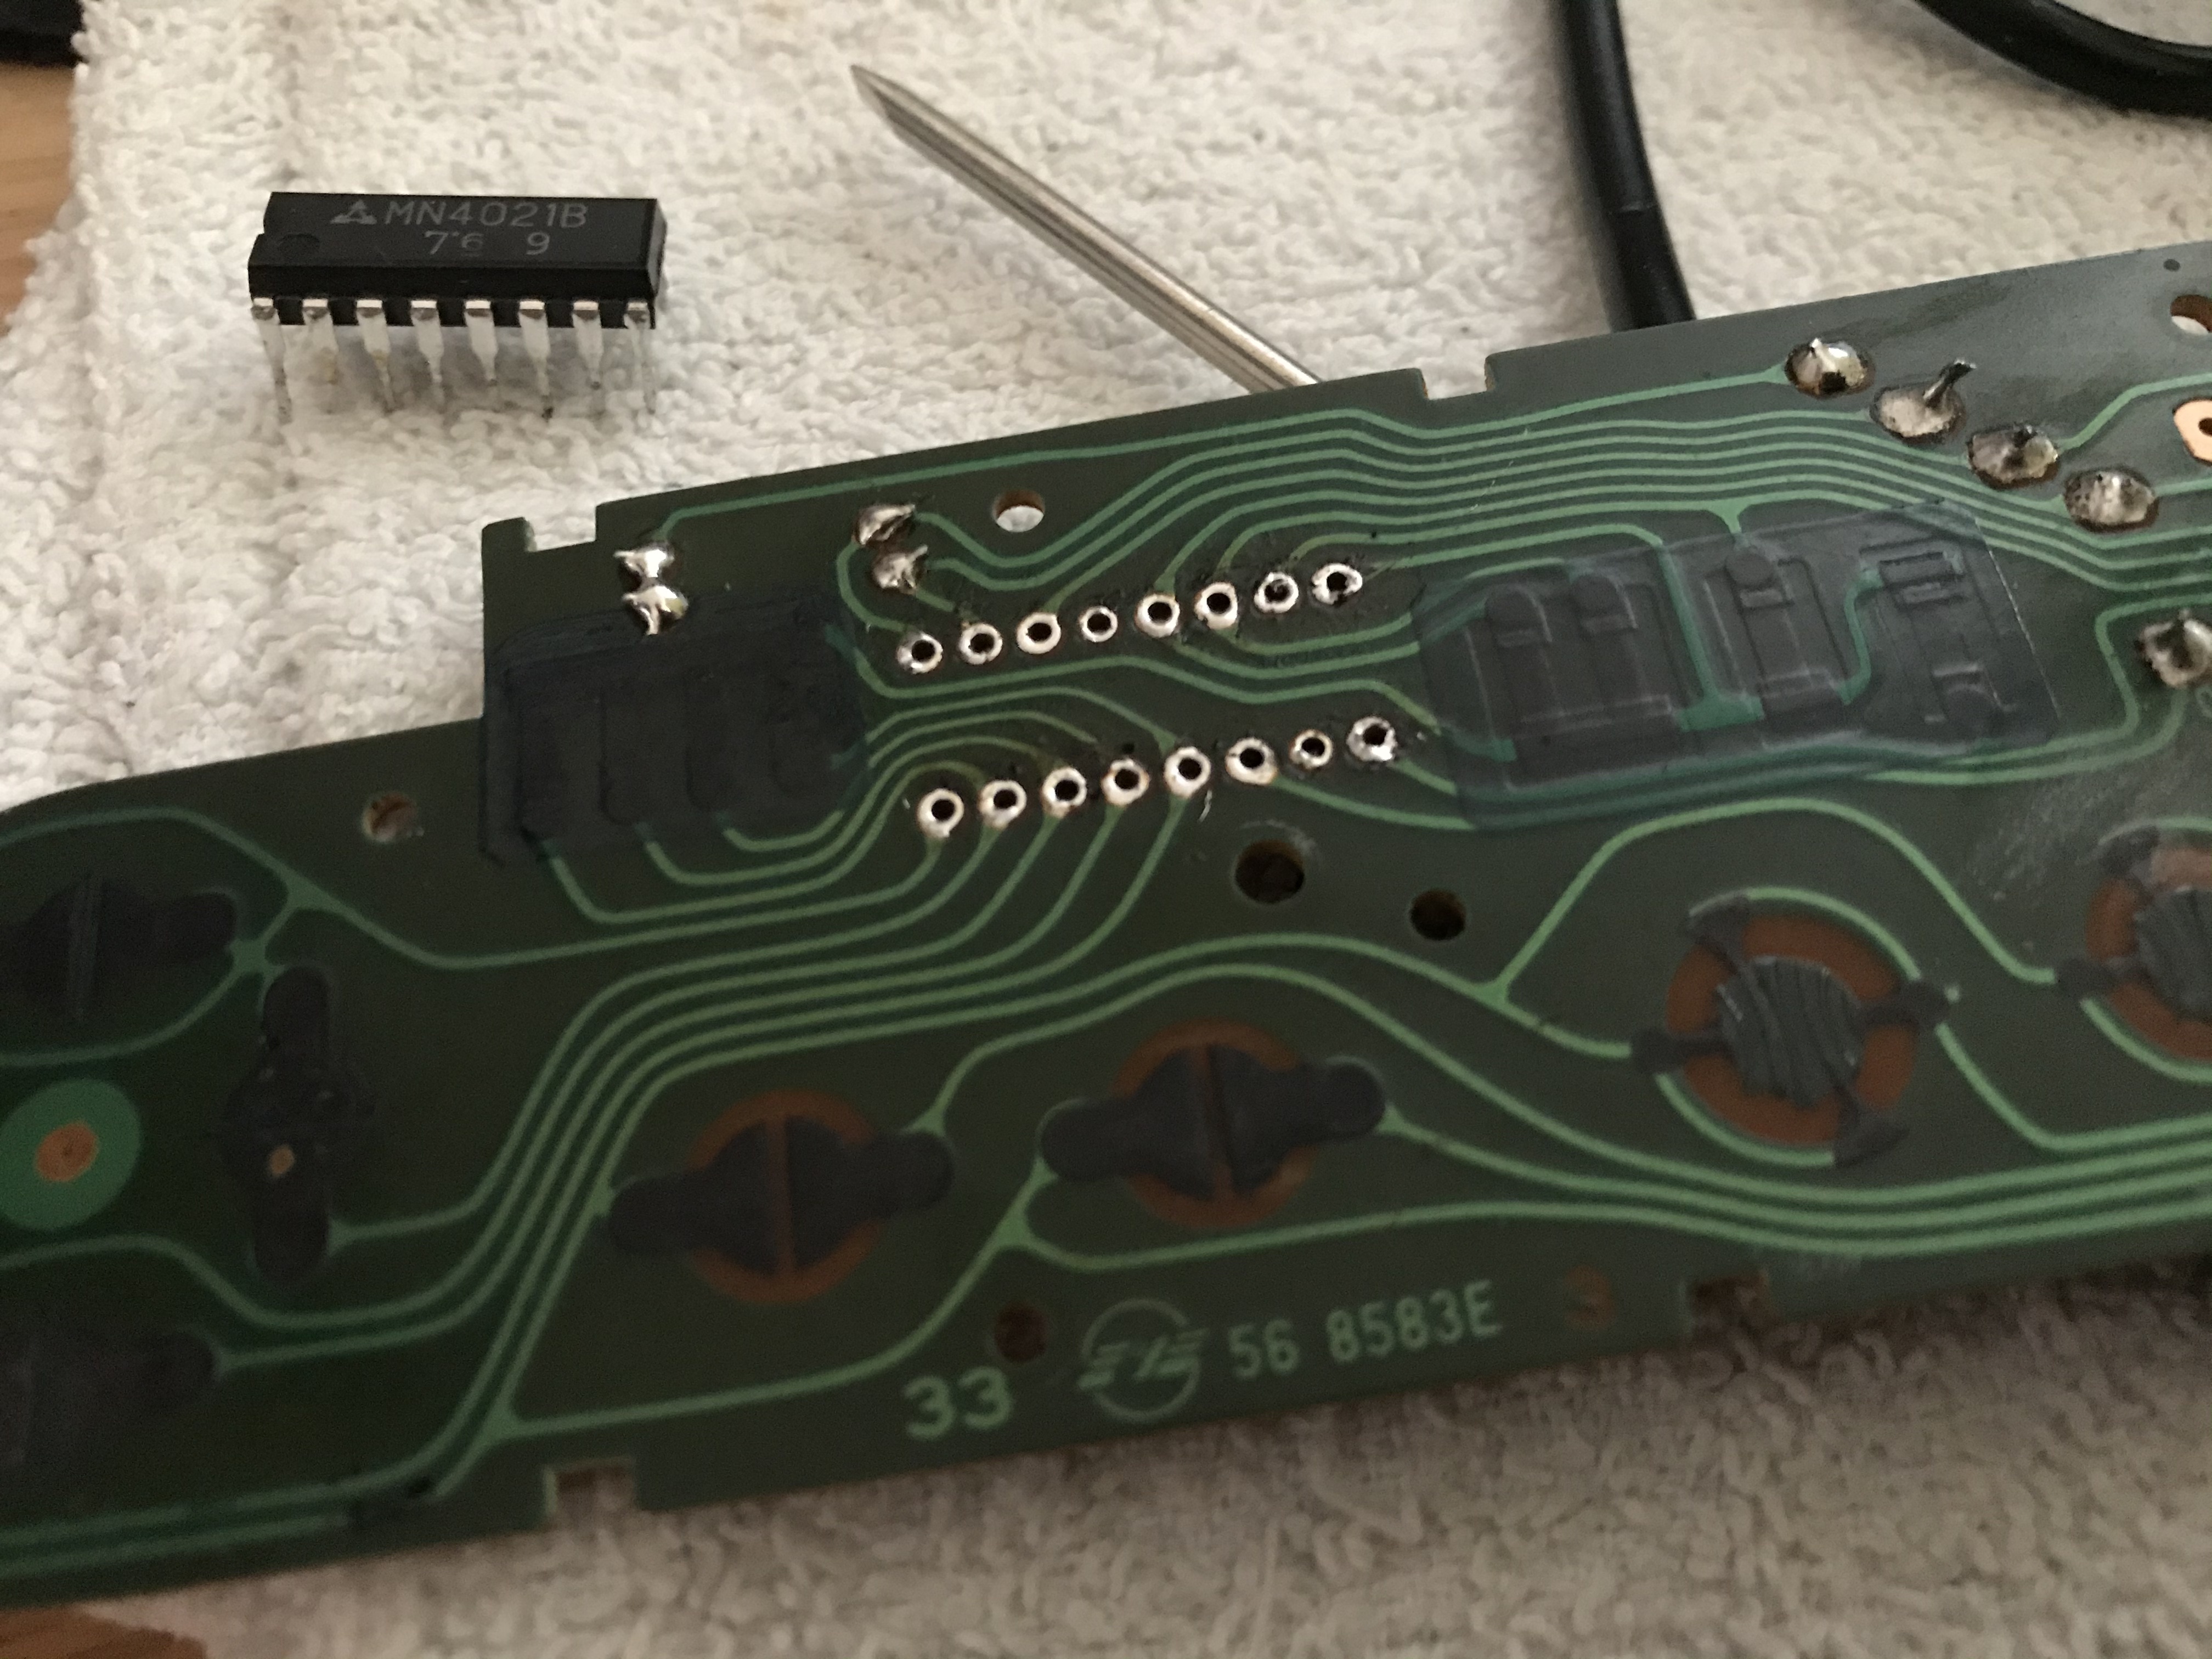
- Desolder the old cable.
- Use a multimeter to identify what color cable of your new cable goes to which hole in the controller connector (check out this image for the pinout of the connector https://images.app.goo.gl/L41WqpR1mhhGPDUL7). Different cables may have different cable color layouts.
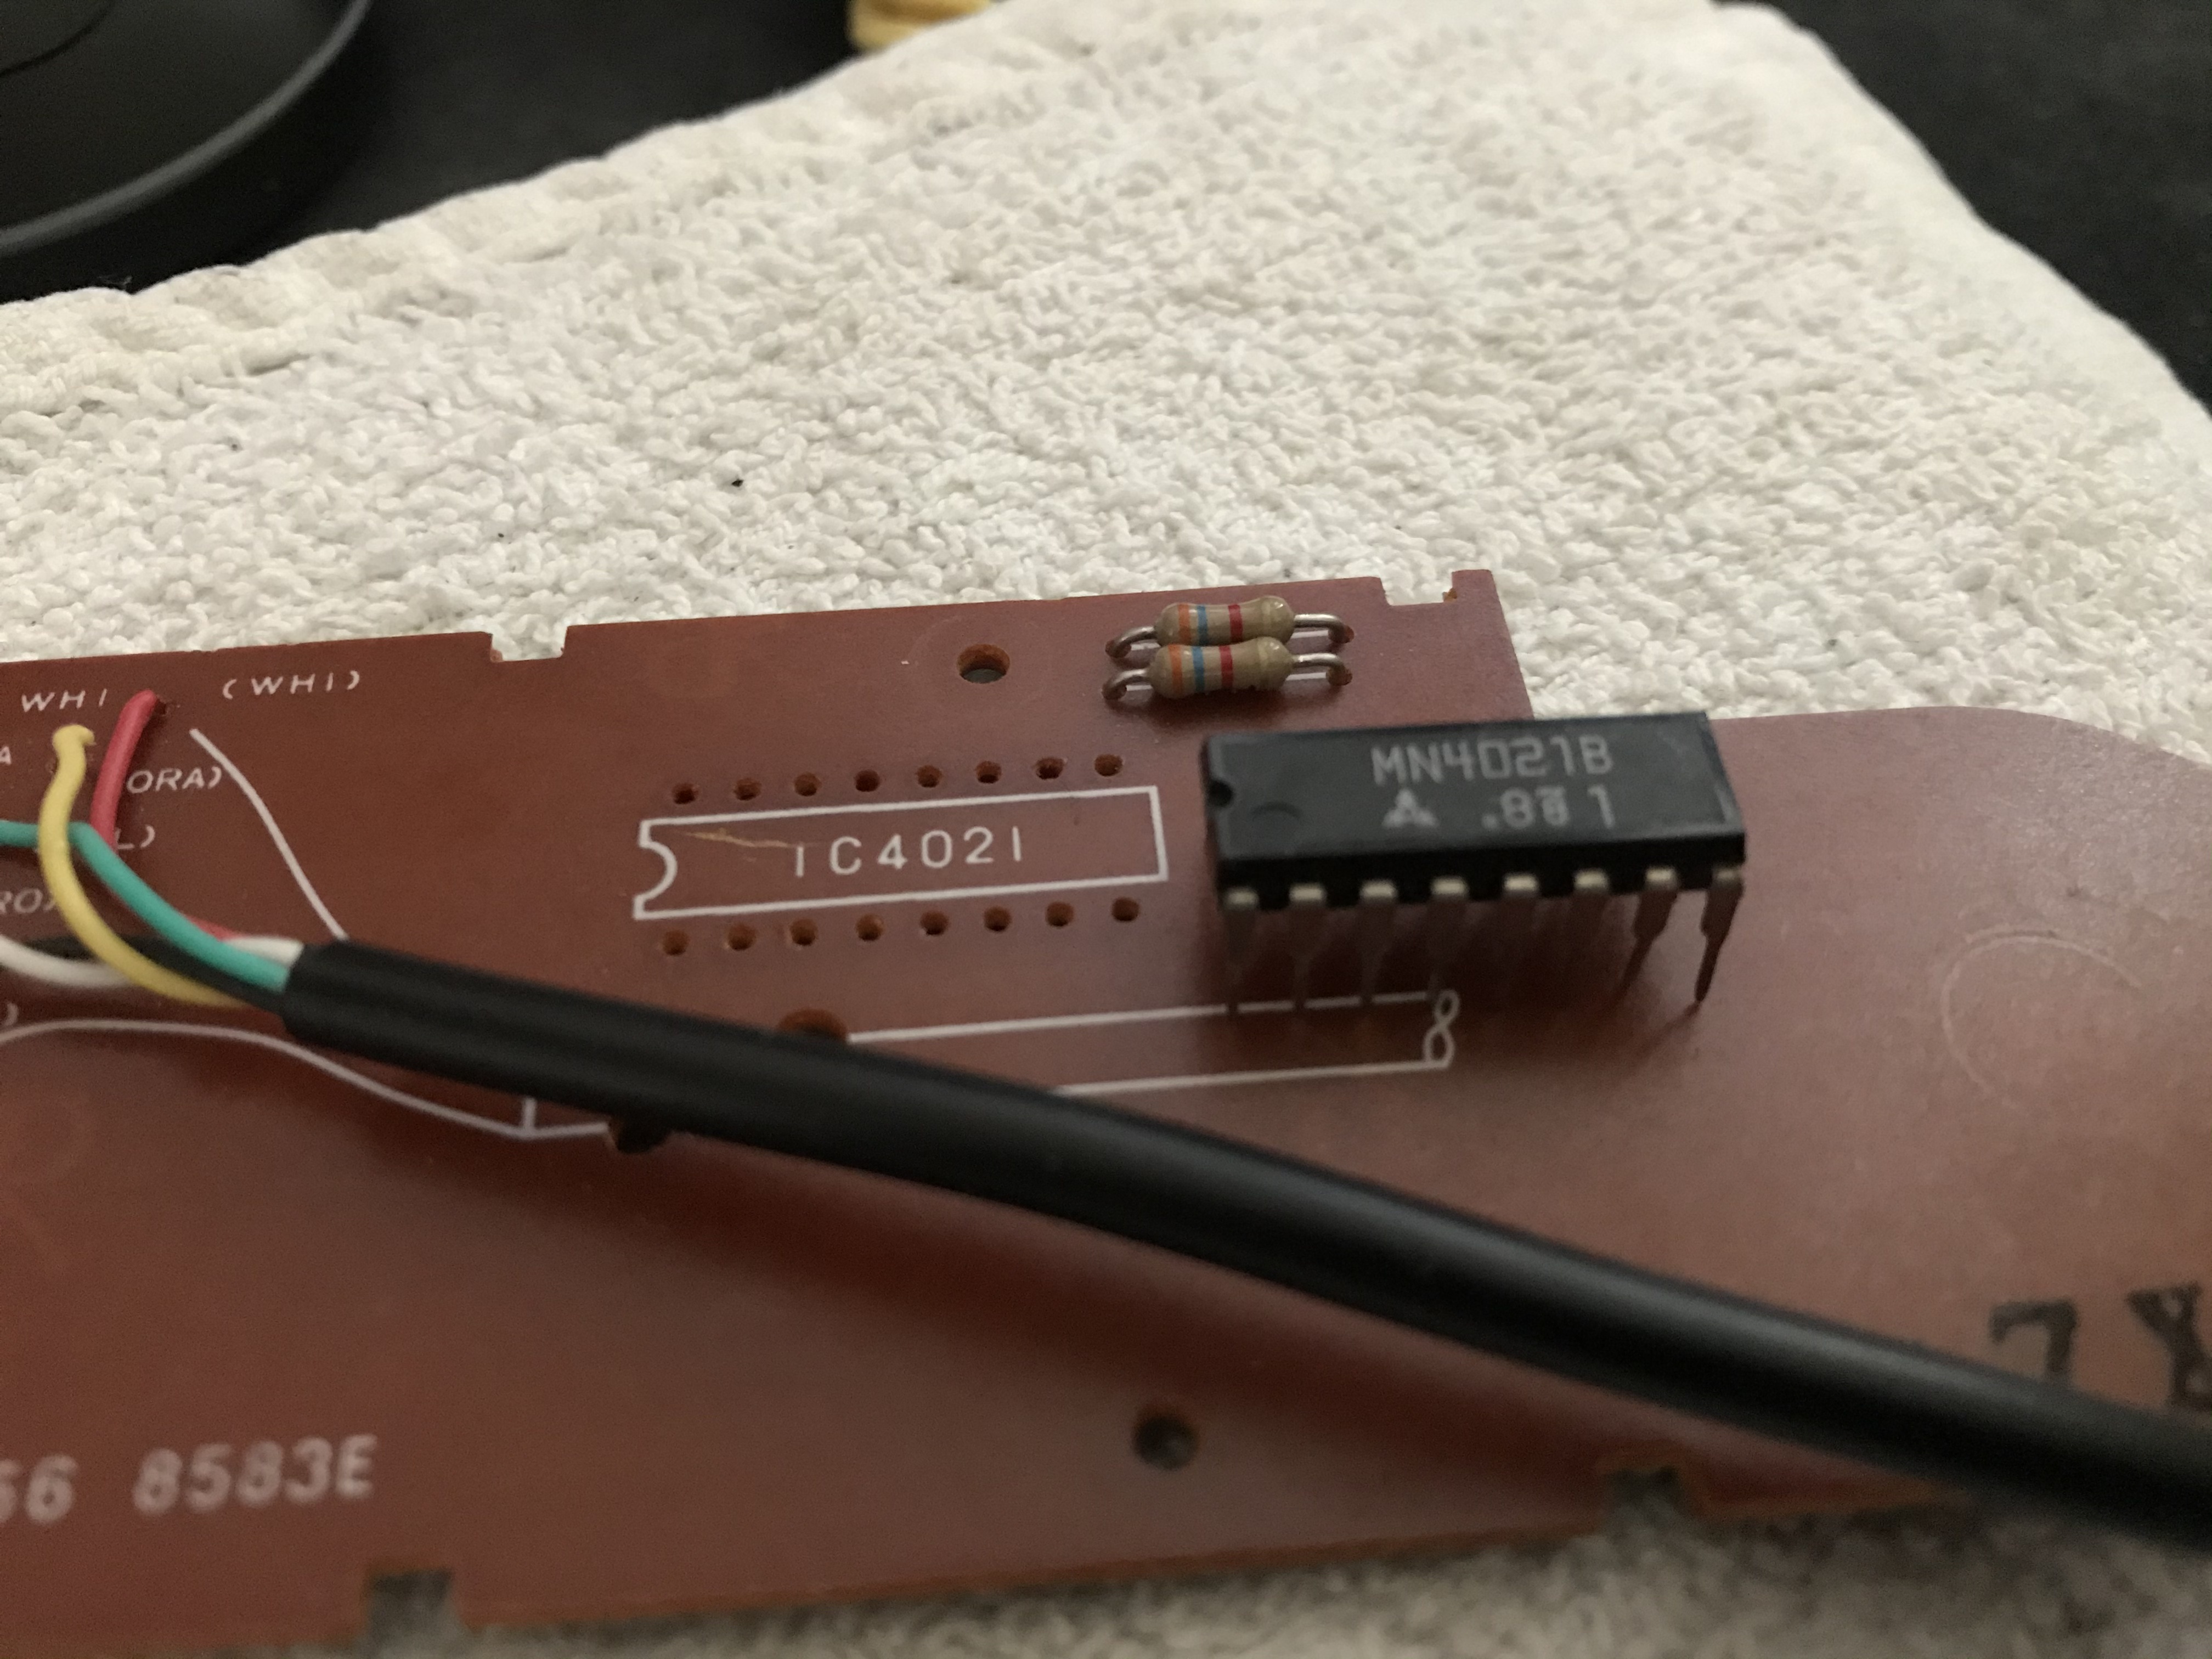
- Solder the new cable to the correct solder points of the controller mainboard.
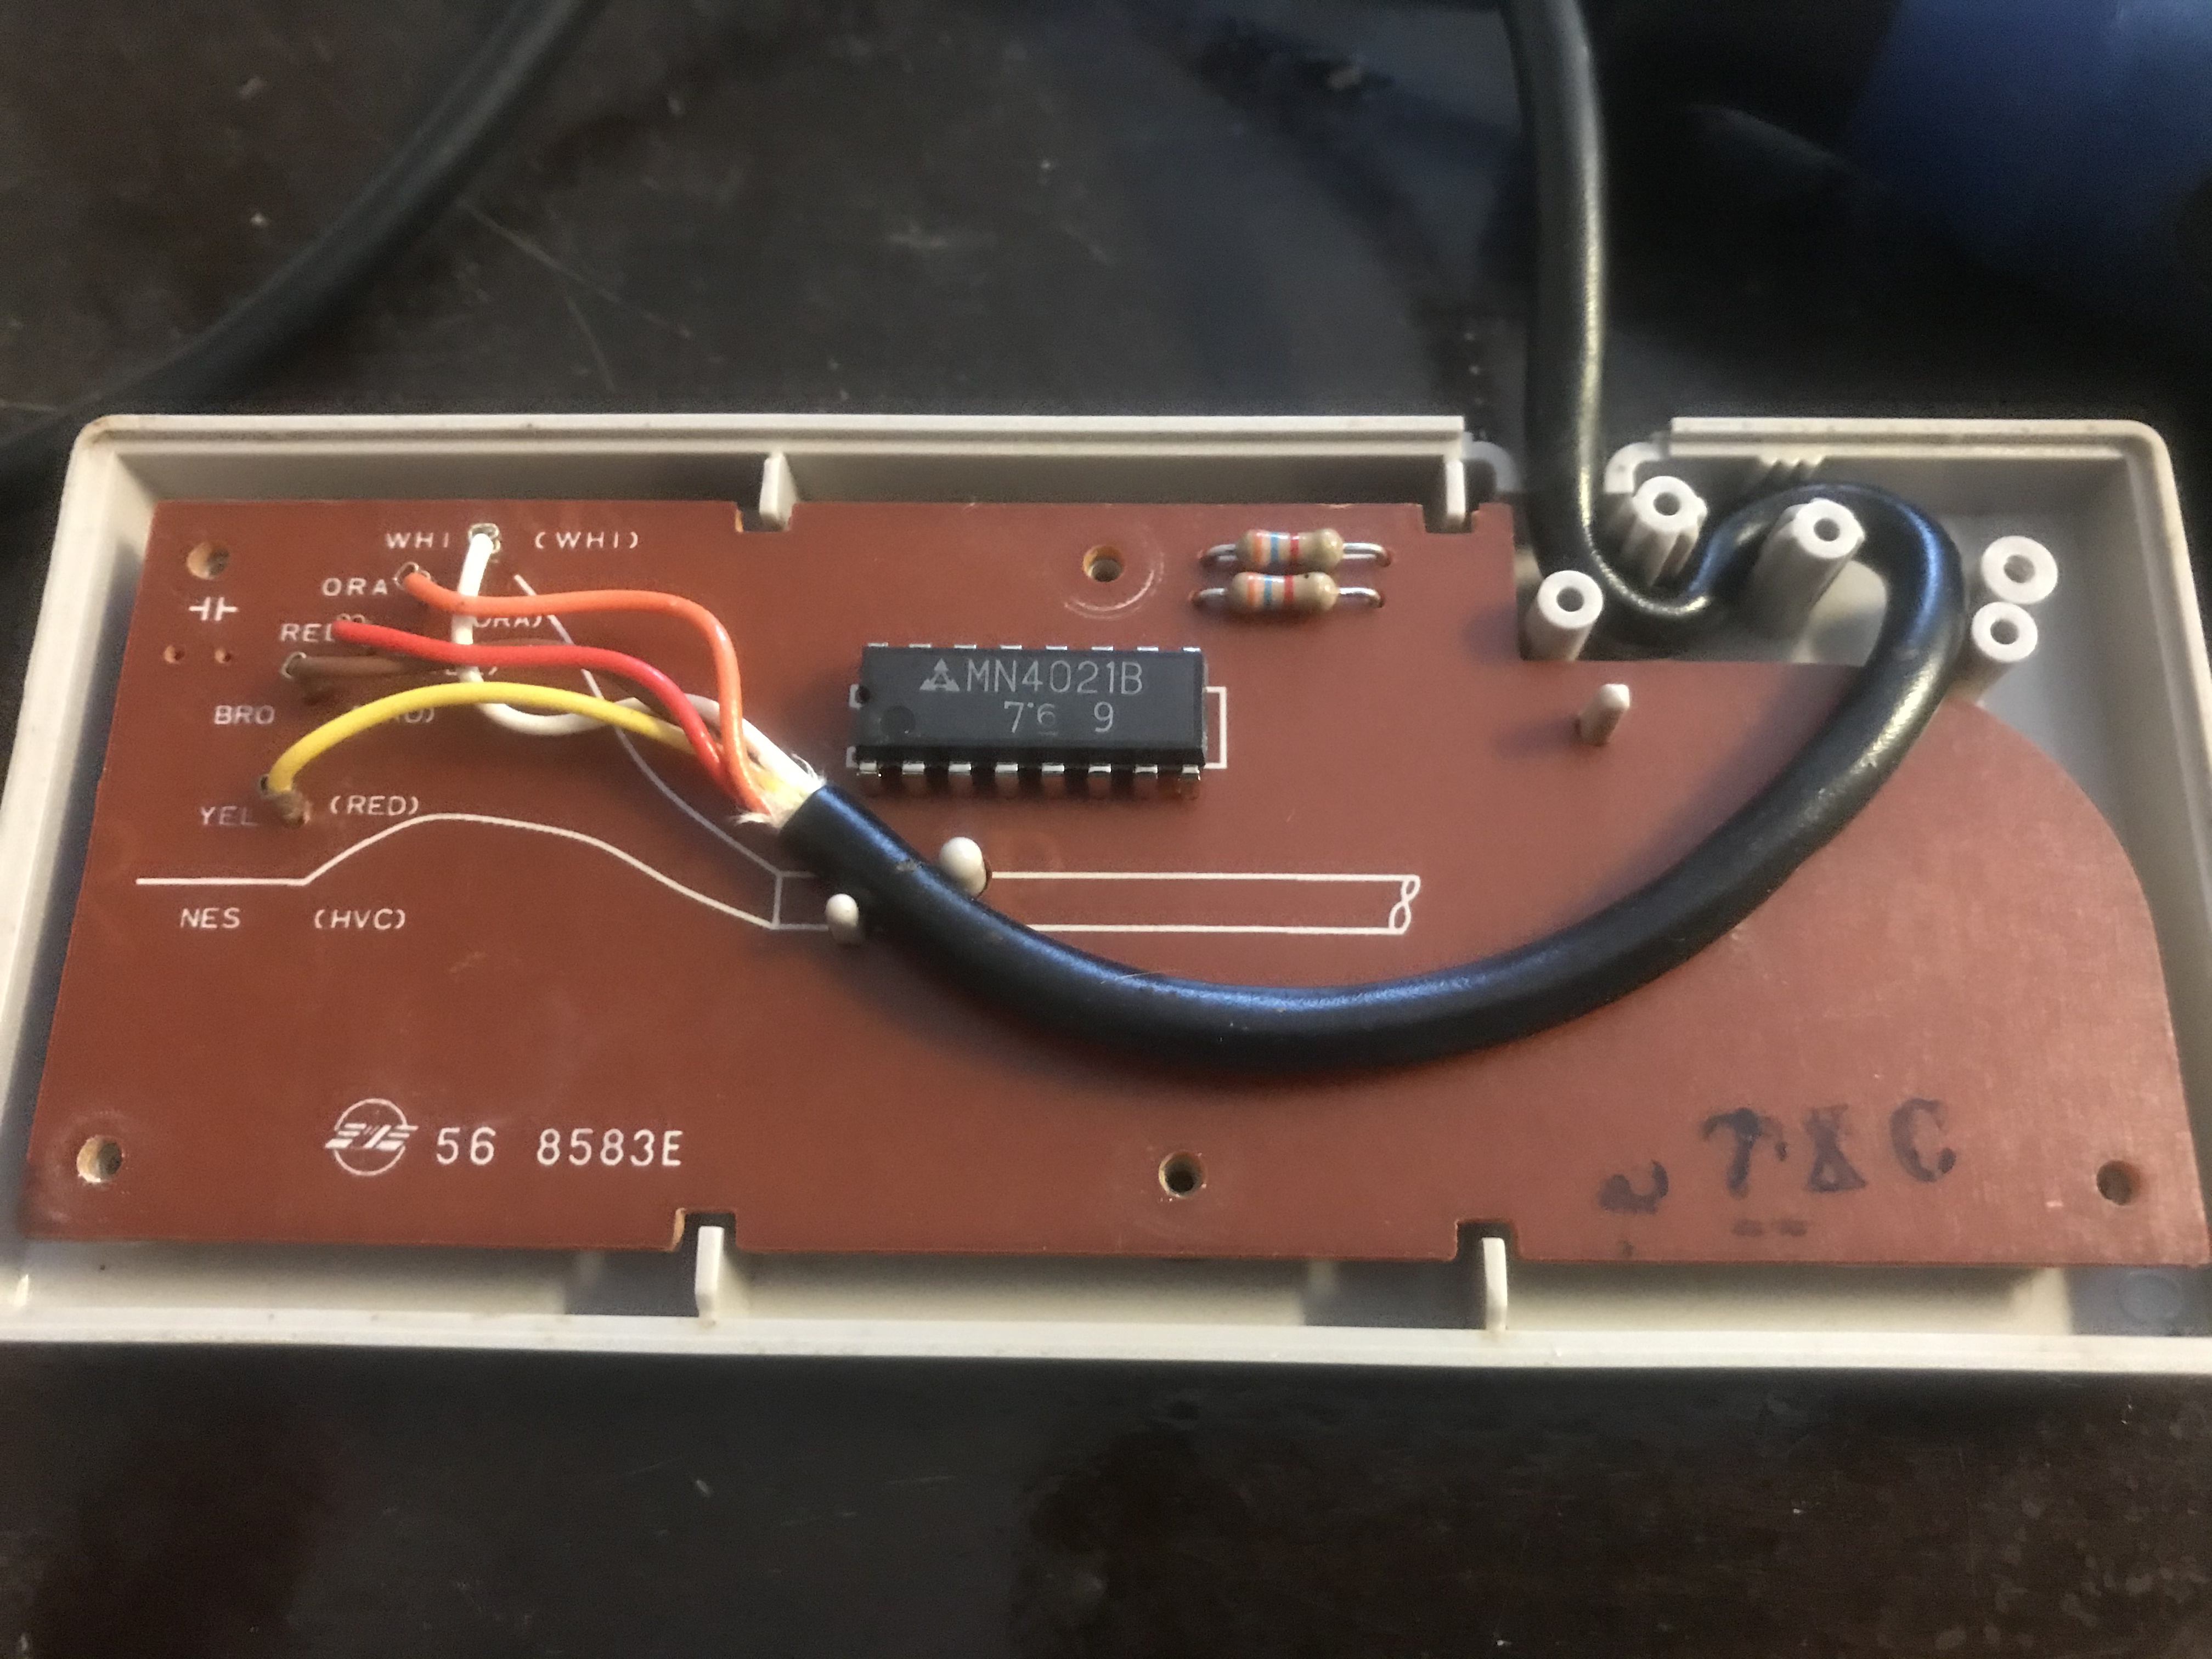
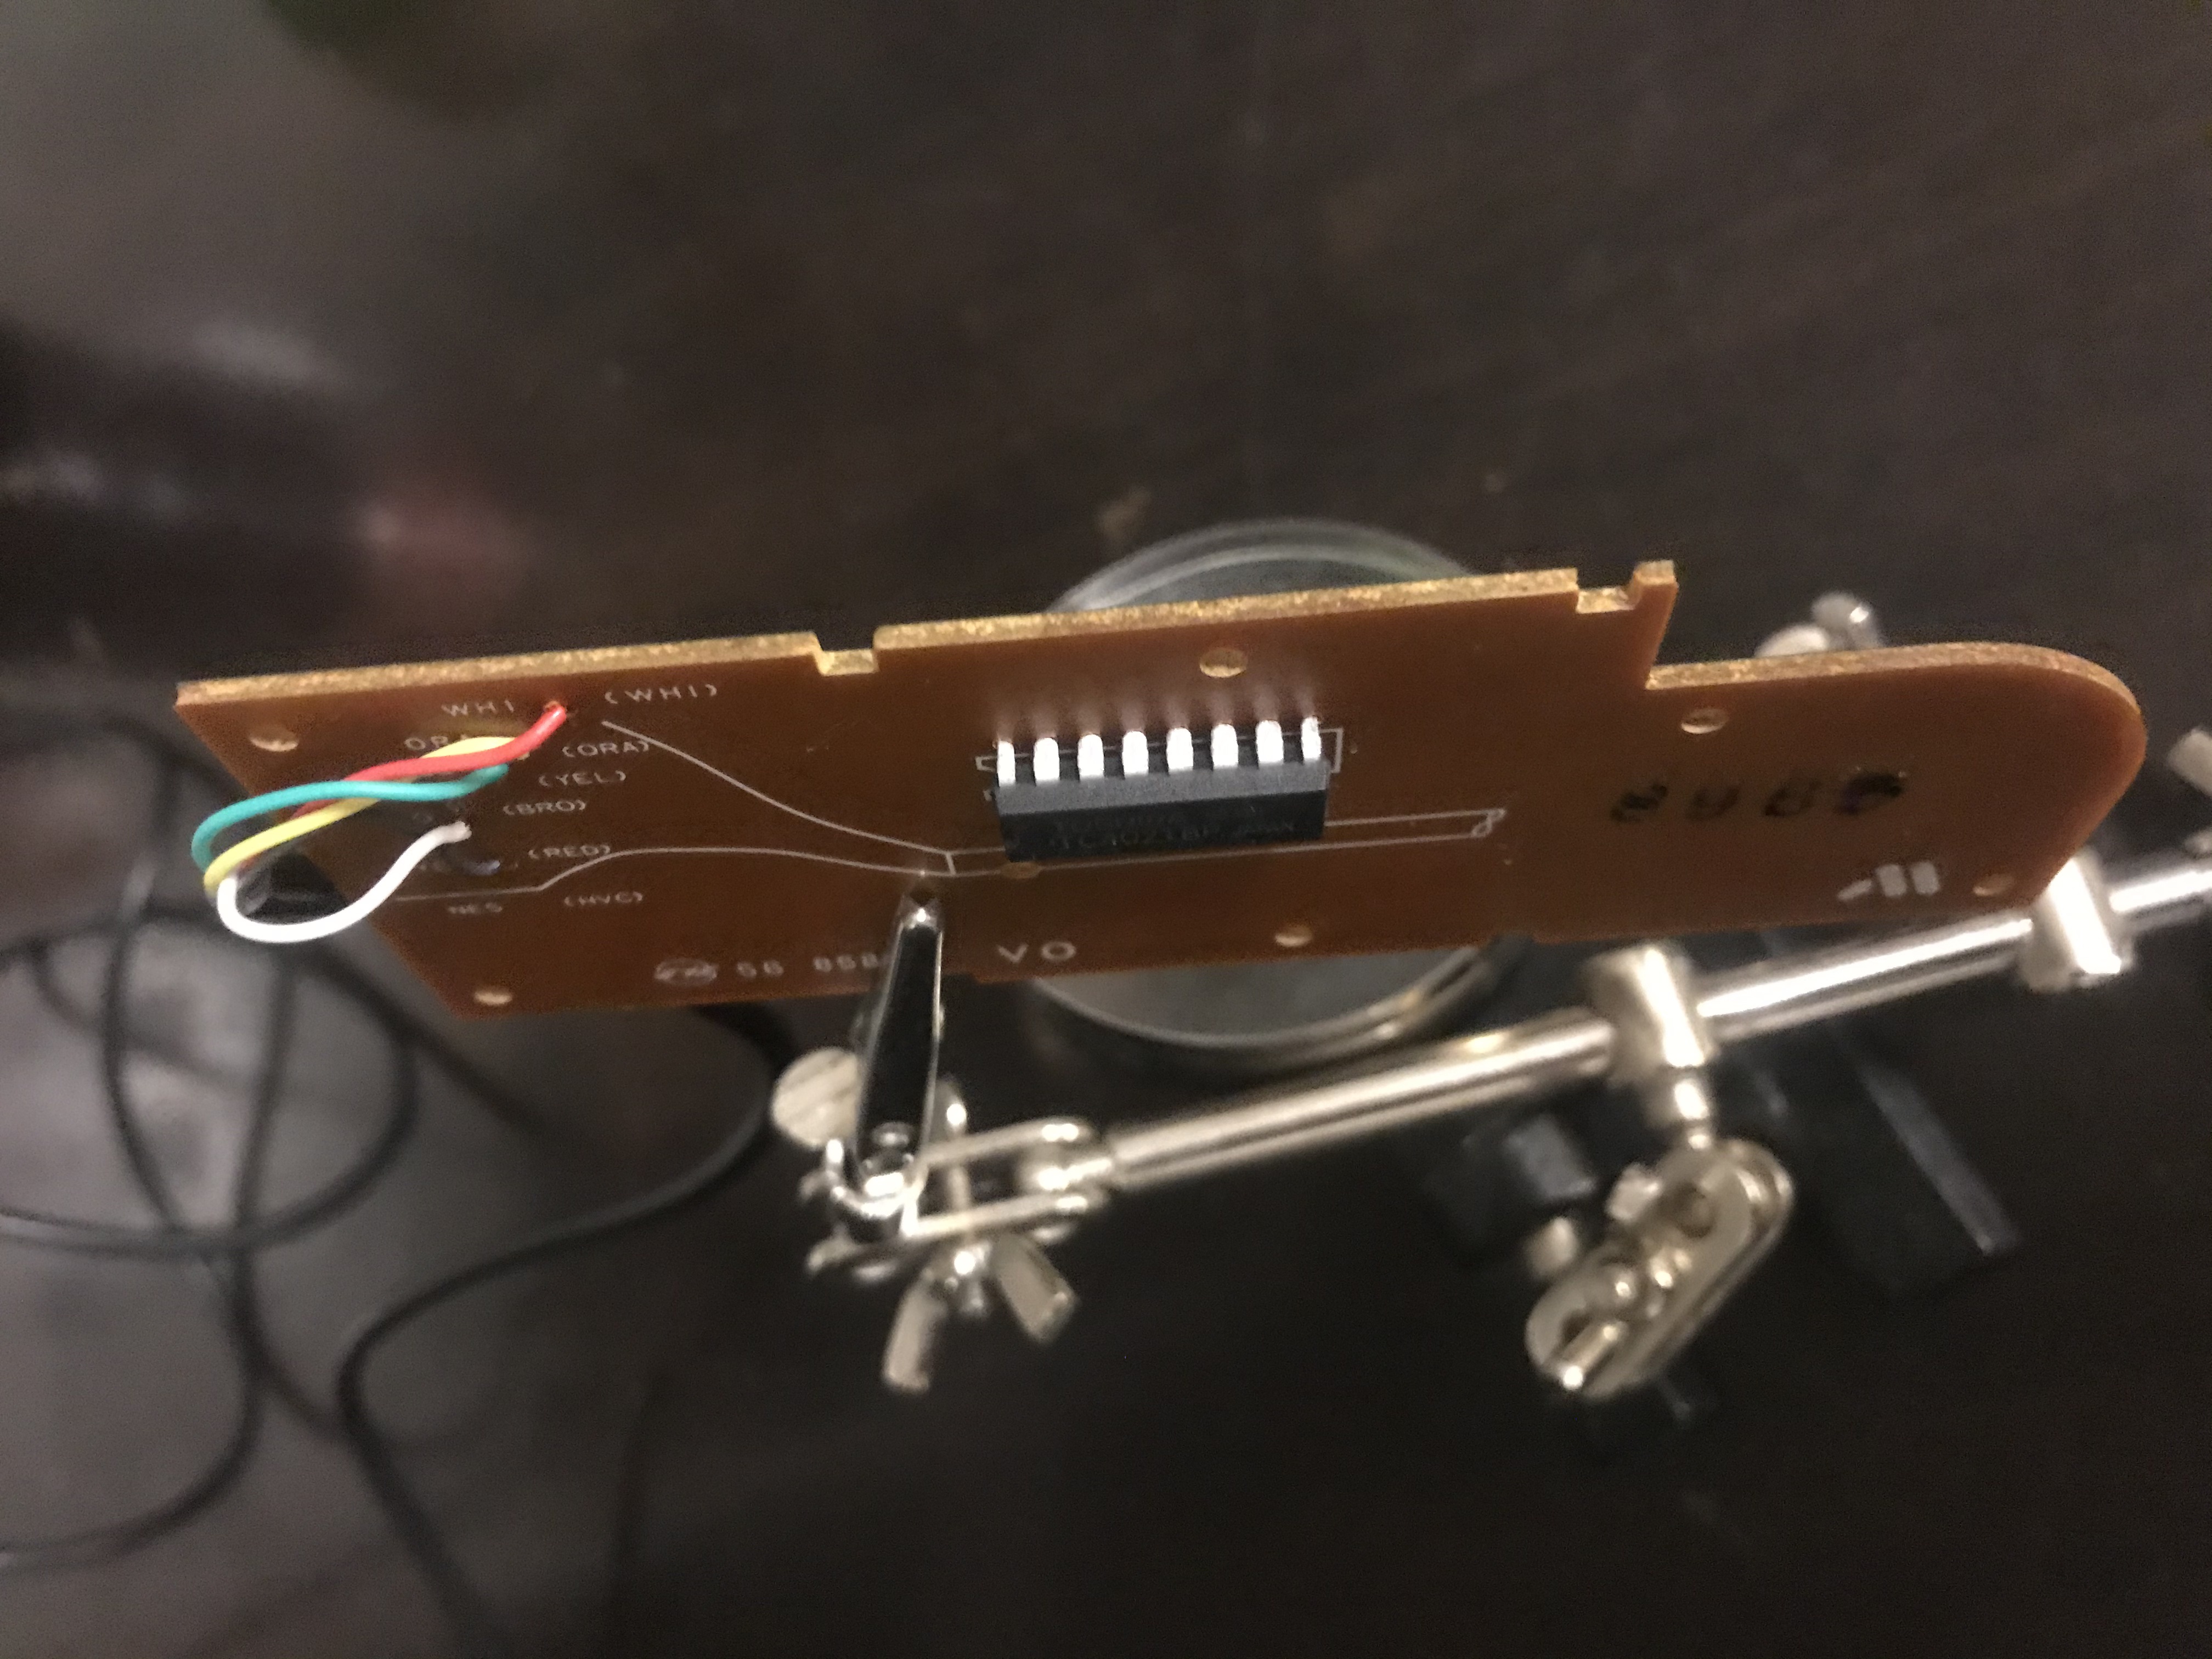
Step 4: Replace the MN4021B static shift register
If step 1-3 above did not solve your problem, it is worth considering to replace the MN4021B static shift register of your controller. A common symtom of a faulty register is that the controller mixes up e.g. the “start” and “A” buttons in a game, for example by pausing in Super Mario Bros 3 when you press jump. I ordered new IC:s from Bulgaria on eBay, and they arrived within a few weeks.
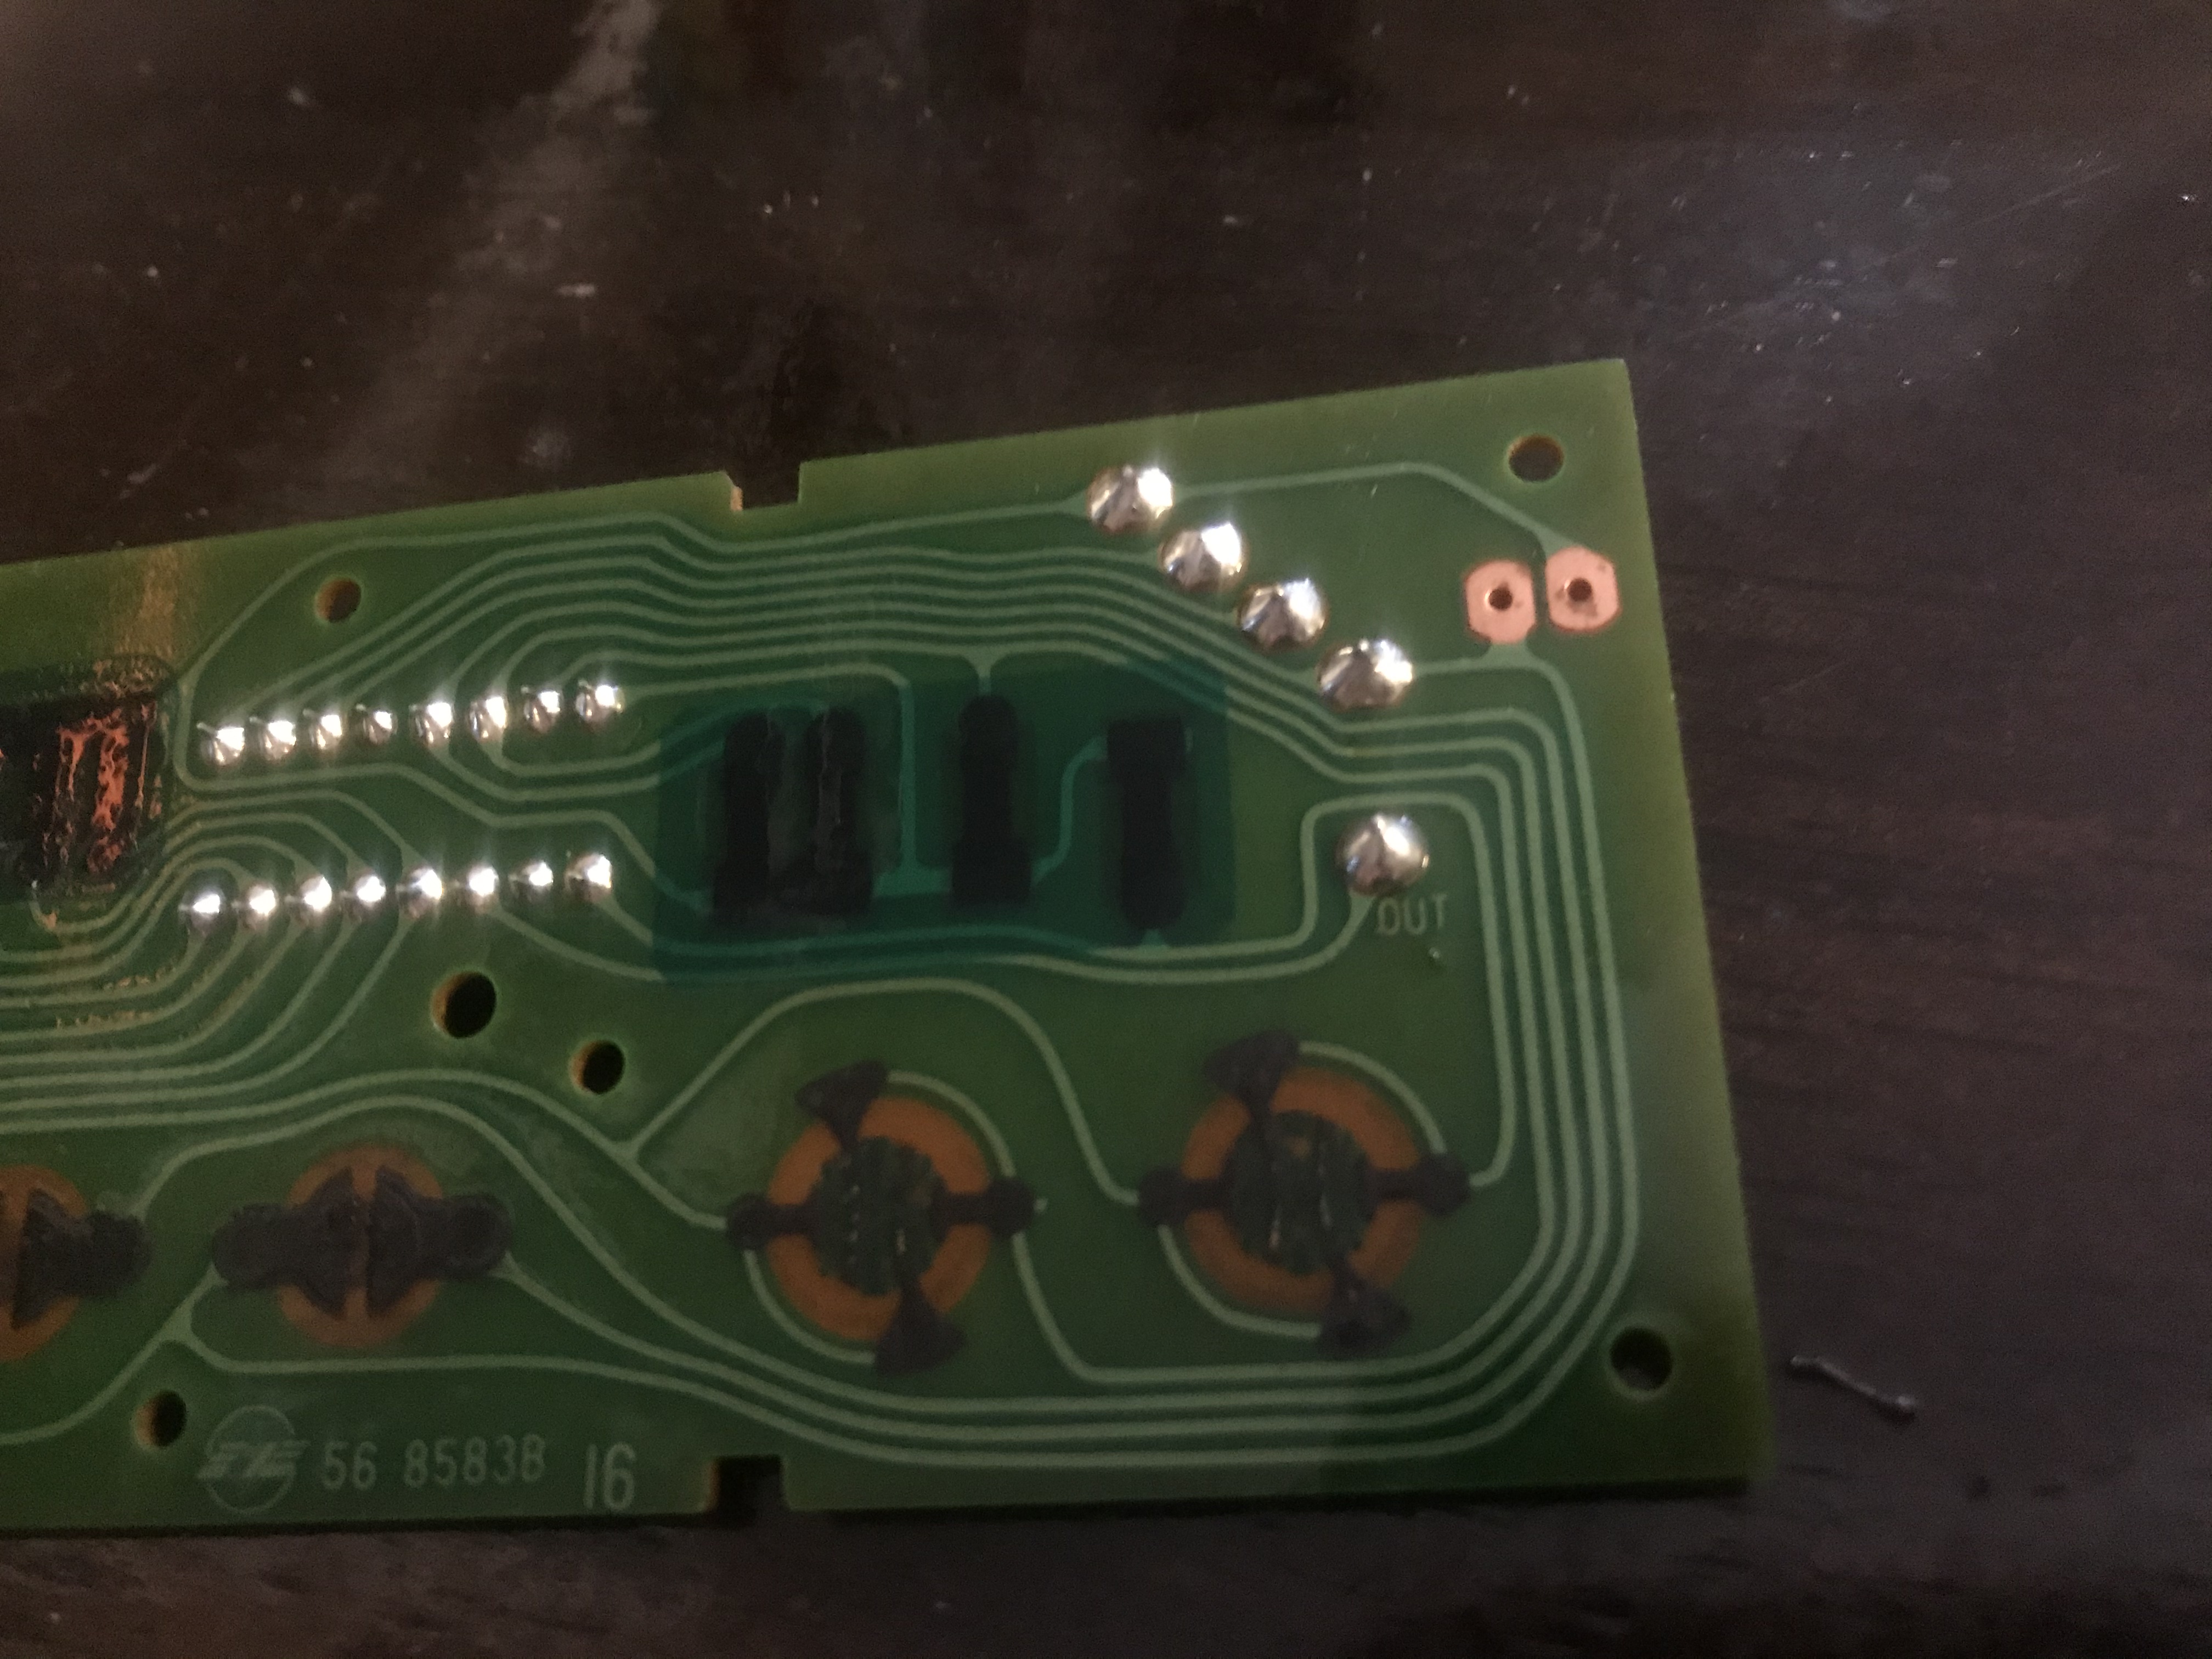
Desoldering the old register was a breeze, and I used a basic, manual desoldering pump. Then, solder the new register back in place.
Now, you can assemble the controller again by aligning the cable and tightening the six Philips screws. The biggest challenge in this procedure was to a) find good quality third party rubber pads and cables, b) finding new IC:s for a good price. Apart from that, the procedure is simple and straight forward.