Articles
How To Store Dry Sage
Modified: February 23, 2024
Looking for tips on how to store dry sage? Read our informative articles that provide expert advice on preserving and storing this aromatic herb for long-lasting freshness.
(Many of the links in this article redirect to a specific reviewed product. Your purchase of these products through affiliate links helps to generate commission for Storables.com, at no extra cost. Learn more)
Introduction
When it comes to culinary herbs, sage is a beloved and versatile ingredient that adds depth and flavor to a wide range of dishes. Whether you grow your own sage or purchase it fresh from the market, knowing how to store it properly ensures that you can enjoy its aromatic qualities for an extended period of time.
In this article, we will guide you through the process of storing dry sage so that you can preserve its unique flavors and use it in your cooking whenever you desire. With just a few simple steps, you can prolong the shelf life of your sage and ensure its freshness.
Before we delve into the specifics of sage storage, it is important to note that dried sage has a stronger flavor compared to fresh sage. This intensifies its ability to enhance the taste of various culinary creations, making it a staple in many spice cabinets and kitchen pantries. By properly storing dry sage, you can maintain its potency and have it readily available whenever you need it.
So, let’s explore the step-by-step process of storing dry sage and ensure that your herb collection remains aromatic, potent, and flavorful!
Key Takeaways:
- Preserve the Potency: Harvest sage at peak oil concentration, dry thoroughly, and store in airtight, opaque containers to maintain its strong flavor and aroma for months.
- Flavorful Assurance: Regularly check dried sage for vibrant color, strong aroma, and potent taste to ensure freshness and quality in your culinary creations.
Read more: How To Store Dried Sage
Step 1: Harvesting Sage
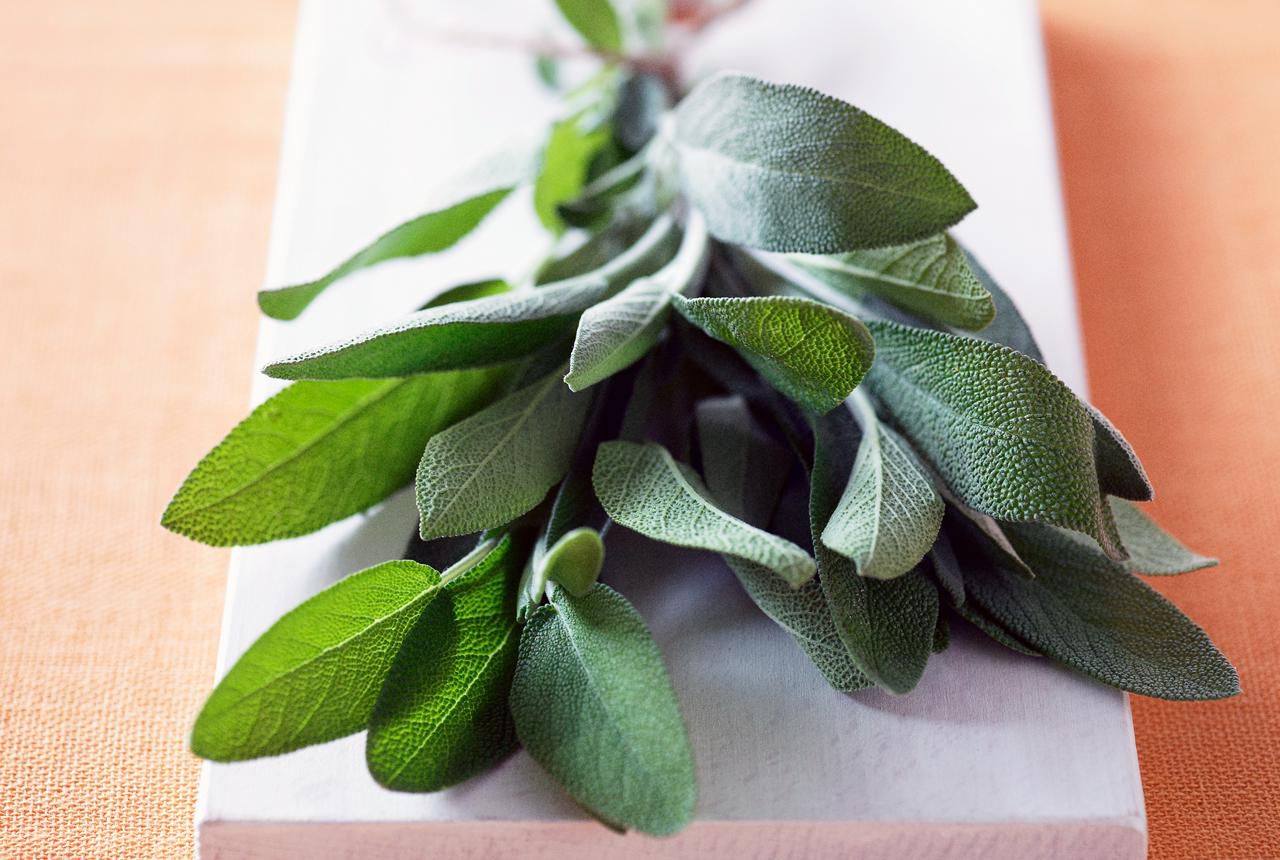
The first step in storing dry sage is harvesting it correctly. Whether you have a sage plant in your garden or you purchase fresh sage from the market, it’s essential to harvest it at the right time to capture its full flavor and aroma.
If you have a sage plant in your garden, the best time to harvest sage is in the morning when the essential oils are at their peak concentration. Gently pluck the sage leaves from the plant, being careful not to damage the stems or any surrounding foliage. Avoid harvesting sage during or after rainfall, as the excess moisture can result in mold growth during the drying process.
If you are purchasing fresh sage from the market, choose leaves that are vibrant in color with no signs of wilting or yellowing. Selecting fresh, healthy leaves ensures that your dried sage will retain its quality and flavor.
Remember, it’s important to harvest sage leaves just before you plan to dry them. This helps to preserve their essential oils and maintain their freshness throughout the drying process.
To ensure the best flavor in your dried sage, it’s recommended to harvest sage leaves before the plant begins to flower. The leaves will be at their most flavorful during this stage, supplying you with potent and aromatic dried sage.
Now that you have harvested your sage, let’s move on to the next step: drying the sage for storage!
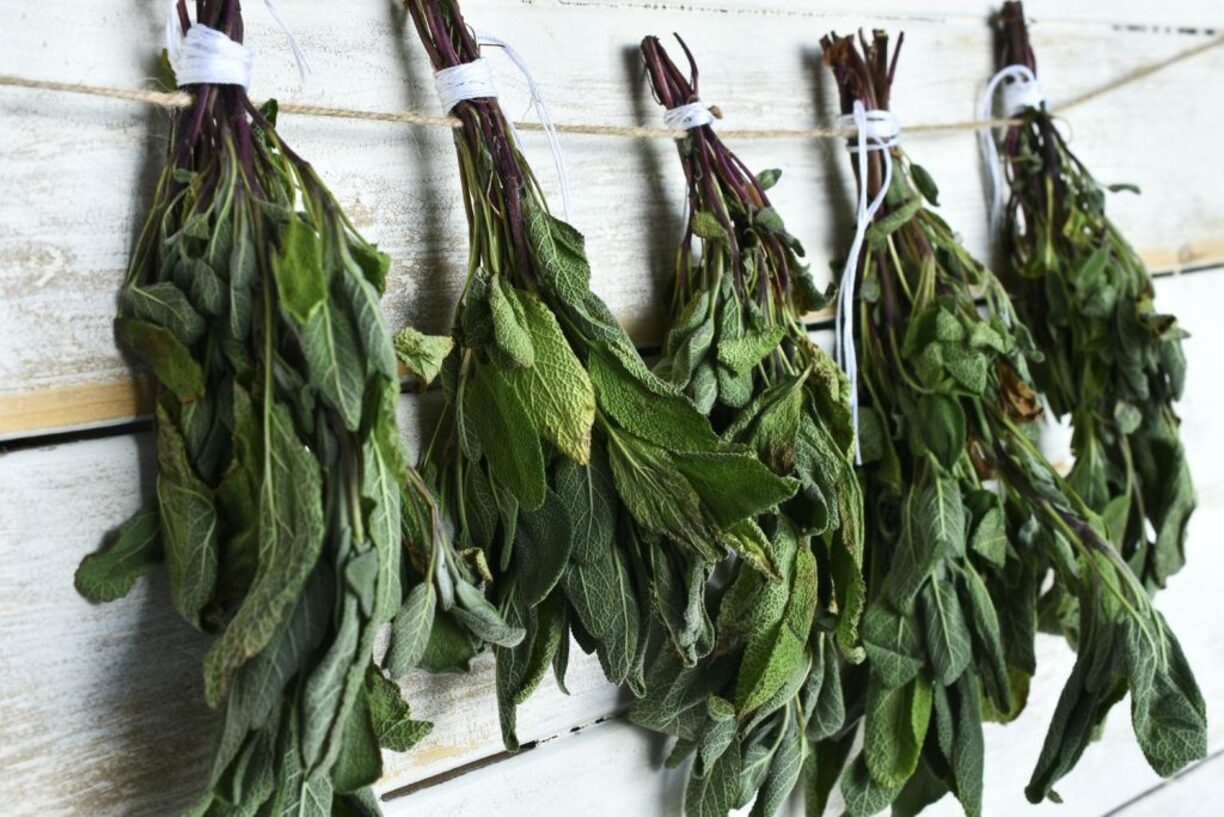
Step 2: Drying Sage
Once you have harvested your sage leaves, the next step is to dry them thoroughly. Drying sage is crucial in removing excess moisture from the leaves, ensuring that they retain their flavor and quality for an extended period of time.
There are several methods you can use to dry sage:
- Air Drying: This is the simplest and most common method for drying sage. Gather a small bundle of sage leaves and tie them together with string or a rubber band. Hang the bundle upside down in a cool, dry, and well-ventilated area. Ensure that the leaves are not touching each other to promote maximum airflow. It usually takes about 1-2 weeks for the sage leaves to dry completely.
- Oven Drying: If you need to speed up the drying process, you can use your oven. Preheat your oven to the lowest temperature setting, usually around 150°F (65°C). Place the sage leaves on a baking sheet lined with parchment paper and spread them out in a single layer. Put the baking sheet in the oven and leave the door slightly open to allow moisture to escape. Keep a close eye on the sage to prevent it from burning. It usually takes about 1-2 hours to dry sage using this method.
- Dehydrator: If you have a dehydrator, you can use it to dry sage quickly and efficiently. Follow the manufacturer’s instructions for drying herbs on your specific model. Arrange the sage leaves on the dehydrator trays and set the temperature to the appropriate setting for drying herbs. It usually takes between 2-4 hours to dry sage in a dehydrator.
Regardless of the drying method you choose, ensure that the sage leaves are completely dry before moving on to the next step. You can check the dryness by crumbling a leaf between your fingers – it should easily crumble into smaller pieces without any moisture or dampness.
Now that your sage leaves are properly dried, it’s time to move on to the next step: cleaning and trimming the sage!
Step 3: Cleaning and Trimming Sage
After drying your sage leaves, it’s important to clean and trim them before storing. This step helps remove any debris or unwanted parts, ensuring that your dried sage is pure and ready for use.
Follow these simple steps to clean and trim your sage:
- Inspect the dried sage leaves for any signs of dirt, dust, or bugs. Gently shake the leaves to dislodge any loose particles.
- Using a soft-bristle brush or a clean cloth, gently brush or wipe the leaves to remove any remaining dirt or debris. Be careful not to crush or damage the delicate leaves.
- Next, carefully examine each leaf and remove any stems, twigs, or discolored parts. Trim off any damaged or brown edges to ensure that only the best parts of the sage remain.
- Crumble or break the sage leaves into smaller pieces if desired. This makes it easier to measure and use the dried sage in your recipes.
By cleaning and trimming your sage, you not only improve its appearance but also ensure that the sage is free from any impurities or contaminants. Now that your sage leaves are cleaned and trimmed, let’s move on to the next step: choosing the right container for storage!
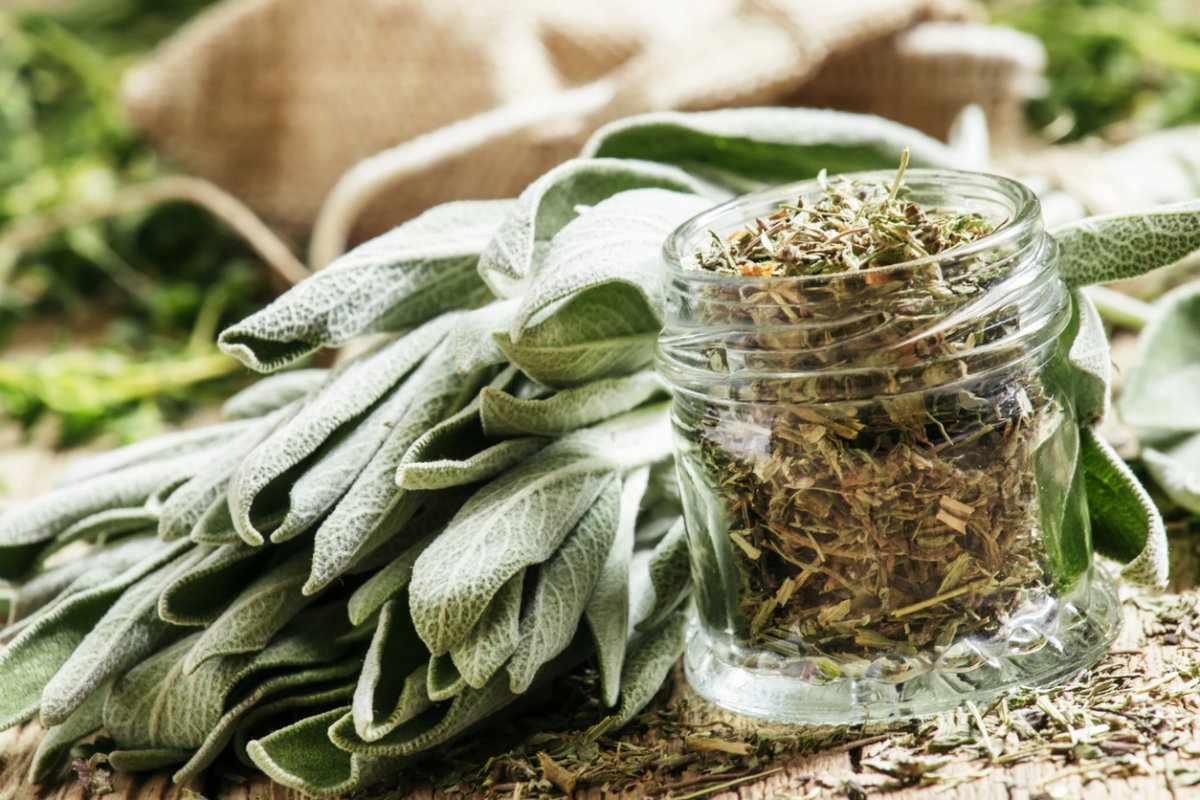
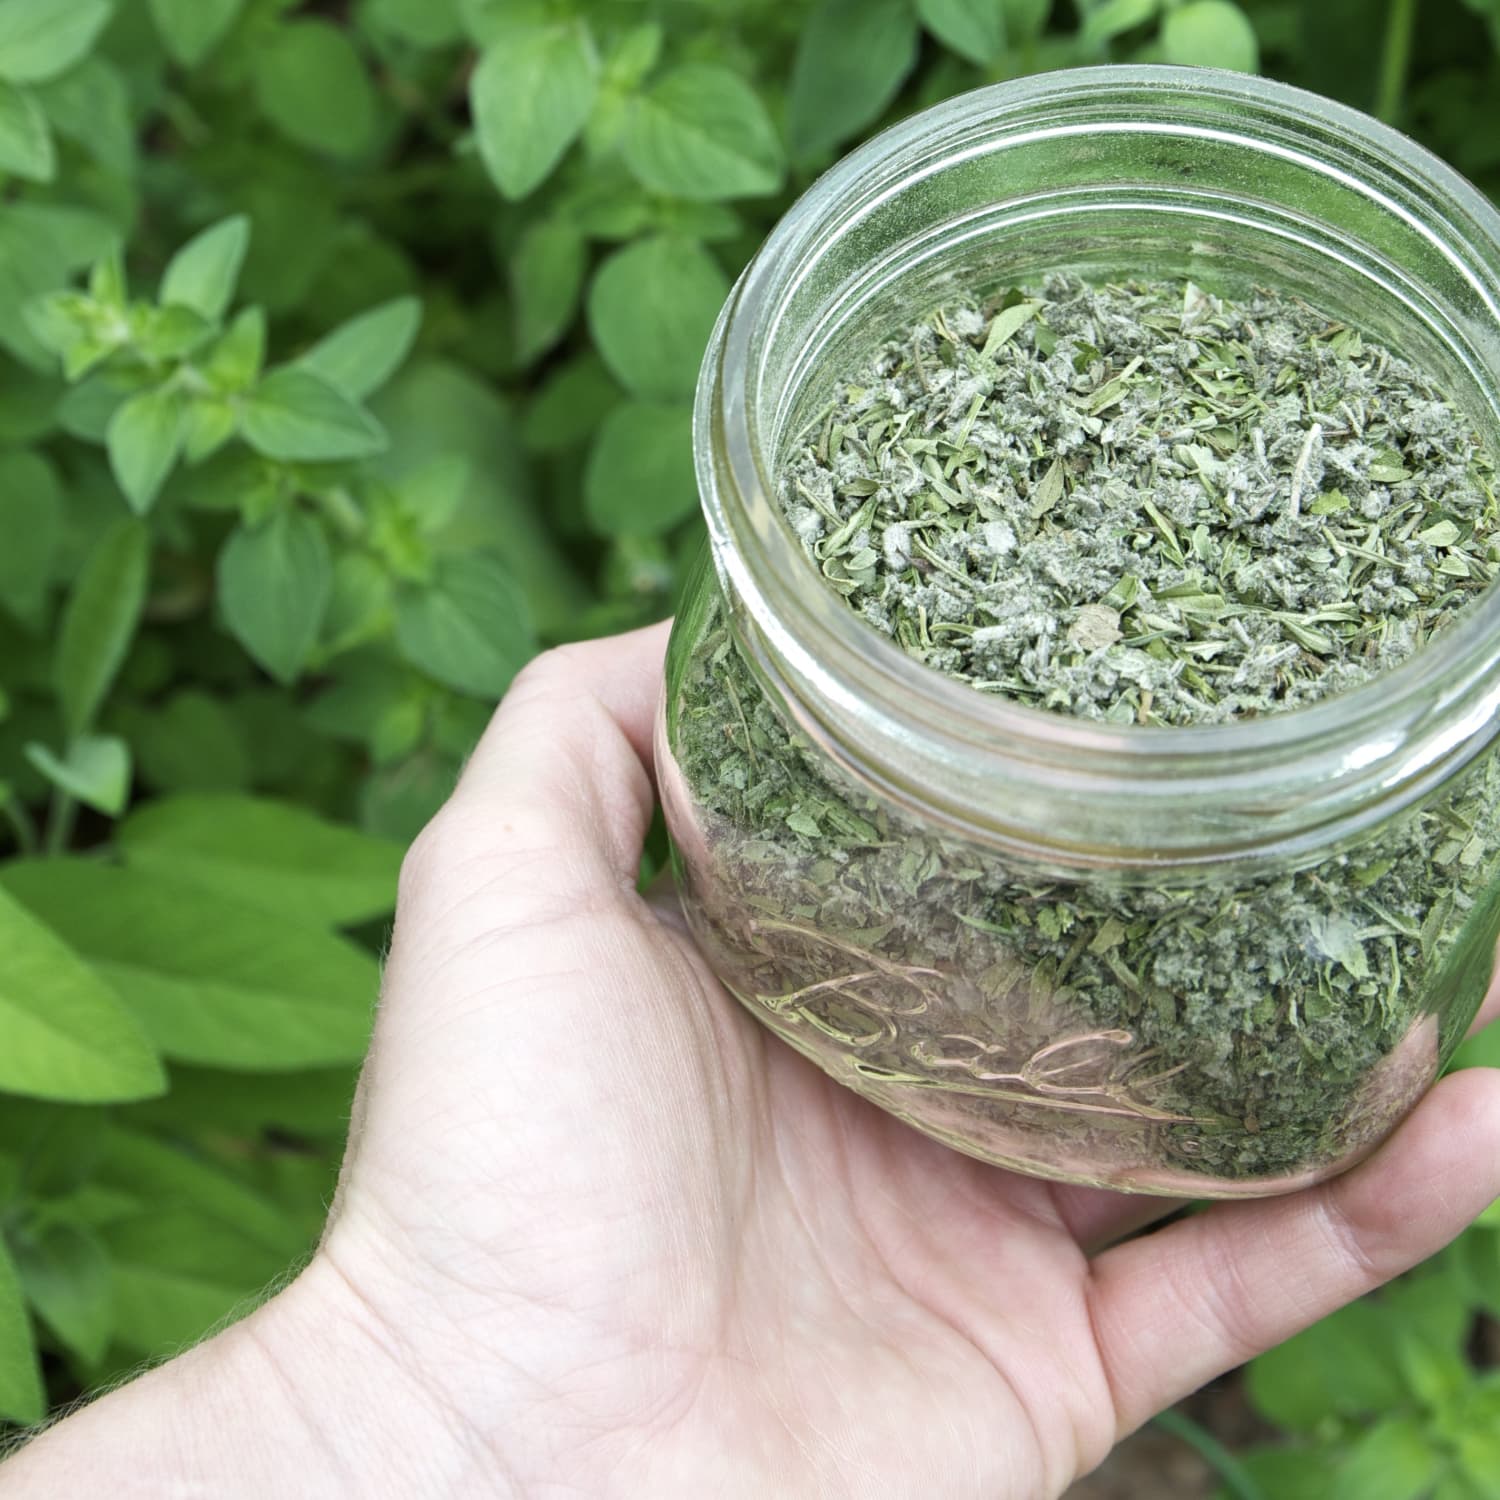
Store dry sage in an airtight container in a cool, dark place to preserve its flavor and aroma. Avoid storing it near heat sources or in direct sunlight.
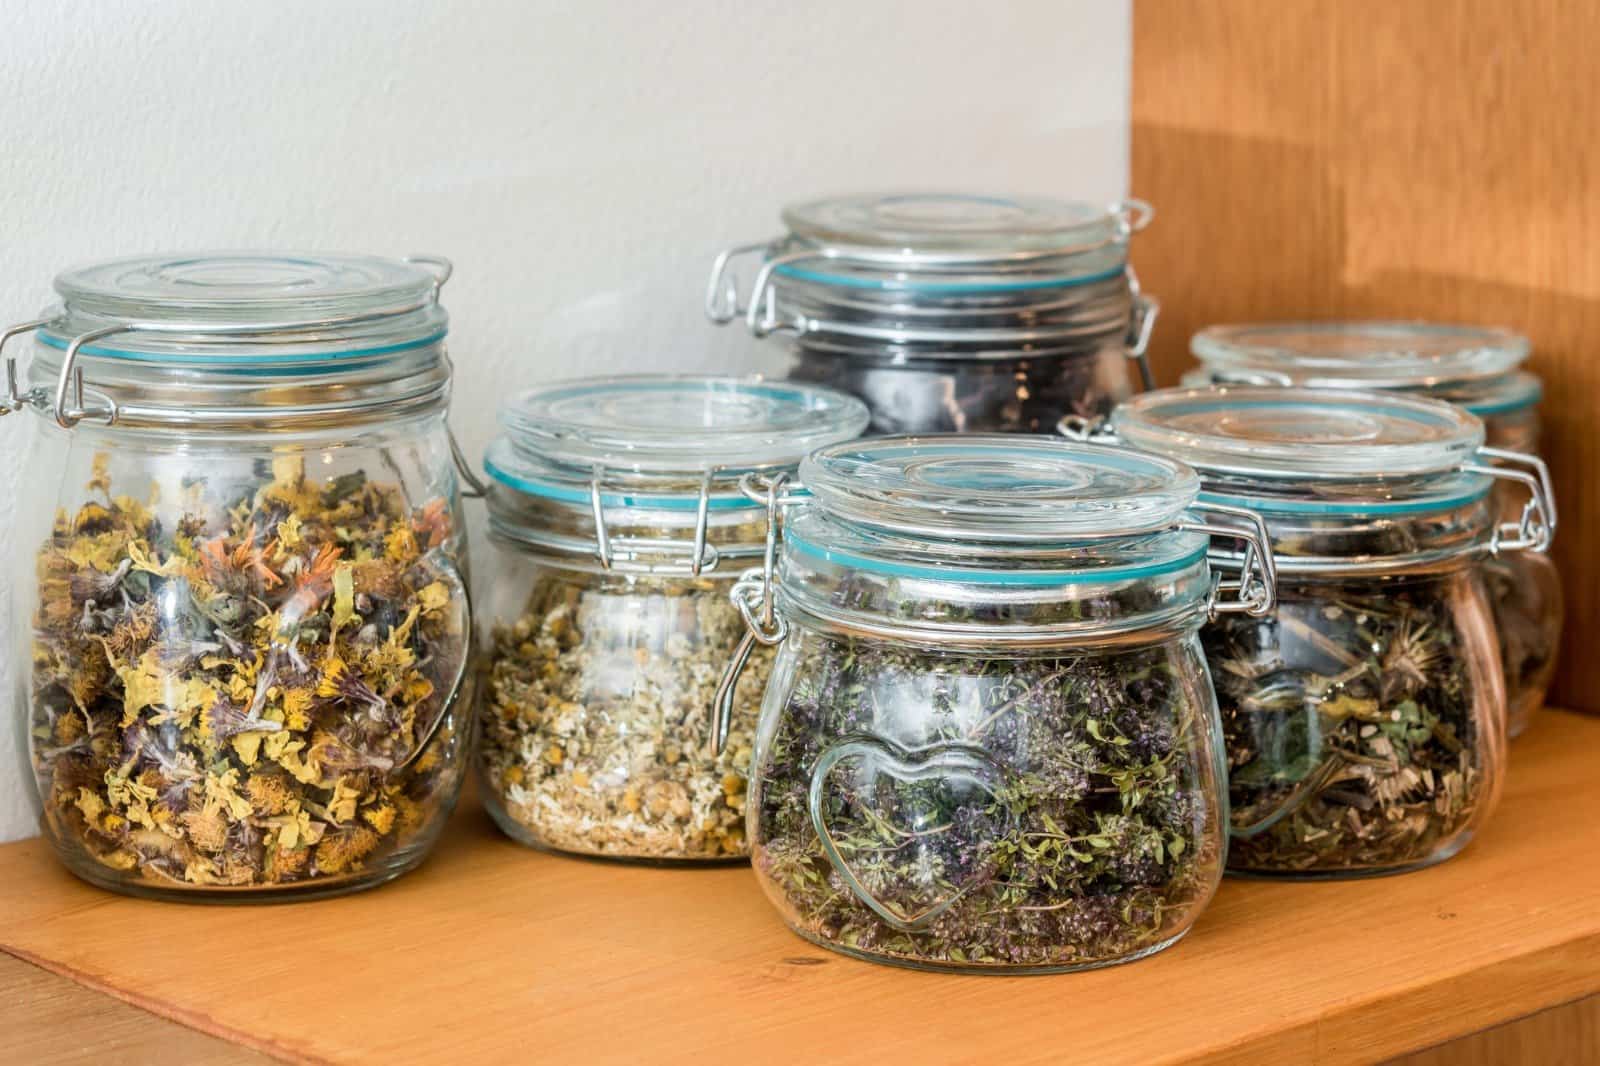
Step 4: Choosing the Right Container
When it comes to storing dry sage, choosing the right container is essential for maintaining its flavor, aroma, and overall quality. A proper container helps to protect the sage from exposure to air, moisture, light, and heat, which can all contribute to flavor loss and reduced shelf life.
Here are some factors to consider when selecting the right container for storing dry sage:
- Airtight: Opt for a container that is airtight or has a tight-fitting lid. This prevents air from entering and oxidizing the sage, which could lead to flavor deterioration.
- Opaque: Choose a container that is opaque or dark-colored to shield the sage from exposure to light. Light can degrade the flavor and potency of dried herbs over time.
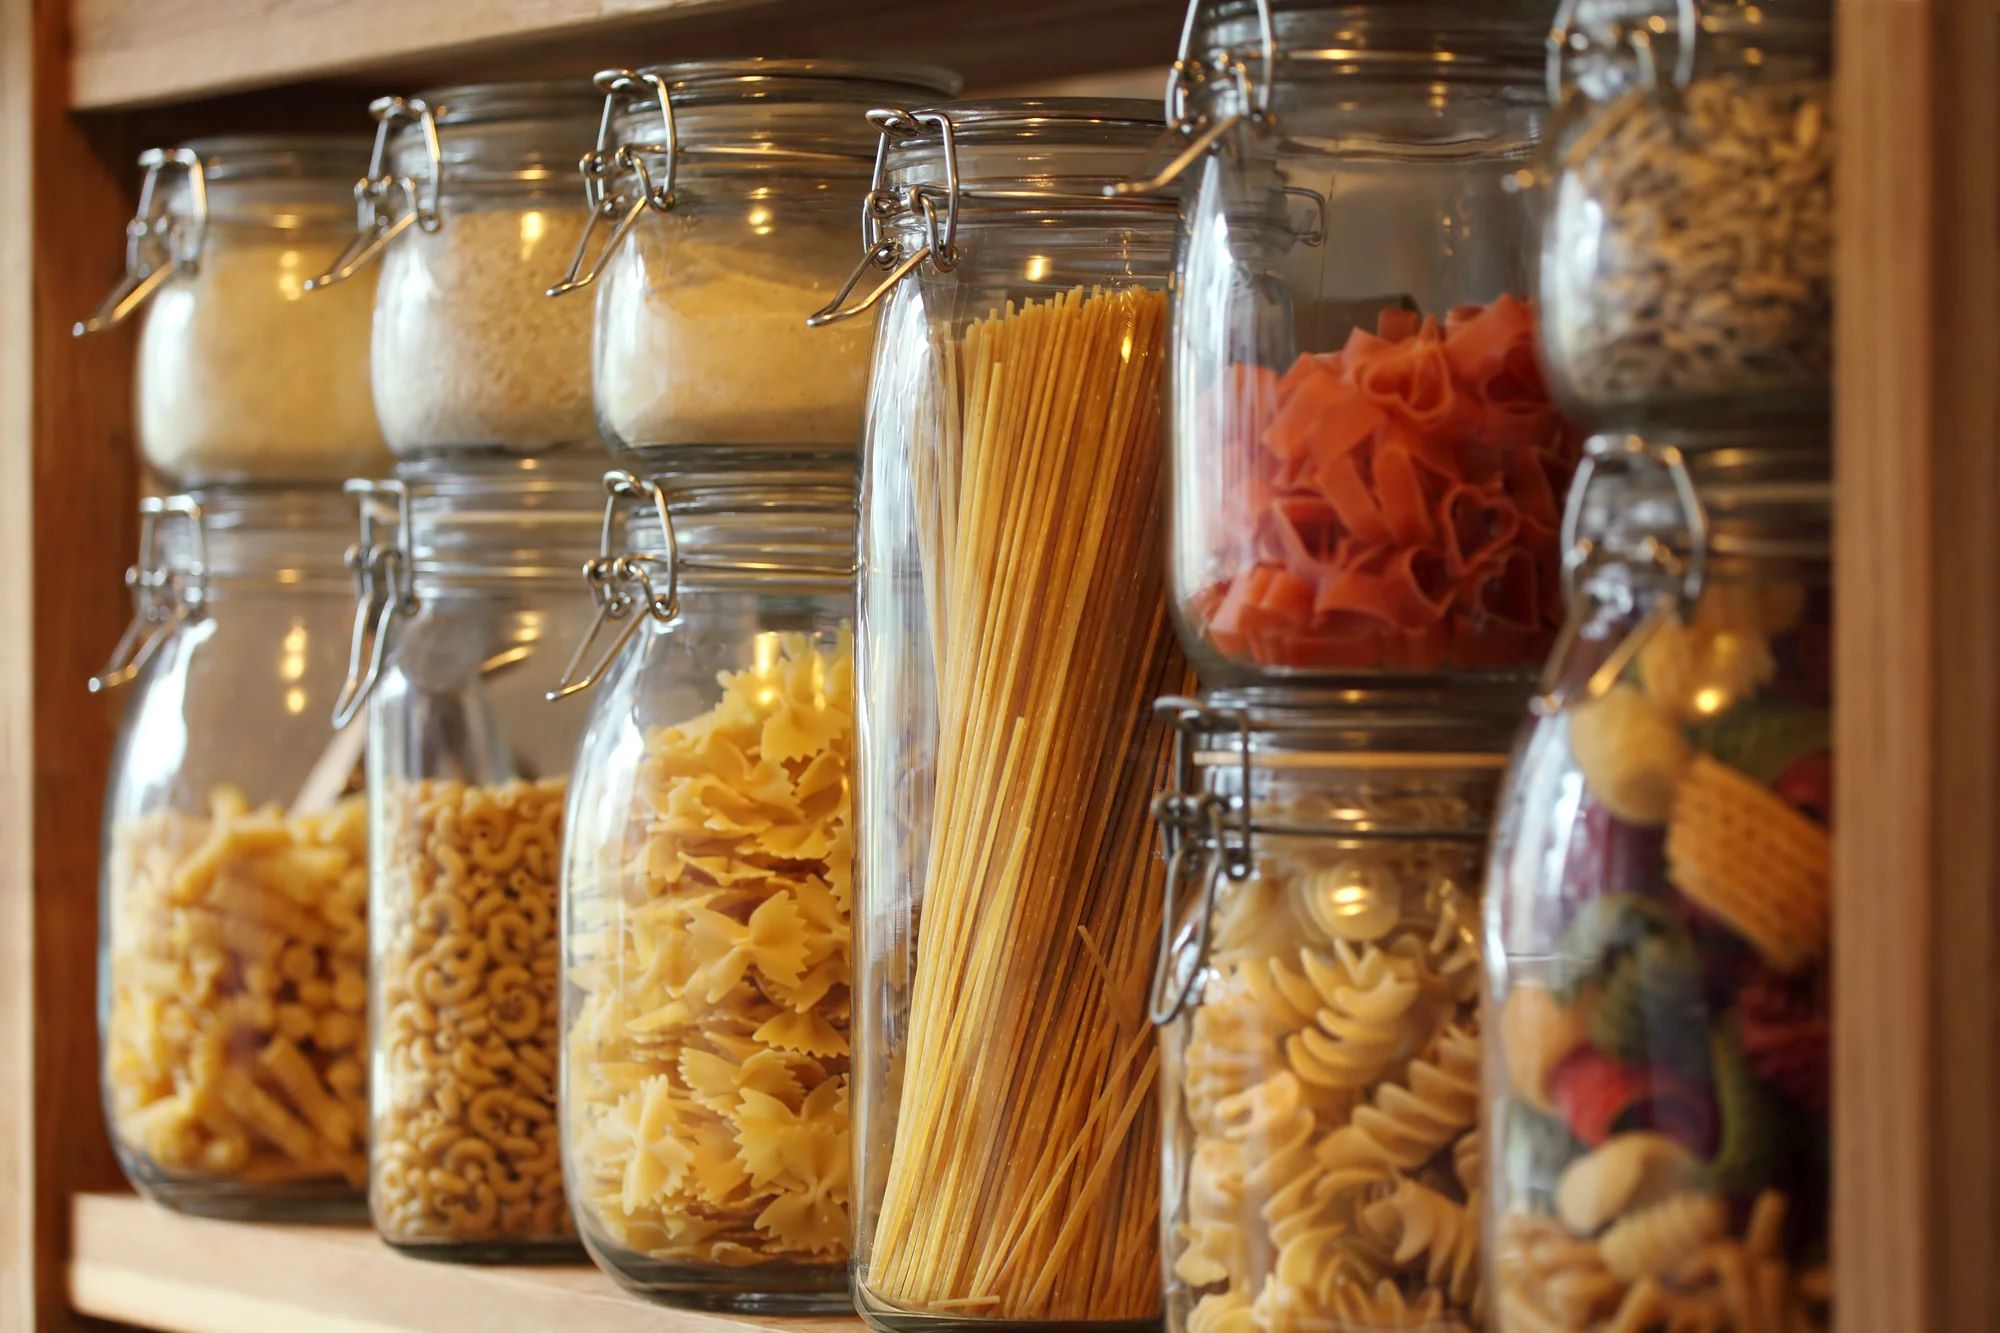
- Non-reactive: Make sure the container is non-reactive, as certain materials like plastic or metal can react with the herbs and alter their flavor. Glass jars or ceramic containers are ideal choices.
- Size: Select a container that is appropriately sized to hold your desired amount of dried sage. It’s best to use smaller containers rather than large ones, as frequent opening and closing of a larger container can expose more of the sage to air.
- Labeling: Don’t forget to label the container with the date of drying. This will help you keep track of the sage’s freshness and ensure that you use the oldest batch first.
By choosing the right container, you can create an optimal environment for storing your dried sage and extend its shelf life. Now that you have the perfect container, let’s move on to the next step: storing your dry sage!
Read more: How To Store Sage
Step 5: Storing Dry Sage
Now that you have your dried sage and the appropriate container, it’s time to store it properly to maintain its flavor and quality over time. Follow these steps to ensure optimal storage:
- Transfer the dried sage into your chosen airtight container. Ensure that the leaves are clean and completely dry before filling the container.
- If you have larger sage leaves, you can break them into smaller pieces to make measuring and using the sage more convenient. However, it’s not necessary and entirely up to your preference.
- Seal the container tightly to prevent air from entering, and store it in a cool, dry, and dark place. A pantry or a cupboard away from direct light and heat sources is an ideal location.
- Avoid storing the sage near the stove, oven, or any other appliance that emits heat, as it can cause the herbs to lose their flavor and aroma.
- If you have multiple containers of dried sage, ensure that you use the older batch first. This will help you maintain freshness and avoid the sage from losing its potency over time.
- Remember not to crush or grind the sage until you are ready to use it. This helps preserve the essential oils and flavors of the herb. Grinding or crushing the sage before storage may result in a faster loss of potency.
By following these storage guidelines, you can enjoy the aromatic flavors of your dried sage for months to come. Now that your sage is well stored, let’s move on to the final step: checking for freshness and quality!
Step 6: Checking for Freshness and Quality
Even when stored correctly, dried herbs like sage can gradually lose their potency over time. Therefore, it’s important to periodically check the freshness and quality of your stored sage to ensure that it’s still flavorful and aromatic.
Here are a few simple ways to check the freshness and quality of your dried sage:
- Appearance: Observe the color of the sage leaves. They should be vibrant and retain their greenish-gray hue. Faded or brownish leaves may indicate a loss of freshness and flavor.
- Aroma: Crush a small portion of the sage leaves between your fingers and inhale deeply. The aroma should be strong, fragrant, and reminiscent of the characteristic sage scent. If the aroma is weak or dull, it may be time to replace your dried sage.
- Taste: To test the flavor, brew a small amount of dried sage in hot water to make a tea. Taste the tea and note the intensity and quality of the sage flavor. If the flavor is weak or bland, it’s a sign that the sage has lost its potency.
- Expiration Date: If you labeled the container with the date of drying, check the expiration date. Dried sage typically retains its flavor and quality for around 6 months to a year, although it can vary depending on storage conditions.
If you find that your dried sage has lost its freshness or quality, it may be time to discard it and replenish your stock with a fresh batch. Fresh sage leaves can be dried using the same process outlined in this article to ensure you always have a supply of flavorful sage on hand.
Now that you know how to check for freshness and quality, you can confidently use your dried sage in all your culinary creations!
Conclusion
Storing dry sage properly is crucial for preserving its distinct flavor, aroma, and quality. By following the steps outlined in this article, you can ensure that your dried sage remains fresh and potent for an extended period of time.
From harvesting the sage at the right time to drying it thoroughly, cleaning and trimming the leaves, choosing the appropriate container, and storing it in a cool, dry, and dark place, each step plays a crucial role in maintaining the integrity of your dried sage.
Regularly checking for freshness and quality will ensure that your dried sage is still flavorful and aromatic when you use it in your recipes. And remember, homemade dried sage can elevate the flavor of a variety of dishes, from roasted meats and vegetables to soups, stews, and sauces.
So, make the most of your sage harvest or store-bought sage by properly storing it. By doing so, you can enjoy the rich, earthy flavors of dried sage in your culinary creations all year round.
Now that you have the knowledge to store dry sage effectively, it’s time to put it into practice and savor the wonderful flavors that this versatile herb has to offer!
Frequently Asked Questions about How To Store Dry Sage
Was this page helpful?
At Storables.com, we guarantee accurate and reliable information. Our content, validated by Expert Board Contributors, is crafted following stringent Editorial Policies. We're committed to providing you with well-researched, expert-backed insights for all your informational needs.


0 thoughts on “How To Store Dry Sage”