Articles
How To Install Newel Post On Stairs
Modified: May 6, 2024
Learn how to install a newel post on your stairs with this informative step-by-step guide. Discover expert tips and techniques to ensure a secure and visually appealing installation.
(Many of the links in this article redirect to a specific reviewed product. Your purchase of these products through affiliate links helps to generate commission for Storables.com, at no extra cost. Learn more)
Introduction
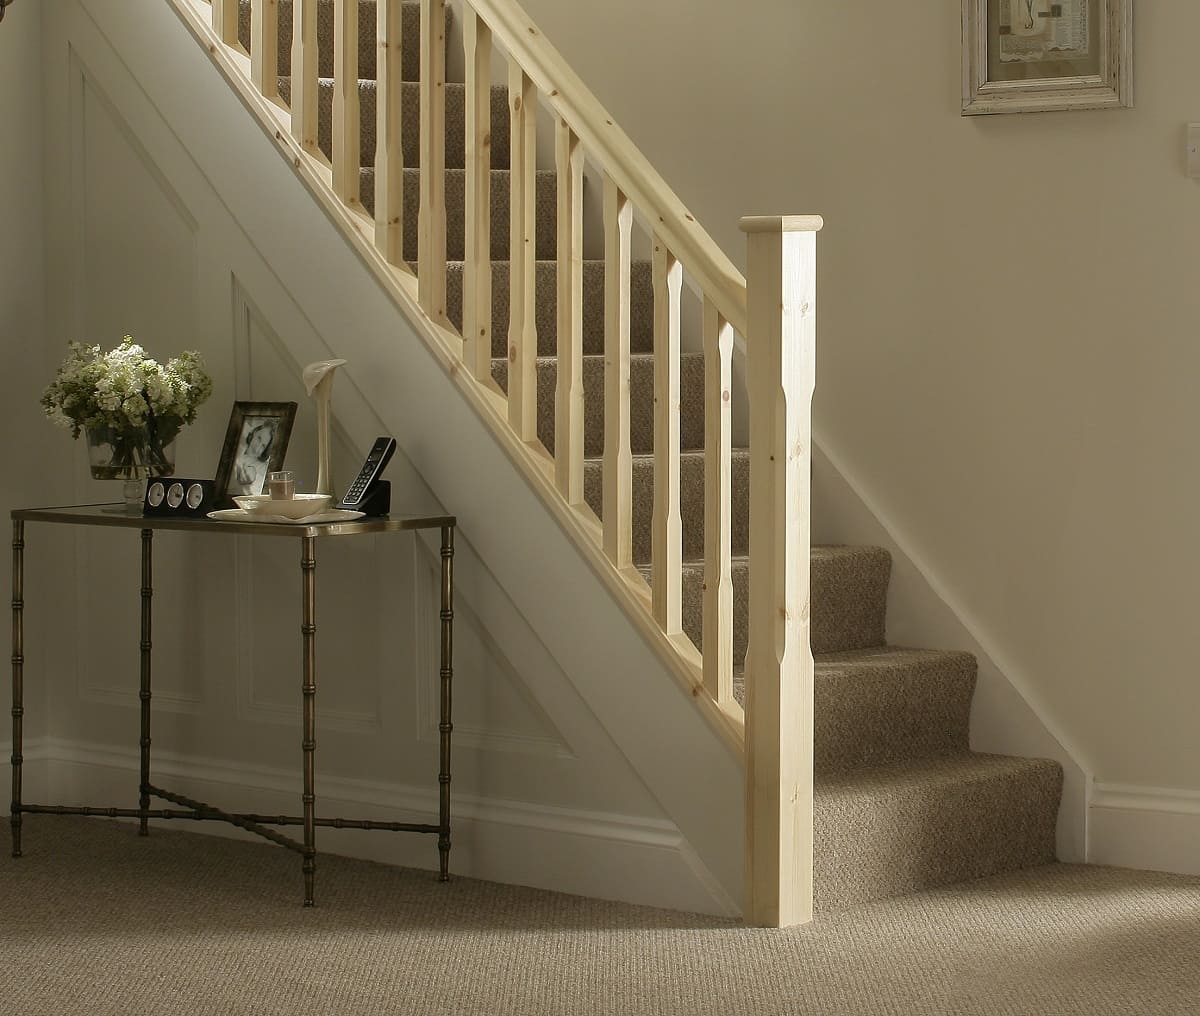
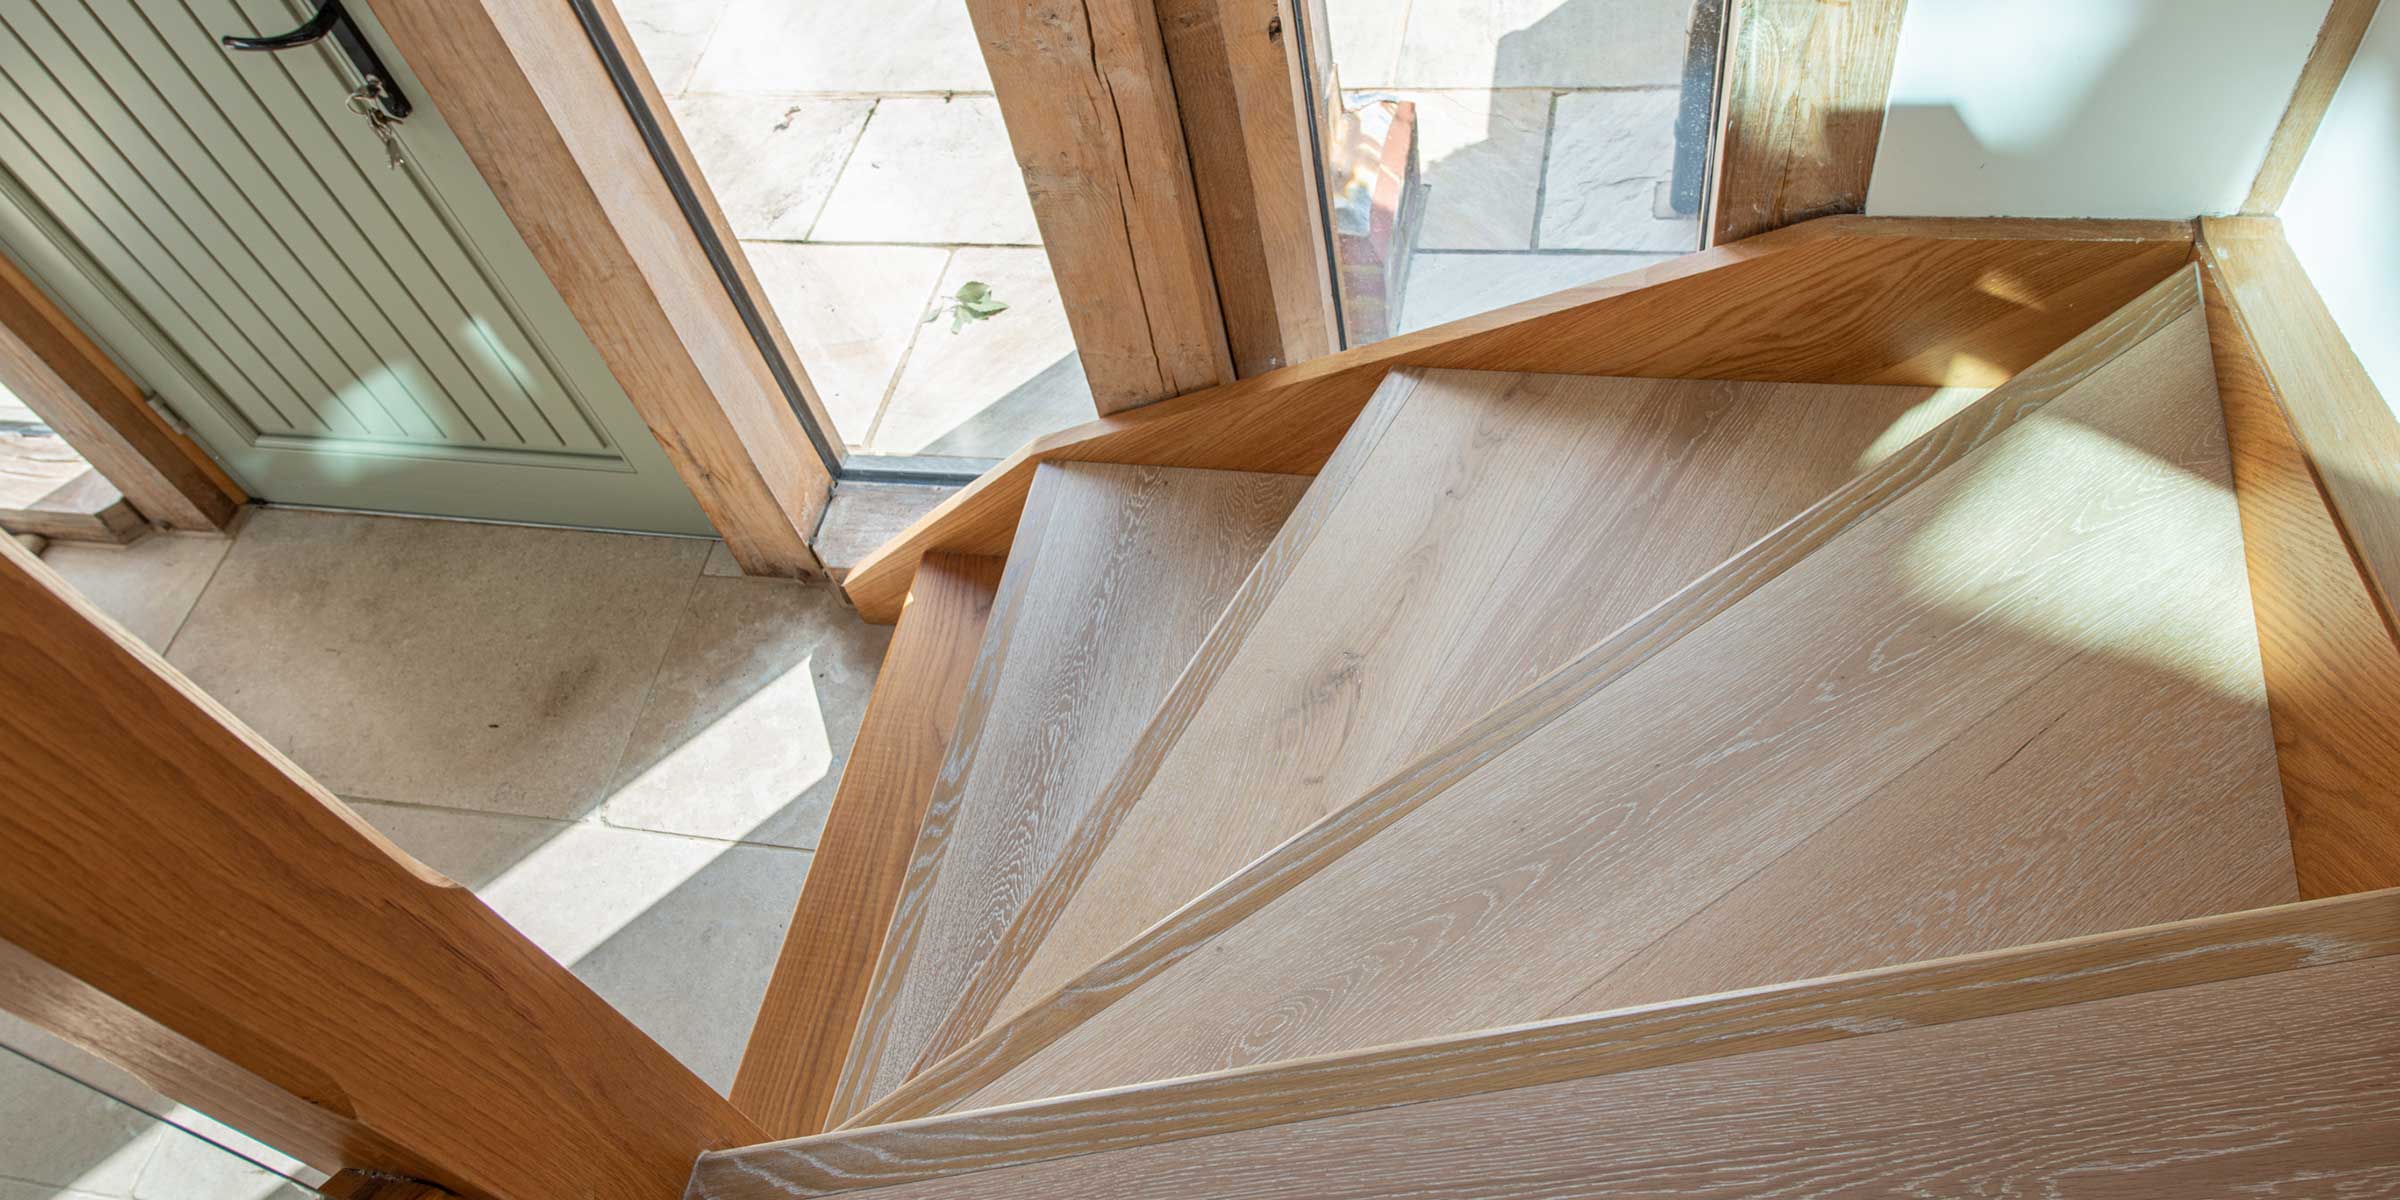
Installing a newel post on stairs is an essential step in adding stability and security to your staircase. The newel post serves as the anchor point for the railing system and provides support for anyone using the stairs. Whether you are building a new staircase or replacing an old worn-out newel post, this guide will walk you through the step-by-step process to ensure a successful installation.
Before you begin the installation, it’s important to gather all the necessary tools and materials. You’ll need a measuring tape, a level, a pencil, a saw, a drill, screws, a screwdriver or drill driver, wood glue, and sandpaper. Additionally, make sure you have the proper safety equipment such as gloves and safety goggles to protect yourself during the installation process.
Measuring and marking the placement of the newel post is an important initial step. Locate the center of the stair tread where you want to place the newel post. Use a measuring tape to find the exact center and mark it with a pencil. This will ensure that the newel post is positioned correctly and aligned with the rest of the staircase.
If you are replacing an old newel post, it needs to be removed first. Carefully unscrew any screws or bolts securing the old post to the tread and handrail. Use a saw to cut through any adhesive or glue that may be holding the post in place. Gently remove the old post, being cautious not to damage the surrounding staircase.
Preparing the stair tread for the newel post installation is crucial for a secure attachment. Use a drill to create pilot holes at the marked center point on the tread. The size of the pilot holes should be slightly smaller than the screws that will be used to secure the newel post. This will prevent the wood from splitting and ensure a tight fit.
Key Takeaways:
- Properly measuring and preparing the stair tread, along with securely fastening the newel post, are crucial steps in ensuring a stable and visually appealing installation. Don’t rush through these important stages for a successful outcome.
- Connecting the newel post to the handrail and adding finishing touches and support are the final touches that complete the installation process. Take pride in your accomplishment and enjoy the enhanced stability and elegance it brings to your staircase.
Read more: How To Install Newel Post On Flat Floor
Step 1: Gather the Necessary Tools and Materials
Before you start any project, it’s important to have all the necessary tools and materials on hand. When it comes to installing a newel post on your stairs, here’s a list of tools and materials you’ll need:
- Measuring tape
- Level
- Pencil
- Saw
- Drill
- Screws
- Screwdriver or drill driver
- Wood glue
- Sandpaper
- Safety equipment (gloves and safety goggles)
The measuring tape and level are essential for accurately measuring and marking the placement of the newel post. This ensures that the post is positioned correctly and aligned with the rest of the staircase.
A pencil is needed for marking the center of the stair tread and any other necessary measurements throughout the installation process. The saw will be used to cut any necessary materials, such as the newel post or handrail, to the desired length.
A drill is required for making pilot holes in the stair tread and for attaching the newel post to the tread and handrail. The type and size of screws will depend on the materials being used and the specific requirements of your staircase.
If you are using wooden newel posts, wood glue will be needed to ensure a strong bond between the post and the stair tread. Sandpaper is useful for smoothing any rough edges or surfaces before installation.
Lastly, it’s important to prioritize safety during the installation process. Wear gloves to protect your hands from potential injuries and safety goggles to shield your eyes from any flying debris.
By gathering all the necessary tools and materials ahead of time, you can ensure a smooth and efficient installation process for your newel post.
Step 2: Measure and Mark the Placement of the Newel Post
Before you can install the newel post on your stairs, it’s vital to accurately measure and mark its placement. This step ensures that the post is positioned correctly and aligned with the rest of the staircase. Follow these steps to measure and mark the placement of the newel post:
- Start by locating the center of the stair tread where you want to install the newel post. Use a measuring tape to find the exact center and mark it with a pencil.
- Next, use a level to ensure that the newel post will be perfectly vertical. Place the level against the adjacent railing or wall to establish a straight reference line.
- Hold the newel post against the reference line, making sure it is centered on the marked spot on the stair tread. Adjust the post as needed so it aligns precisely with the reference line.
- Once you are satisfied with the positioning of the newel post, use a pencil to mark the spots where the screws will be inserted. These marks will serve as guides during the installation process.
Remember, accuracy is essential during this step to ensure the newel post is securely positioned. Double-check your measurements and alignment to guarantee a stable and visually pleasing result.
Additionally, take into consideration the height and length of the newel post. The height should conform to local building codes, typically ranging from 34 to 38 inches. The length of the post may vary depending on your personal preference and the design of your staircase.
By taking the time to measure and mark the placement of the newel post accurately, you’ll lay the foundation for a successful installation that not only adds stability to your staircase but also enhances its aesthetic appeal.
Step 3: Remove the Old Newel Post (if applicable)
If you are working on a staircase that already has an existing newel post, you’ll need to remove it before installing the new one. Removing the old newel post allows you to start with a clean slate and ensures a proper installation of the replacement. Follow these steps to remove the old newel post:
- Begin by examining the old newel post and its attachments. Look for any screws, bolts, or brackets that are securing it to the stair tread and handrail.
- Using a screwdriver or drill driver, carefully unscrew or remove any fasteners that are holding the old newel post in place. Pay close attention to avoid damaging the surrounding staircase or railing.
- In some cases, the old newel post may be glued or adhered to the stair tread. If this is the case, use a saw to carefully cut through the adhesive, taking care not to damage the tread or any other parts of the staircase.
- Once you have removed all the fasteners and adhesive, you can gently pull the old newel post away from the staircase. Take your time and be cautious to avoid any sudden movements or accidents.
If you encounter any difficulties during the removal process or if the old newel post is particularly stubborn, it may be helpful to consult a professional for assistance.
Removing the old newel post is an important step in preparing the space for the installation of the new one. By taking your time and being careful, you’ll ensure that the process goes smoothly and without any damage to the staircase or surrounding areas.
Step 4: Prepare the Stair Tread for Newel Post Installation
Before you can install the newel post on the stair tread, it’s important to properly prepare the surface. This step ensures a secure attachment and helps prevent any potential issues down the line. Follow these steps to prepare the stair tread for newel post installation:
- Begin by clearing the stair tread of any debris or obstructions. This will provide a clean and level surface for the newel post to be installed.
- Next, use a measuring tape to locate the exact center of the stair tread where the newel post will be placed. Mark this spot with a pencil to serve as a guide during installation.
- Using a drill, create pilot holes at the marked center point on the stair tread. The size of the pilot holes should be slightly smaller than the screws that will be used to secure the newel post. This will prevent the wood from splitting and ensure a tight fit.
- If the stair tread is made of carpet or another type of covering, carefully cut away the carpet around the marked spot for the newel post. Make sure to leave a clean edge that can be concealed by the base of the newel post.
- Once the area is prepared, inspect the surrounding stair tread to ensure it is in good condition. If there are any loose or damaged parts, take the time to repair or replace them before proceeding with the installation.
Preparing the stair tread is an essential step to ensure a successful and secure installation of the newel post. By clearing the area, locating the center, creating pilot holes, and addressing any damage, you’ll create a solid foundation for the newel post and contribute to the overall stability and safety of your staircase.
Read more: How To Install A Lamp Post
Step 5: Prepare the Bottom of the Newel Post
Before installing the newel post on the stair tread, it’s important to prepare the bottom of the post for a secure and stable attachment. This step ensures that the post sits firmly on the tread and provides a solid foundation for the railing system. Follow these steps to prepare the bottom of the newel post:
- Begin by determining the type of attachment method you will be using for the newel post. Common methods include using screws or using a mortise and tenon joint.
- If you are using screws, carefully drill pilot holes at the bottom of the newel post. The size of the pilot holes should correspond to the size of the screws you will be using.
- If you are using a mortise and tenon joint, measure and mark the location and dimensions of the joint on the bottom of the newel post.
- Using a saw or chisel, carefully cut the mortise and tenon joint into the bottom of the newel post, ensuring a tight fit between the pieces.
- Once the attachment method is prepared, sand the bottom of the newel post to ensure a smooth surface. This will help the post sit flush on the stair tread.
- If the newel post is made of wood, apply wood glue to the bottom before attaching it to the stair tread. This will enhance the bond and provide extra stability.
By preparing the bottom of the newel post, you’ll ensure a secure and durable attachment to the stair tread. Whether you are using screws or a mortise and tenon joint, taking the time to properly prepare this part of the post will contribute to the overall stability and safety of your staircase.
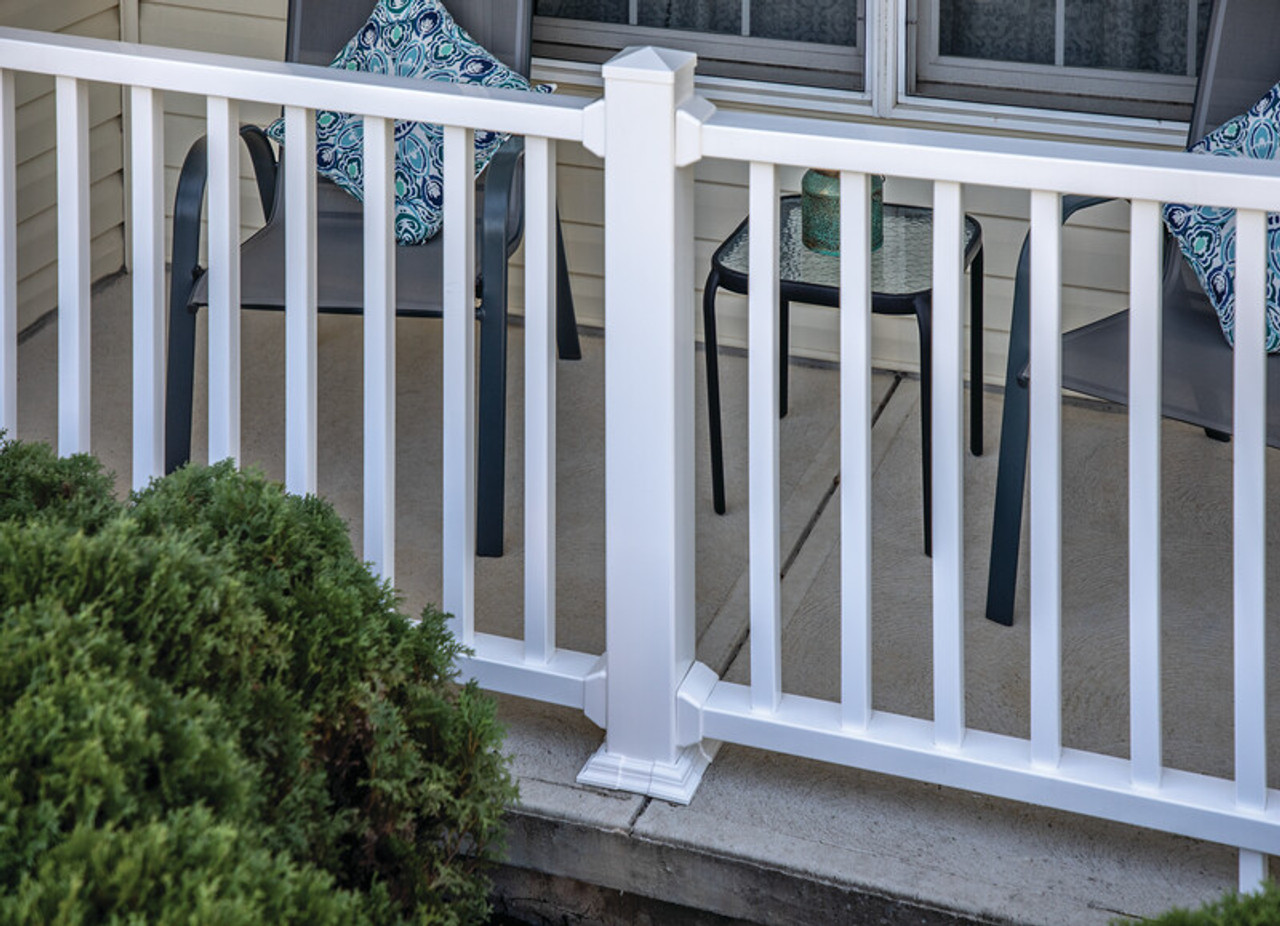
When installing a newel post on stairs, make sure to measure and mark the exact placement before drilling. Use a level to ensure the post is straight and secure it with screws or bolts for stability.
Step 6: Install the Newel Post on the Stair Tread
With the stair tread prepared, it’s time to install the newel post. This step is crucial as it establishes the foundation of the railing system and ensures stability and support. Follow these steps to install the newel post on the stair tread:
- Lift the newel post and carefully align the bottom with the pilot holes or mortise and tenon joint on the prepared area of the stair tread.
- Ensure that the post is centered on the marked spot and aligned vertically using a level. Make any necessary adjustments to achieve the desired placement.
- Press down firmly on the newel post to ensure a secure fit on the stair tread. If using screws, insert them into the pilot holes and tighten them with a screwdriver or drill driver. If using a mortise and tenon joint, ensure the pieces are tightly connected.
- Double-check the alignment and stability of the newel post. Ensure that it stands straight and does not wobble or move when pressure is applied.
It’s important to take your time during this step to ensure a solid and secure installation. The newel post should be firmly attached to the stair tread, providing a strong anchor for the handrail and ensuring the safety of anyone using the staircase.
If you find that the newel post is not securely attached or doesn’t align properly, take the necessary steps to correct the issue before proceeding to the next step.
Once the newel post is installed on the stair tread, you can move on to securing it further and connecting it to the handrail in the next steps. But, for now, take a moment to admire your progress and the increased stability and aesthetic appeal that the newel post brings to your staircase.
Step 7: Secure the Newel Post to the Stair Tread
Now that the newel post is installed on the stair tread, it’s time to secure it further to ensure maximum stability and longevity. This step involves fastening the post securely to the tread, minimizing any movement or wobbling. Follow these steps to securely fasten the newel post to the stair tread:
- Start by checking the alignment of the newel post. Ensure that it is still centered on the marked spot and standing straight.
- If using screws, carefully insert additional screws through the base of the newel post and into the pilot holes in the stair tread. Make sure the screws are long enough to provide a secure attachment but not so long that they protrude through the top of the tread.
- If the newel post is made of wood, apply a thin layer of wood glue to the base of the post before securing it with screws. The glue will enhance the bond between the post and the stair tread, adding extra strength and stability.
- Tighten the screws using a screwdriver or drill driver, ensuring that they are snug but not over-tightened. Over-tightening can damage the wood and compromise the stability of the post.
- Double-check the newel post for any movement or wobbling. Apply pressure to the post to ensure it is secure and does not shift or rotate.
By securely fastening the newel post to the stair tread, you are ensuring that it remains stable and firmly anchored in place. This step is crucial for the overall strength and longevity of the railing system.
Once you have completed this step, you can move on to connecting the newel post to the handrail in the next step. But before doing so, take a moment to appreciate the progress made and the improved stability that the securely fastened newel post brings to your staircase.
Step 8: Connect the Newel Post to the Handrail
Connecting the newel post to the handrail is a vital step in completing the installation of your railing system. This step ensures that the handrail is securely attached to the newel post, creating a stable and safe staircase. Follow these steps to connect the newel post to the handrail:
- Begin by positioning the handrail against the newel post. Make sure the handrail is aligned with the top of the post and centered properly.
- Mark the location where the handrail and the newel post will be connected. Use a pencil to create reference marks on both the handrail and the newel post.
- Depending on the design of your railing system, you may need to create a notch or a hole on the newel post to accommodate the handrail. Carefully make the necessary cuts or drill the required hole, ensuring a tight fit for the handrail.
- Apply wood glue to the connection point on the newel post. This will enhance the bond between the handrail and the post and add extra strength.
- Carefully position the handrail into the notch or hole on the newel post. Ensure that it fits securely and aligns with the reference marks.
- Secure the handrail to the newel post using screws or other fasteners. Consult the manufacturer’s instructions or use appropriate hardware recommended for your specific railing system.
- Double-check the connection between the handrail and the newel post. Apply pressure to ensure they are securely joined without any movement or wobbling.
By connecting the newel post to the handrail, you are completing the visual and functional aspect of your staircase railing. This secure connection ensures the stability and safety of the railing system, giving you peace of mind.
Once you have completed this step, you can move on to the final steps of adding finishing touches and providing additional support to your newly installed newel post and railing system.
Read more: How To Install An Outdoor Lamp Post
Step 9: Finishing Touches and Additional Support
As you near the completion of installing your newel post on the stairs, it’s important to add some finishing touches and provide additional support to ensure a polished and secure railing system. Follow these final steps to add the finishing touches and additional support:
- Inspect the newel post and handrail for any rough edges or imperfections. Use sandpaper to smooth out any rough spots and create a uniform surface.
- If your newel post is made of wood, consider applying a protective finish to enhance its durability and protect it from wear and tear.
- Check the stability of the newel post and handrail. Apply pressure in different directions to ensure they are securely attached and do not wobble or shift.
- If desired, add additional support to the newel post and handrail for added strength. This can be done by installing brackets or brackets beneath the handrail or attaching support blocks to the newel post.
- Ensure that all screws and fasteners are tightened properly. Check for any loose or missing screws and replace them as needed.
- Finally, step back and admire your completed newel post installation. Take a moment to appreciate the improved stability and aesthetic appeal that the newel post brings to your staircase.
With these final touches and additional support, you have successfully completed the installation of your newel post on the stairs. Your railing system is now secure, stable, and visually appealing.
Remember to periodically inspect and maintain your newel post and railing system. Tighten any loose screws, address any signs of wear or damage, and keep the post and handrail clean and free from debris.
By following these steps and providing the necessary care, your newel post and railing system will continue to provide support and beauty for years to come.
Conclusion
Congratulations! You have successfully completed the installation of a newel post on your stairs. By following the step-by-step process outlined in this guide, you have added stability, security, and aesthetic appeal to your staircase.
Throughout the installation, you gathered the necessary tools and materials, measured and marked the placement of the newel post, removed the old post if applicable, prepared the stair tread, and installed the newel post securely. You also connected the newel post to the handrail, added finishing touches, and provided additional support for maximum stability.
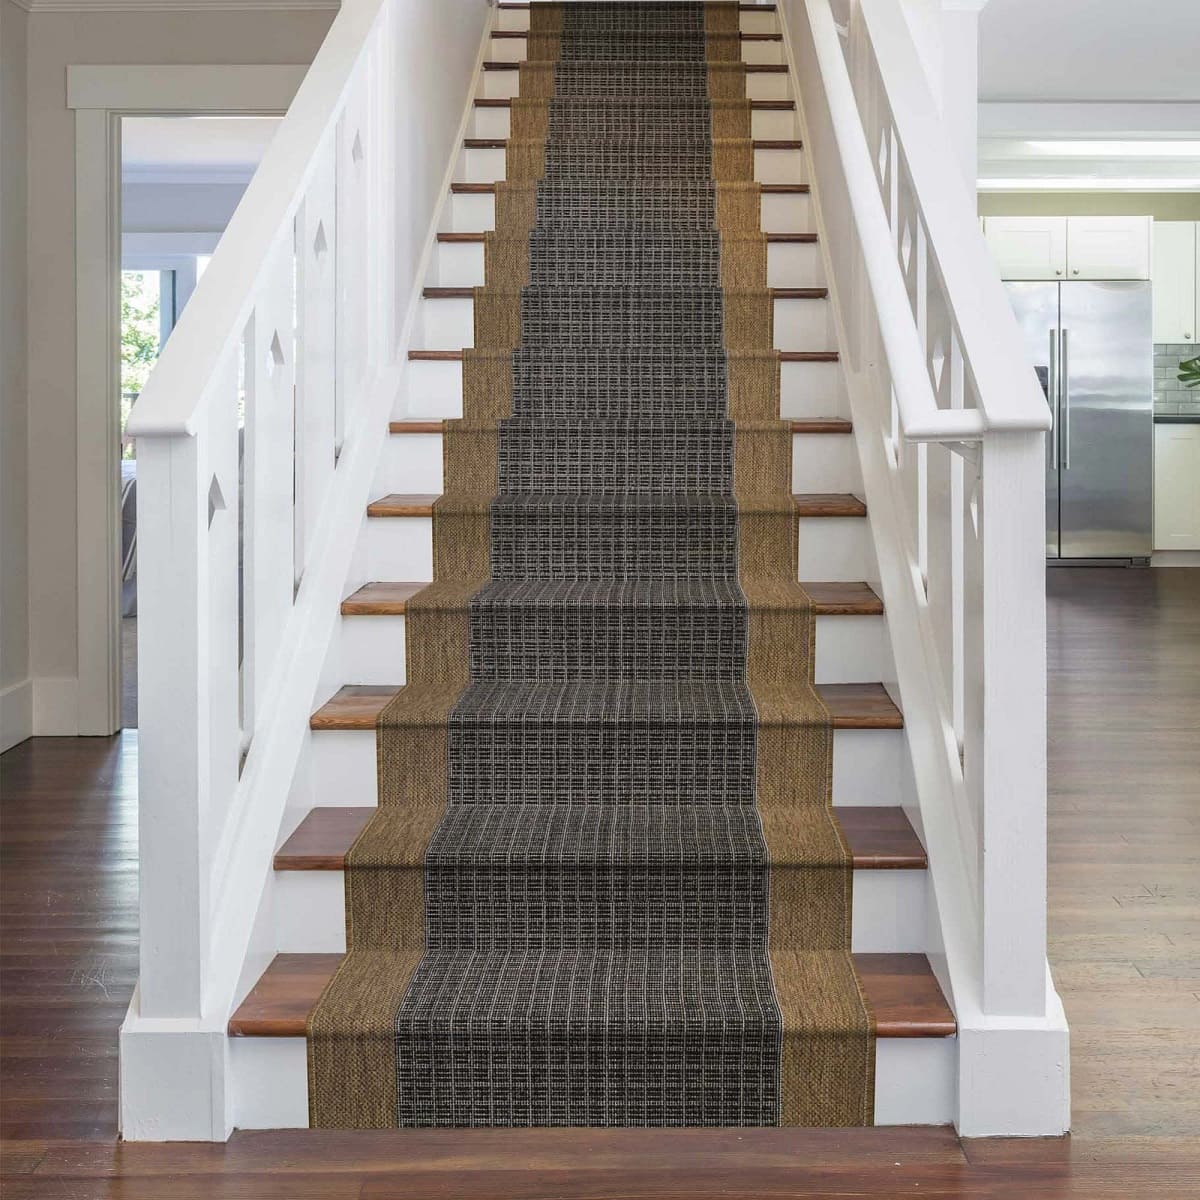
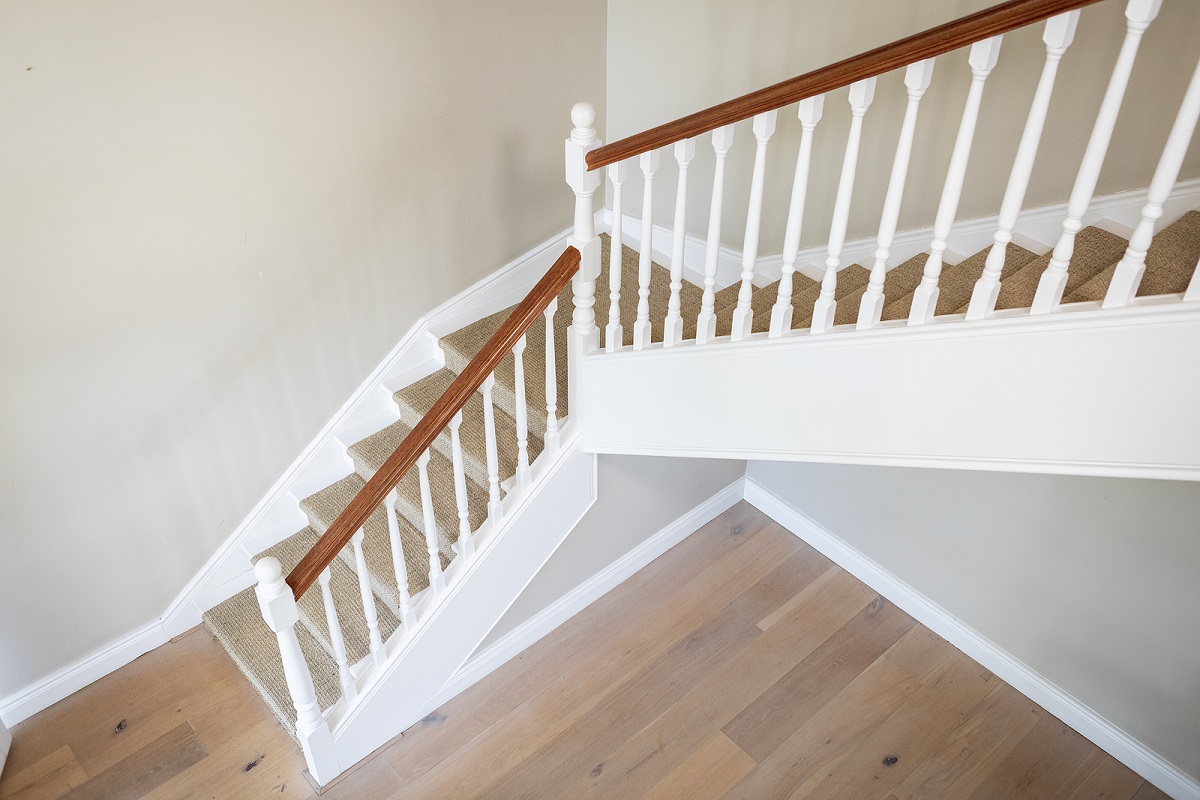
Remember, a properly installed newel post is essential for the safety of anyone using the stairs. It serves as the anchor point for the handrail, providing support and stability. Regular maintenance and inspection of your newel post and railing system is important to ensure everything remains in good condition.
Whether you were replacing an old post or installing a new one, the process can be rewarding and can significantly enhance the overall appearance and functionality of your staircase. Not only does the newel post provide the necessary support, but it also adds a touch of elegance and sophistication to your home.
Now that you have completed the installation, take a moment to appreciate your accomplishment. Enjoy the improved stability, security, and aesthetics that your newel post brings to your staircase. It’s time to sit back, relax, and admire the beautiful transformation you have achieved.
Thank you for following this guide, and we hope you enjoy your newly installed newel post for years to come!
Now that you've mastered installing a newel post, why not tackle more home improvement projects? Our guide on DIY home projects offers practical advice for enthusiasts eager to enhance their skills. For those with a passion for crafting and creation, delve into our latest feature on woodworking, where you'll find the top techniques and ideas set to define 2024. Both articles promise to feed your curiosity and expand your capabilities in the realm of home crafting.
Frequently Asked Questions about How To Install Newel Post On Stairs
Was this page helpful?
At Storables.com, we guarantee accurate and reliable information. Our content, validated by Expert Board Contributors, is crafted following stringent Editorial Policies. We're committed to providing you with well-researched, expert-backed insights for all your informational needs.


0 thoughts on “How To Install Newel Post On Stairs”