


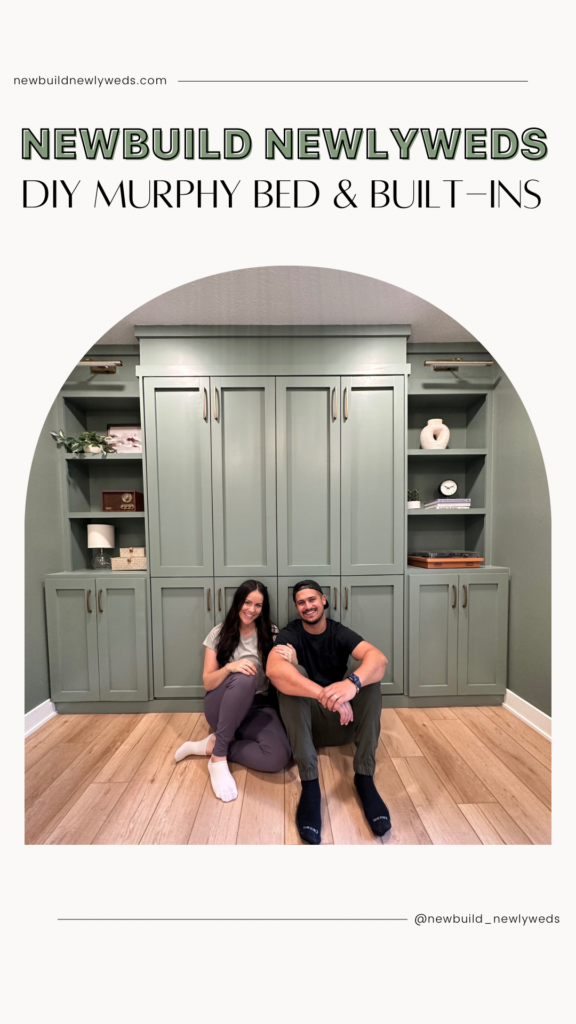
DIY Murphy Bed with Built-Ins
Our office has mostly become an extra storage room through all of our other recent renovations and updates throughout the home. But now that we’ve pretty much finished all of the major projects throughout the house, we’re excited to start hosting our family and friends from all over at our home. We love our guest bedroom but we wanted an additional sleeping space for guests.
I got the idea to add a murphy bed in the office so that we can still use it as an office, but can also be pulled down for guests to sleep when needed. We could have just gotten a store-bought murphy bed but that just wouldn’t be us! We ended up saving a ton of money by building it ourselves and we got it customize it exactly the way we wanted.
What We Used:


The Murphy Bed Kit that we used came with very detailed instructions that broke down everything to buy, what wood to buy, and what cuts to make out of it. We followed the instructions step by step to build the murphy bed. There was a lot of measuring, cutting and nailing but overall the instructions were very straightforward and simple to follow. We were sure not to deviate from the instructions and followed them to a T!
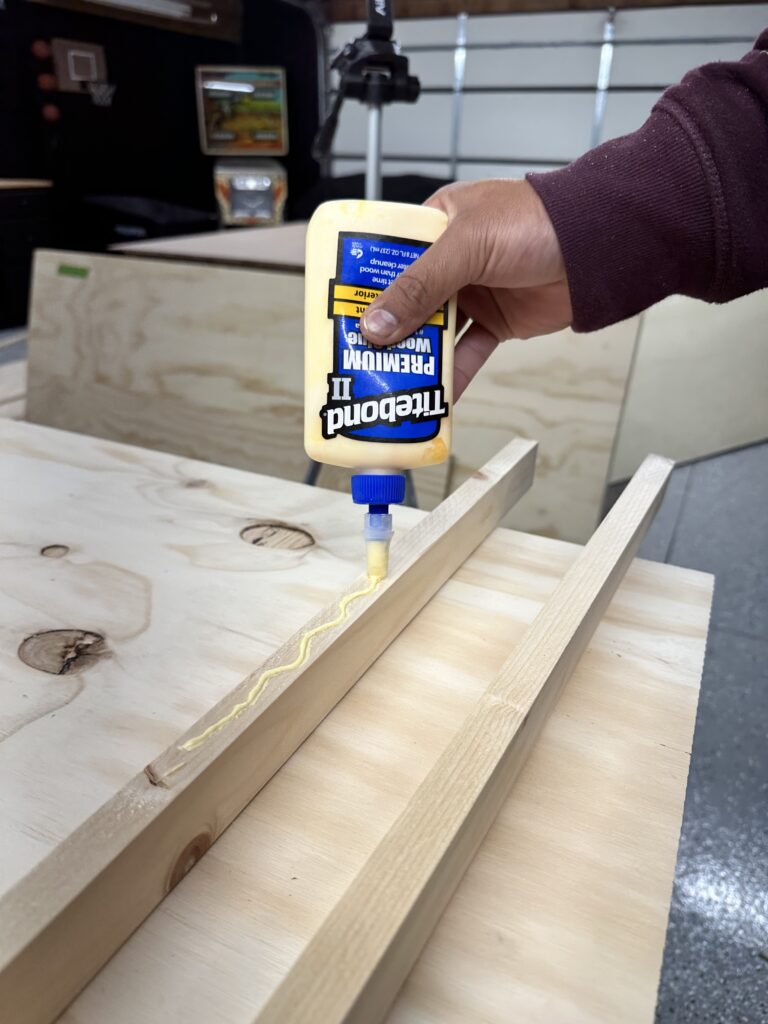
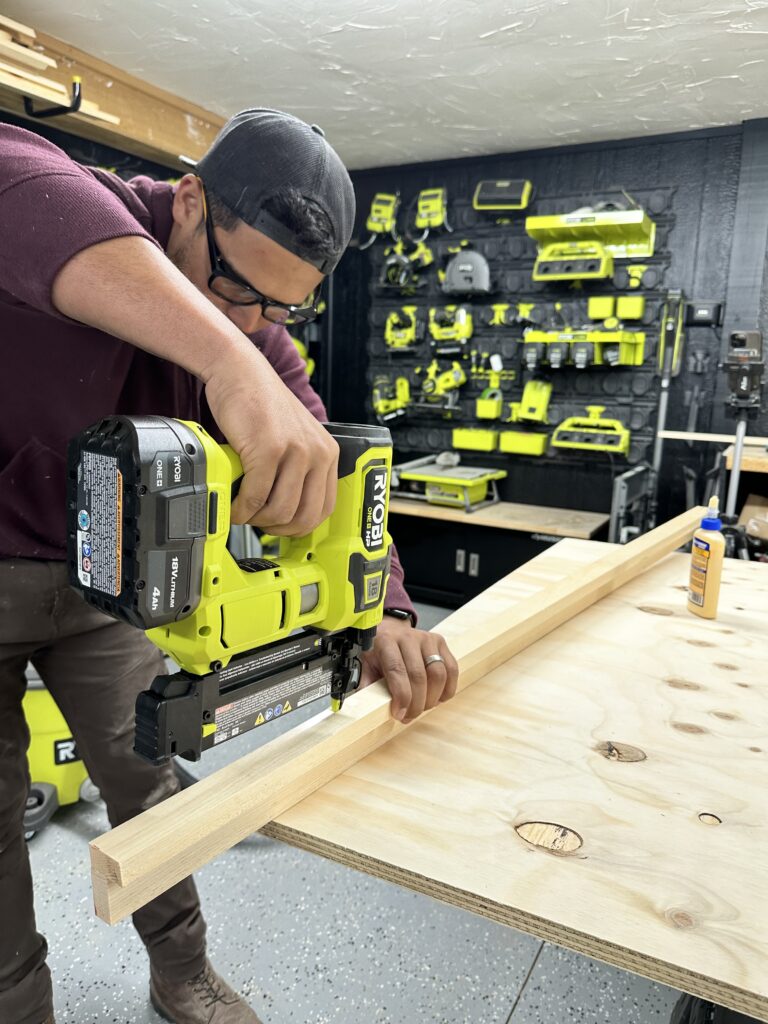
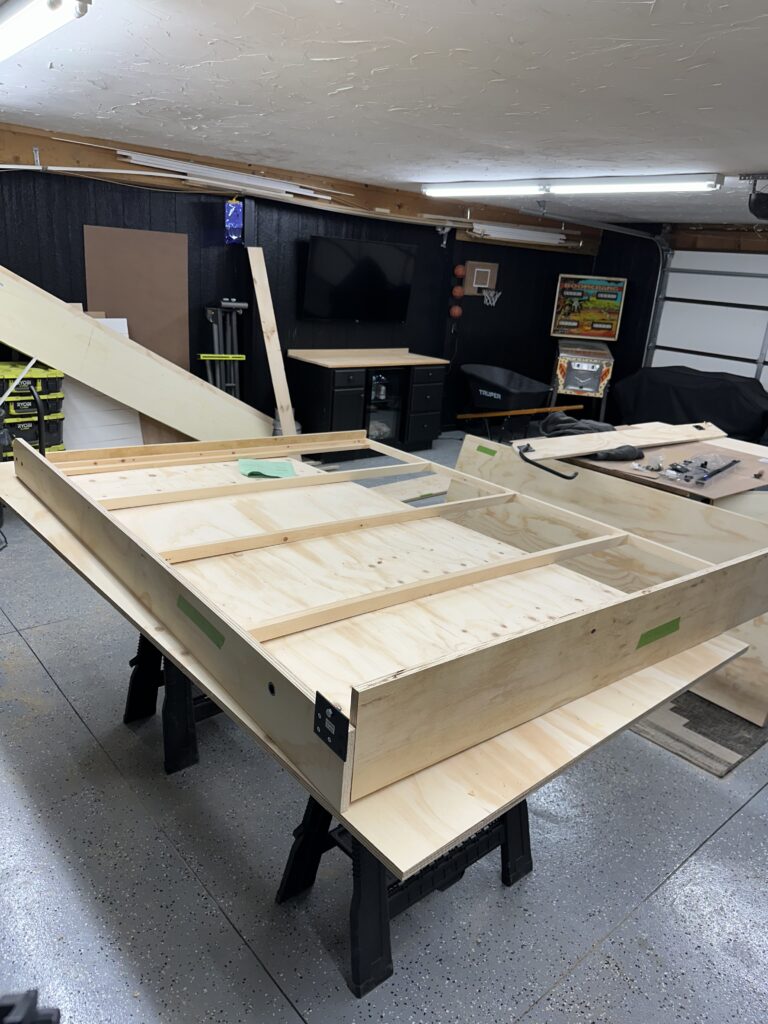
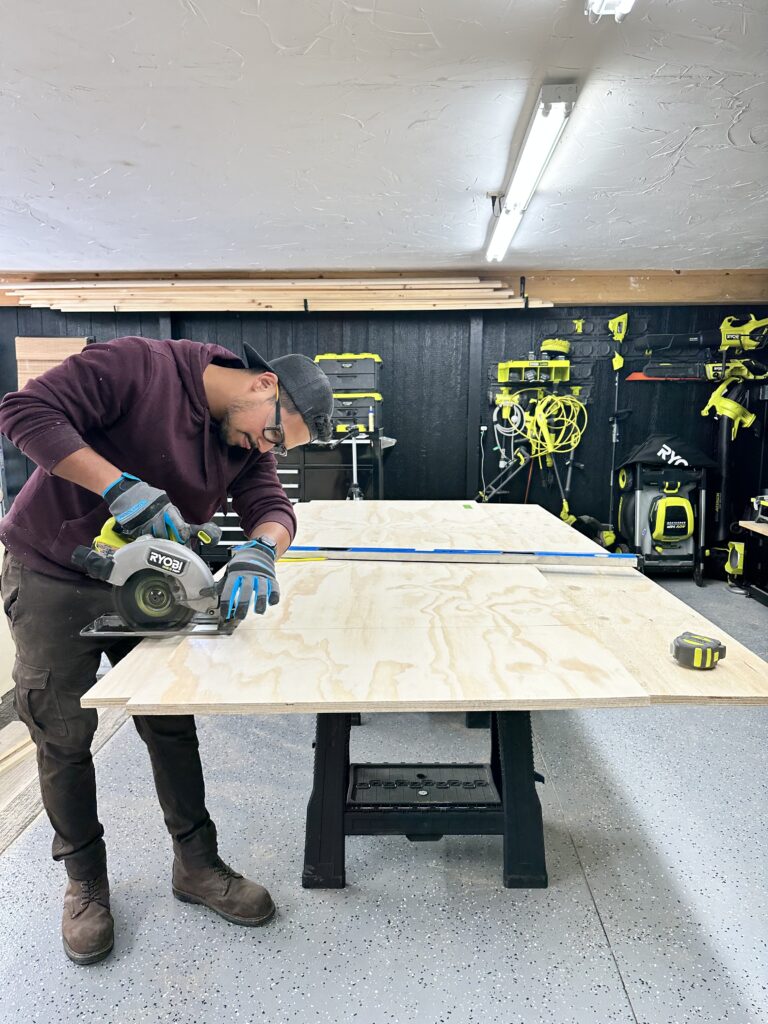
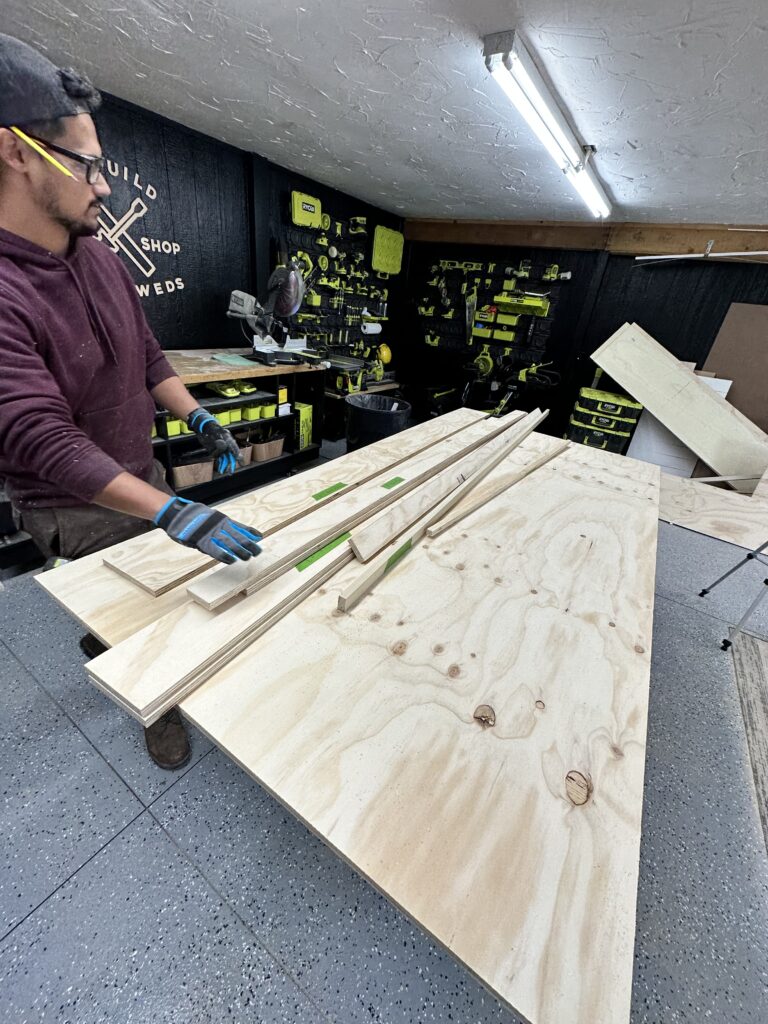
We started by making all the cuts according to the instructions cut list and labeling them and marking them off as we go. After all the frame cuts were made, Ryan cut down some pine 1x2s for the mattress bracing. Plywood wouldn’t be strong enough to support the mattress and weight of people sleeping on the bed. We used wood glue and nails to secure the bottom bracing together and used 2″ screws to secure the outside boards of the frame to the cross bracing.
We definitely didn’t want to skimp on the support for the bed so we predrilled and countersank each screw and used two screws for each board for more support.
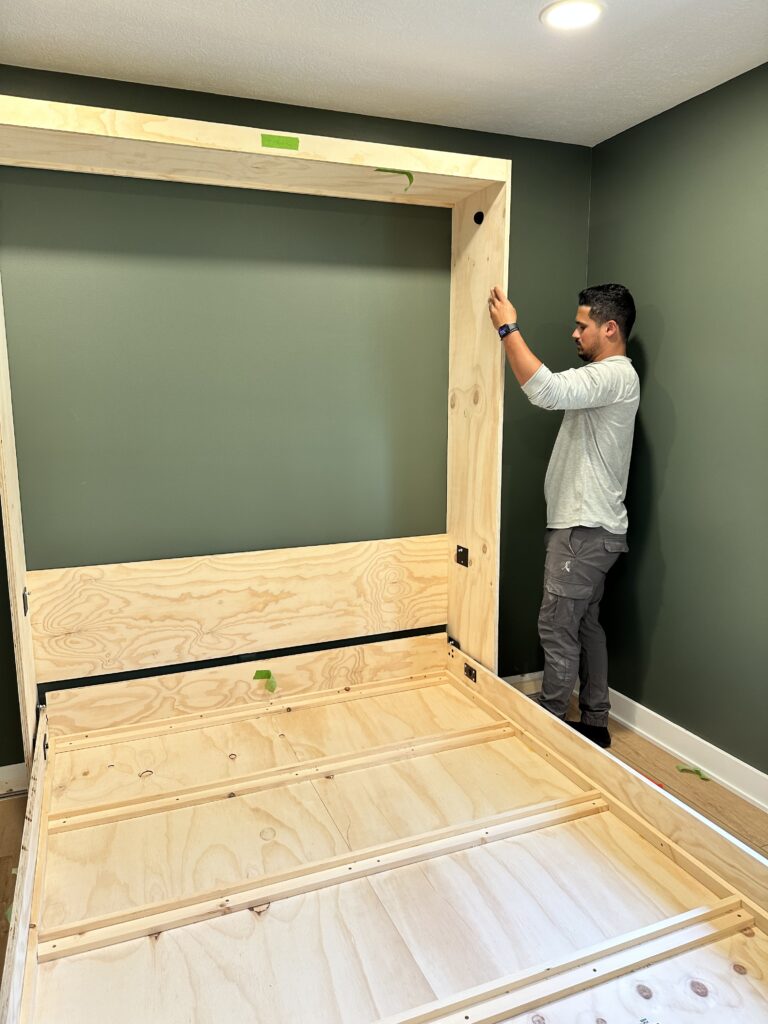
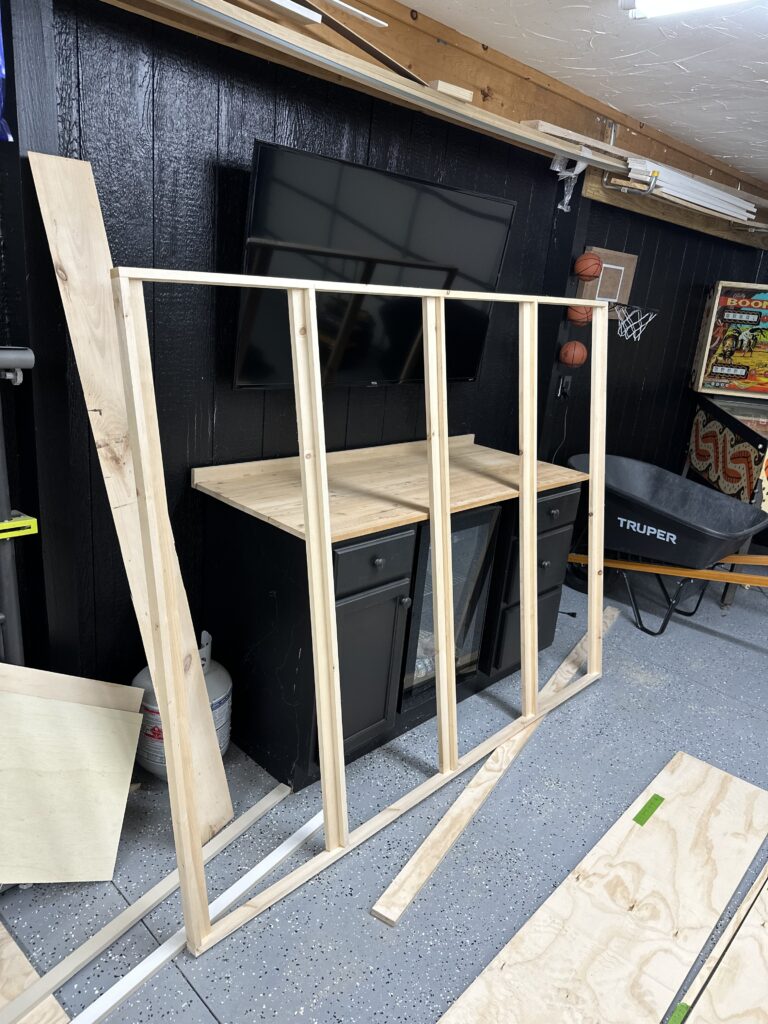
Once the frame of the bed was built, we moved on to the cabinet that the bed will sit inside of. We cut the sides of the murphy bed cabinet first and I sanded them so they would be nice and smooth when it’s time to paint. While I did that, Ryan built the top of the bed cabinet.
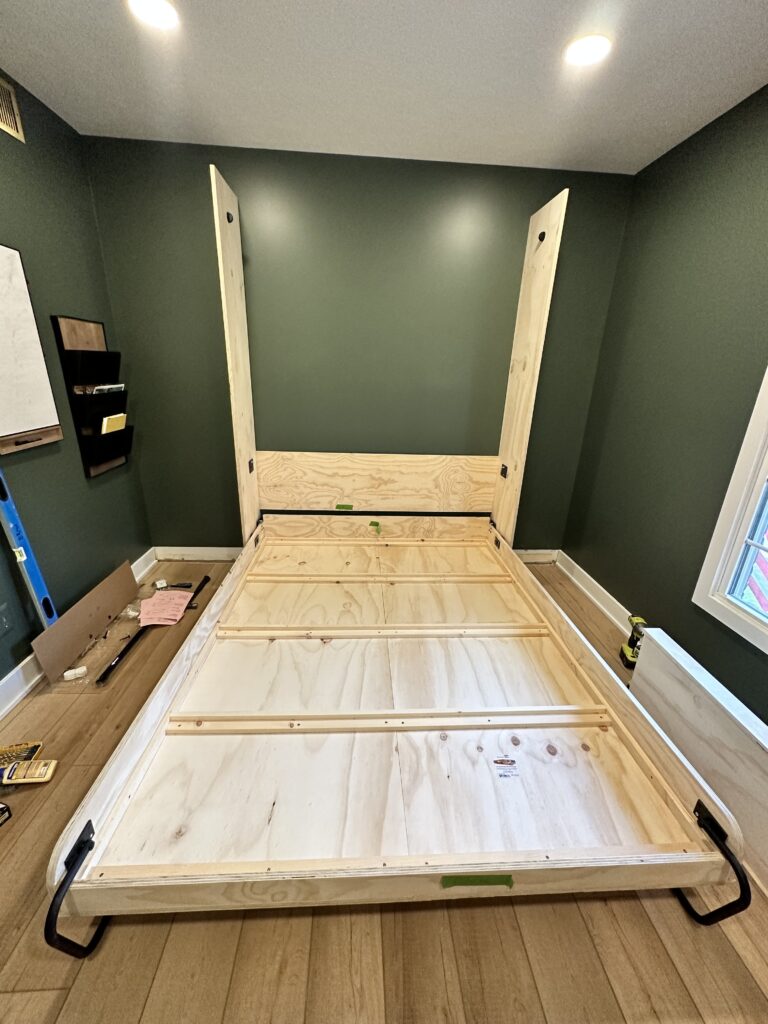
From this point, we had to move what had been built into the room to finish the murphy bed. After getting the bed into the office and putting the finishing touches on the frame, Ryan took off the baseboard so that everything could sit flush against the wall. We’ll reattach the baseboard to the bottom of the front of the cabinet to make it look more custom and high-end.
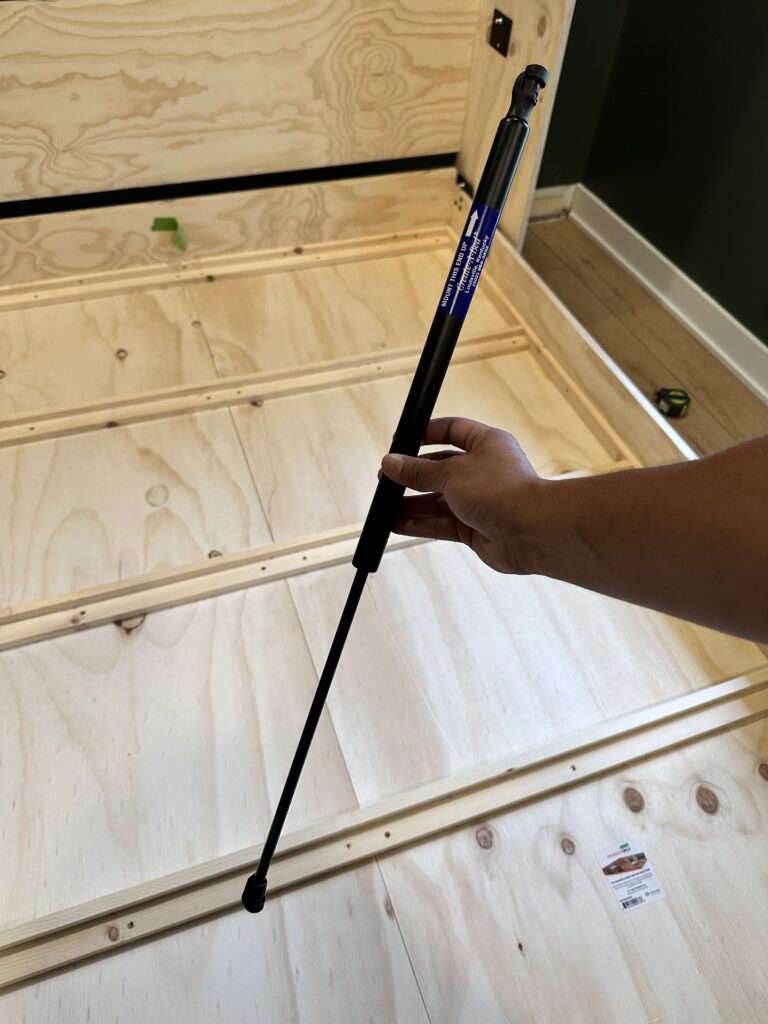
We got the cabinet in place and then installed the gas springs connect from the inside of the murphy bed cabinet to the bed frame which makes it easier to open and close.
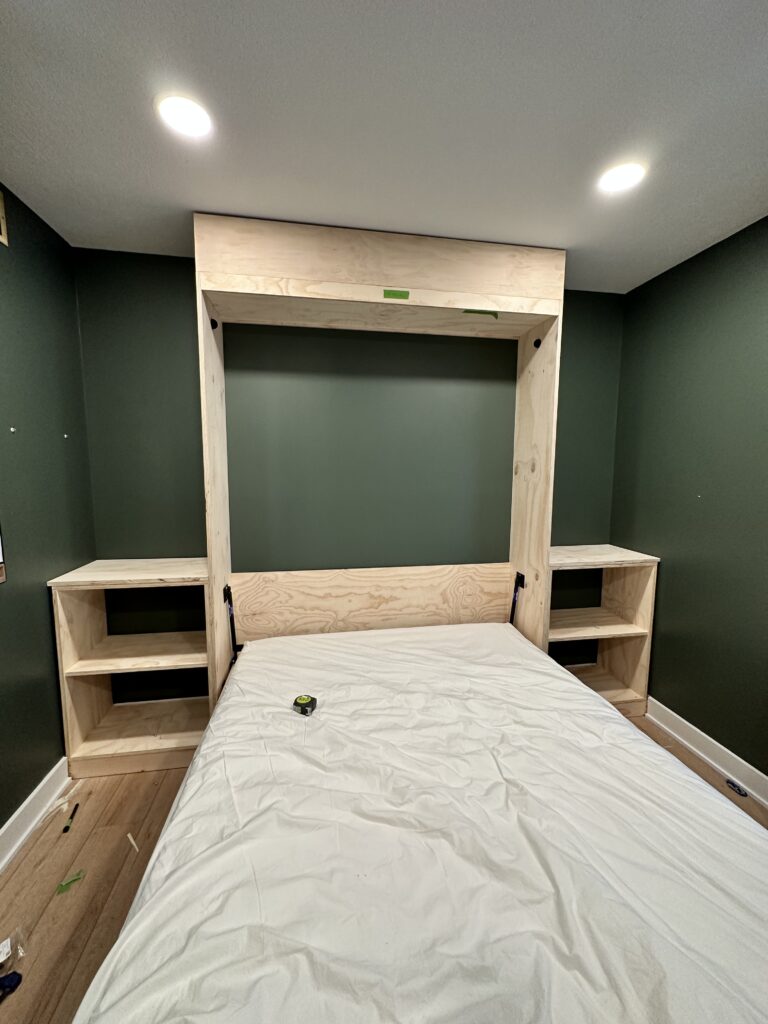
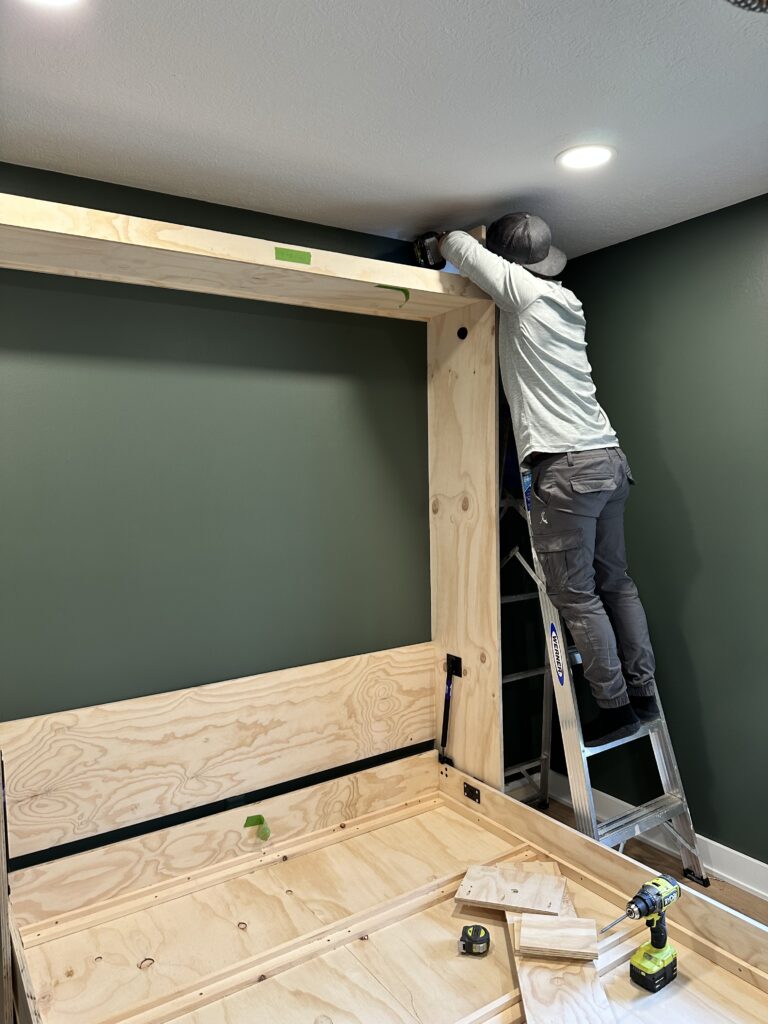
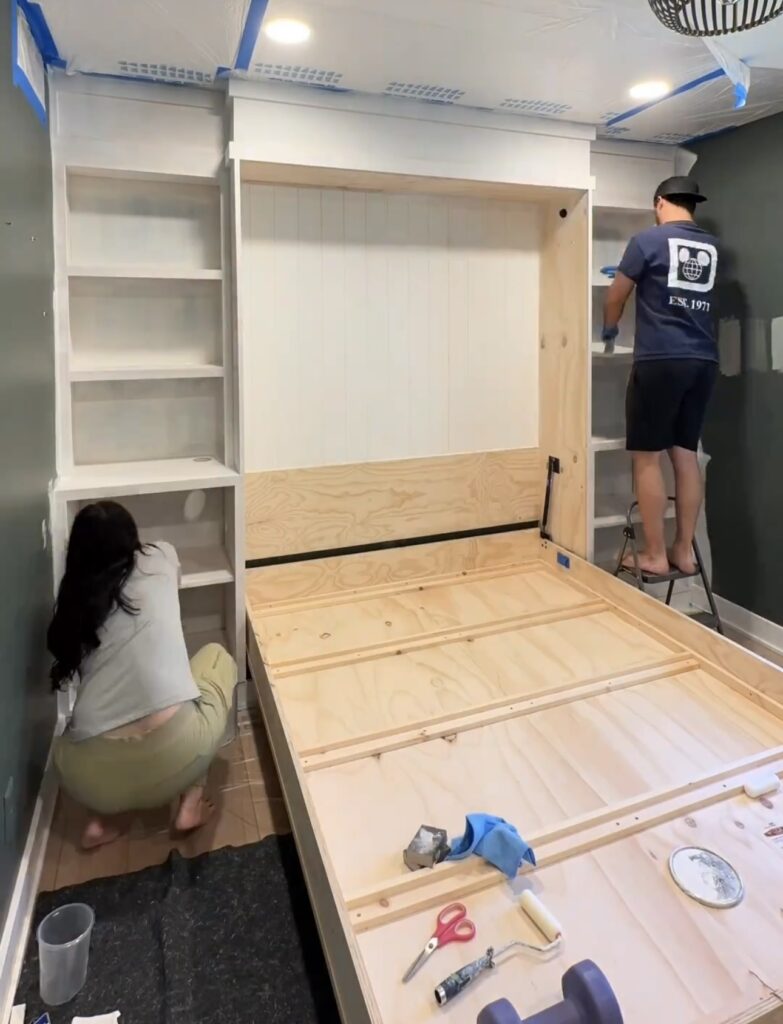
After we got the header on the murphy bed cabinet, we started working on the cabinets and shelving that will be on either side of the bed. Adding this will really make the cabinets look complete and camouflage the murphy bed even more.
We used 2x4s to build the bases for the two cabinets. Ryan built the cabinet boxes out of 314″ pine and made pocket holes to attach them together.
When he got them into the office, he secured the cabinet boxes to the base and the wall and added in a shelf to both cabinets. We added some pieces to the top of the two cabinets to help build them up more, so we can trim them out with 1x2s.


We used 3/4” pine for the upper shelving above the cabinets. We made the shelves 10″ deep because we wanted them recessed behind the bed.
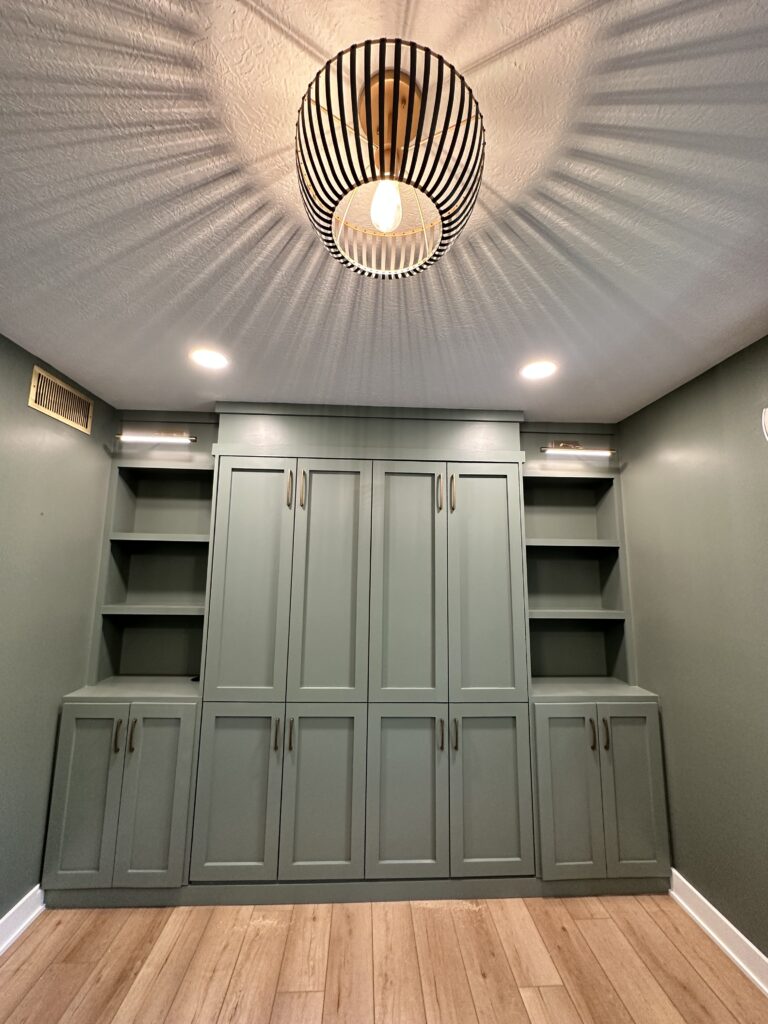
We used 1×2 trim pieces for the shelves to bulk them up and cover the unfinished edges. We also cut down some boards to cover the top section above the shelves and murphy bed cabinet to complete the built-in look and then added trim pieces all around the top as well.

We used 1x3s to create faux cabinets on the front of the murphy bed to really take it to the next level. We’ll put cabinet hardware on these to make them look real and camouflage the bed to make it appear to be real cabinets.
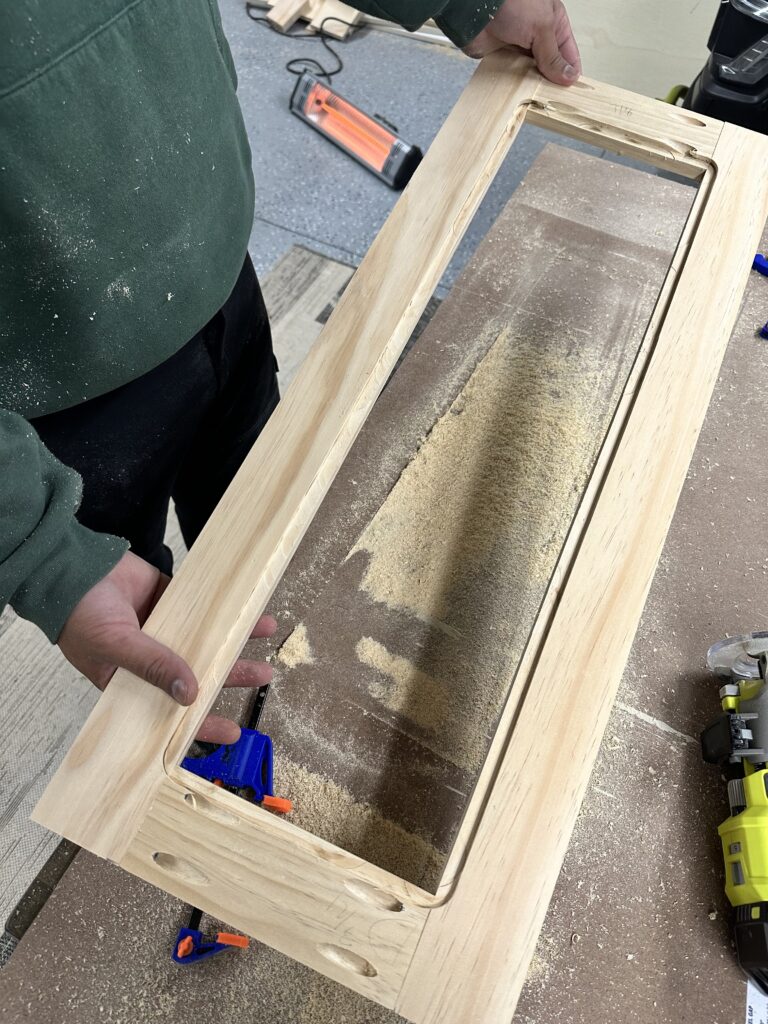
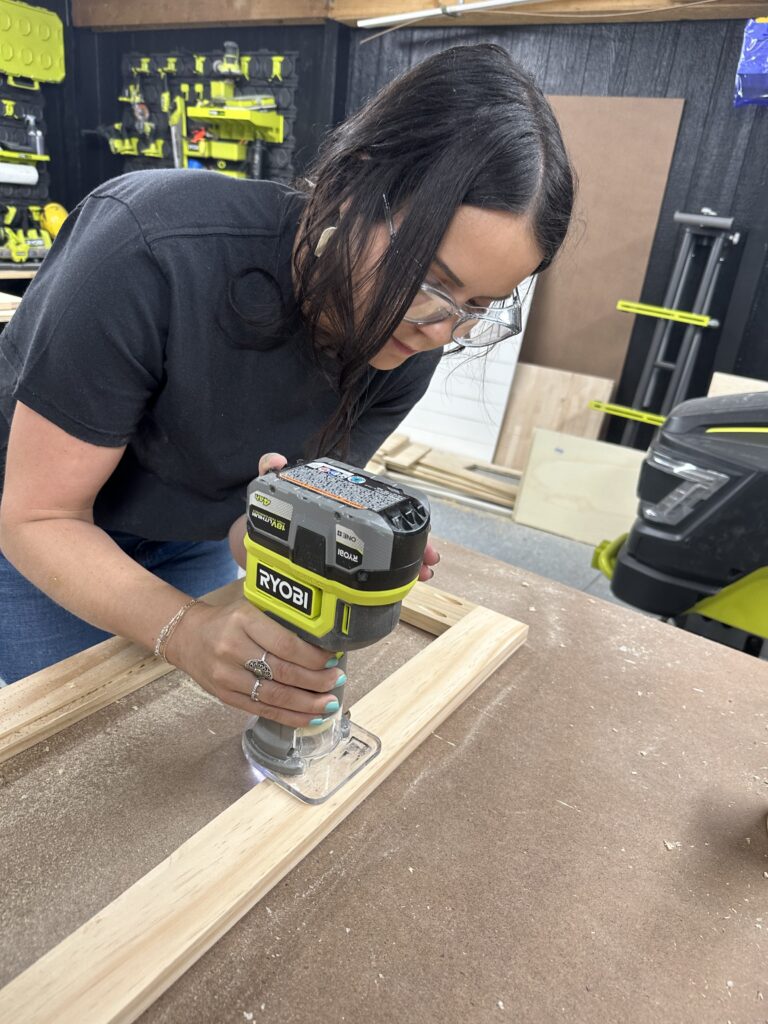
After we added the faux door trim to the bed, we made real cabinet doors for the two cabinets on either side. We used wood glue and pocket screws to build the cabinet door frames. Then we used our Ryobi router to make room for the 1/4″ plywood panels to sit inside of the cabinet door. The router made rounded corners but we need them square to put the plywood in, so we just quickly grabbed a chisel and hammer to square them. We sanded all of the fronts of the cabinet doors with 3 different grits of sanding paper so that they will be nice and smooth for painting.
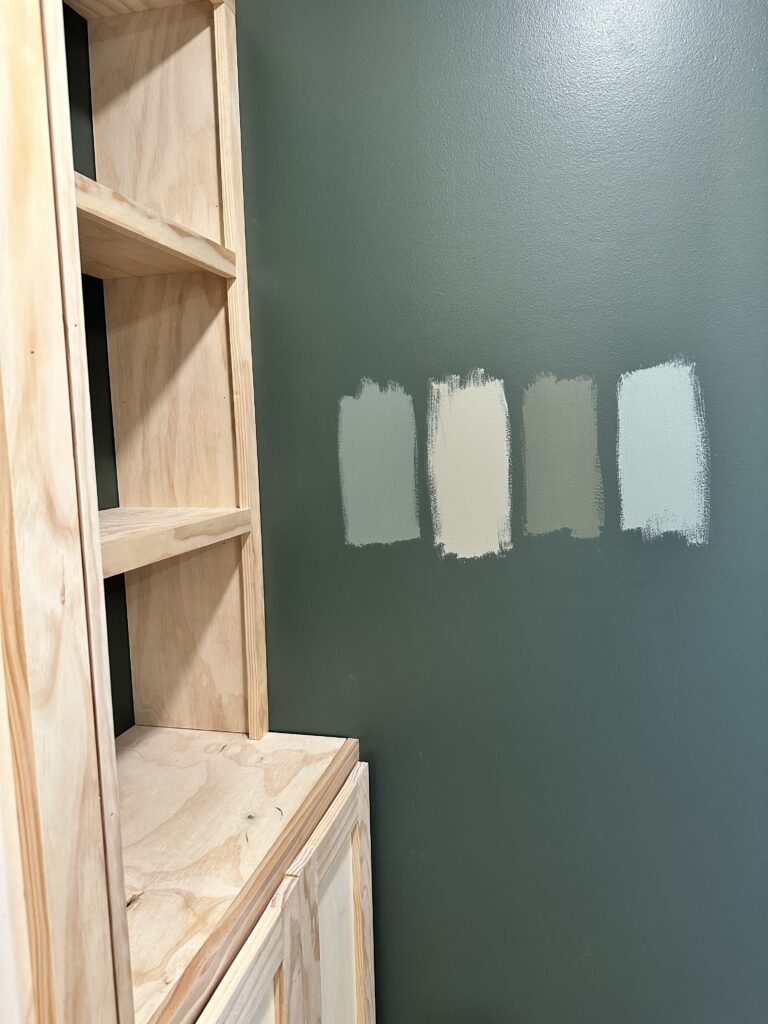
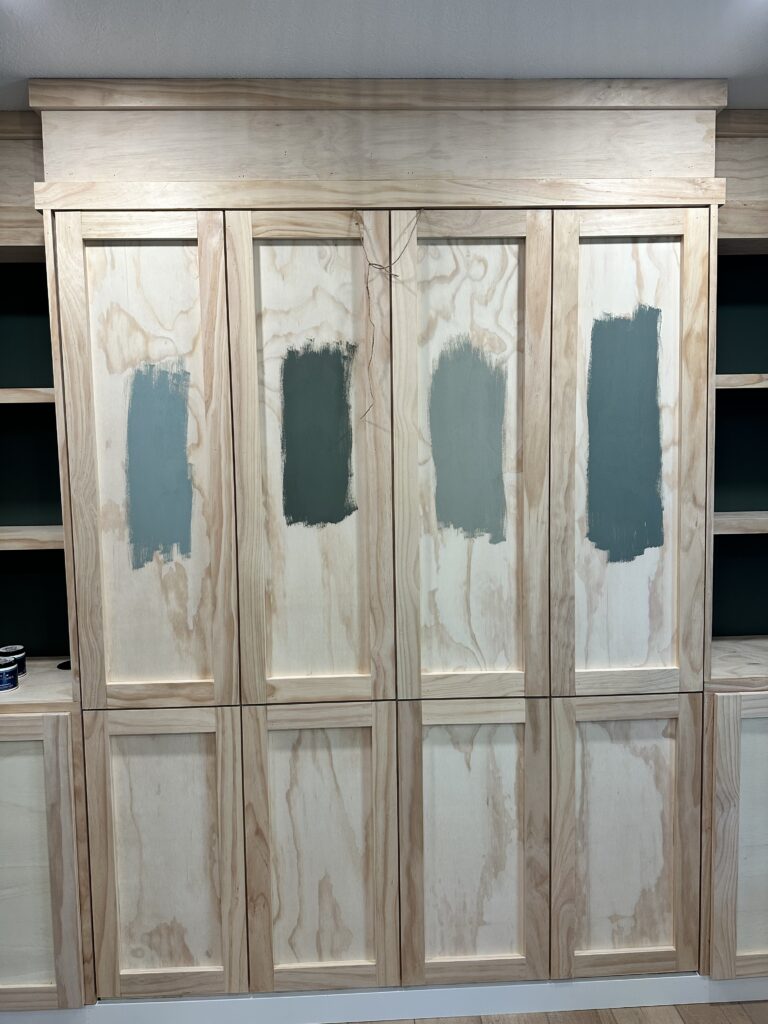
Once all of the trim work was done and the murphy bed and built-ins were completed, it was time to caulk and fill nail holes. Before we primed, we tested four different paint colors on the cabinets and walls to decide which color we’d go with. I knew I wanted everything to be the same color so the built-ins added interest to the room without standing out too much. We loved our previous green color of the room but just wanted something a little softer.
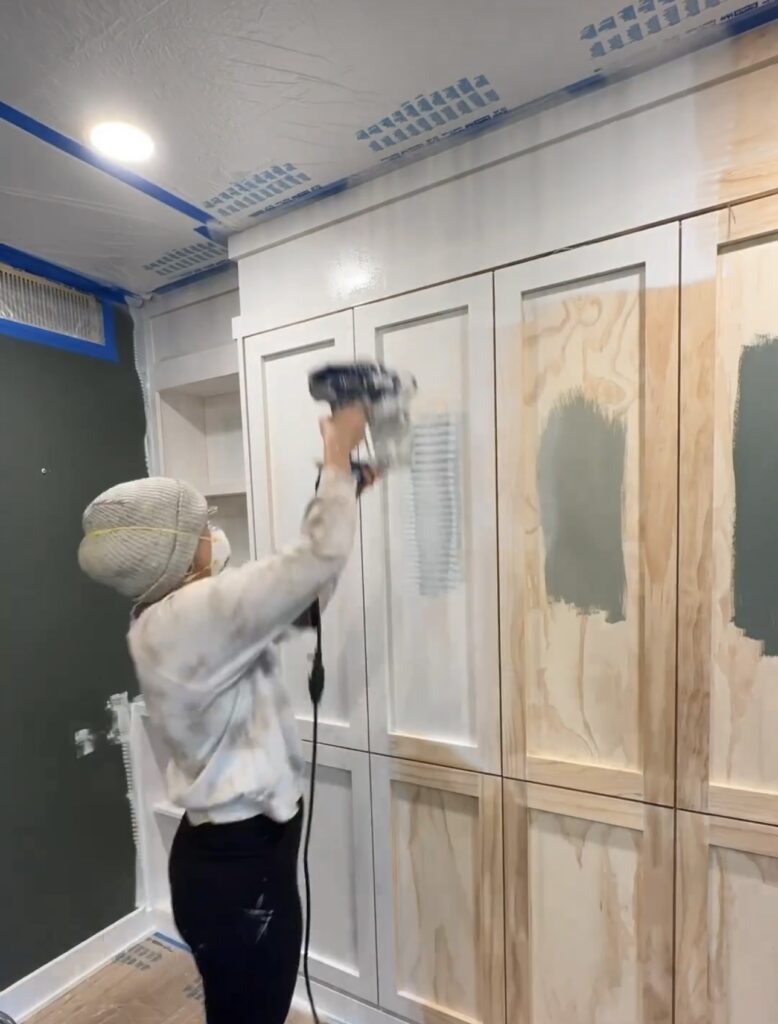
After we decided on the color, I primed all of the cabinets and shelving using a paint sprayer. I don’t normally like using the paint sprayer but for a project this large it was worth it and will provide a smoother finish. We pulled the bed down and also primed the inside of the murphy bed cabinet as well. We didn’t prime the walls because the paint we’re using provides excellent coverage and since the walls were already primed and painted, it wouldn’t need it.


We used Behr’s Cabinet, Door & Trim Enamel in a Satin finish. We have used it several times and love the finish it gives! This paint is well known for only needing one coat of paint for full coverage.
We used the paint sprayer for the front of the murphy bed and built-in cabinet and shelves and a paint roller for the walls. The murphy bed didn’t really need a second coat but we want it to be really durable and have a super nice finish so we did a second coat. The walls looked great with only one coat!

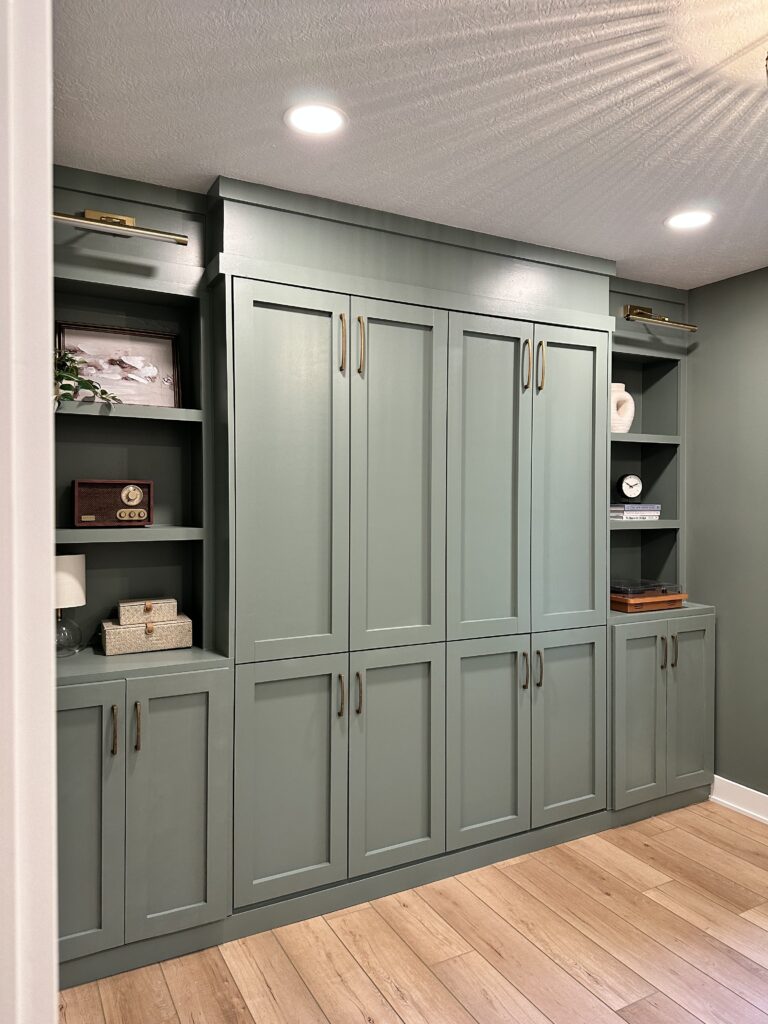
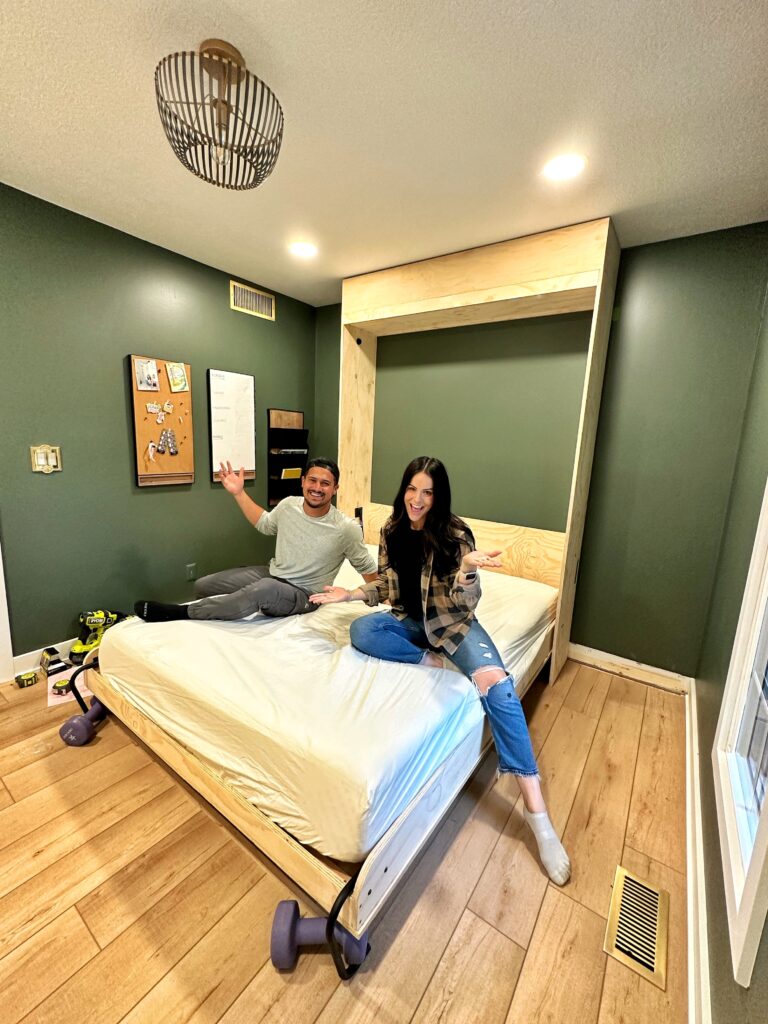
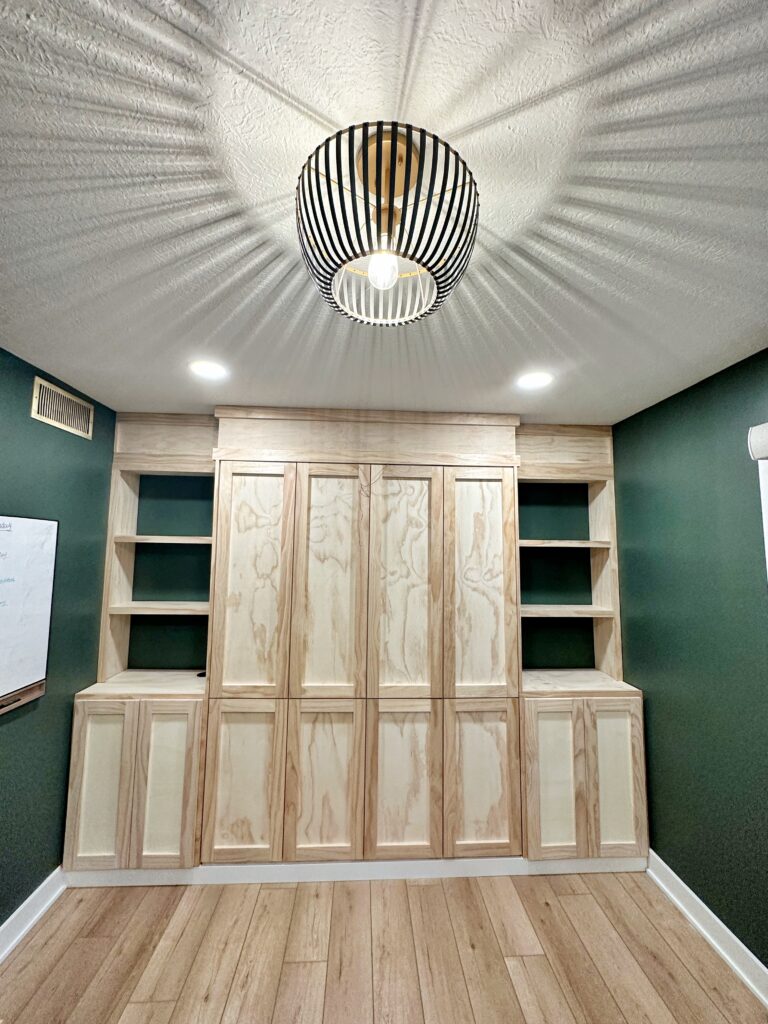
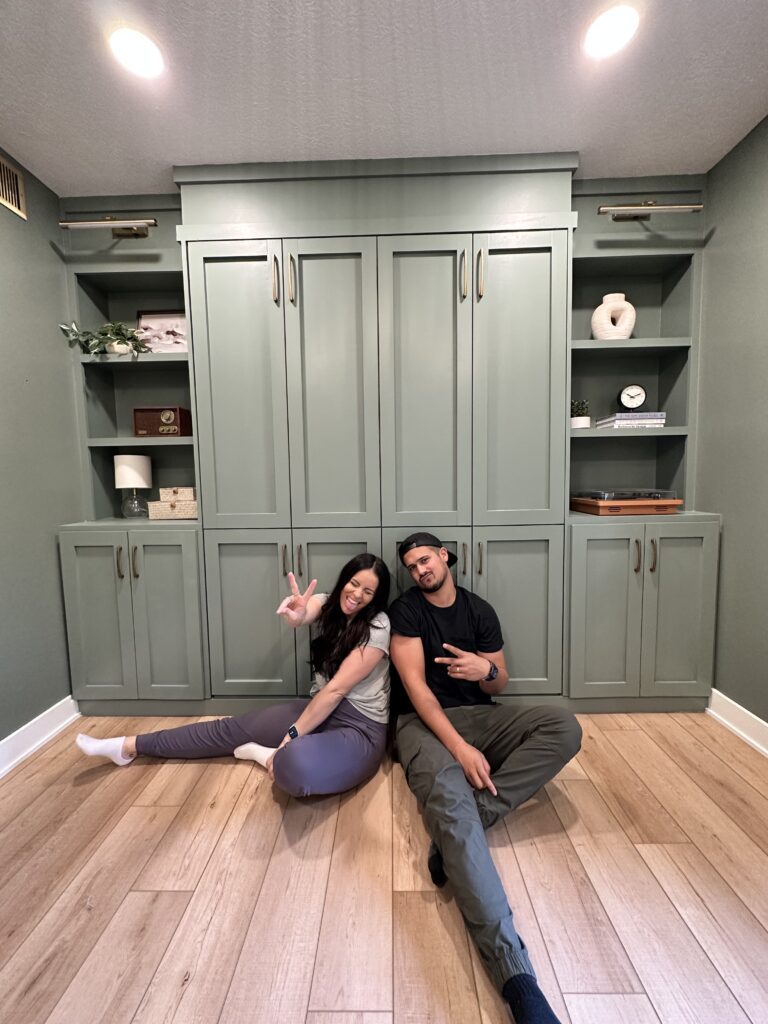
The finished result is even better than I imagined! This will be perfect for our guests and makes so much more sense for our home needs.
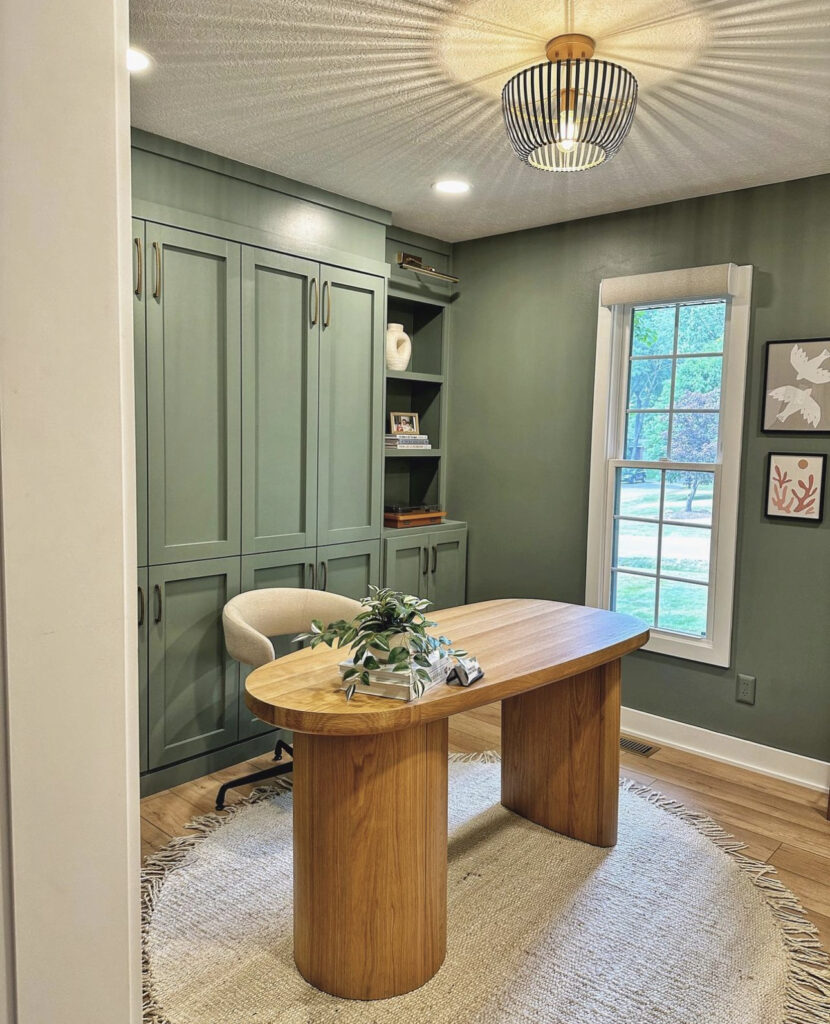
We ended up getting a new desk and chair for the office space as well and it works perfectly with the murphy bed! When guests are staying, they’ll just push the desk and chair against the wall in the corner by the closet and can pull the bed down easily.
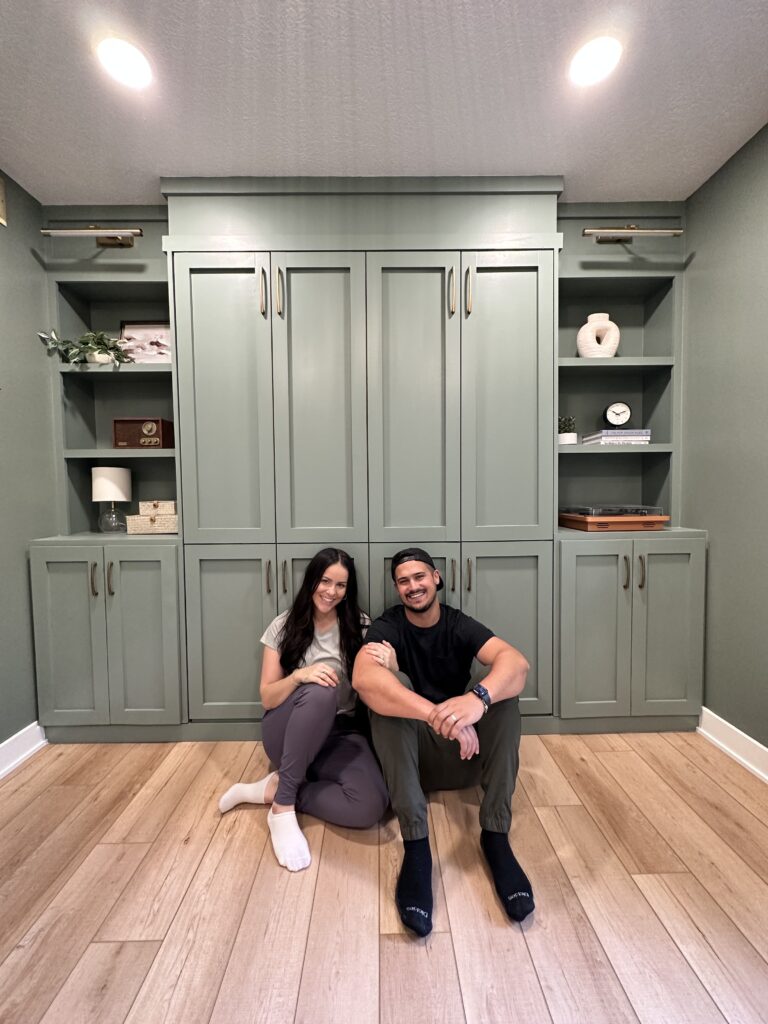
This project was tedious but so worth it! I can’t believe we didn’t do this sooner!
Leave a Reply
Grab our FREE download
Wanna know the 5 must have tools you need before you start?
Considering a DIY Project?


I found this build through TikTok and have been building the same bed. The kit says to use 1/4” plywood for the panels below the mattress. In your video and pictures here it looks like you used 3/4” plywood. Did that change any of the plans any?
It’s 1/4” plywood. It’s the very thin birch plywood.. 3/4” wouldn’t have worked