Maple Beaver Tails
Beaver Tails are a Canadian delicacy I got to try on my most recent and first-time visit to Canada! Picture freshly fried fluffy and crispy dough covered in your favorite glaze and toppings of choice. The maple sugar was my favorite so of course we have to recreate it at home!

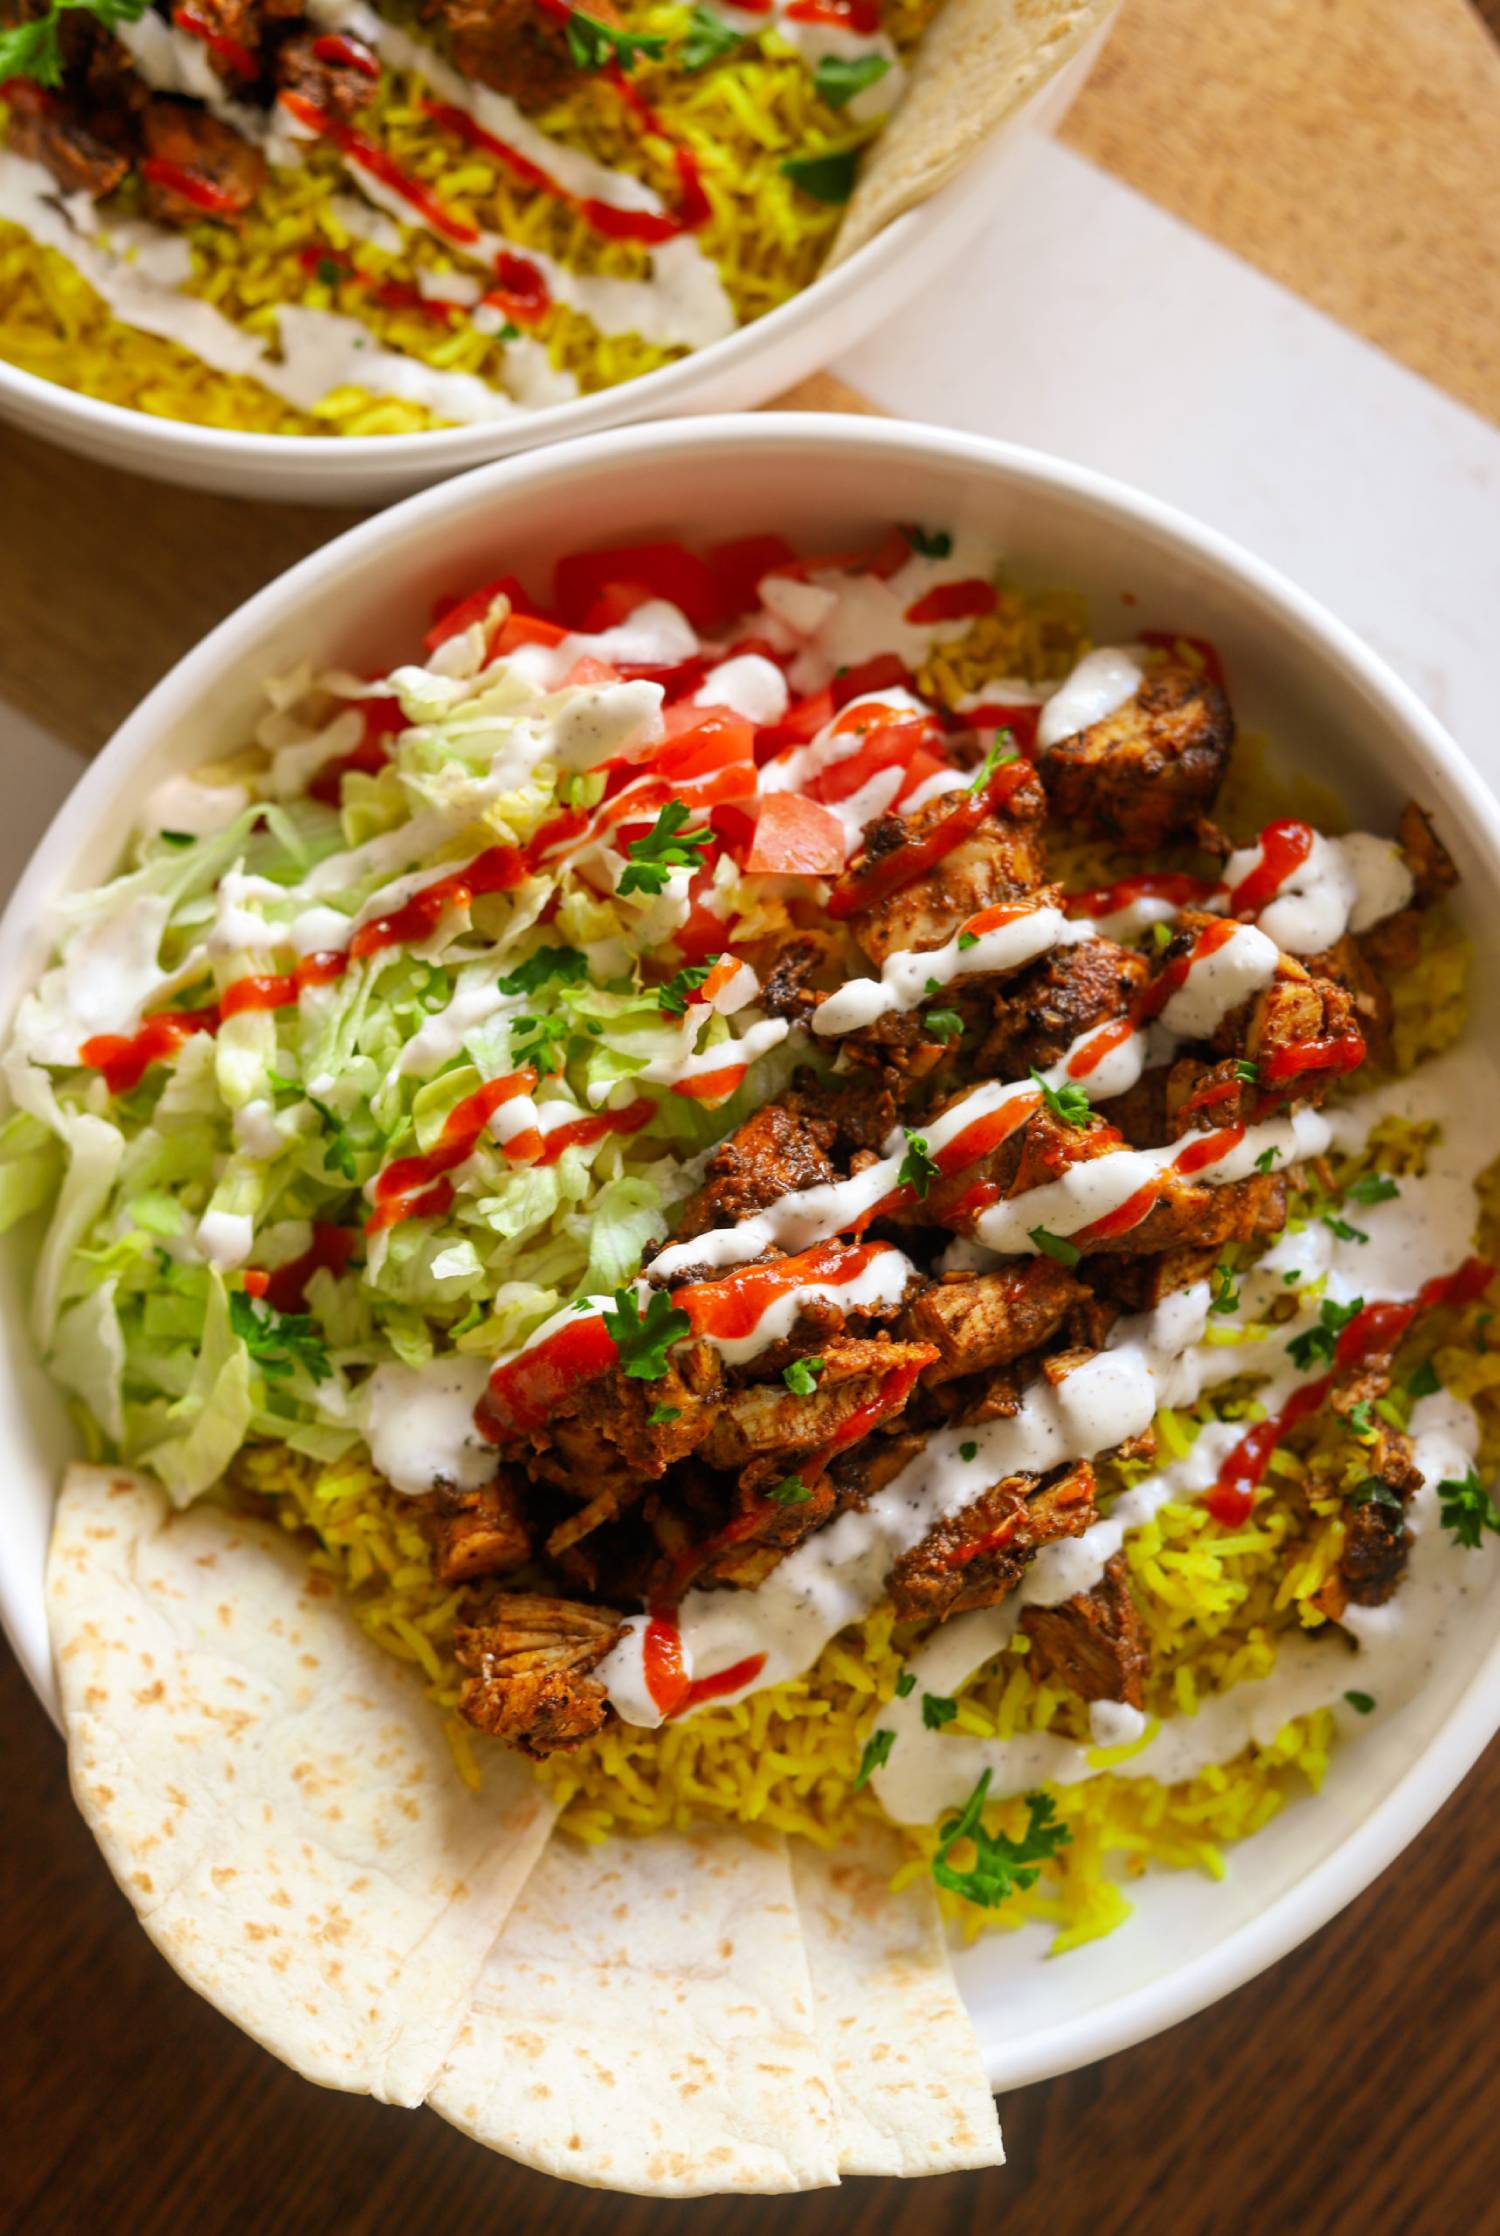
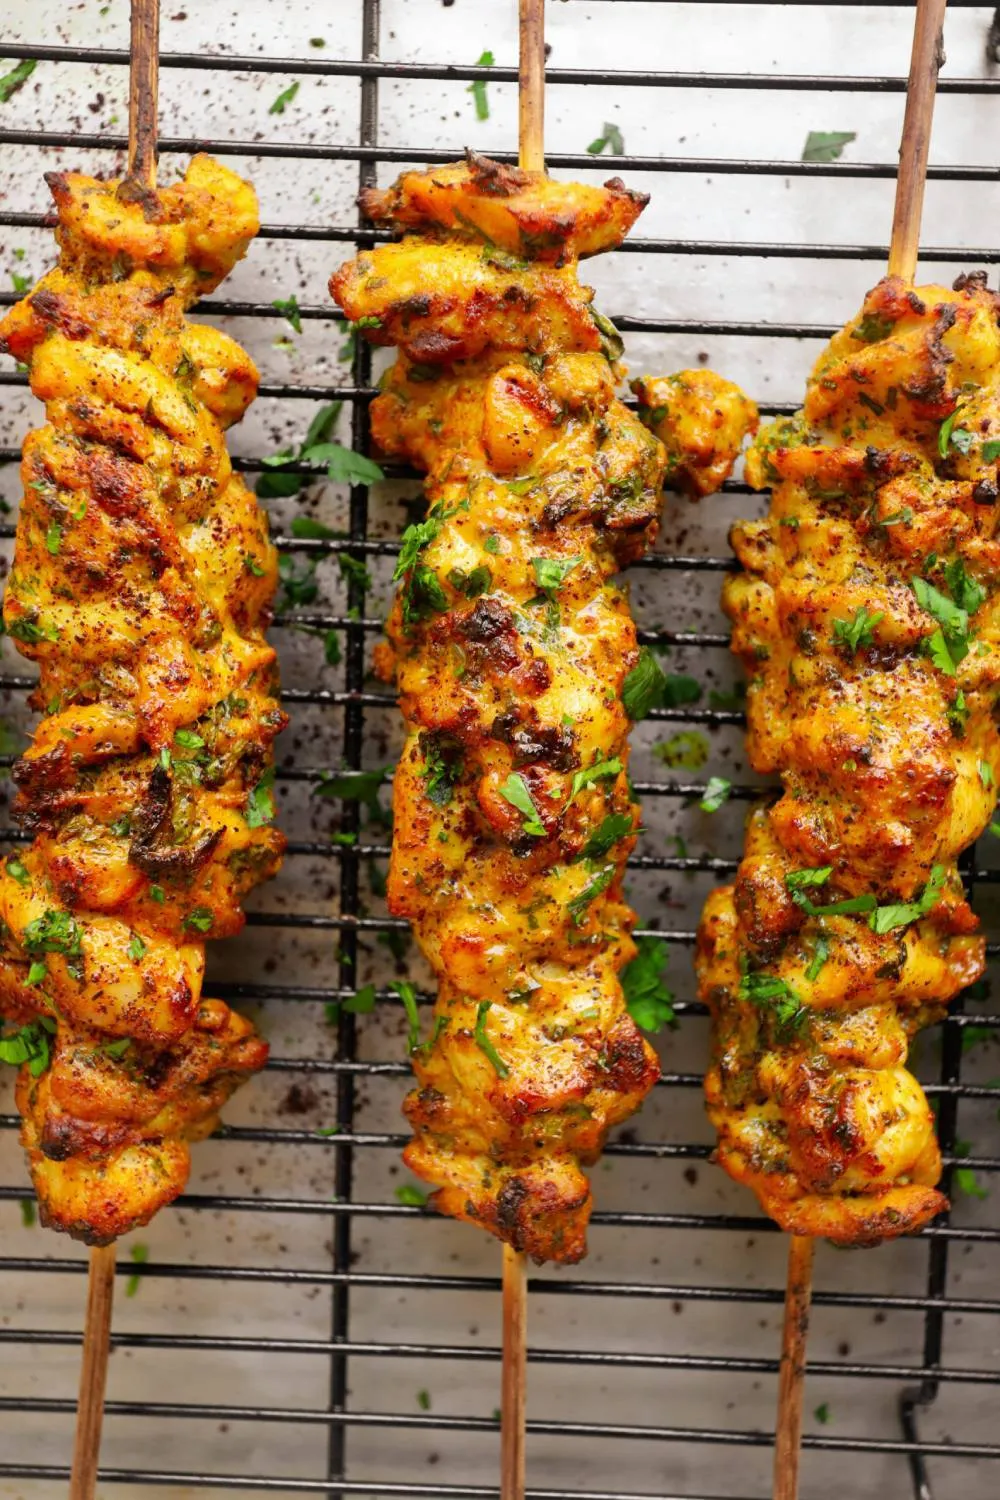
I recently went to Canada for the first time in January to visit my sister-in-law and the food was incredible! There was not one thing we ate that did not hit – some of the best food I ever had. We had the best shawarma, amazing Iraqi BBQ, to-die-for Jamaican beef patties, and so much more. On our way out of Canada driving back into the United States, we stopped by Niagara Falls and of course had to get some famous beaver tails to try. I thought it was just going to be hype but it was AMAZING. It was freezing cold and snowing and the freshly fried warm dough with maple glaze was just so comforting. It reminded me so much of a fried dough we have in Libya and Morocco called sfinz or sfenj. Let’s recreate it at home!
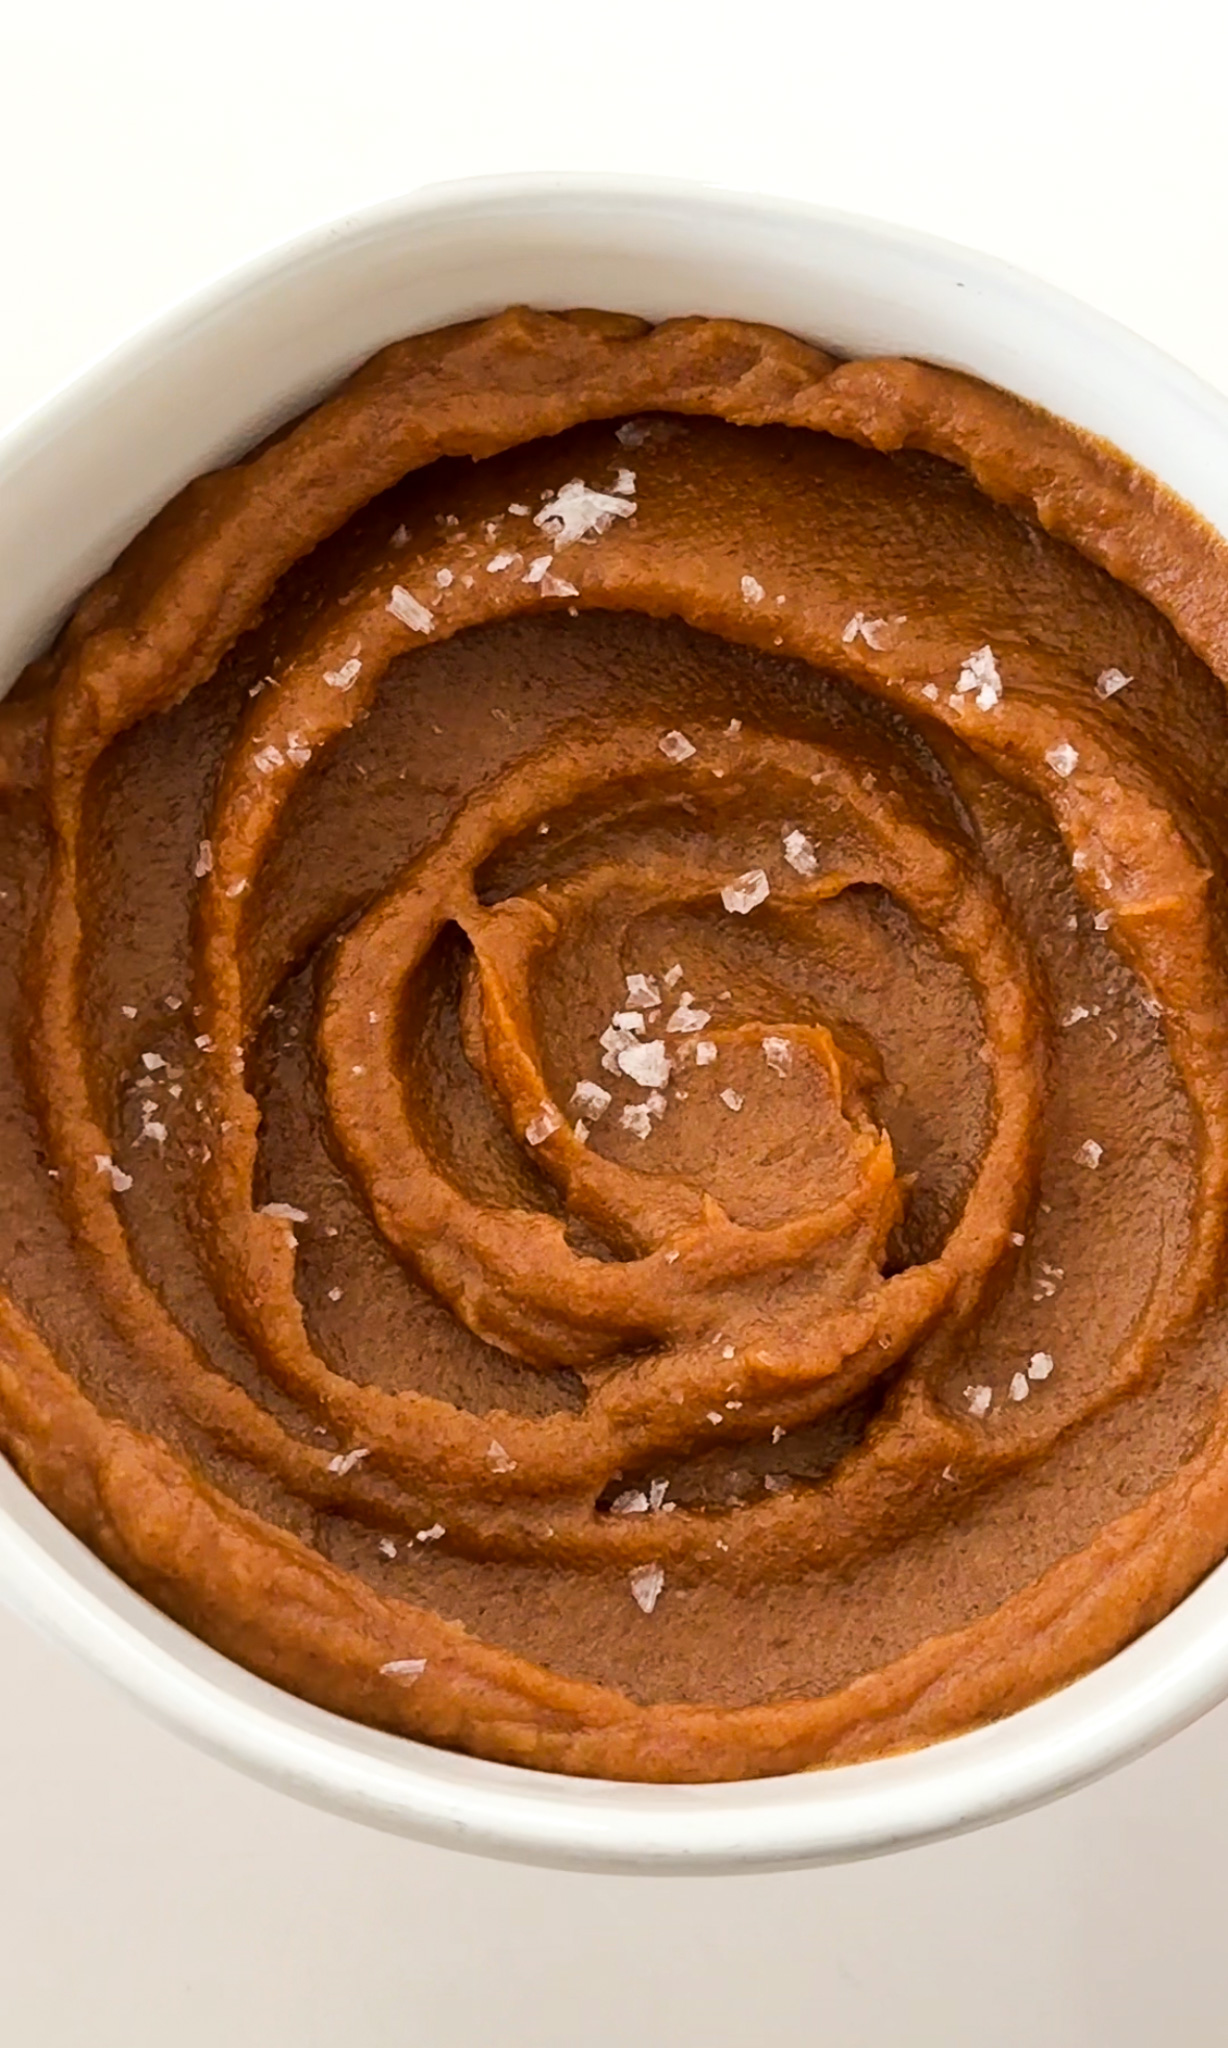
The Maple Glaze
The best part about a Beaver Tail is you can customize it however you like. You can add any glaze or sauce you like, cookies, fresh fruit, and so much more. The maple flavor was my favorite because I love maple doughnuts the most so that’s what we will recreate today. Feel free to make it your own though.
There are four ingredients you need to make the glaze:
- unsalted butter
- vanilla extract
- maple syrup
- powdered sugar
To give this glaze an even greater depth of flavor, we’ll start by browning the butter. It adds a nice nutty taste that compliments the maple flavor so well. Once you have browned butter, add it to a bowl with the other ingredients and mix together until you have a thick golden glaze and set aside. We won’t be needing it for a while until the dough is made and fried.
The Dough
The dough is pretty simple to make – not much different than any other dough you might make for breads and doughnuts! This recipe concept is great in general to avoid food waste such as if you have dough that did not get used up or scraps leftover, just fry it and toss it in some cinnamon sugar or plain glaze and bam. You have a delicious dessert!
These are the ingredients you need for the dough:
- water
- whole milk
- instant yeast
- sugar
- salt
- all-purpose flour
Start by adding the warm water and milk to a large mixing bowl. Sprinkle the instant yeast in and whisk together. Then add the sugar, salt, and all-purpose flour. Bring the dough together using a hook attachment on a stand mixer or use a wooden spoon/rubber spatula. It is difficult to knead by hand because the dough can be a bit more sticky than other breads. Mix together until you have a soft and elastic dough. It should be a little bit sticky but not too difficult to handle – just a little bit. Add a tablespoon of flour if it’s too sticky at a time until you have the desired consistency. Add a tablespoon of water or milk if it’s too dry at a time until you have the desired consistency.
To a bowl, add a little bit of melted butter to grease it up all along the sides too. Transfer the dough, cover it, and then it’s time for it to rest in a warm place for about an hour or until it doubles in size.
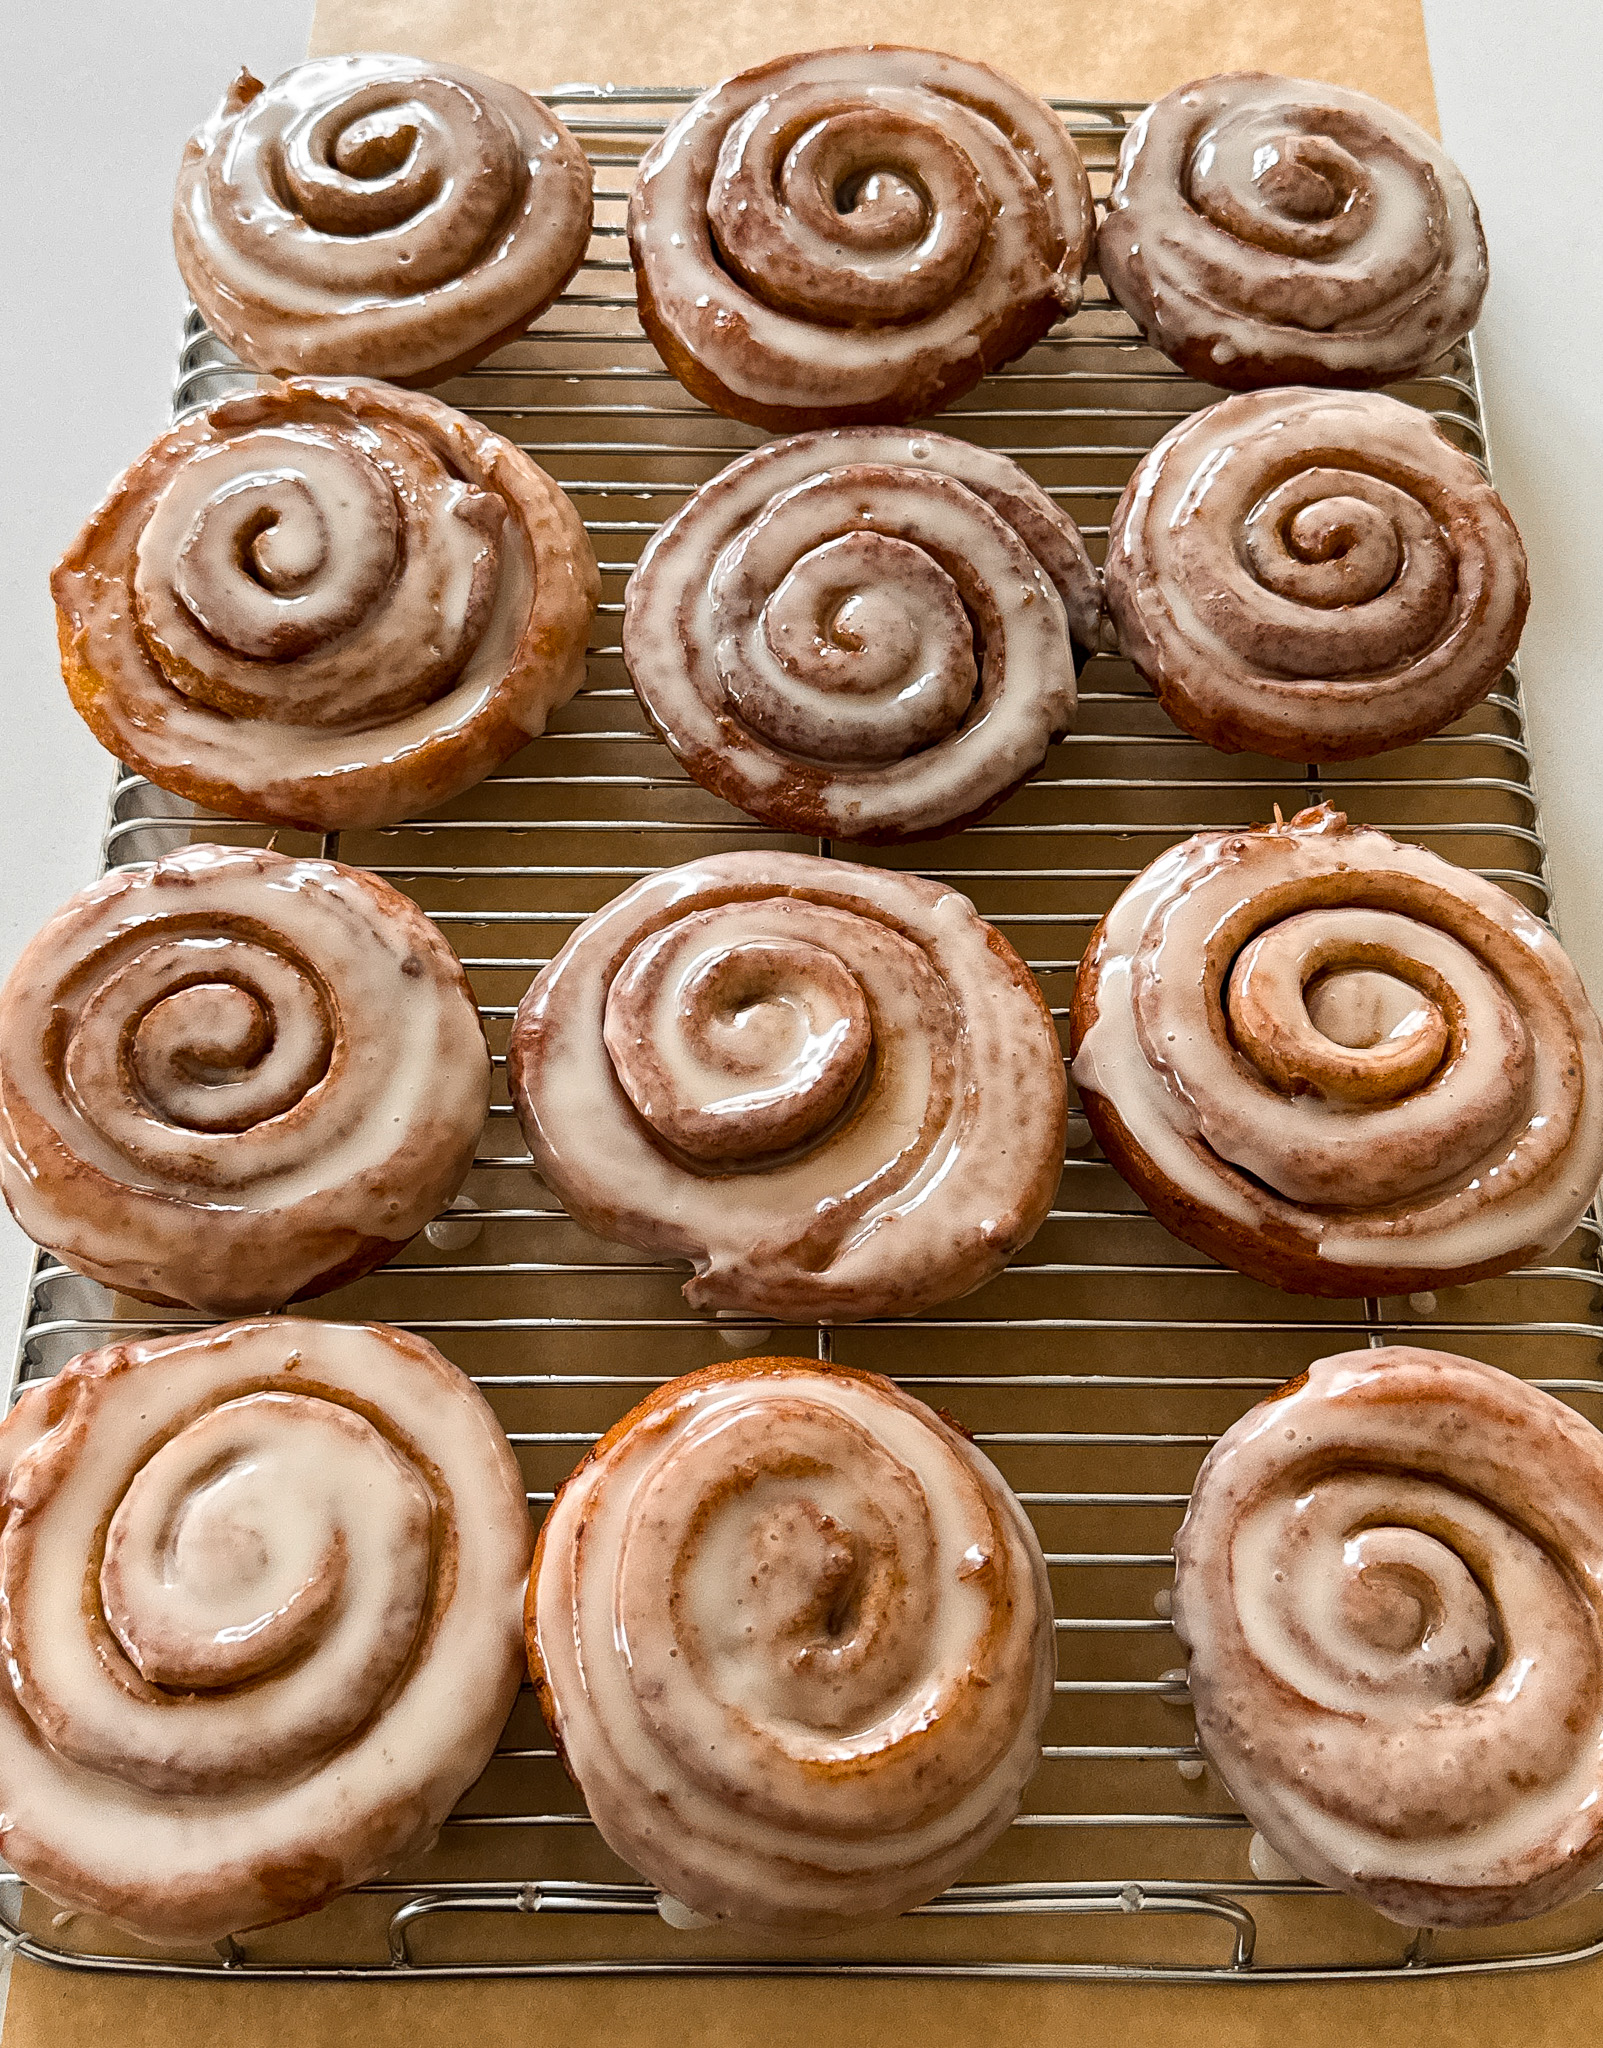
Frying and Glazing
Once the dough has doubled in size, transfer it to a clean working surface and divide into 6 to 7 equal sections. If the dough sticks, add a little bit of avocado or vegetable oil to your hands to prevent sticking.
Roll each section into a ball. Then flatten each ball into a long and thin oval shape that resembles a beaver tail. You want the dough to be flattened out very thin because it will puff up in the hot oil. If you think it’ll be difficult for you to transfer the dough into the oil using your hands, you can shape it onto parchment paper. When it’s time to fry, just transfer it to the oil upside down, and the parchment paper will lift right off.
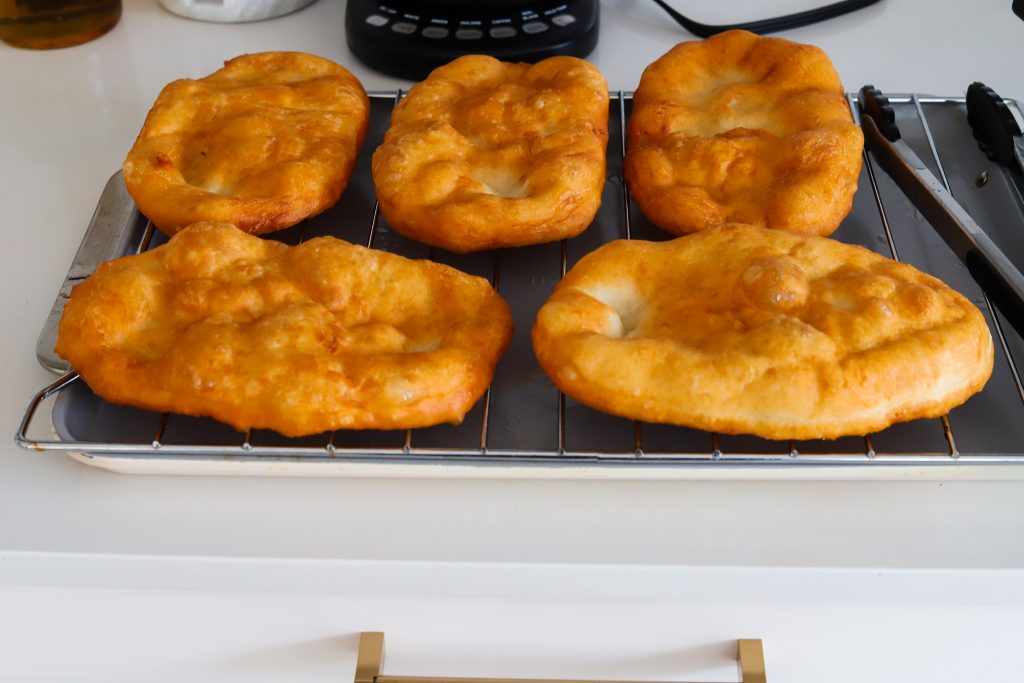
Heat 1 inch of vegetable oil in a frying pan to 350°F. Once hot, add the shaped dough in, 1 to 2 at a time depending on how large your pan is. Fry on one side until golden and then flip over, letting the other side get golden. Transfer to a wire rack and let any excess oil drain out. Repeat with the rest of the dough.
Brush the maple glaze on top of each fried beaver tail and optional, add a sprinkle of powdered sugar on top. It’s best served warm so don’t wait too long to dive on in!
If you’re looking for some variations to try, you can always add fresh fruit like bananas or strawberries. Strawberries and bananas would go well with Nutella. You can also keep it simple and just do a cinnamon sugar dusting. Have fun with it and be creative!
Craving More Desserts? Try These Recipes Out!
- Blueberry Muffins
- Chocolate Almond Croissants
- Banana Pudding
- Biscoff Rice Krispies Treat
- Matcha White Chocolate Cookies
If you tried this recipe and loved it, drop by down below and let me know how you liked it with a rating and comment! Feel free to also leave a question there about this recipe and I’ll get right back to it.
To see more recipes and behind the scenes, follow along on Instagram and Youtube! I’m also now on Pinterest pinning away so stop by and see what’s up.


Dessert
Maple Beaver Tails
Ingredients
DOUGH- 2 teaspoons instant yeast
- 3/4 cup water, lukewarm
- 1/2 cup whole milk, lukewarm
- 1 tablespoon white sugar
- 1 teaspoon salt
- 3 cups all-purpose flour
- 1 tablespoon unsalted butter, melted
- vegetable oil for frying
- 4 tablespoons unsalted butter, browned
- 1 teaspoon vanilla extract
- 3 tablespoons maple syrup
- 1/2 cup powdered sugar
Instructions
MAKE THE DOUGH- To a large mixing bowl, add the warm water and milk. Sprinkle the instant yeast on top. Whisk together.
- In the same mixing bowl, add the sugar, all-purpose flour, and salt.
- Using a stand mixer fitted with the hook attachment, mix until the dough comes together and then knead for 1 minute until soft and elastic. It shouldn't be too sticky or too dry.
- Oil a bowl with butter and transfer the dough. Cover it with saran wrap and then a towel. Place in a warm place until double in size, about 1 hour.
- Start by browning the butter.
- To a pan over medium heat, add the butter. Cook for 5 to 6 minutes until it starts to bubble and then brown. Make sure not to cook it any further or it can burn. Transfer it to a bowl.
- In the same bowl, add vanilla extract, maple syrup, and powdered sugar. Combine together until smooth. Set aside.
- Once the dough has doubled in size, divide into 6 to 7 equal sections and roll into balls. Oil your hands as necessary to prevent any sticking. You can also use flour but I prefer oil.
- Flatten each section into a long oval shape that is fairly thin.
- Heat 1 inch of vegetable oil in a frying pan to 350°F.
- Once the oil is hot, add in the dough and fry 1 at a time or 2 if you have a large pan. Cook on one side until golden and bubbly and then flip over and let the other side get golden.
- Transfer to a wire rack to let any excess oil drip off. Repeat with the rest of the dough.
- After frying, brush the maple glaze on the top of the fried dough and optional, add a sprinkle of powdered sugar to enjoy warm!
Tips & Notes
- Feel free to shape them as small or as big as you like. You can make them circular or oval shape, all are delicious!
- If you have trouble transferring the dough over to the oil, just shape it on a greased piece of parchment paper and when you transfer it to the oil, the paper will lift right off.
You Might Also Like

HI, I’M HAJAR
Welcome to Moribyan! This is my blog where I love to share all my favorite recipes and lifestyle tips with you all. If I’m not cooking here, I’m either at Trader Joe’s, the gym, or eating a bagel.
LET’S CONNECT
Pin This Recipe