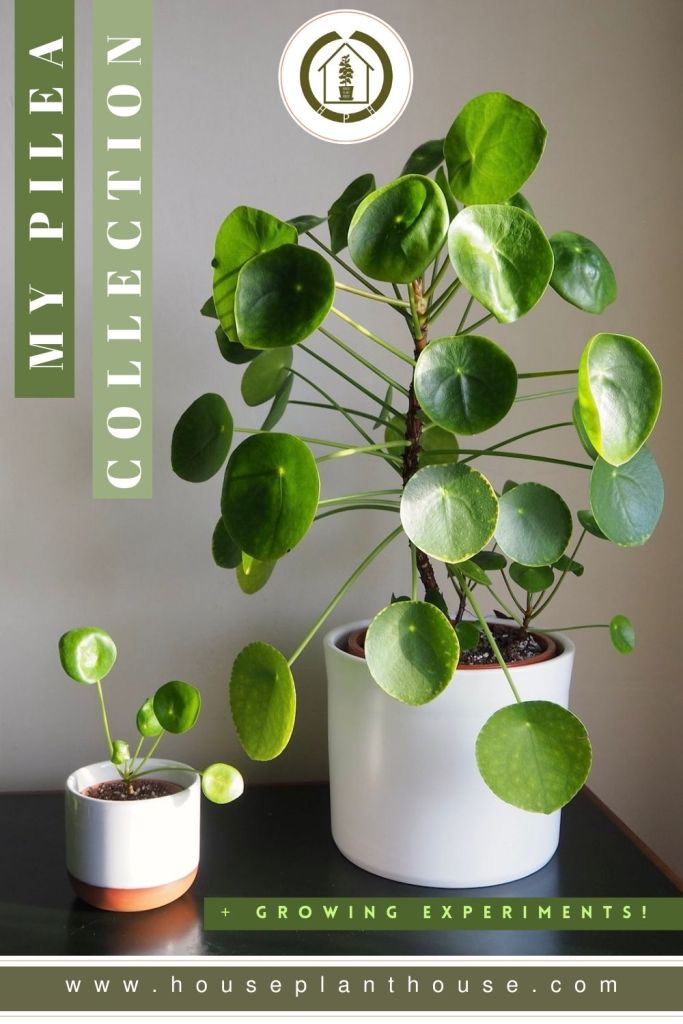
I thought it was about time I put together a post that shares how my current Pilea collection is doing — these plants do have a tendency to struggle over the winter months, so this post is a very real reflection of how they are all looking right now! In all honesty, I don’t stress about having ‘perfect’ looking plants — I’d rather them be healthy + resilient… even if they might look a little… well, characterful at times!
I’ve always got a few plants in different locations as experiments, so in this post I will also go into the different growing positions I’ve found to work best for my Pilea family, as evidenced by their form + growth habits over time. Pilea peperomioides in particular are plants that are full of personality + even if you have a pot on your shelf that looks a bit battered, they do bounce back well if given the right care. So today’s post is all about embracing the unique forms my gang have taken over the years — whether that’s as a result of differing light, inconsistent watering, draughts, humidity or forgetting to rotate my plants. I’ll also offer some tips on positioning these plants in your home by looking at my plants + sharing an understanding of how this has affected their growth + to conclude the post, I’ve put together some of my Pilea pointers that might help with caring for your current line up.
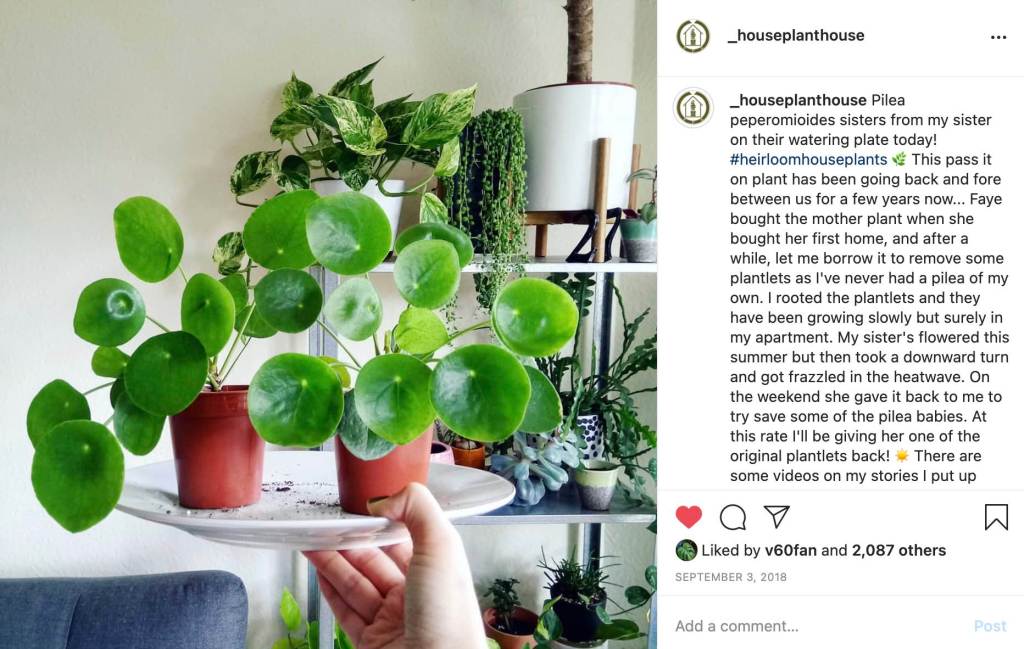
Given my current collection, it might surprise you to know that I’ve never bought a Pilea. I was given a little plantlet by my sister quite a few years ago + I grew this tiny plant into the more mature specimen you can see today. All my subsequent Pilea babies except two have come from this plant, so it’s quite nice to know that we currently have three generations of growth from Faye’s original plant. Aside from my current collection, many friends + family + neighbours have all had plants off-loaded onto them over the years… some of which are now reaching the multiplying stage too! It really is the plant that keeps on giving… + to those I have shared Pilea plantlets with, I did warn you!
The mother plant…
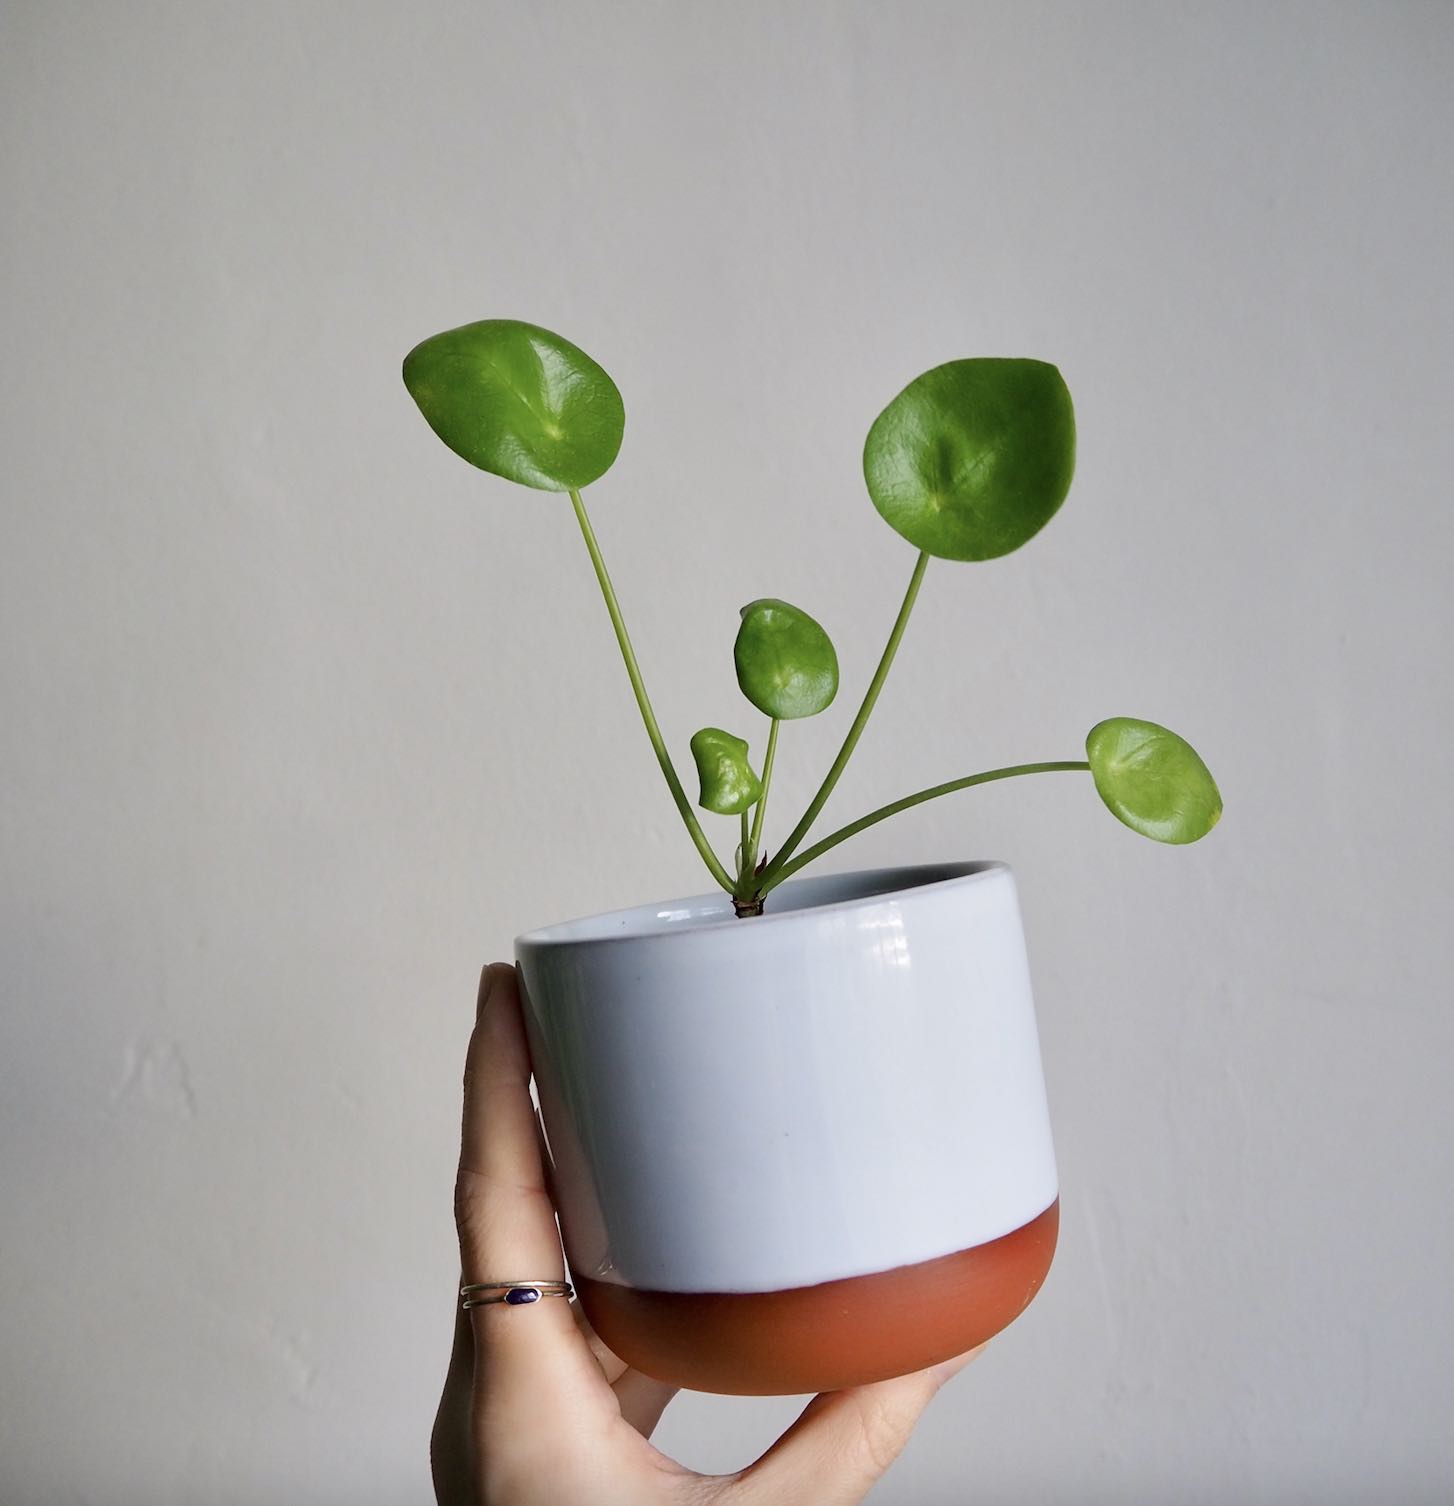
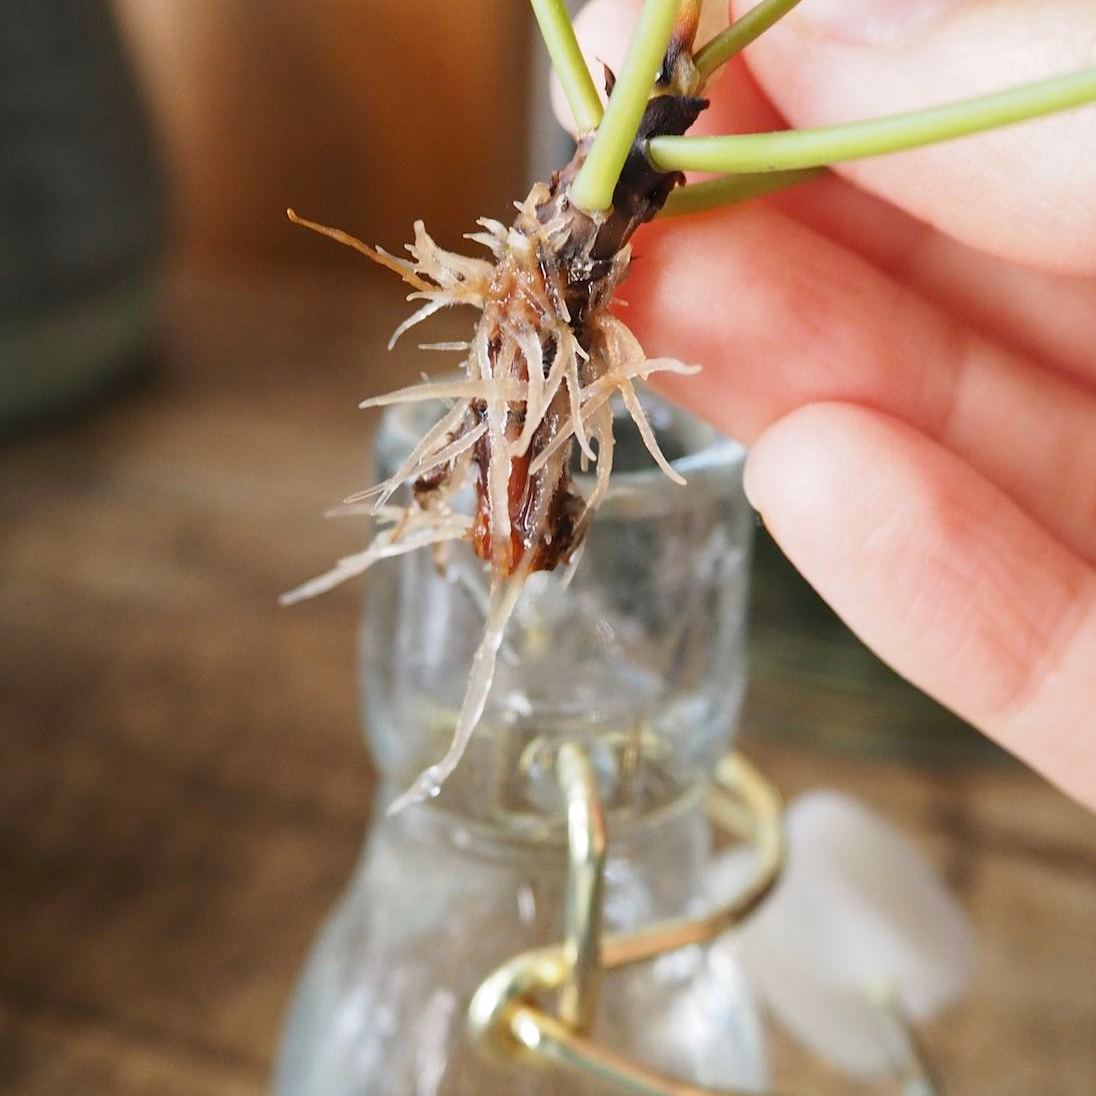
To begin, I wanted to show how my more mature Pilea is looking right now — particularly at soil level, where there have been a number of new plantlets popping up over the last few months!
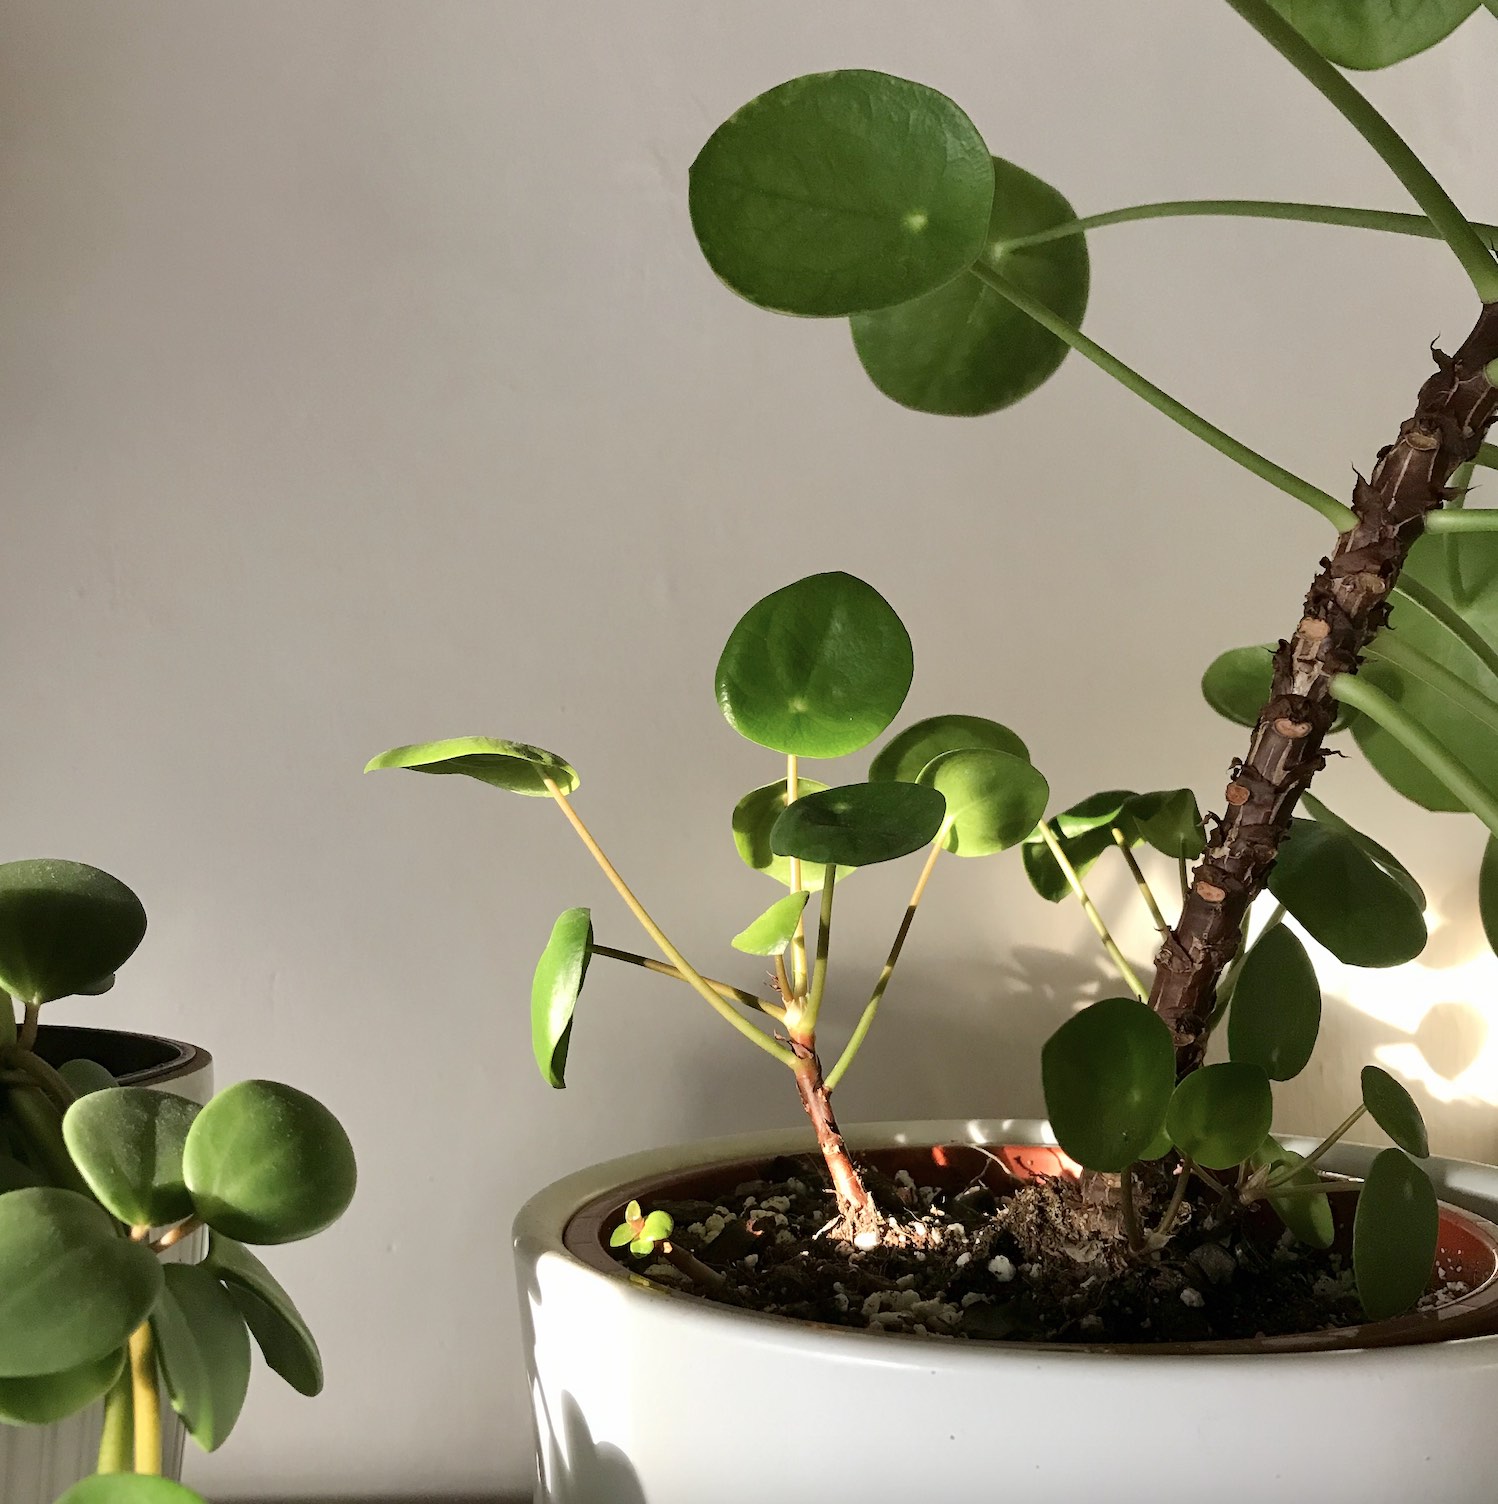
There are currently 4 baby Pilea nestled around the base of my plant right now, all of differing sizes… can you spot that teeny one (above)! I think I’ll re-pot my plant when Spring rolls around + harvest some of these plants to propagate. I like to wait until the plantlets are a few inches tall with a couple of leaves before removing them — this is personal preference, but I find that plantlets that are slightly more established are stronger at adapting than tiny babies. For reference, the plantlet the the left of the pot in the photo above has been ready to be separated for quite a while + looks like it is wanting some more space to grow now! If you wanted to know more about Pilea propagation, I’ve got a dedicated post, which I’ll link here!
To show in more detail how my largest plant has developed, here’s a photo of it from May 2019:
In the video below that I made last year, you’ll see how the shape has remained quite uniform up to now, but as winter has gone on my plant has certainly started to lean a bit! If yours is like this, a thin bamboo stake is an unobtrusive way to keep your plant standing tall. I might do this next time I re-pot.
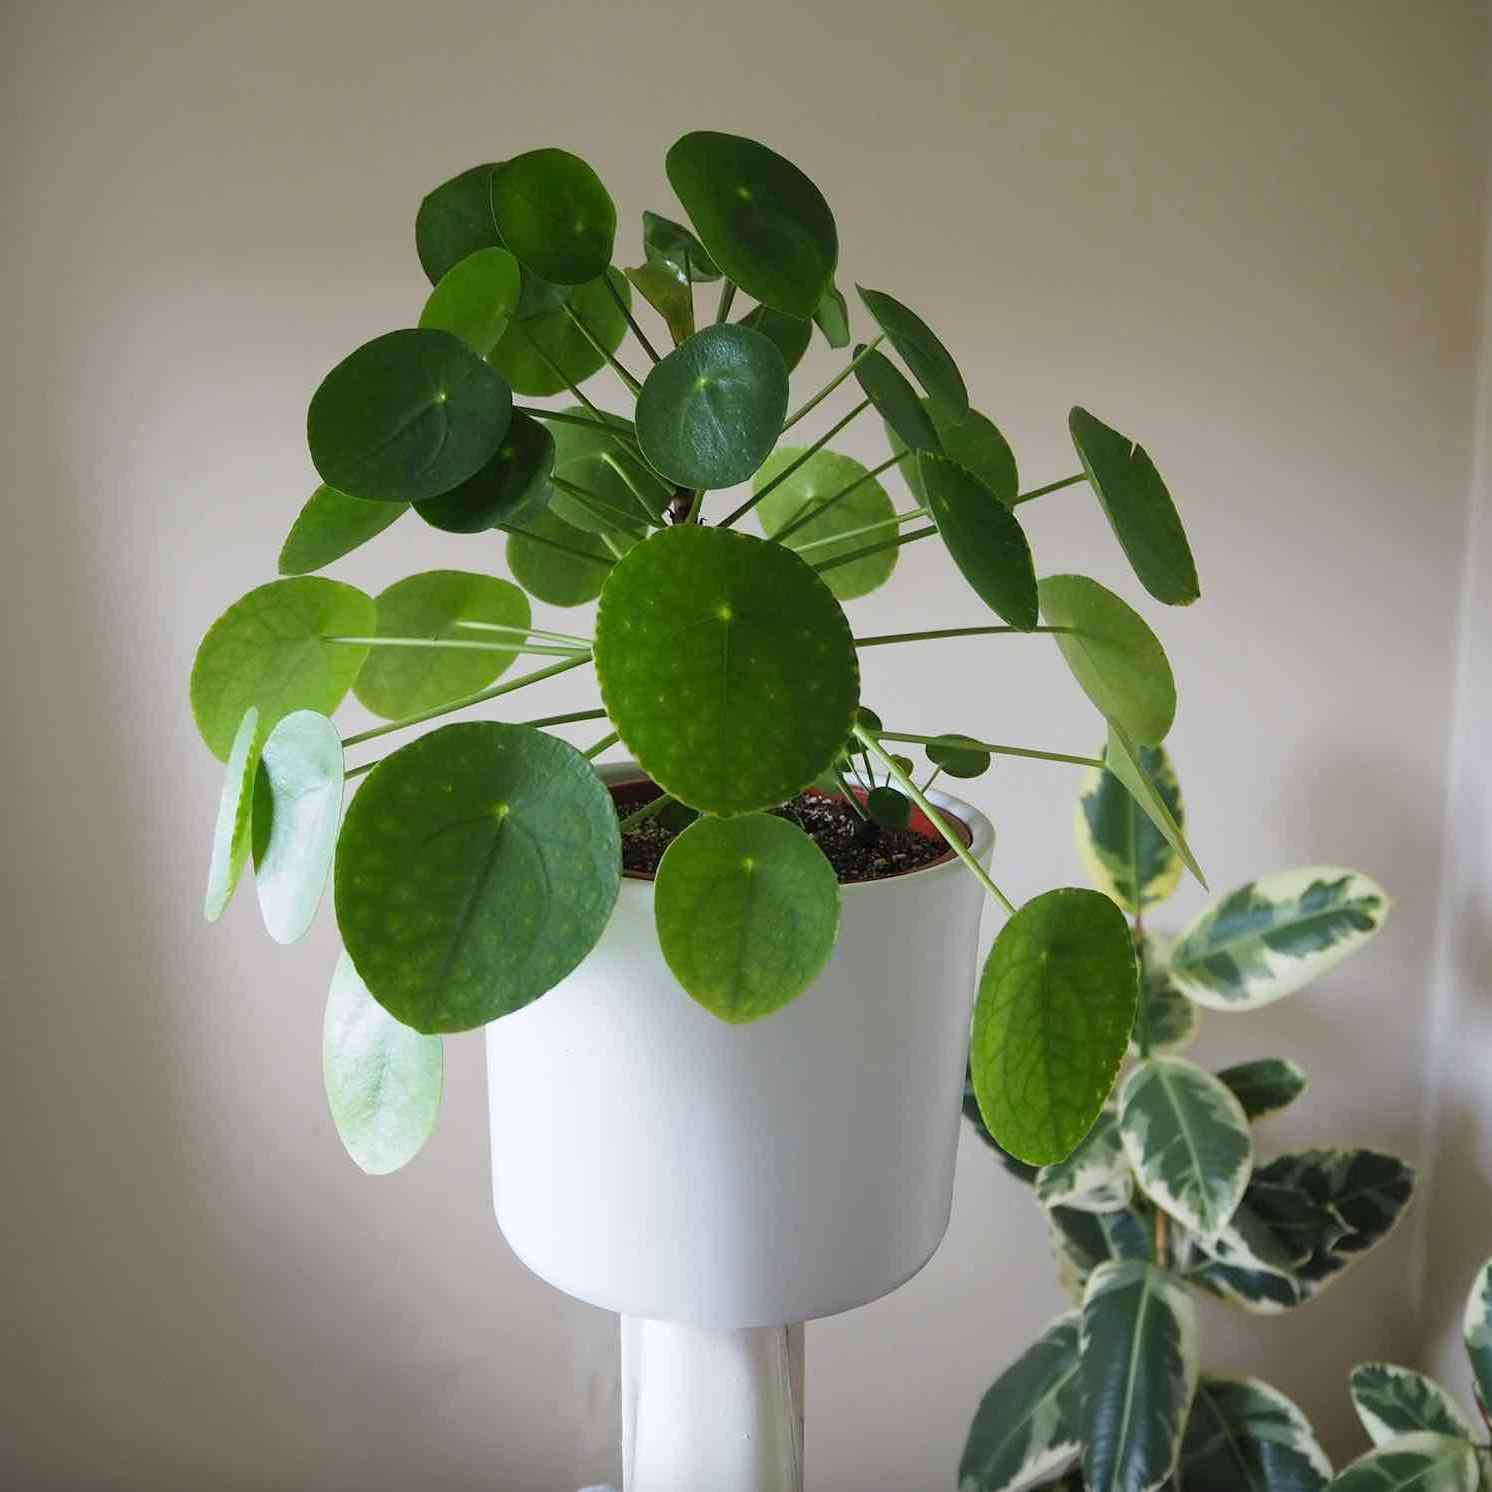
Little + large…
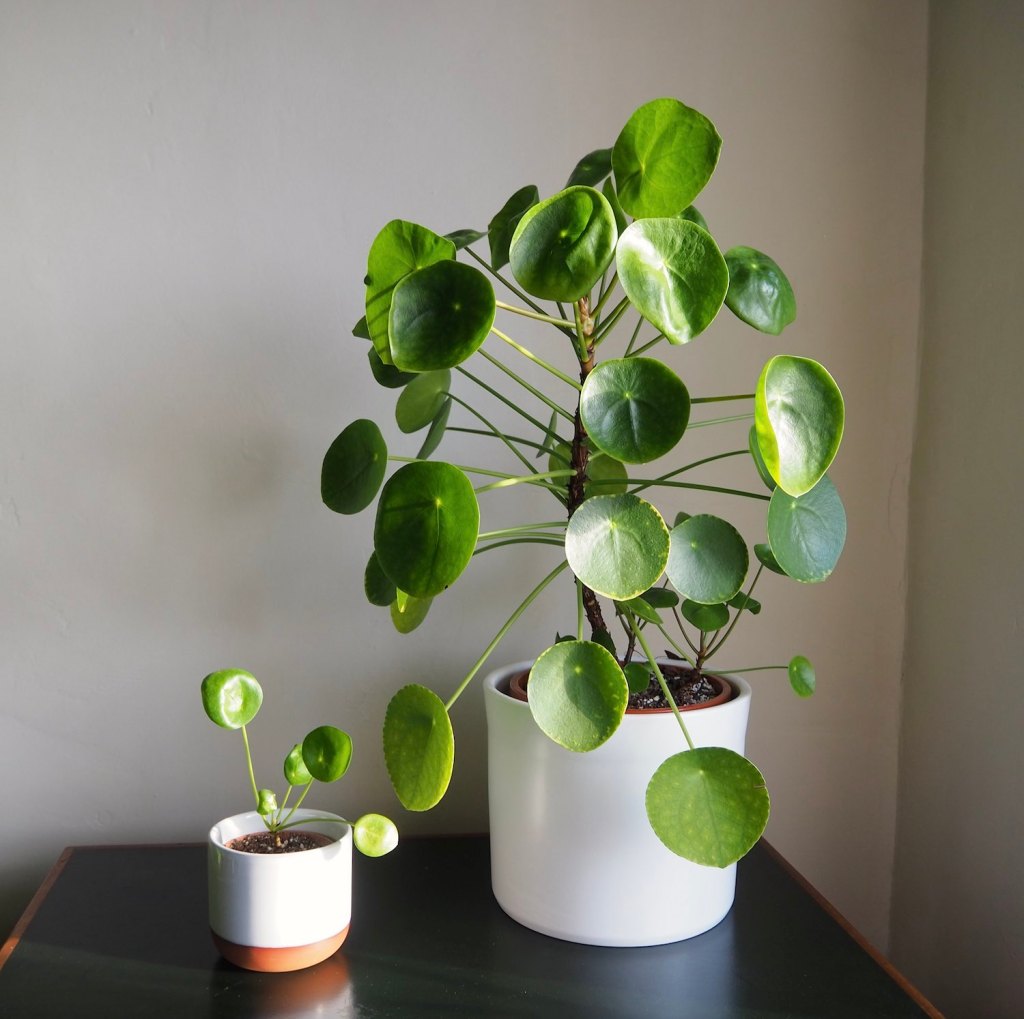
Here’s my littlest Pilea with my largest — the mother plant. A plant styling ‘thing’ I do a lot is to couple pots together like this, because I just love the play of scale between the two! If you have a couple of plants, lining them up on a shelf in size order can also look great. Fellow Art School graduates might recall that piece by Martin Creed Work No. 960 along similar lines but with Cacti.
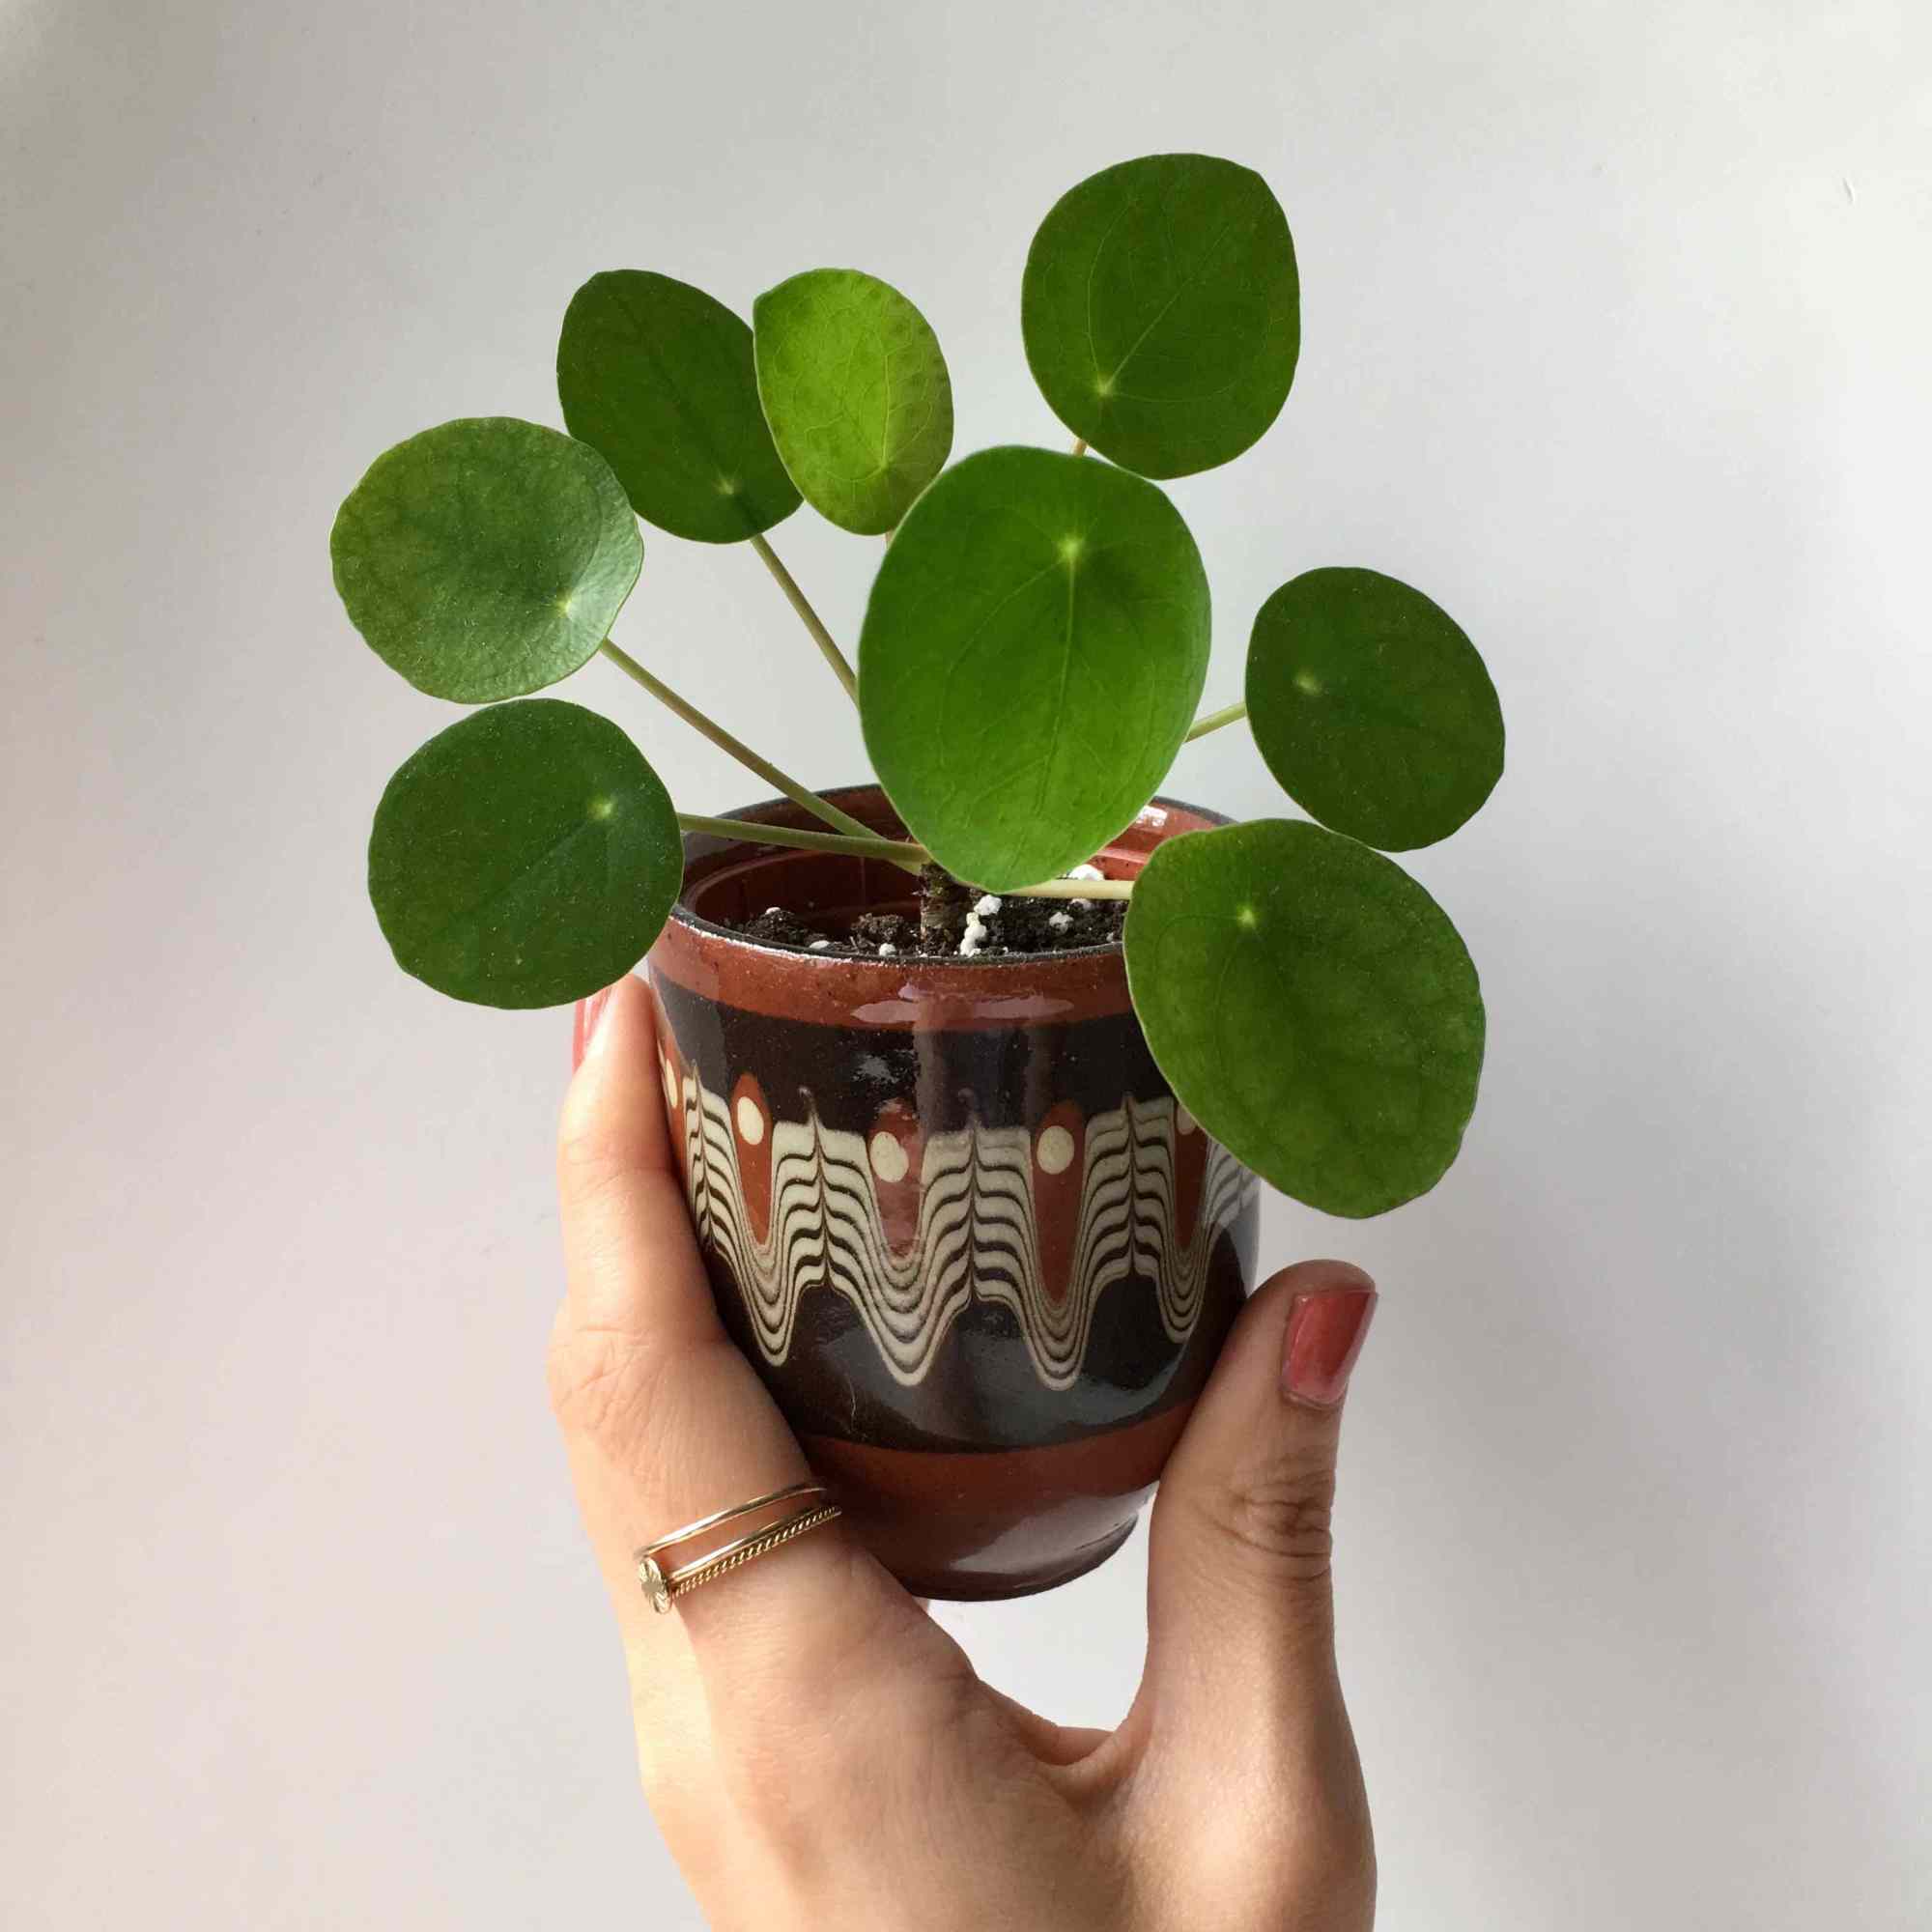
Here’s a closer look at my smallest plant, to the left from last week + to the right, today… yes you might be wondering what happened to the three leaves that are no longer there.! Well it fell off the table + lost a couple of leaves, though the two that are still remaining are better than none. This little plant is a good example of what I meant at the start of this post when I said about why I always like to nurture a struggling Pilea — this is a case in point.

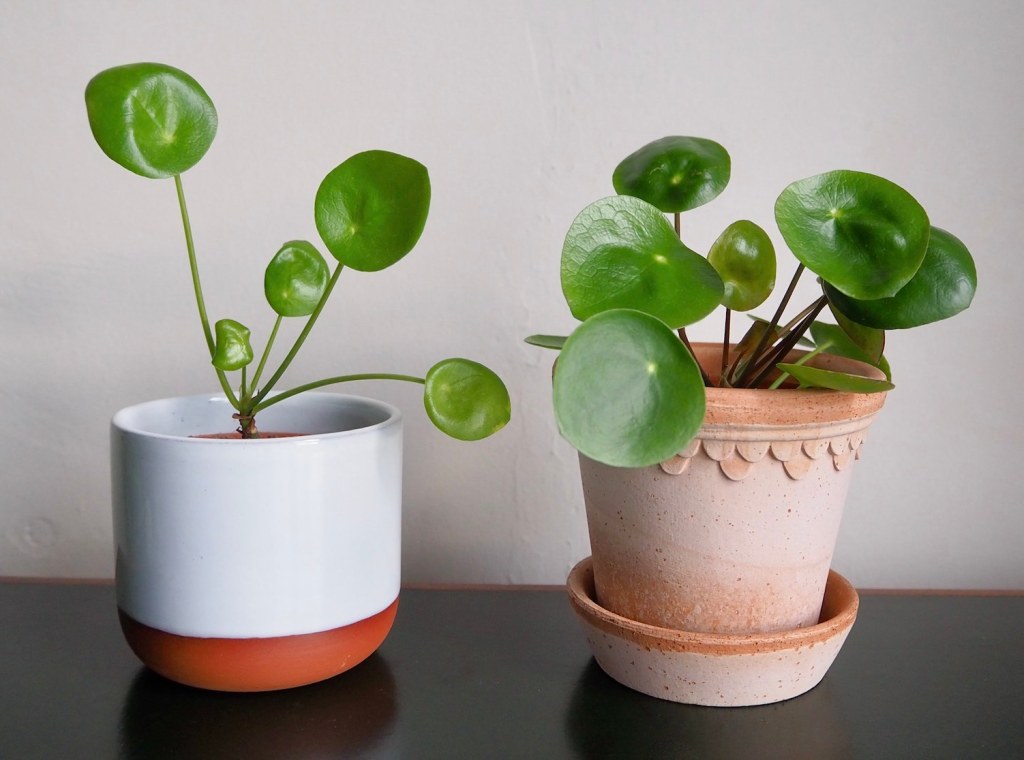
These two propagated Pilea in the photo below show how different lighting conditions can affect growth + here I’ve brought them together for a comparison photo for us to observe. The plant on the left was positioned in my bedroom, around 2.5 metres away from an upstairs window in a south eastern exposure. The plant on the right has always had a brighter location, around 0.5 metres from a ground floor south east window. This location gets good light first thing in the morning as the sun rises + another hour around lunchtime when the sun is high in the sky. As you can notice here, leaves are larger + growth is much more compact:

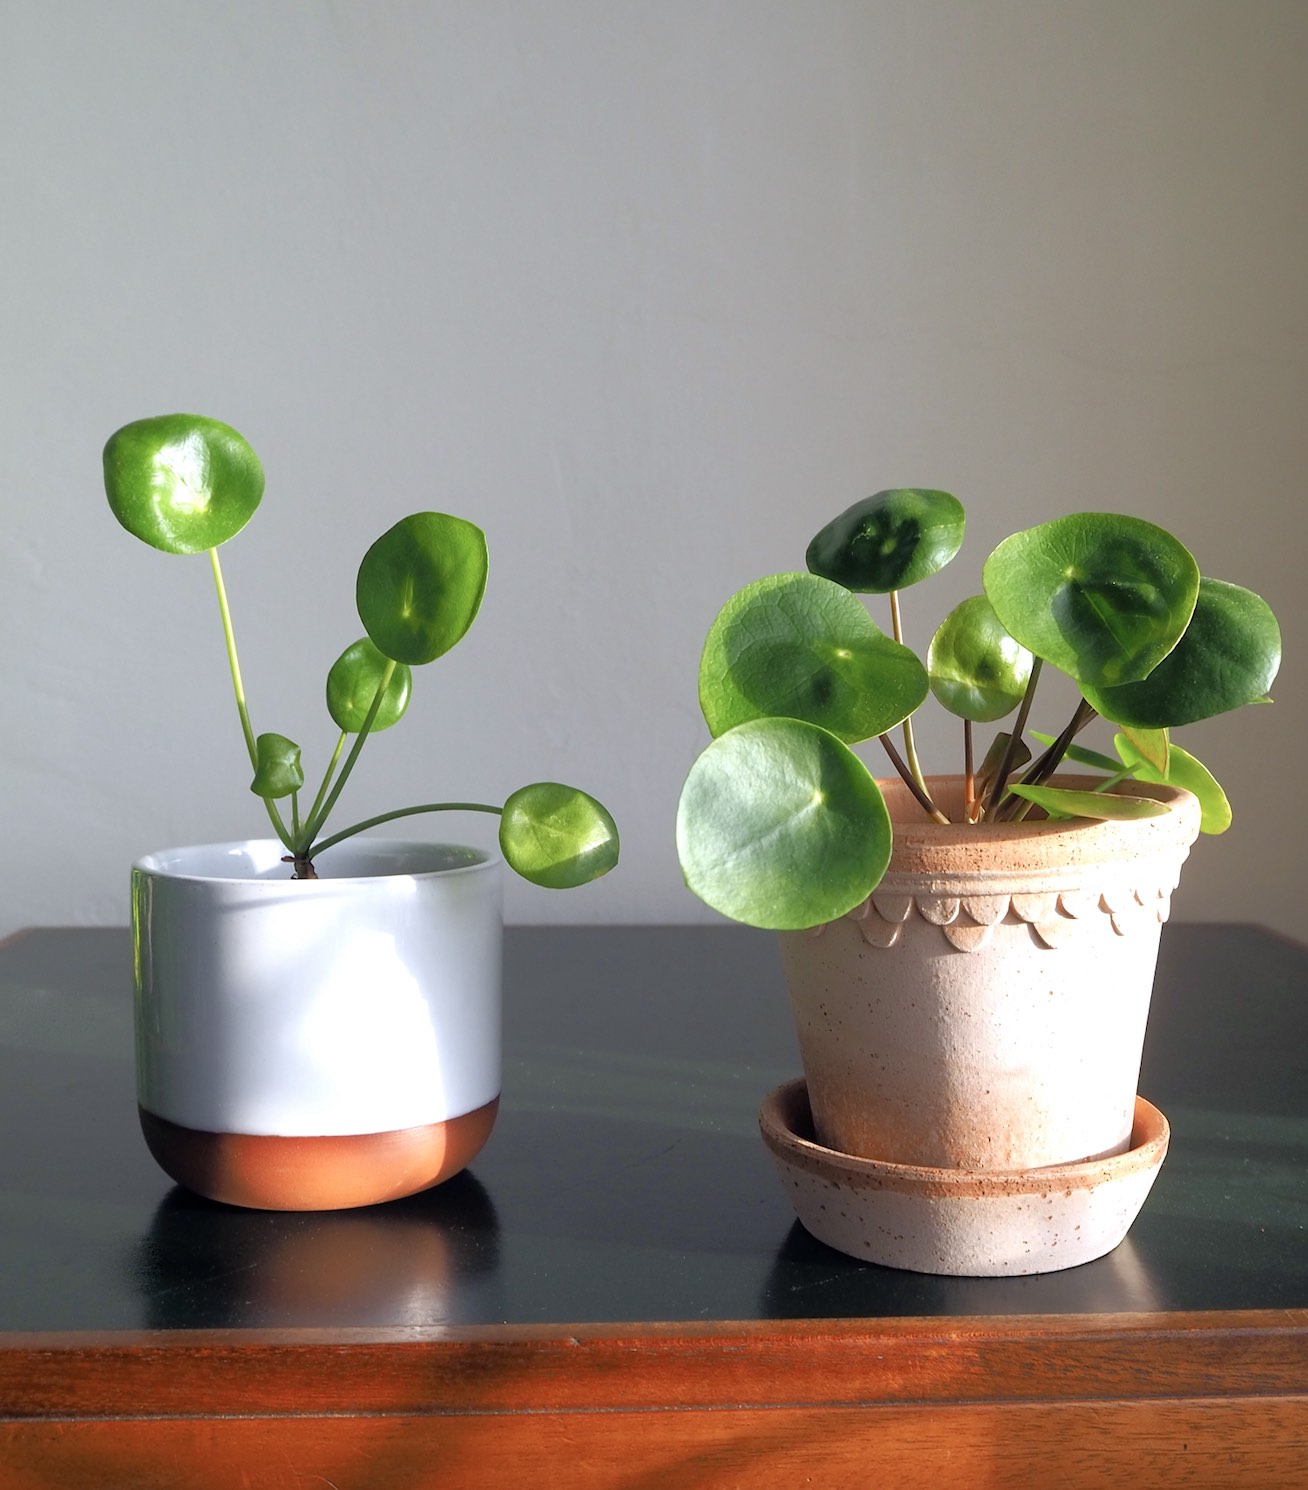
It’s worth saying here that I grow all my Pilea in nursery pots as I find they dry out too quickly in terracotta, but that’s personal preference! Even though the lovely Bergs Potter planter to the right is terracotta, I am using it as a cache pot here + have a regular plastic nursery pot inside it. Remember that the observations here are based on what works for me in my environment so please bear this in mind. I hope that by explaining my thought process we can develop a greater understanding together — staying inquisitive about what works + why.
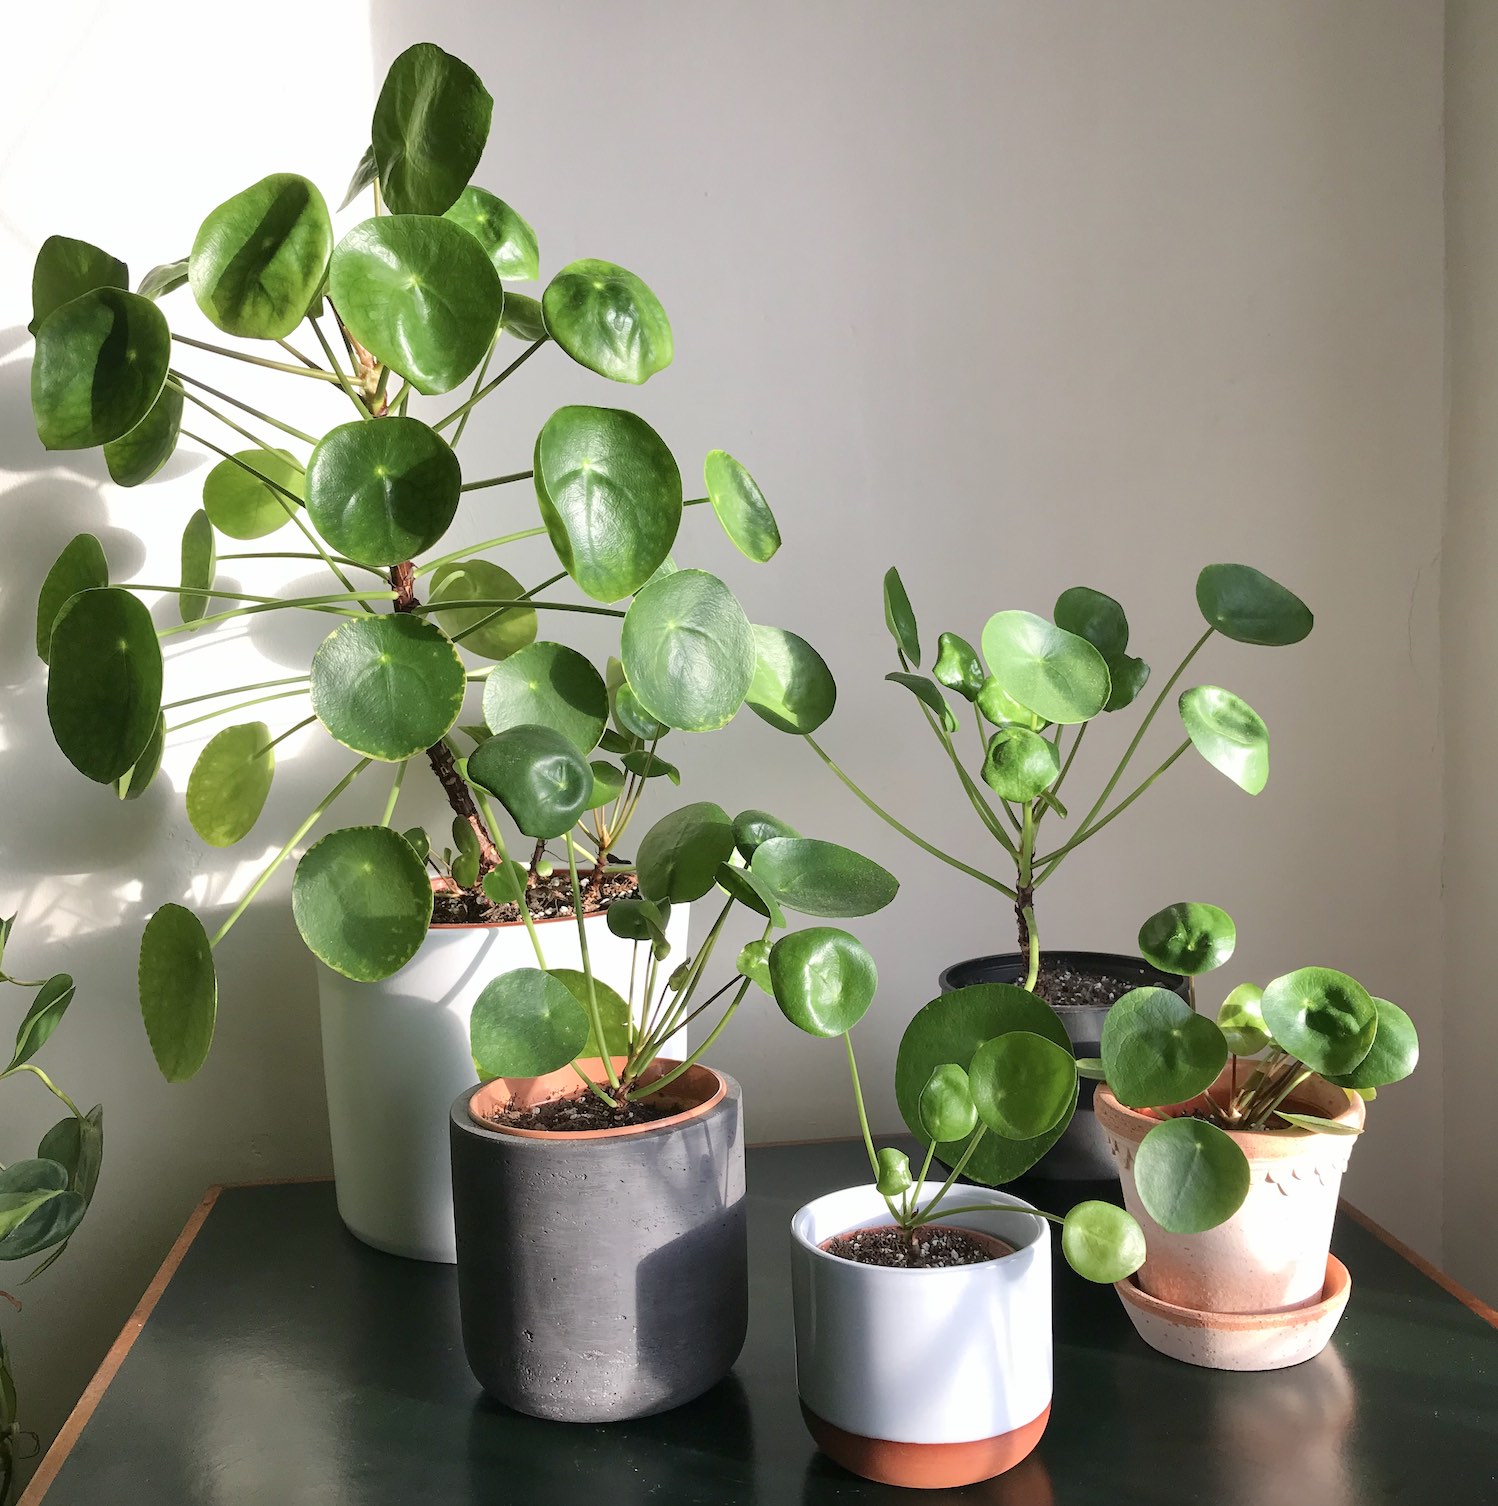
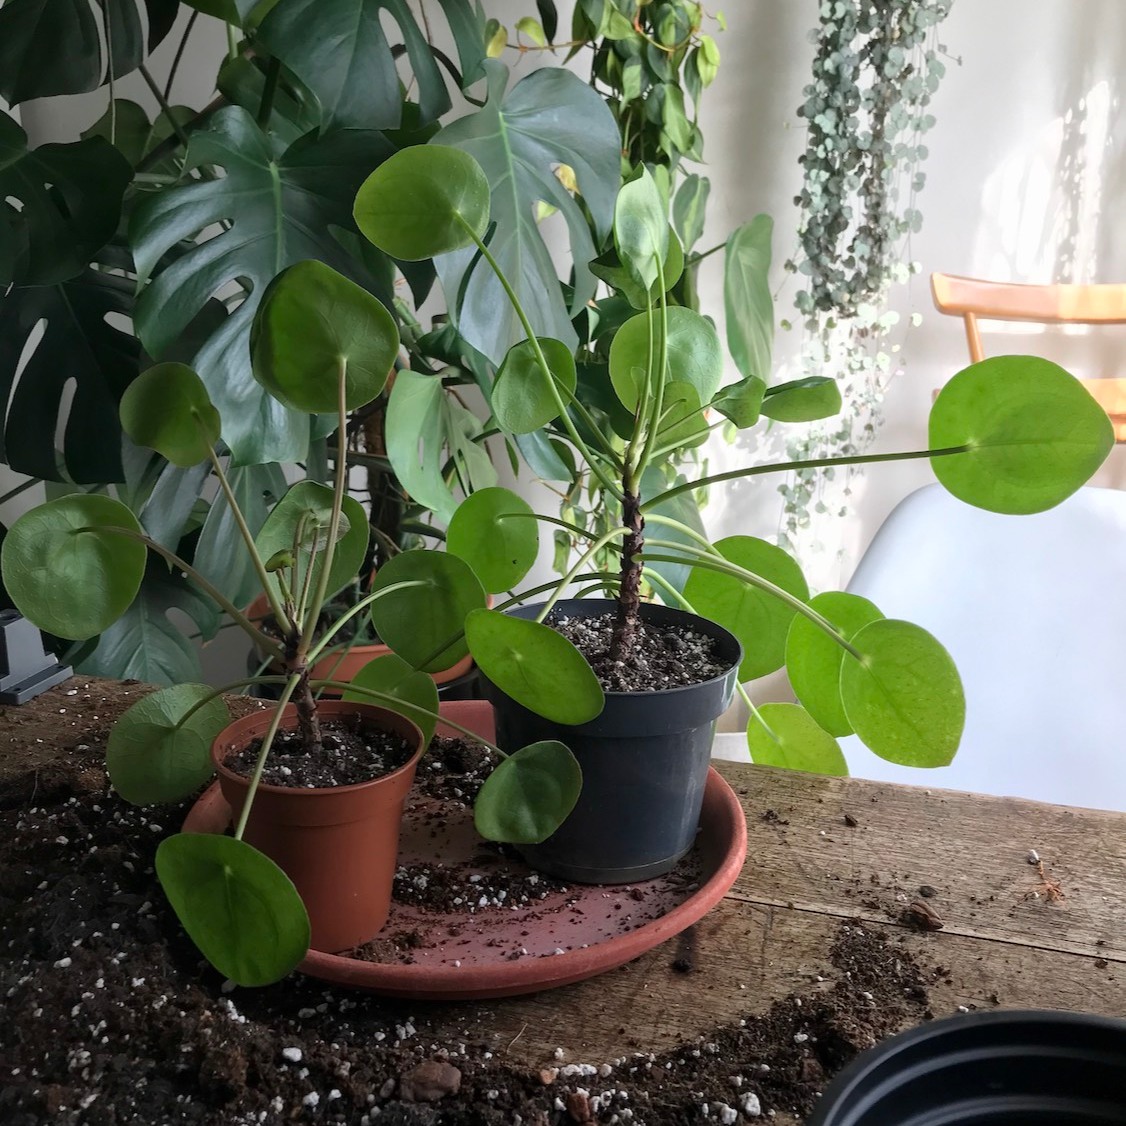
Getting the group together
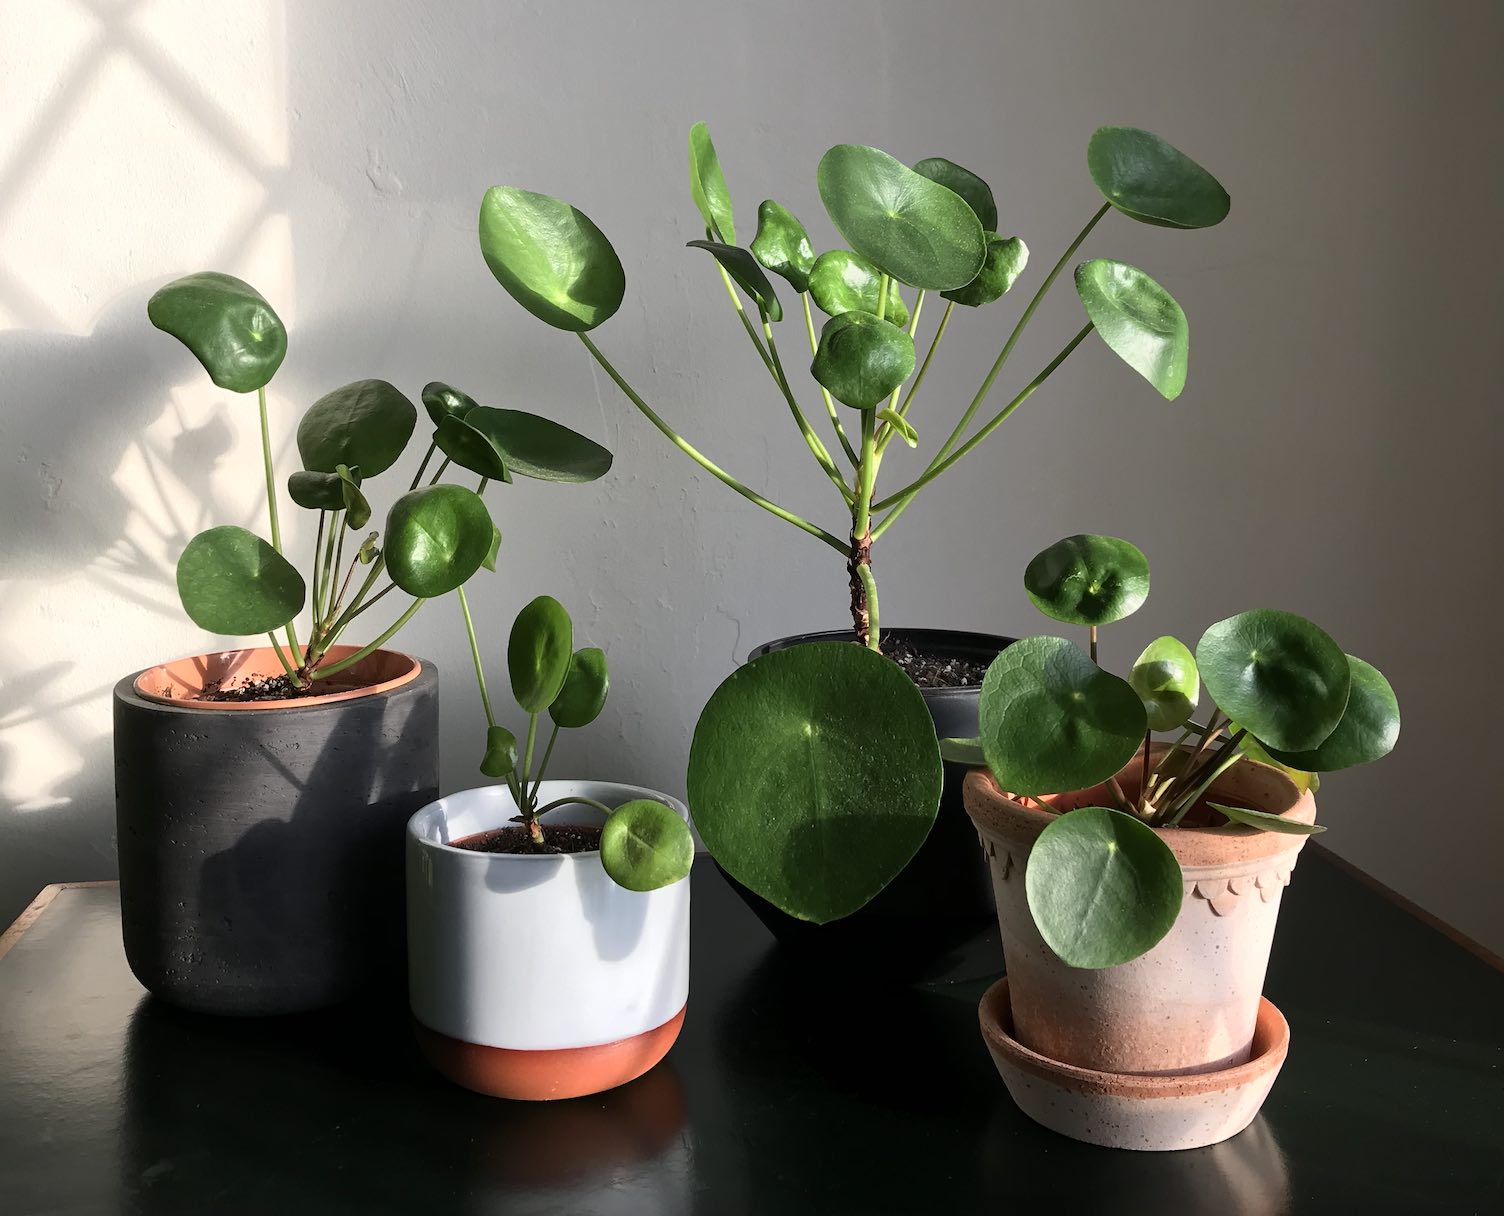
The two plants at the back of the above photo are ones that I took as offsets from my sisters plant + you can see them from a few years ago in the instagram posts below. The two plants in the front of the shot above are baby plants from my Pilea — which also started out as a plantlet from Faye’s plant, but one that I propagated around a year earlier. I just love the plants when they are this size:
In my old apartment, these two pots were growing 1.5 metres away from a South facing window on a plant shelf, surrounded by other houseplants. I’d say this was a great position for these + the growth is lovely + balanced, looking great!
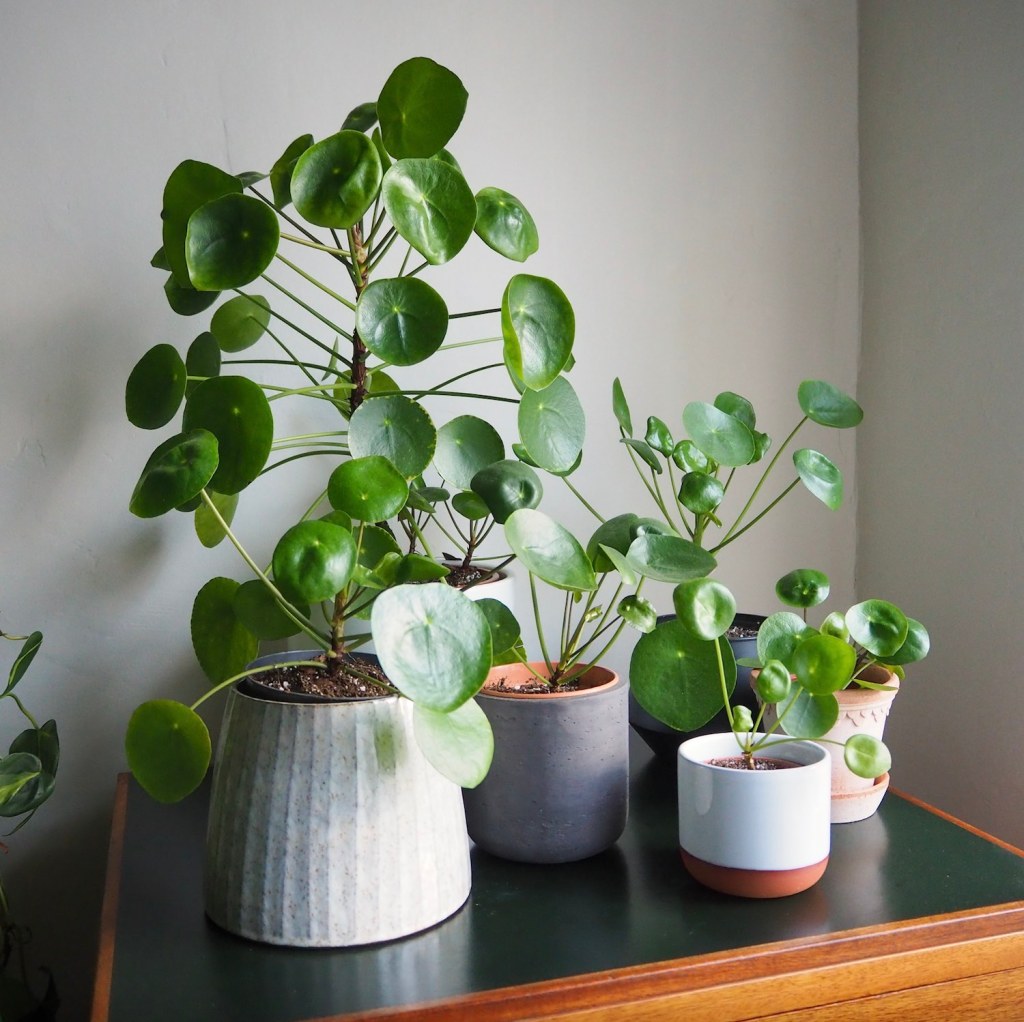
As you might suspect, moving or sending Pilea plants isn’t the easiest + I put the ‘interesting‘ growth of these two this year down to the upheaval of a big move plus quite dark conditions. The growth has stretched + I’ve lost a few leaves from the plants being moved around a lot. They were arguably looking better 18 months ago but I’ve learned to not give myself a hard time about this. One good thing about growing Pilea plants of all different maturities is that you can enjoy the different stages of growth simultaneously. I’ve definitely learned that smaller plants are easier to keep looking tidy — quite a specific observation perhaps , but I think my favourite sized plant is something like a 3 inch pot.
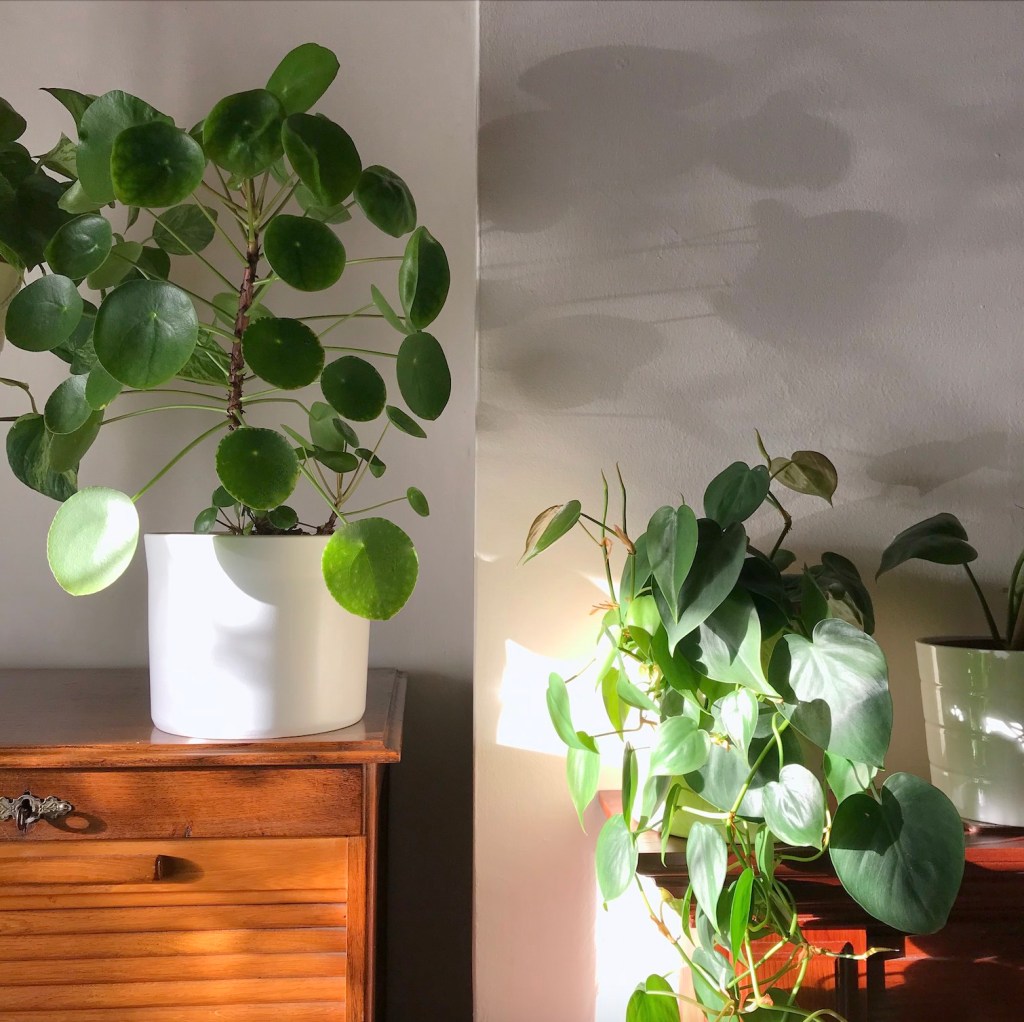
After taking the photo above, I realised I’d missed one plant out — below left in the beautiful grey planter is currently my coffee table Pilea of choice (which is 2.5 metres away from a South east window FYI):
As we move into milder temperatures, I’m thinking about repotting once more. My repotting list includes my large Pilea as I really want to give it a soil change after a very long Winter + also separate some baby plants from around the base. As always, I will document + share this process with you in my Repotting Diaries + also on my Instagram feed + stories.
It’s actually been pretty helpful to put this post together as a way for me to draw conclusions from my experiments with positioning + it’s prompted me to make a bit more room on my nan’s table which is the brightest position mentioned here! I plan to propagate a few baby Pilea in this location this Spring to try to achieve more compact growth in these smaller plants from the start.
Growing Pilea observations : things I’ve learned along the way…
• As we have seen in this post, location + light intensity can have quite an impact on the shape of Pilea plant growth. Fairly bright, indirect light is best. In my growing experience (northern hemisphere), I’ve had particular success with a west facing window location, 1.5 metres from a south facing window + around a metre from a south-eastern exposure behind a net.
• A more humid environment will result in larger, flatter leaves but these plants grow well in regular household conditions.
• Rotating your plant every week will help keep your plant balanced. I tend to make this part of my routine + have been doing it so long it’s become a habit now!
• A decrease in temperatures can cause leaves to yellow (particularly at the bottom of the plant) but if this occurs in warmer temperatures, it’s more likely to be an overwatering issue.
• If your Pilea is looking a little droopy, your plant might be overwatered. Note that this is often the main cause of Pilea problems!
• Keeping your plant pot bound can help to trigger the mother plant to produce offsets around the base of the pot, so if you want to grow your collection don’t re-pot too often!
For more detailed advice, see my Pilea care guide.

Conclusion
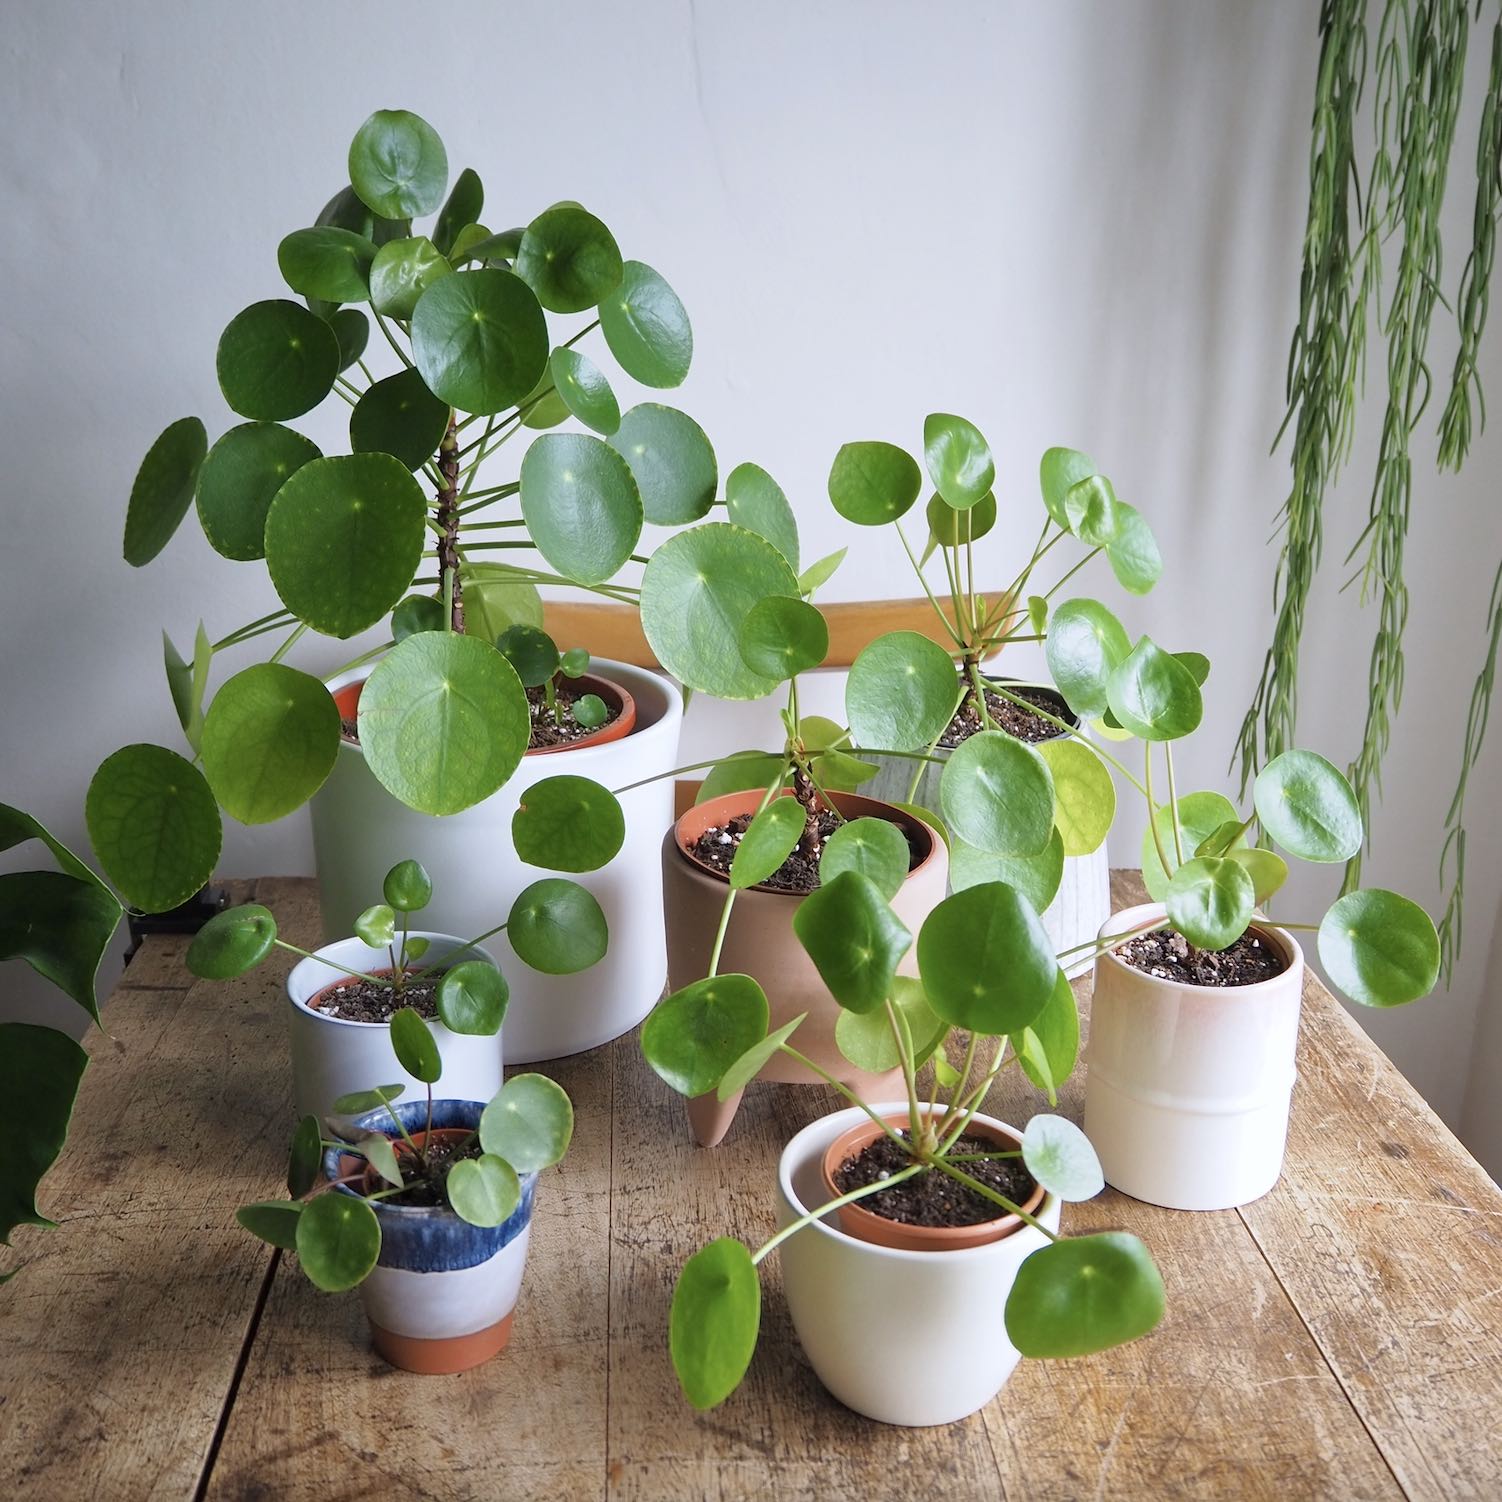
So there we have it, an overview of how my Pilea collection is looking — which at the moment is one large plant, three ‘medium’ sized plants + two smaller ones. The quantities in my home at any one time are always in flux as I share these plants around often — it’s easy to see why they are called friendship or ‘pass it on’ plants! My mature Pilea has got to that point where there are generally a few new plantlets ready to propagate if I want to keep growing my stock. What these photos hopefully show is that Pilea peperomioides are an adaptable houseplant to care for + each one is unique in their own way. By starting small, you can experiment with the positions in your home that suit it best + I hope that my growing observations throughout can help to give you some inspiration for a suitable location.
I hope you have enjoyed having a closer look at my collection + here are some related pins to share or save too:

Leave a Reply