Easy ‘cheater’ patchwork quilt squares
For years now, I’ve been using a worn-out 2.5” cardboard square to make good use of leftover bits of fabric. (Nothing fancy — it’s cut from a case of beer!)

If I have a scrap of fabric that’s too small to put back in my regular (colour-coded) fabric bins, I quickly trace as many 2.5” squares as it will hold …
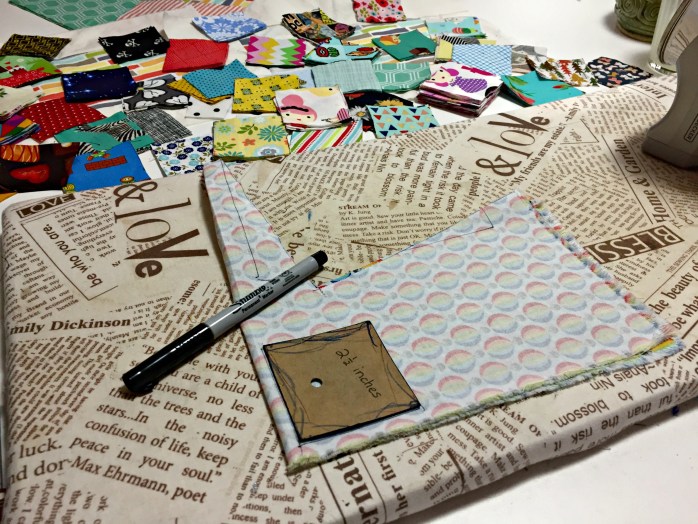
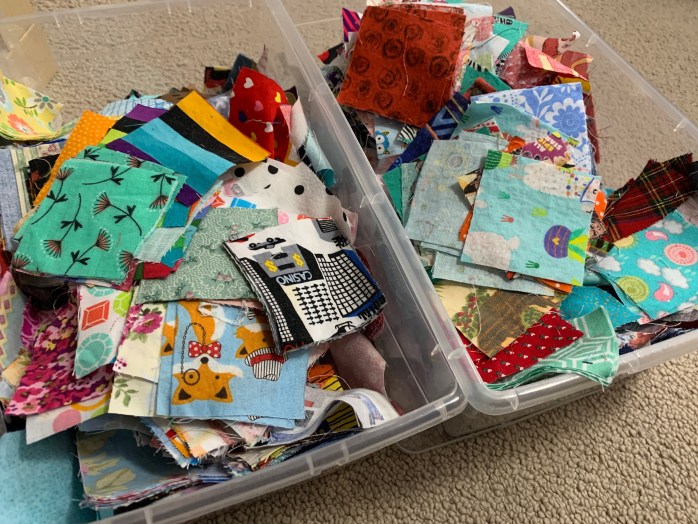
… then cut them out and stick them in a plastic bin for future use. OK, several bins.
(Why 2.5”? Well, a 2.5” square will actually result in a finished 2” square after you add 1/4” seams on all four sides. Quilting involves a lot of math, which is probably a good thing because I need regular math practice.)
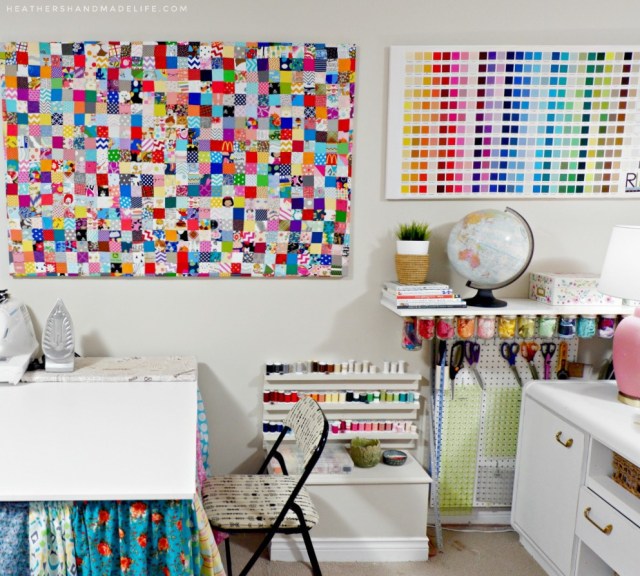
My original plan had been to stitch a zillion of the tiny squares together and make a huge crazy quilt. I did that for a while — until I’d made a 4’ x 5’ stretch of quilt top — before I decided I was sick of the project.
I still had hundreds, even thousands, of those tiny 2.5” squares. I just didn’t want to have to stitch them together, one by one, trying to align thousands of intersections where four squares meet. Ugh.
Then I came across the idea of making what’s called a “postage stamp quilt” (lots and LOTS of tiny squares) using a cool “cheater” method that involved SEWABLE iron-on interfacing.*
(You can get any kind, but make sure it’s lightweight and SEWABLE, not the sticky no-sew kind or you’ll gum up your sewing machine needles and curse the day you bought the wrong kind.)
I like cheater methods, so I knew I had to try this!
My squares each measured 2.5” so I knew a 5×5 layout would require a 12.5” x 12.5” piece of iron-on interfacing. I cut a 13” square just to be safe, knowing I could easily trim a bit off the edges.

I put the interfacing bumpy side up (meaning the gluey part was up) and had fun arranging a 5×5 grid of colourful little squares.
Some people draw a grid on their interfacing and then fill it in, but I found I was able to keep it relatively straight by starting in the middle and working out.
Since the glue wasn’t activated yet, I could play around with the layout until I was happy with the placement of each square.

I pressed a hot iron down onto the grid a few times so the heat would melt the glue in the interfacing — sticking the squares together in their grid.

I ironed the grid carefully until I was sure every square was stuck in place, and then I could pick up the grid easily. All 25 tiny squares had become one big square!
This part is fast and SUPER satisfying. I made a whole bunch of big squares in no time at all.
Of course, I wasn’t finished.
The 5×5 squares couldn’t be used in a quilt yet. They would look awful because the edges around each tiny square would fray and expose the interfacing underneath.
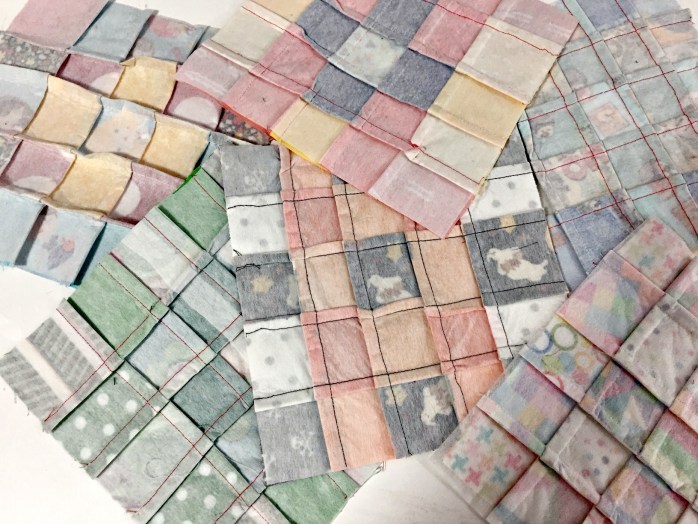
In order to finish a square, I flipped over the first row (of tiny squares) and stitched all the way across the back — about 1/4” from the crease — to seal in the raw edges.
Once I did each row, the back of the block looked like this …

I did that with each vertical row, and then I pressed the “stick-up seams” flat and did the same with each horizontal row.
Then the back of the blocks looked like this …
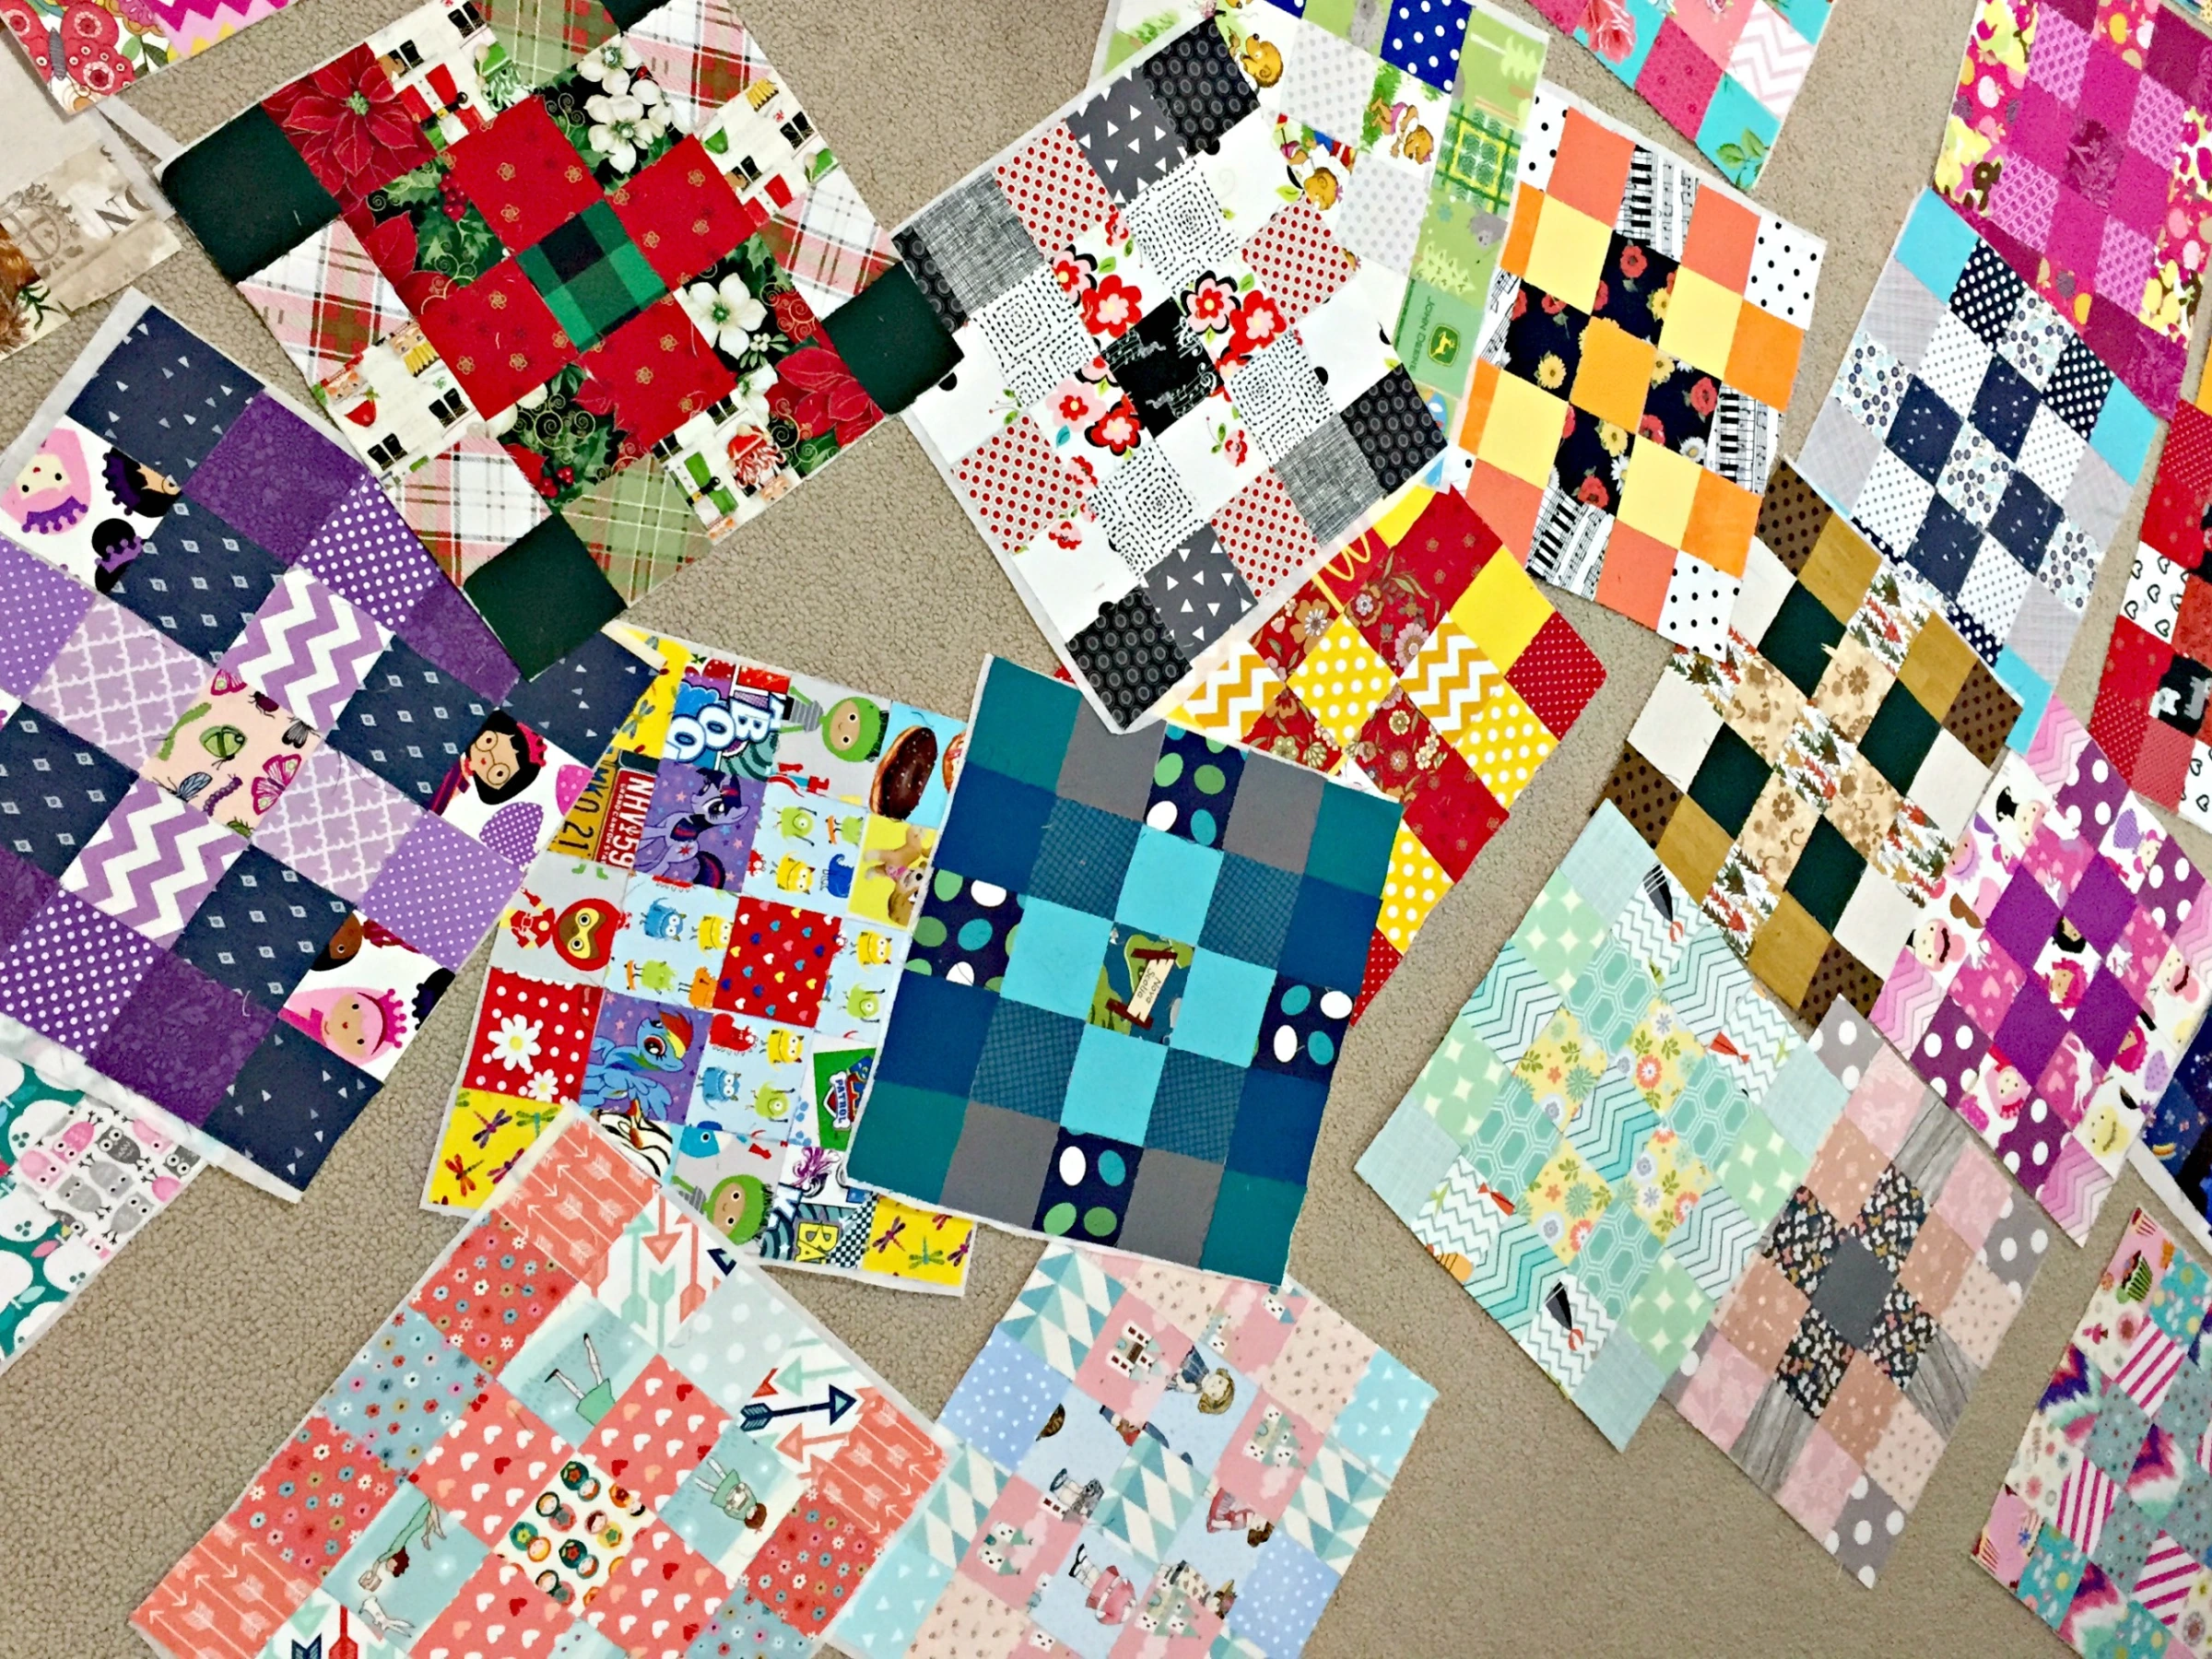
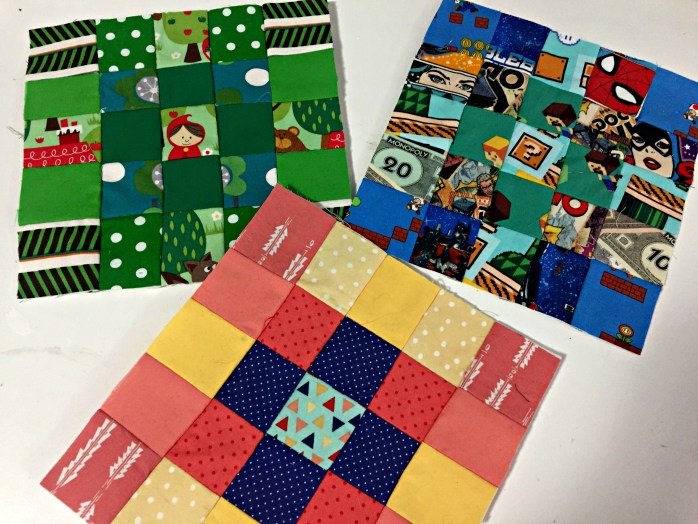
I flipped each block over and pressed it from the front. The finished result was a perfect 5×5 grid where every intersection was tidy — no wonky areas where four squares don’t meet correctly — and it didn’t require a single pin to get anything painstakingly aligned. WOW!
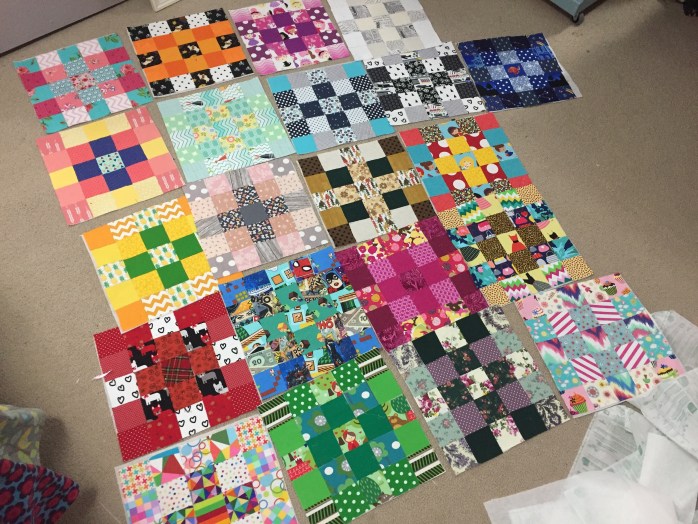
Once I figured out this method was genius, I got on a roll and made 5×5 grids until I ran out of interfacing. It was addictive!

I loved pawing through my bins of scrappy squares and picking out different block themes — Christmas, Halloween, superheroes — or playing with different colour combinations.

When I have enough finished blocks, my plan is to add white sashing (borders) around each square — mostly to keep the themes separate so you can appreciate each block individually — and then sew them together to make a gigantic colourful quilt.
What an easy and fun way to use up tiny fabric scraps that would have otherwise ended up in the garbage!
Don’t forget to pin this post for later so you can refer back to it.

As seen in newspapers across Atlantic Canada via the SaltWire Network …

2 Comments on “Easy ‘cheater’ patchwork quilt squares”
So what do you think?


As featured on …


how can i see your pattern for making chaircover for kindegarten chair?
LikeLike
Thanks for the note, Nathalie! You can see that full tutorial here: https://heathershandmadelife.com/2017/09/diy-chair-pockets-for-classrooms.html
LikeLike