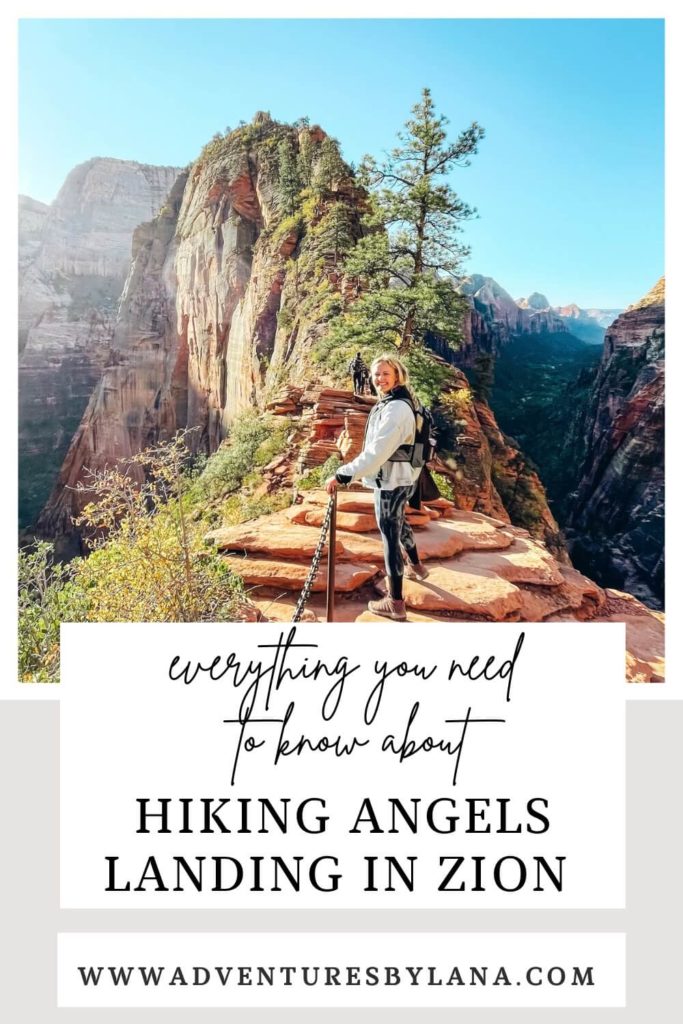
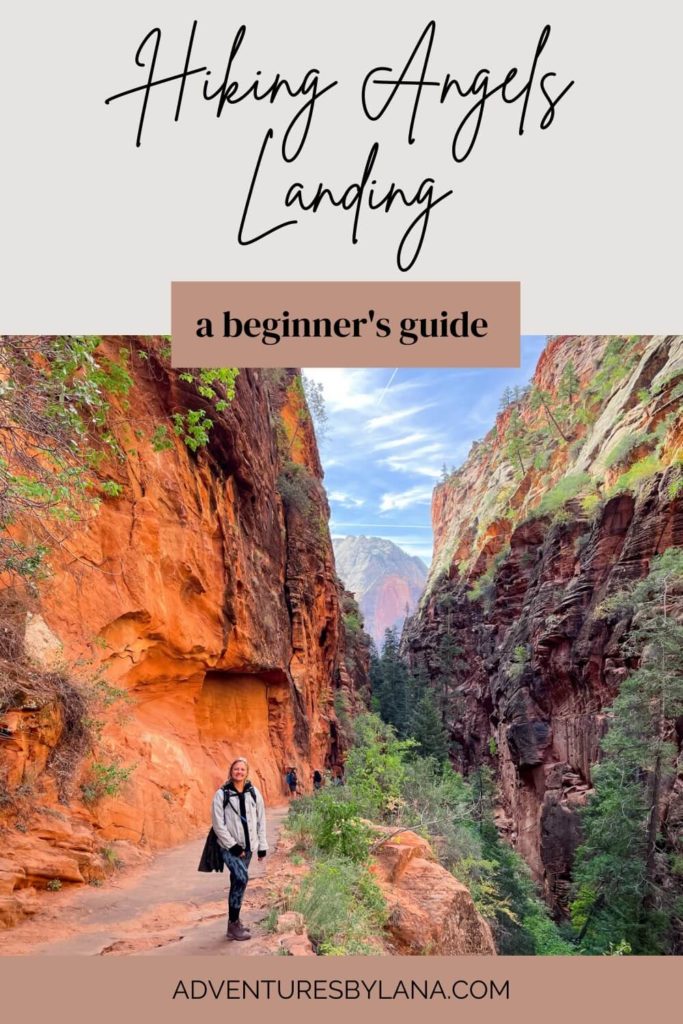
Hiking Angels Landing: A Beginner’s Guide
If you’re planning a trip to Zion National Park, you’ve likely heard about the legendary Angels Landing hike. If you haven’t, I hope this post helps educate you and gets you excited to take on this epic hike!! This beginner’s guide to hiking Angels Landing will take you through the entire hike and explain everything you need to know before attempting it!
Important: As of April 2022, you must have a permit to hike the chains portion of Angels Landing. You can find out more details about the permit process on Zion National Park’s website.
First, let me say that although Angels Landing is challenging and scary, it is totally doable for beginners! I consider myself relatively in shape, but I am a total newbie when it comes to hiking.. and this hike was honestly not too bad! The most physically challenging portion of the hike is, in my opinion, the very beginning.
However, if you have a fear of heights, this hike is not for you.. well, at least making it all the way up to the summit is probably not in the cards. But before we get into the details, let’s talk a little about Zion National Park and getting to the trailhead!
Note: This post contains affiliate links. If you click an affiliate link or book through an affiliate program, I receive a small commission at no cost to you!
A Beginner’s Guide to Hiking Angels Landing in Zion National Park
A Little On Zion National Park
Before we get into this Beginner’s Guide to Hiking Angels Landing, I wanted to talk a little bit about Zion, since you are probably planning a trip to this legendary park!
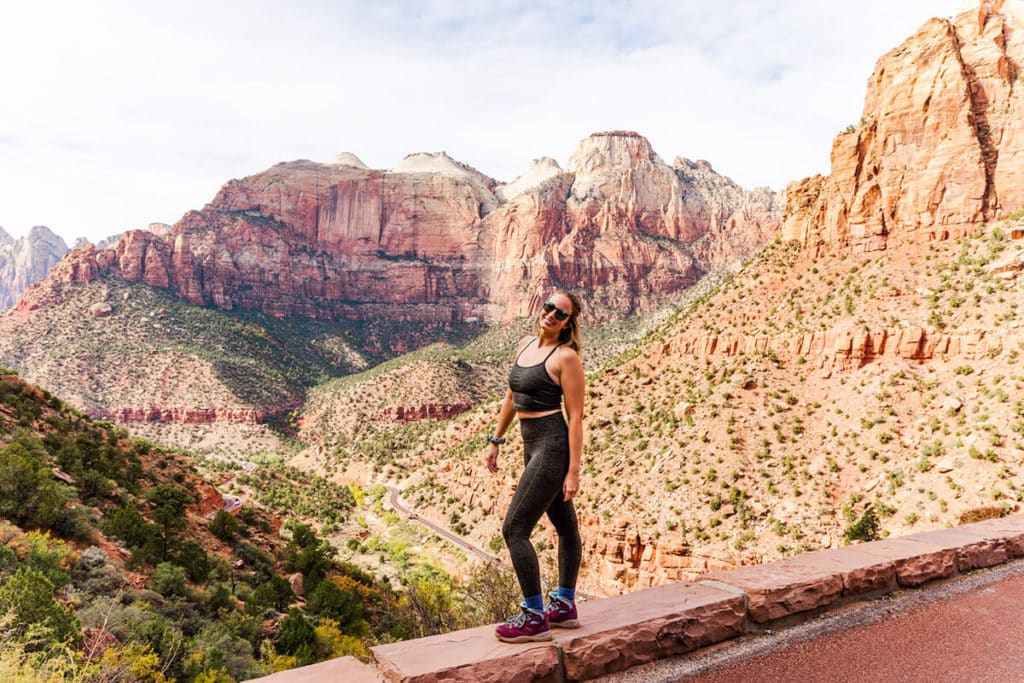
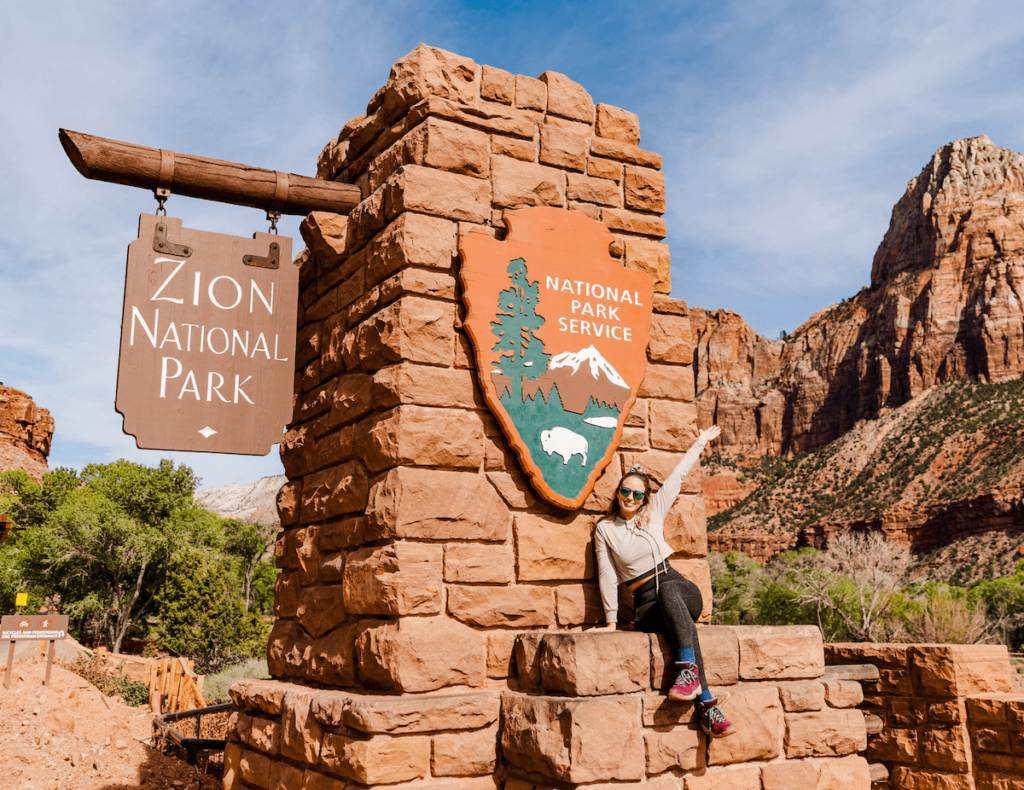
Zion National Park is located in the southwestern corner of Utah, just 2.5 hours from Las Vegas! Zion is one of the most famous National Parks in the United States, typically getting over 4 million visitors each year. And for good reason! With epic hikes like the Narrows and Angels Landing, Zion National Park should be on everyone’s bucket list.
P.S. Are you planning a trip to Zion National Park? Make sure you check out my blog post on 10 Things You Need to Know Before Visiting Zion National Park!
How to Get There
You have many options in terms of getting to Zion National Park!
The closest airport is Harry Reid International Airport in Las Vegas (formerly McCarran Airport), which is 170 miles from the park and should take between 2.5 – 3 hours to get there. It’s important to note, however, that Zion and Las Vegas are on two different time zones, with Las Vegas on Pacific Standard Time (PST) and Zion on Mountain Standard Time (MST), so you will lose an hour driving to Zion from Las Vegas! Make sure you factor this into your travel plans.
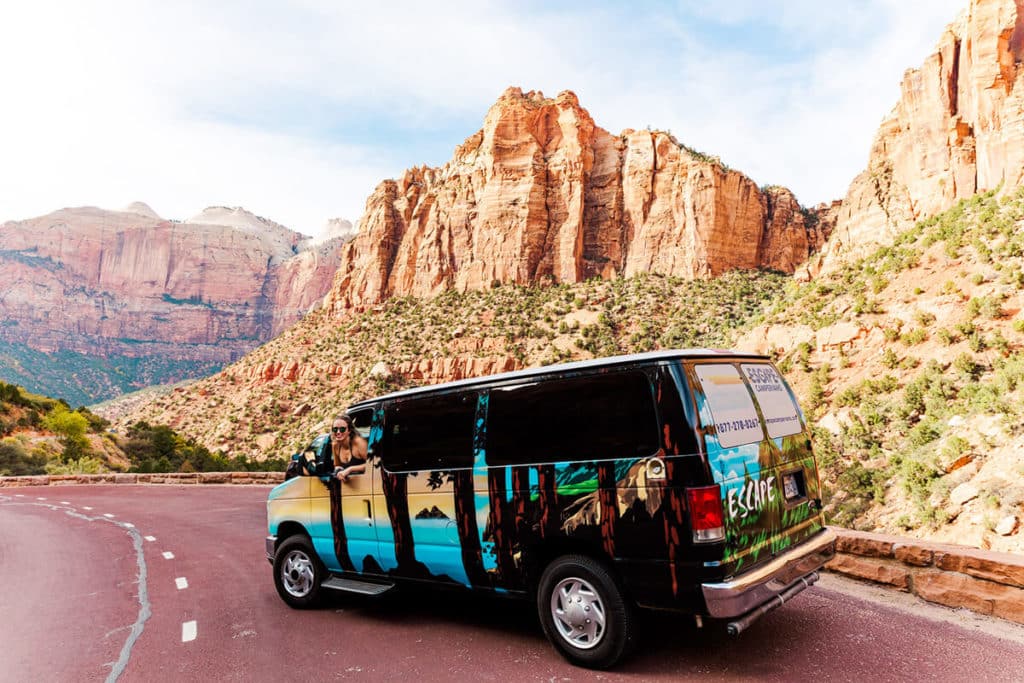
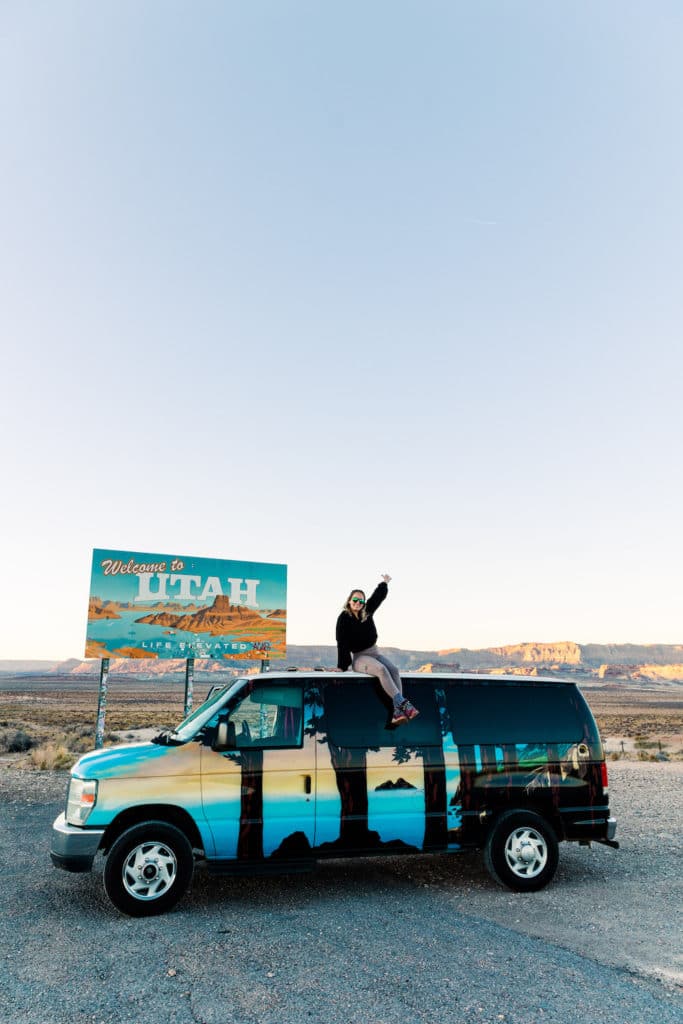
If you’re renting a car and driving, Zion is the perfect starting point for an epic road trip across the American Southwest! In addition to visiting Zion National Park, you can tackle Bryce Canyon, Grand Canyon, Canyonlands, Arches, and so many other national parks!
And if you’re planning a road trip, make sure to check out my One Week National Parks Road Trip itinerary! It’s the perfect itinerary if you have about 7 days and are trying to squeeze in as many parks as possible! Bonus points if you tackle the itinerary in an Escape Campervan like we did! Here are the drive times from Zion to some other national parks nearby!
- Zion to Bryce Canyon: 1 hr 15 min
- Zion to Antelope Canyon: 2 hrs
- Zion to Capitol Reef: 3 hrs
- Zion to Grand Canyon: 3 hrs 30 min
Where to Stay
It’s important to note when planning a trip to Zion National Park that the options for staying inside the park are extremely limited and require planning way in advance. If you want to stay in a hotel/lodge, there is only one option – Zion Lodge! It is pricey and books up 6+ months in advance, so you have to plan ahead!
If you’re looking to camp, there are only 2 campgrounds inside the park, South and Watchman. Both require reservations ahead of time for the busy months and also book up fast!
While staying inside the park has its advantages (like not having to fight for parking), most people that visit Zion stay in the town of Springdale, UT. Springdale is right outside of the park’s entrance and has campgrounds, budget hotels, and upscale lodges– something for everyone! Just expect to pay a premium the closer you are to the park’s entrance.
I’d recommend trying to stay within a few miles so that you don’t have to drive too far every morning. You can check out the different options and read reviews here on TripAdvisor! And if you don’t mind being a little bit further away, you should definitely look into some of the “glamping” options near Zion!
Before You Start Your Hike
What to Pack
Before I visit a new place, I do a ton of research on what to pack because I hate to feel unprepared! So I’ve put together a list of items that will make your hike to Angels Landing even more enjoyable.
First, make sure you pack enough snacks and water for the day. Once you start the hike, there is no drinking water or food options available. I always make sure to carry enough water and snacks for the entire day to prepare for the worst! Aside from food and water, I also highly recommend packing the following:
- A Day Pack with Water Bladder (I bought this pack before our trip and it was easily the most important purchase. Having a water bladder is the BEST! And when you hike the chains portion of Angels Landing, it’s critical to have both hands free and not have to hold onto a water bottle!)
- Sunscreen (Not just if you are visiting in the summer! The sun is strong in the desert. My favorite sunscreen is Supergoop – it goes on silky smooth, and you will forget you are even wearing it!)
- A Hat (Along with the above, a hat is the best protection for your face against the sun. You’ll be happy you have it! I got this cute bucket hat for our trip, but a baseball cap will work too!)
- Good Hiking Boots (This is essential for hiking Angels Landing, as you need shoes that have good grip and support as you scale the edges of a cliff! I got these boots before our trip and they were perfect!)
A Note About Starting Early
As you probably know, Angels Landing is one of the most popular hikes in Zion National Park. And Zion National Park is one of the most popular parks in the US. So.. this hike gets BUSY! So you need to ARRIVE EARLY.. Like, really early.
This hike is SO much more enjoyable with less people. And the reason for this is, the chains section of this hike is not split into two sections. The way you hike up is the same path you take down. So if you get to the chains section after a ton of people have started it, you’ll be sharing the chains with everyone coming back down.
This makes things significantly less exciting, as you’ll be waiting a lot, but more importantly, it becomes more dangerous. When people start rushing, mistakes are made and that’s how people start getting hurt.
In fact, as of April 1, 2022, the chains portion of this hike now requires a permit in order to avoid overcrowding!! I linked the Zion website at the beginning of this post where you can learn more about the permit process!
Getting into the Park & to the Trailhead
Parking
Alright, today is the day you’re hiking Angels Landing!! If you’re staying outside the park, you’ll need to make your way to the Zion Visitor Center in order to catch the Zion shuttle. Depending on where you are staying, you might be driving into the park or walking in. Some places in Springdale are close enough to walk!
If you’re driving, you need to get into the park as soon as it opens. The parking lot for the Visitor Center fills up EXTREMELY quickly, and if you can’t get a spot, you’ll have to pay to park outside the park.
In order to secure a spot, plan to catch the first bus leaving the Visitor Center and arrive at the park entrance 15-30 minutes before that shuttle leaves. Trust me when I say this hike is worth waking up early for, not only to secure parking but also to make the hike itself more enjoyable.
Entrance Pass
Don’t forget you need a Recreational Pass to enter Zion National Park! If you’re arriving around or before park open, you may not need to show your pass (there may not be anyone at the park entrance stations) but I wouldn’t plan on this! Make sure you have your entrance pass.
If you’re visiting more than one national park on your trip, I highly recommend an America the Beautiful Pass! For $80, you and one other person get access to an extensive amount of national and state parks throughout the country for a whole year. Most national park entrance fees are ~$30, so if you’re planning to visit more than 2 in one year, it’s worth it to buy the America the Beautiful Pass!
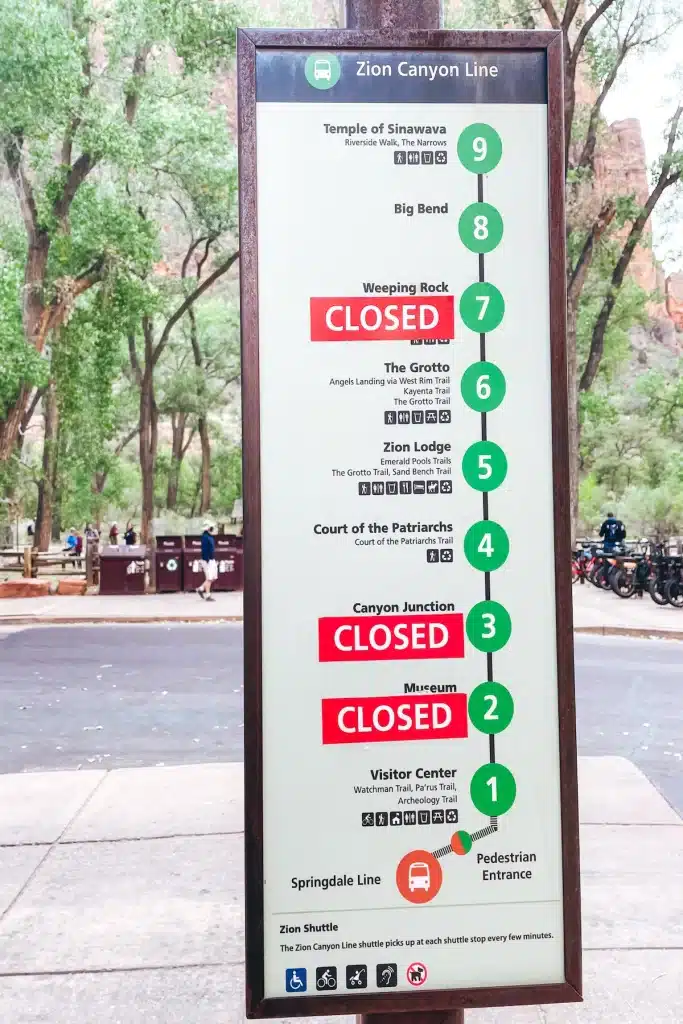
Riding the Zion Shuttle
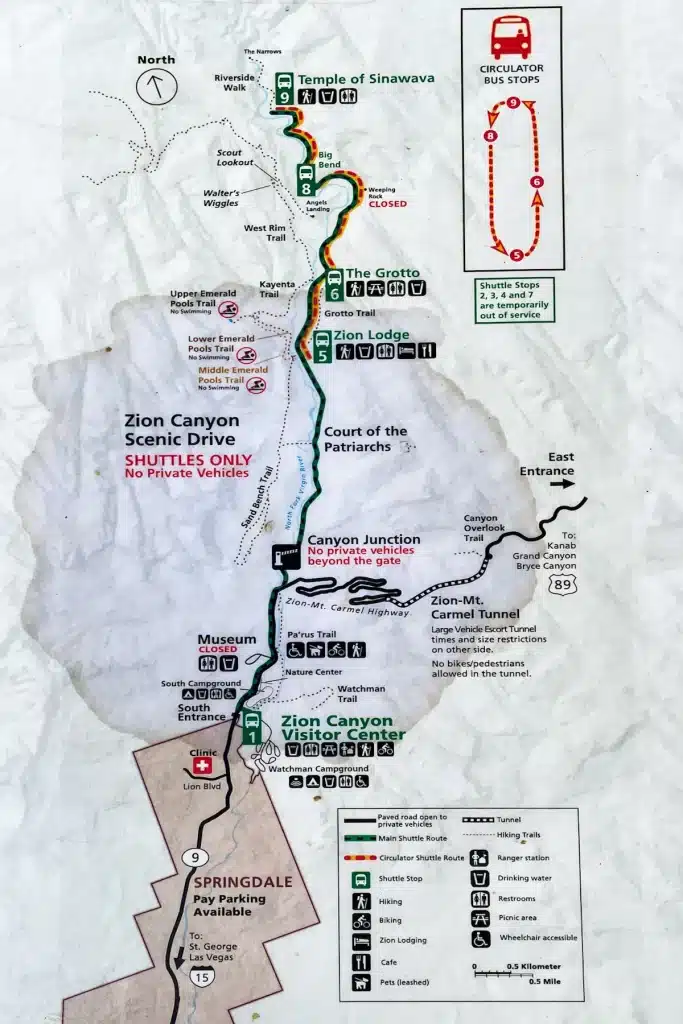
Once you’ve arrived at the Visitor Center (by foot or by car!), you will need to board the Zion Shuttle if you are visiting between February and November. During this time of year, the main road in Zion, the Zion Canyon Scenic Drive, is closed to all recreational vehicles. The only options to get to most of the trailheads is to walk (not recommended for Angels Landing!), bike, or take the shuttle. Below is a map of the shuttle bus stops!
To reach Angels Landing, you will ride the shuttle bus to Stop #6: The Grotto! It’s about 15 minutes to there from the Visitor Center. After getting off the bus, you will need to cross the street and follow the signs for Angels Landing via West Rim Trail!
The Hike Itself
Leading Up to the Chains
The beginning of the hike seems pretty low-key, but in my opinion, it was one of the most challenging parts! The first 10 minutes are relatively easy, but then you will begin to wind your way up switchbacks that get steeper and steeper. We were a little surprised at how soon we were huffing and puffing! We took lots of breaks to stop, breathe, and enjoy the views!
After continuing up and up for about 30 minutes, you’ll come across a narrow path between two canyon walls with a big strong breeze – this area is appropriately named Refrigerator Canyon. It was shaded and FLAT, which offered some relief from the challenging start of the hike.. Enjoy it while it lasts!
After Refrigerator Canyon, you’ll start along another series of switchbacks, which will lead you to the famous Walters Wiggles. And trust me, you’ll know them when you see them – a steep set of switchbacks that zig zag up the side of the mountain. They’re actually quite fun to take on, and once you begin to start heavy breathing, you’ll be at the top!


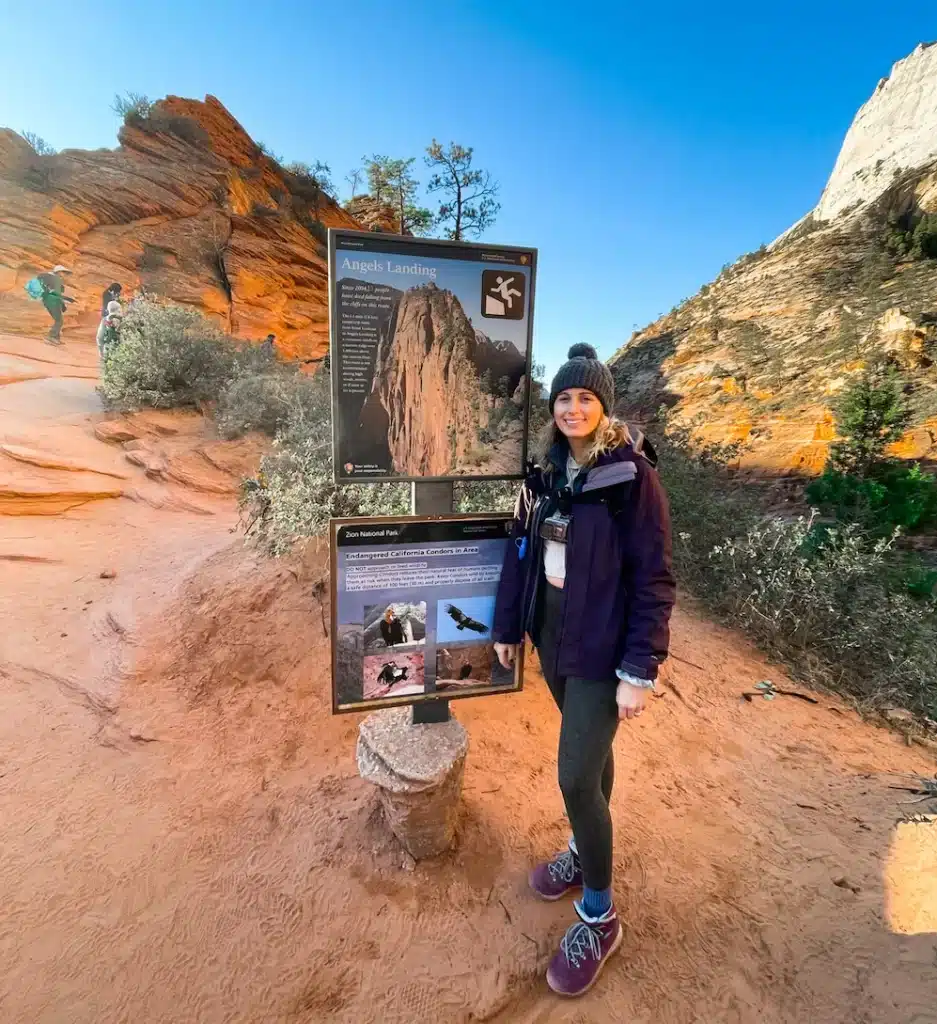
After completing Walters Wiggles, you will arrive at Scout Lookout, a large flat area with bathrooms and plenty of places to stop and rest. The West Rim Trail continues up to the left, while the chains sections of Angels Landing can be found to the right. I highly recommend stopping here for a bathroom and snack break. Once you start the chains, you’ll want to have both hands free and your mind set on the hike, not your growling stomach!
There is a sign here that tells you how many people have died that year while hiking Angels Landing.. Pretty morbid, but it does the job of reminding you that it’s a serious hike where mistakes can be fatal.. Again, if you’re deathly afraid of heights, or ledges, this portion of the hike probably isn’t for you!
Tons of people get to Scout Lookout and end their hike there. The views here are still incredible! You can also wait here if some of your party wants to continue onto the chains. Just remember, if you’re not comfortable at all during the chains, you should turn around. It gets more and more intense the further you go..
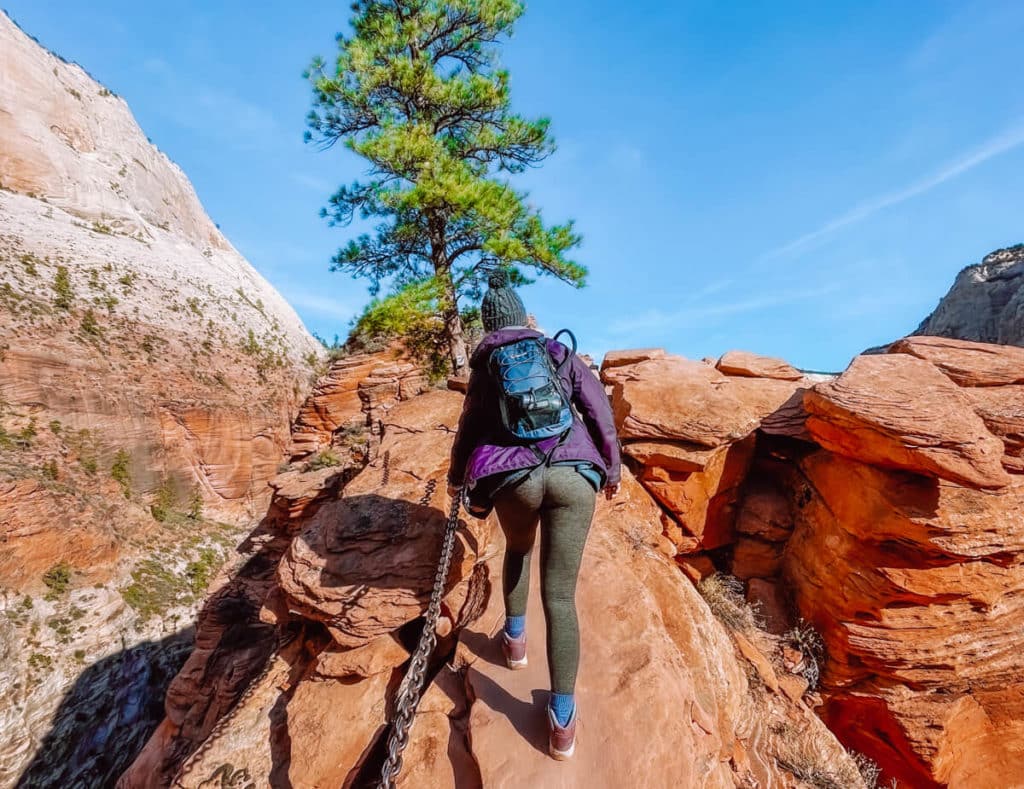
The Chains Section
If you have your permit and your brave face, it’s time to continue on to the chains section! Just head towards the giant cliff in front of you! 🙂
But seriously, when you’re looking out at the chains section, it looks A LOT scarier than it feels.. I promise! My biggest recommendations are to take your time and make sure you have both hands free.. If you do both of these things, it will be an amazing experience!
One thing to note is, I would not recommend attempting the chains section if you have bad knees. This might go without staying, but I was surprised by the amount of climbing, squatting, crouching, etc. If you’re in good shape and pretty mobile, this isn’t hard – it was actually very fun! Like rock climbing. But if you are unable to repeatedly climb, bend, and squat, this portion of the hike is going to be rough!!

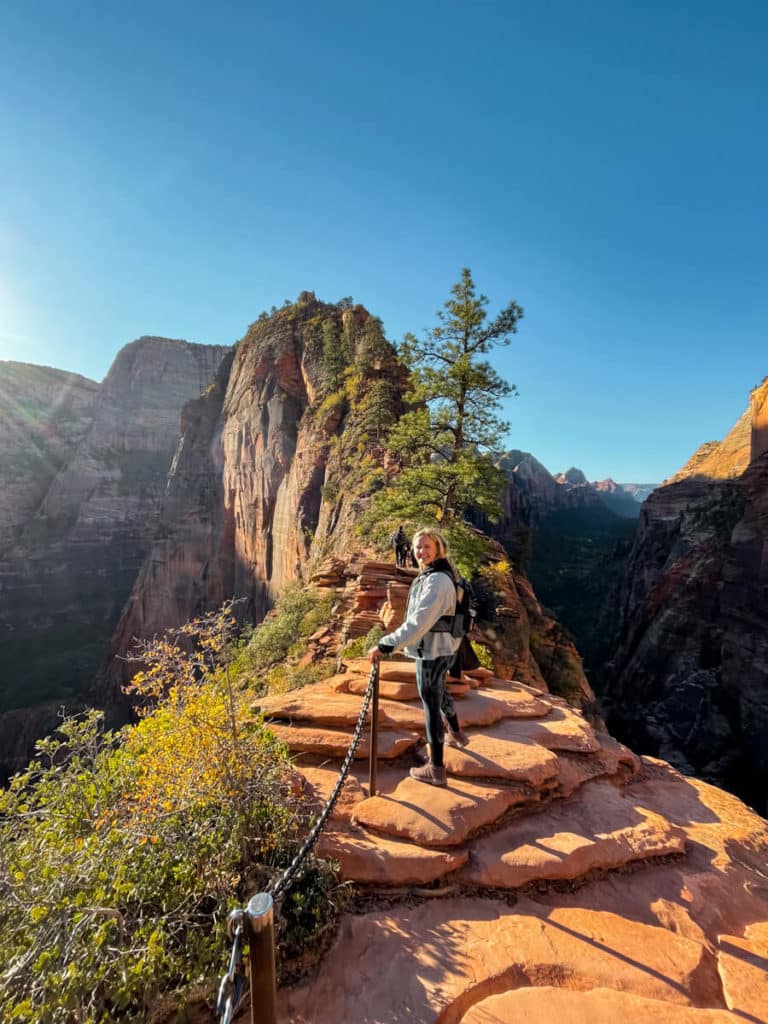
The entirety of the chains section is a half mile, which took us about 30 minutes to the top (it felt a bit longer!). Once you reach the summit, the beauty of Zion and the Virgin River sprawls underneath you, and all the struggles of the last 2 hours are completely worth it. There are plenty of flat areas at the summit to sit, relax, and enjoy the view.
The Return Journey
When you’re ready to head back down, remember to take your time and be patient in the chains section. If you started early, there will likely be even more people now, many of which will be just starting their journey up. Hopefully this issue has improved with the permit process now in place!
When we visited in October 2021, the hike down consisted of a lot of standing and waiting. There is only one way up and one way down, so you have to share the chains sections with those making their way up! You have the right of way as the hiker going down, but it’s still extremely important to be polite and courteous. Everyone is responsible for being safe and smart. To be honest, the hike down felt much scarier than the way up because of all the people!
Once you reach Scouts Lookout again, use the restroom if needed and start making your journey back the same way you came. To be honest, the hike down felt like a breeze compared to the way up, since its mostly downhill! The only tough part is on your knees, as its very steep. But otherwise, take your time and enjoy the views!

Final Thoughts
Once you reach the main road, you can hop back on the shuttle bus back to the visitor center or to any other areas of Zion you want to check out! We started the hike at around 7:30am and finished around 11:30am, so we decided to rest our legs and grab lunch at Zion Canyon Brew Pub after! It’s located right outside the park entrance, walking distance from the Visitor Center!
If you’re looking for something low-key to tackle during your afternoon after Angels Landing, I highly recommend checking out the Canyon Overlook Trail in the late afternoon. It’s a quick and easy 1-mile hike on the east side of the park (you can drive right to the trailhead). I promise it’s even doable after hiking Angels Landing, and it’s the perfect place to watch the sunset in Zion!
That wraps up my Beginner’s Guide to Hiking Angels Landing! If you’re planning your first trip to Zion National Park, don’t forget to check out my other Zion posts, like my Beginner’s Guide to Hiking the Narrows and my 3 Day Zion Itinerary!
If you’re looking to hit some other national parks on your trip, my One Week National Parks Road Trip Itinerary hits all the highlights of the American Southwest, including Zion, Bryce Canyon, Grand Canyon and more!
Don’t forget to pin this post for future planning!

All Rights Reserved